
Battery Cell Matching: Sort 18650 Cells Before Pack Build
Building a reliable multi-cell battery pack starts long before you touch a spot welder or solder iron. The single most important step — one that separates a professional pack from a dangerous, unbalanced failure — is battery cell matching to sort your 18650 cells before pack build. Whether you are building an e-bike battery, a DIY power wall, a custom UPS, or a high-drain RC pack, mismatched cells lead to unequal charging, premature capacity fade, and in worst cases, thermal runaway. This guide teaches you exactly how to measure, sort, and group 18650 cells the right way using tools available to every Indian maker.
Why Cell Matching Matters
A battery pack is only as strong as its weakest cell. When you connect 18650 cells in series (to increase voltage) or parallel (to increase capacity), any mismatch in internal resistance or capacity creates imbalances that compound with every charge/discharge cycle.
Series Packs (voltage matters)
In a series pack (e.g., 3S = three cells to make 11.1V nominal), the cell with the lowest capacity limits the entire pack. When the weakest cell reaches its cutoff voltage, the BMS cuts power — even though the other two cells may still have 30% capacity left. This is called the “weakest link” effect and it gets worse with every cycle as the weaker cell degrades faster.
Parallel Packs (current balance matters)
In a parallel pack, all cells share the same voltage but current distributes based on internal resistance. A cell with lower internal resistance (IR) will absorb more charge current and discharge more heavily. Over time, this high-stress cell degrades faster than its neighbors, creating a progressively worse imbalance.
The Real-World Consequence
An unmatched 13S4P e-bike battery (52V, ~40Ah) can lose 20-30% usable capacity within 50 cycles due to cell imbalance — even if all cells are brand new from the same batch. A properly matched pack will maintain over 85% capacity after 200 cycles. The cell matching process takes 2-3 hours but adds years to your pack’s lifespan.
What to Measure: Capacity, Voltage, and Internal Resistance
1. Open Circuit Voltage (OCV)
This is the first quick filter. Before any cycling, measure every cell’s resting voltage. New cells from reputable manufacturers should all be within 10mV of each other (typically 3.60-3.70V when stored at half charge). Cells more than 50mV different from the median are either damaged or deeply discharged and need individual attention.
2. Actual Capacity (mAh)
This is the most important parameter. Capacity testing involves fully charging a cell to 4.2V, then discharging it at a controlled current (typically 0.5C or 1A for most 18650 cells) down to 2.75V while measuring the milliamp-hours delivered. A cell rated at 3000mAh should deliver 2850-3000mAh when new. Used cells may deliver significantly less.
For matching, you want all cells in a parallel group to be within 2% of each other in capacity. For a 3000mAh cell, that means within 60mAh — so group cells into bins of 60mAh width.
3. Internal Resistance (IR)
Internal resistance (measured in milliohms, mO) determines how efficiently the cell delivers and accepts current. Low IR = better performance, lower heat, more power. A new quality 18650 should be 15-35mO. Used cells may be 50-150mO. Cells above 200mO are degraded and should not be used in any pack.
For matching, group cells within 5mO of each other. In parallel groups especially, IR matching is critical because current distribution is inversely proportional to resistance.
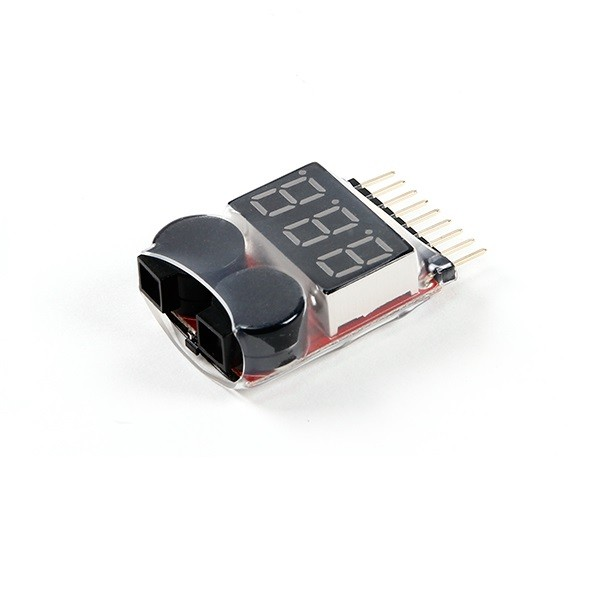
1-8S Lipo Battery Voltage Tester without Alarm
Check individual cell voltages quickly across multiple cells during your sorting and matching process. Works with 1S to 8S packs and individual 18650 cells in a holder configuration.
Tools and Equipment You Need
Essential Tools
- Capacity tester / battery analyzer: The ISDT A4 or similar smart charger with discharge function. Can test one cell at a time with full data logging.
- Internal resistance meter: A dedicated IR meter (like the YR1030 or Junsi iCharger with IR measurement) gives accurate readings. Some smart chargers have built-in IR measurement.
- Digital multimeter: For OCV measurement of every cell before cycling.
- 18650 battery holders: Single-cell holders make it easy to cycle and test cells individually without spot welding.
- Spreadsheet or notebook: Record every cell’s OCV, measured capacity, and IR. Label cells with a marker or small sticker.
Recommended Approach for Large Batches
If you are matching 40-100 cells for an e-bike battery, use a multi-channel charger/analyzer that can handle 4-8 cells simultaneously. This brings the total testing time from days down to hours. The ISDT 608 AC is capable of this workflow with its dual-channel operation and data logging.

ISDT A4 Air Smart Battery Charger for NiMH, NiCd, Li-Ion, LiFePO4 with Bluetooth
A professional smart charger with internal resistance measurement, capacity testing, and Bluetooth data logging. Ideal for systematic 18650 cell matching — cycle each cell and record data directly to your phone.
Step-by-Step Sorting Process
Step 1 — Initial Voltage Screen
Measure OCV of every cell with your multimeter. Record the reading. Discard or quarantine any cell below 2.5V (potentially over-discharged and damaged) or above 4.25V (overcharged). Group cells into 100mV bins initially: 3.50-3.59V, 3.60-3.69V, etc.
Step 2 — Full Charge All Cells
Place all cells in your charger set to CC/CV mode, 4.2V cutoff, at 0.5C charge rate. For a 3000mAh cell, that is 1500mA. Allow all cells to fully charge. This ensures every cell starts the capacity test from the same state.
Step 3 — Rest Period
After charging, let cells rest for 30-60 minutes. Then remeasure OCV. A healthy, fully charged 18650 should read 4.18-4.20V after the rest. Cells that drop below 4.10V during the rest period may have elevated self-discharge — note these separately.
Step 4 — Capacity Discharge Test
Discharge each cell at 1A (or 0.5C) down to 2.75V while measuring milliamp-hours. Record the capacity for each cell. This is the most time-consuming step. With a 4-channel analyzer, you can test 4 cells simultaneously. A 3000mAh cell takes about 3 hours to discharge at 1A.
Step 5 — Internal Resistance Measurement
After the cells have rested at room temperature following the discharge test, measure IR using your analyzer’s built-in function or a dedicated IR meter. Measure at a consistent state of charge — ideally after recharging to 50% (3.7V nominal). Record each cell’s IR in milliohms.
Step 6 — Build a Sorting Spreadsheet
Create columns for: Cell ID, OCV initial, Measured Capacity (mAh), Internal Resistance (mO), and Group Assignment. Sort by capacity first, then by IR within each capacity tier. This gives you a clear picture of which cells belong together.
Step 7 — Assign Cells to Bins
Create capacity bins of 2% width. For 3000mAh cells: Bin A = 2940-3000mAh, Bin B = 2880-2940mAh, Bin C = 2820-2880mAh, etc. Only use cells from the same bin in each parallel group. Within each bin, also match IR within 5mO.
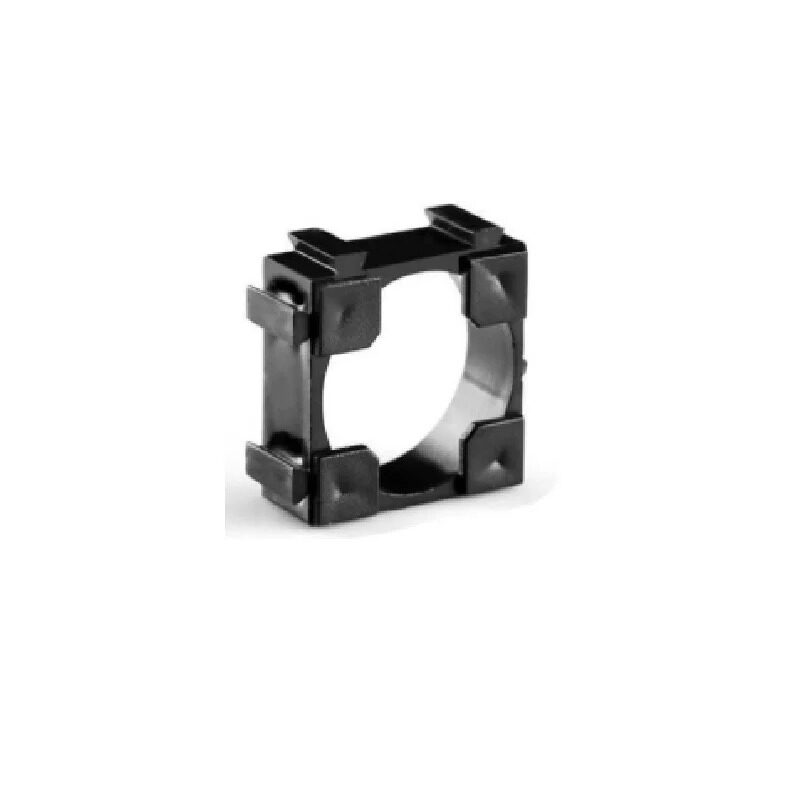
1 x 18650 Battery Holder with 18.4MM Bore Diameter — Pack of 4
These individual 18650 cell holders are perfect for the testing phase of your pack build. Insert cells one by one for capacity and IR measurement without any welding or permanent connections.
Grouping Cells for Series and Parallel Packs
Understanding Pack Topology
Most 18650 packs use an XsYp configuration, where X is the number of series groups (sets voltage) and Y is the number of parallel cells per group (sets capacity). A common e-bike pack is 13S4P (52V nominal, ~12Ah if using 3Ah cells).
Rule 1: Match Parallel Groups First
Within each parallel group (the Y cells), capacity matching is most critical. All Y cells in a group should be within 2% capacity of each other. IR matching within a parallel group should be within 5mO.
Rule 2: Match Series Groups to Each Other
Once you have formed all your parallel groups, the groups themselves should be matched. Each parallel group’s effective capacity and average IR should be as close as possible to all other parallel groups in the series chain.
Rule 3: Discard Outliers
Cells that fall significantly below your main capacity cluster (more than 5% below your best cells) should be used in a separate, lower-performance pack or discarded entirely. Never mix outlier cells into your main pack to fill gaps — this is the most common mistake beginners make.
Practical Example: 4S2P Pack for 10Ah Power Bank
You have 10 cells ranging from 2850-3050mAh. Sort them:
- Group A (Parallel 1, Series group 1): 3040mAh + 3050mAh
- Group B (Parallel 2, Series group 2): 3020mAh + 3030mAh
- Group C (Parallel 3, Series group 3): 2980mAh + 2990mAh
- Group D (Parallel 4, Series group 4): 2970mAh + 2960mAh
- Leftover (2 cells): 2850mAh + 2870mAh — use in a separate project
This gives you a balanced 4S2P pack where all series groups are within ~90mAh of each other — acceptable for a well-balanced pack.
Used vs New 18650 Cells: Extra Considerations
Salvaged Laptop Battery Cells
Salvaging 18650 cells from laptop battery packs is popular in India due to cost savings. These cells have been through 200-500 cycles and need extra scrutiny. Expect 60-80% of original capacity. The sorting process is even more critical with used cells because their condition varies dramatically even within the same original pack.
Additional checks for used cells:
- Visual inspection: look for rust, dents, wrapper tears, or electrolyte leakage
- Temperature during charge: a cell that gets warm above 40 degrees C at 0.5C is degraded
- Self-discharge check: charge to 4.2V, rest 24 hours, recheck. Loss greater than 50mV indicates high self-discharge — reject the cell
- Multiple cycle test: run 3 full charge-discharge cycles and compare capacity. Good cells are stable within 1%
Brand New Cells from Indian Market
Even new cells from the same purchase batch can vary by 1-3% in capacity due to manufacturing tolerances. A quick capacity test is still worthwhile for any pack of 20 or more cells. Pre-testing also verifies authenticity — counterfeit 18650 cells (often relabeled laptop salvage) are unfortunately common in unregulated online markets.
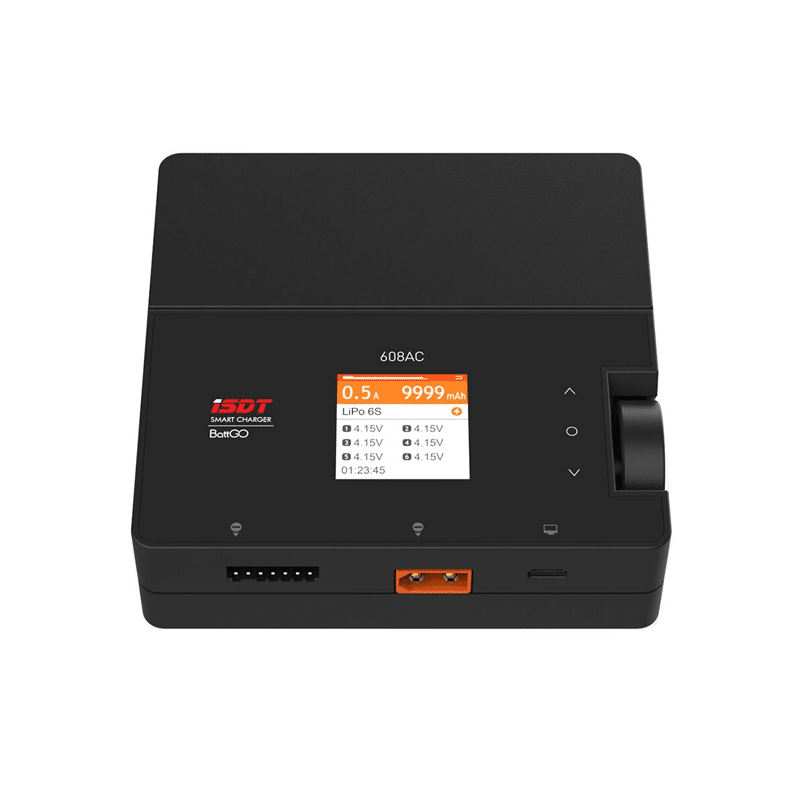
ISDT 608 AC LiPo Battery Charger — AC 50W/DC 200W Dual Mode
A powerful dual-mode charger/discharger capable of capacity testing 18650 cells and multi-cell LiPo packs. The discharge function lets you precisely measure each cell’s actual capacity — essential for the sorting process.
What to Do After Cell Matching
Once your cells are sorted and grouped, the physical pack assembly begins. Here are the key steps that follow cell matching:
- Store matched groups together: Keep each parallel group’s cells in a labeled bag at 3.7-3.8V storage voltage until you are ready to assemble.
- Spot weld with pure nickel strips: Avoid steel nickel-plated strips for high-drain applications — they add resistance. Pure nickel (0.15mm or 0.2mm) is preferred.
- Add a BMS with balancing: A quality BMS that includes active or passive balancing is essential. It corrects any residual imbalance that develops during use over time.
- Insulate thoroughly: Use fishpaper (Nomex or Kapton) between cells and between cell ends and nickel strips to prevent short circuits.
- Label and document: Keep records of each group’s capacity and IR for future reference. If a cell ever needs replacement, you can select a matched replacement.
Frequently Asked Questions
How close do cells need to be for matching?
For capacity, aim for within 2% of each other within each parallel group. For internal resistance, aim for within 5mO. These tolerances give a well-balanced pack that a BMS can manage effectively. Tighter matching is better but has diminishing returns below 1% and 2mO tolerances.
Can I use a multimeter to measure internal resistance?
A standard multimeter cannot directly measure milliohm-level internal resistance accurately. You need either a dedicated IR meter (like the YR1030), a smart charger with IR measurement capability (like the ISDT A4), or perform a calculated IR estimate using two voltage readings at different load currents (V1-V2)/(I2-I1) = IR. The dedicated meter is far more accurate and repeatable.
What if I only have a few cells outside the matching tolerance?
Slightly out-of-spec cells (within 3-4% of the main group) can be used if the BMS has active balancing capability. Active balancers can compensate for a wider initial mismatch than passive balancers. However, cells more than 5% outside the group average should always be excluded from that pack and used separately.
Is cell matching necessary for a small 2S1P pack?
For a simple 2S1P pack (just two cells in series, no parallels), cell matching is still beneficial. The two cells should be within 2% capacity of each other to maximize usable energy. The IR matching is less critical in series-only packs since current through both cells is identical anyway.
How often should I re-test cells in an existing pack?
For a pack used daily (e-bike, power wall), an annual capacity check is good practice. After 200 cycles, individual cell degradation starts to become noticeable. At that point, re-testing and re-matching may require replacing the most degraded cells to restore pack balance.
Build Your Best Battery Pack
Cell matching is the discipline that separates hobby-grade packs from professional ones. Take the time to test, sort, and document every cell before you begin assembly — your pack will reward you with longer lifespan, better performance, and greater safety. Zbotic stocks 18650 holders, smart chargers with capacity testing, BMS boards, and all the accessories you need for your pack build project.


Add comment