
If you have ever sat next to a 3D printer listening to it screech through a print, you already know why the TMC2208 stepper driver became one of the most celebrated upgrades in the maker community. Developed by Trinamic (now part of Analog Devices), the TMC2208 replaced the aging A4988 and DRV8825 drivers on millions of printers worldwide — cutting motor noise so dramatically that a machine that once sounded like a dot-matrix printer now hums almost silently.
In this comprehensive guide, we cover everything you need to know: how StealthChop2 works, how to wire the TMC2208, how to configure it in Marlin firmware, and how to choose the right current settings for your motors. Whether you are upgrading an Ender 3, building a custom CoreXY, or designing a CNC router, this tutorial has you covered.
1. What Is the TMC2208 Stepper Driver?
The TMC2208 is a two-phase bipolar stepper motor driver IC capable of driving motors up to 2A RMS (2.8A peak) per coil. It operates on a supply voltage of 4.75 V to 36 V, making it compatible with virtually every 3D printer mainboard that runs on 12 V or 24 V.
What separates the TMC2208 from older drivers is its use of Trinamic’s proprietary voltage chopper technology. Instead of rapidly switching current on and off (which creates audible noise), the TMC2208 uses a combination of sinusoidal current control and back-EMF detection to keep current smooth and quiet at all speeds.
Key specifications at a glance:
- Supply voltage: 4.75 V – 36 V
- Motor current: Up to 2.0 A RMS / 2.8 A peak
- Microstep resolution: 1, 2, 4, 8, 16, 32, 64, 128, 256
- Communication: Step/Dir (standalone) or UART (advanced)
- Protection: Overtemperature, short-circuit, undervoltage
- Package: QFN28 (driver IC); breakout modules add pin headers
2. How StealthChop2 Works
StealthChop2 is the technology that makes the TMC2208 famous. Traditional stepper drivers use a fixed-frequency PWM chopper: they switch coil current on and off at a set rate (typically 20–40 kHz). Even though this is above human hearing for some drivers, the motor’s physical resonance translates those switching events into audible vibrations — the characteristic whine and chatter of older 3D printers.
StealthChop2 replaces this with a voltage-mode sinusoidal drive. Instead of switching, the driver modulates the coil voltage to approximate a sine wave, matching the natural electrical characteristics of the motor. The result is:
- Near-silent operation at low to mid speeds
- Lower motor heating — less energy wasted as heat
- Smoother motion — especially visible in finely detailed prints
- 256 microstep interpolation — even if your firmware sends 16 microstep signals, the driver internally interpolates to 256 for silky motion
At higher speeds (above ~300 mm/min depending on motor), the driver automatically switches to SpreadCycle — a faster high-precision chopper — to maintain torque. This switching is seamless and automatic in standalone mode.
3. TMC2208 vs A4988 vs DRV8825
| Feature | A4988 | DRV8825 | TMC2208 |
|---|---|---|---|
| Max current (RMS) | 1.0 A | 1.5 A | 2.0 A |
| Max microstep | 1/16 | 1/32 | 1/256 (interpolated) |
| Noise level | Loud | Moderate | Near-silent |
| UART config | No | No | Yes |
| Sensorless homing | No | No | Yes (StallGuard) |
| Price (approx India) | ₹60–80 | ₹80–120 | ₹150–250 |
The verdict is clear for most 3D printer upgrades: the extra cost of the TMC2208 pays for itself immediately in print quality and livability (no more listening to the printer chatter through walls).

A4988 Stepper Motor Driver Controller Board – RED
The classic A4988 — a great baseline driver for understanding stepper control or for budget builds where noise is not a concern.
4. TMC2208 Pinout & Wiring
The TMC2208 breakout module (the format used in most 3D printers) has the same footprint as the A4988 and DRV8825, with one important difference: the direction is reversed on most boards. Always check the silkscreen or datasheet before installing.
Standard breakout pinout (top row / bottom row facing driver face-up):
- EN — Enable (active LOW — pull LOW to enable the driver)
- MS1 / MS2 — Microstep select pins (see table below)
- PDN/UART — UART pin (also used for PDN in standalone mode)
- CLK — Clock input (leave floating for internal oscillator)
- STEP — Step pulse input
- DIR — Direction input
- VIO — Logic voltage (3.3 V or 5 V)
- GND — Ground
- VM — Motor supply voltage (12–36 V)
- A1, A2, B1, B2 — Motor coil connections
Microstep configuration (MS1 / MS2 pins):
| MS1 | MS2 | Resolution |
|---|---|---|
| LOW | LOW | 1/8 |
| HIGH | LOW | 1/2 |
| LOW | HIGH | 1/4 |
| HIGH | HIGH | 1/16 |
In UART mode, microstep resolution is set via software and the MS pins may be ignored or repurposed.
Critical wiring tips:
- Always power the motor supply (VM) before the logic supply (VIO) when possible.
- Add a 100 µF capacitor between VM and GND close to the driver to prevent voltage spikes.
- Do NOT connect or disconnect motor wires while powered — this can destroy the driver instantly.
- The UART line needs a 1 kΩ resistor between the microcontroller TX and the PDN/UART pin.
5. Setting Motor Current (Vref)
Incorrect current setting is the number-one cause of failed prints and driver failures. The TMC2208 uses a potentiometer on the breakout board to set the reference voltage (Vref), which determines the maximum motor current.
Formula:
Vref = Motor_Current_RMS × 0.9 (approx for most breakout boards)
Or more precisely for the standard sense resistor (0.11 Ω):
I_RMS = Vref / (2.5 × R_sense × 1.41) ≈ Vref / 0.9
Common settings for popular motors:
- NEMA 17 (0.9A rated): Set Vref ≈ 0.82 V → actual RMS ≈ 0.9 A
- NEMA 17 (1.5A rated): Set Vref ≈ 1.0 V → actual RMS ≈ 1.1 A
- NEMA 17 (2.0A rated): Set Vref ≈ 1.2 V → actual RMS ≈ 1.33 A
Pro tip: Never run the driver at 100% of rated motor current. Run at 70–80% to keep temperatures safe. The TMC2208 has an excellent built-in thermal shutdown but it is better not to rely on it.
To measure Vref: power the board, put your multimeter red probe on the potentiometer wiper (the center pad of the trimmer) and black probe on GND. Adjust with a small screwdriver.

42HS48-1204A-20F NEMA17 5.6 kg-cm Stepper Motor with Detachable Cable
A high-torque NEMA 17 ideal for 3D printer X/Y/Z axes — pairs perfectly with the TMC2208 for silent, precise motion.
6. UART Mode vs Standalone Mode
The TMC2208 supports two operating modes:
Standalone Mode
Requires no UART connection. Microsteps are set via MS1/MS2 pins, current via Vref potentiometer. StealthChop2 is always active. This is the easiest way to use the driver — just drop it in and go. Most budget 3D printer mainboards use this mode.
UART Mode
The driver is configured entirely via a single-wire UART interface connected to the printer’s microcontroller. In UART mode you can:
- Set current in software (no need to touch the potentiometer)
- Switch between StealthChop2 and SpreadCycle dynamically
- Enable StallGuard for sensorless homing
- Read back diagnostic registers (motor load, temperature, errors)
- Enable CoolStep (adaptive current scaling to save energy)
UART mode requires a 1 kΩ resistor between the microcontroller UART TX pin and the PDN/UART pin on the driver. On many modern boards (SKR Mini E3, BTT Octopus, etc.) this is done onboard and you just need to bridge a solder jumper.
For hobbyists on modern boards running Marlin 2.x or Klipper, UART mode is strongly recommended. The diagnostic feedback alone is worth the extra setup.
7. Marlin Firmware Configuration
If your board supports UART mode, open Configuration_adv.h in Marlin and make these changes:
// Enable TMC2208 in UART mode
#define X_DRIVER_TYPE  TMC2208
#define Y_DRIVER_TYPE  TMC2208
#define Z_DRIVER_TYPE  TMC2208
#define E0_DRIVER_TYPE TMC2208

// Current settings (in mA)
#define X_CURRENT     800   // Adjust per motor spec
#define Y_CURRENT     800
#define Z_CURRENT     800
#define E0_CURRENT    950

// Hybrid threshold (mm/s) — above this, switch to SpreadCycle
#define X_HYBRID_THRESHOLD  100
#define Y_HYBRID_THRESHOLD  100
#define Z_HYBRID_THRESHOLD  3
#define E0_HYBRID_THRESHOLD 30

// Enable StealthChop
#define STEALTHCHOP_XY
#define STEALTHCHOP_Z
#define STEALTHCHOP_E
For standalone mode (no UART), set the driver type to TMC2208_STANDALONE instead. Marlin will still output the correct step/dir signals but without UART diagnostics.
After flashing, use the M906 G-code command to adjust current on the fly, and M911/M912 to read/clear driver status.
Klipper users: Add the following to printer.cfg:
[tmc2208 stepper_x]
uart_pin: PC11
run_current: 0.800
stealthchop_threshold: 999999
8. Common Problems & Fixes
Motor not moving / driver very hot
Usually caused by reversed motor wires or incorrect current. Swap one coil pair (A1↔A2 or B1↔B2) and reduce Vref by 10%.
Loud grinding noise
StealthChop is not active (driver in SpreadCycle mode). In standalone mode this can happen if MS1/MS2 are floating. Pull them to a defined state or use UART mode to force StealthChop.
Missed steps / layer shifts
Current too low, or hybrid threshold too low causing the driver to switch modes at speeds that exceed motor torque. Increase current by 10% and raise the hybrid threshold.
UART not detected by Marlin
Check that the solder jumper on the board is bridged, verify the UART pin assignment in pins_BOARD_NAME.h, and ensure the 1 kΩ resistor is in place if required.
Driver suddenly stops working
Motor connected/disconnected while powered. The TMC2208 has no internal motor-disconnect protection. Replace the driver.
9. Recommended Products from Zbotic
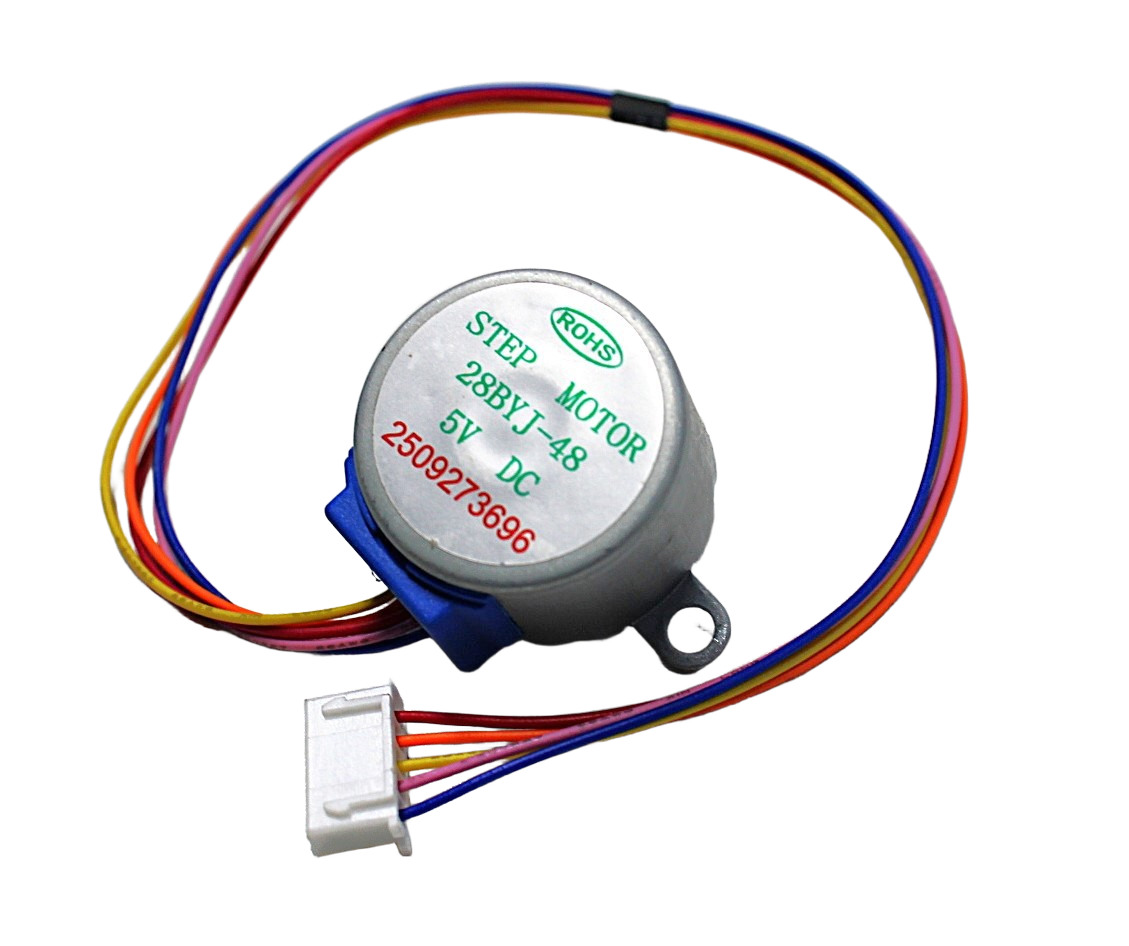
28BYJ-48 5V Stepper Motor
A budget-friendly unipolar stepper perfect for learning stepper motor control before upgrading to NEMA 17 and TMC2208 setups.
NEMA17 5.6 kg-cm Stepper Motor – D-Type Shaft
High-torque NEMA 17 motor with detachable cable, ideal for 3D printers and CNC machines running TMC2208 drivers.
10. Frequently Asked Questions
Q: Is TMC2208 better than A4988?
Yes, for nearly every metric that matters in modern 3D printing. The TMC2208 offers lower noise, higher current capacity, smoother motion, and built-in microstep interpolation to 256. The A4988 costs less but the noise and print quality difference is immediately noticeable.
Q: Can I run the TMC2208 without UART?
Absolutely. In standalone mode the TMC2208 works as a drop-in replacement for A4988/DRV8825. Just set the Vref potentiometer correctly and configure MS1/MS2 for your desired microstep resolution. UART mode gives you more control but is not required.
Q: What microstep setting should I use for a 3D printer?
16 microsteps is the standard for most 3D printers using Cartesian or CoreXY kinematics. The TMC2208 interpolates internally to 256 regardless, so your motion is always smooth. Set your firmware steps/mm to match the physical microstep setting on the board.
Q: Can I use the TMC2208 in a CNC router?
Yes, though for CNC routing with heavy cuts you may prefer the TMC2209 (which has StallGuard4 for better sensorless homing and higher current ratings). The TMC2208 works well for light-duty CNC and engraving machines.
Q: My TMC2208 gets very hot even without the motor moving. Why?
The driver always draws some current to hold motor position. Ensure hold current is set lower than run current (in UART/Marlin: HOLD_MULTIPLIER 0.5). Also ensure your heatsink is properly attached and airflow is adequate.
Q: Where can I buy TMC2208 stepper drivers in India?
TMC2208 modules are available at electronics stores and online marketplaces. Zbotic stocks a range of stepper motors and drivers for 3D printers, robotics, and CNC machines with fast delivery across India.
Upgrade Your 3D Printer Today
The TMC2208 is one of the best value upgrades you can make to any 3D printer. Shop stepper motors and drivers at Zbotic — fast shipping across India.


Add comment