
The debate between Klipper and Marlin is the most hotly contested topic in the 3D printing community in 2026. Both are open-source firmware projects that control how your 3D printer moves, heats, and extrudes. But they take fundamentally different architectural approaches — and the right choice depends entirely on what you want from your printer.
This guide gives you a thorough, honest comparison with no brand loyalty. Whether you’re running an Ender 3, a Voron, a Bambu-style printer, or building a CoreXY from scratch, you’ll walk away knowing exactly which firmware belongs on your machine.
Architecture: How They Differ Fundamentally
This is the most important section to understand. Klipper and Marlin are not just different feature sets — they are built on completely different computing philosophies.
Marlin: Monolithic Embedded Firmware
Marlin runs entirely on the printer’s mainboard (the 8-bit AVR or 32-bit ARM microcontroller). It handles motion planning, GCode parsing, temperature control, display, SD card, and everything else in one firmware binary. The printer is self-contained.
- Microcontroller does all the work
- No external computer required during printing
- Works from an SD card or USB standalone
- Very mature codebase (v2.x series since 2019)
Klipper: Host + MCU Split Architecture
Klipper runs on a Raspberry Pi (or similar SBC) as the main brain, with a lightweight “MCU firmware” running on the printer’s mainboard. The Pi does all the complex calculations (motion planning, input shaping, GCode processing) and sends low-level stepper commands to the MCU at microsecond precision via USB or UART.
- Raspberry Pi (or similar) required at all times during printing
- Mainboard only handles low-level step/dir signals
- Configuration is done via a text file (printer.cfg) — not recompiling firmware
- Moonraker API + Mainsail/Fluidd web interfaces replace physical screens
Speed and Acceleration
In 2026, speed printing is a major driver of firmware choice. Here is the honest picture:
Marlin Speed Limits
Marlin on a 32-bit board (SKR, BTT Octopus) can reliably handle 100–200mm/s with acceleration up to ~3000 mm/s². On 8-bit AVR boards, the practical ceiling is around 80–100mm/s due to step generation limits. Marlin 2.x’s Linear Advance (LA) algorithm compensates for pressure buildup in the nozzle at higher speeds.
Klipper Speed Limits
Klipper’s architecture allows much higher step rates because the Raspberry Pi pre-computes the entire motion plan and sends highly optimised step commands. Practical limits:
- 300–600 mm/s is achievable on well-tuned CoreXY machines
- Acceleration up to 10,000–20,000 mm/s² with input shaping
- Pressure Advance (Klipper’s equivalent of Linear Advance) is more responsive
Verdict on speed: Klipper wins decisively for high-speed printing. If you’re building a speed-focused printer, Klipper is the only sensible choice.
Input Shaping and Resonance Compensation
At high speeds, printer frames vibrate. These vibrations leave “ringing” or “ghosting” artefacts on print surfaces — wavy lines around corners and sharp edges. Input shaping measures and compensates for these vibrations.
Klipper Input Shaping
Klipper has built-in input shaping support that is genuinely superior. Connect an ADXL345 accelerometer to the toolhead, run the resonance test, and Klipper auto-calculates the best shaper type and frequency (MZV, EI, 2HUMP_EI, etc.). The entire process takes under 10 minutes. Results are dramatic — prints at 300mm/s with no ringing artefacts.
Marlin Input Shaping
Marlin 2.1.x introduced Input Shaping support (Fixed-Time Motion), but it is significantly harder to configure. You need to manually measure resonance frequencies (usually with an oscilloscope or accelerometer + external analysis) and enter values into Configuration.h before recompiling. No auto-measurement wizard exists in Marlin as of 2026.
Verdict on input shaping: Klipper is dramatically easier and more effective.
Calibration and Bed Levelling
Marlin ABL (Automatic Bed Levelling)
Marlin supports bilinear, UBL (Unified Bed Levelling), and 3-point levelling. UBL in particular is excellent — it builds a full mesh map and stores it in EEPROM. Marlin’s EEPROM settings mean calibration data survives power cycles without a host computer.
Klipper Bed Meshing
Klipper’s bed_mesh module generates a detailed compensation mesh similar to Marlin UBL. Configuration is done in printer.cfg. Additionally, Klipper supports:
- Screws_tilt_adjust: Automatically tells you how many turns of each bed screw to make for manual levelling.
- Z-tilt and quad_gantry_level: For multi-Z motors that auto-level the gantry (essential for CoreXY machines with four Z screws).
- Adaptive mesh: Only probe the area of the bed actually used by the print — saves time.
Verdict on calibration: Klipper for complex multi-Z systems; Marlin’s UBL is excellent for simpler bed-slinger setups.
User Interface and Control
Marlin Interface
Marlin uses the printer’s built-in display (LCD, TFT touchscreen, or OLED) for control. No external device or network is required. All settings, temperatures, fan speeds, and print management happen through the display. This is simple, reliable, and works offline.
Klipper Interface
Klipper has no traditional display interface — control happens via a web browser connected to the Raspberry Pi. The two most popular front-ends are:
- Mainsail: Clean, fast, feature-rich. Most popular choice.
- Fluidd: Similar functionality, different UI design.
Both offer real-time monitoring, webcam integration, print history, macro buttons, and temperature graphs far beyond what any printer display can show. You can control the printer from your phone, tablet, or PC over your home network (or even remotely via Tailscale/VPN).
Verdict on interface: Klipper’s web UI is vastly superior; Marlin wins for offline/standalone use.
Hardware Requirements
| Requirement | Marlin | Klipper |
|---|---|---|
| Mainboard | Any (8-bit or 32-bit) | Any 32-bit (AVR works but limited) |
| Host computer | Not required | Raspberry Pi 3B+/4B required |
| Raspberry Pi cost (India) | N/A | ₹3,500–₹7,000 |
| Network required | No | Yes (for web interface) |
| Accelerometer (optional) | Manual config | ADXL345, plug-and-play |
Macros and Scripting
Klipper’s macro system (written in Jinja2 templating language with GCode commands) is dramatically more powerful than Marlin’s GCode scripting. Klipper macros can:
- Query and branch based on current printer state (temperature, position, fan speed)
- Create complex start/end print routines (purge line, mesh loading, heat soak)
- Implement automatic filament runout recovery with resume position memory
- Create button-triggered routines in the web UI
Marlin supports basic start/end GCode scripts in slicers but lacks runtime logic — you can’t have conditional statements based on live printer state.
Printer Compatibility in 2026
- Marlin: Works on nearly every 3D printer ever made. If your printer has a 32-bit board and open-source firmware, there’s a good chance a Marlin config exists for it. Creality, Prusa (sort of), AnyCubic, Artillery, Elegoo, and hundreds more.
- Klipper: Works with most 32-bit boards — BTT SKR series, MKS, Creality 4.2.x (32-bit version), Fysetc, and more. Many boards have community-contributed configs on the Klipper GitHub. Growing rapidly — even some commercial printers ship with Klipper now (Bambu Lab uses a fork, Creality Sonic Pad runs Klipper).
Installation Difficulty
Marlin Installation
- Download Marlin 2.x source code
- Find or create Configuration.h for your specific printer
- Edit configuration parameters (steps/mm, thermistor type, driver settings)
- Compile with PlatformIO (VS Code extension)
- Flash to mainboard via USB or SD card
Time: 2–5 hours for a new setup. Compiling is required for every configuration change.
Klipper Installation
- Flash KIAUH (Klipper Install And Update Helper) script to a Raspberry Pi running Raspbian
- Install Klipper + Moonraker + Mainsail in one KIAUH session
- Flash MCU firmware to printer mainboard via USB
- Create printer.cfg from a community template for your printer model
- Connect Pi to printer’s USB port
Time: 3–6 hours for a new setup. Once running, all configuration changes are made by editing printer.cfg in a text editor — no recompiling needed. This is Klipper’s biggest quality-of-life advantage.
Which Should You Choose?
Here’s the honest verdict broken down by use case:
Choose Marlin if:
- You want a simple, standalone printer that doesn’t depend on a Raspberry Pi
- You’re on a tight budget and can’t afford an extra ₹4,000–₹7,000 for an SBC
- You’re printing with an older 8-bit board
- You print below 100mm/s and don’t need input shaping
- You’re a beginner who wants things to just work
Choose Klipper if:
- You’re building or upgrading a CoreXY printer (Voron, RatRig, Salad Fork, etc.)
- You want to print above 200mm/s
- You want automated input shaping with an accelerometer
- You love tinkering, scripting, and remote monitoring
- You’re using a multi-Z gantry that needs auto-levelling (quad_gantry_level)
- You want web-based control from your phone
Recommended Products from Zbotic
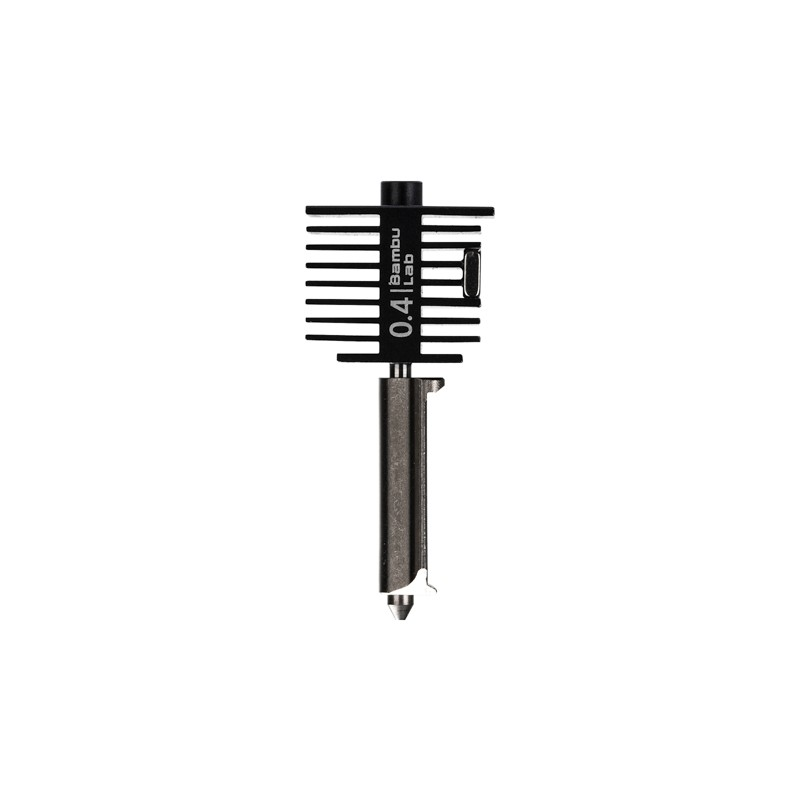
Bambu Lab Hotend with Hardened Steel Nozzle – 0.4mm
When pushing print speeds that Klipper enables, a hardened steel nozzle handles the thermal demands far better than brass — ideal for high-speed PLA, PETG, and engineering filaments.
Bambu Lab PLA Filament Silver – 1.75mm
Bambu PLA is engineered for high-speed printing — the consistent diameter and low moisture absorption make it ideal for both Klipper and Marlin printers at any speed.
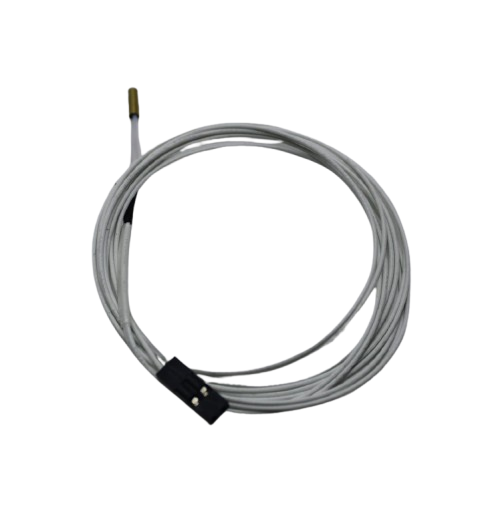
100k NTC Thermistor with Copper Tip for MK8 Extruder
Whether you’re on Klipper or Marlin, accurate temperature sensing is critical. This 100k NTC thermistor is compatible with both firmware configurations for precise hotend control.
Frequently Asked Questions
Can I switch from Marlin to Klipper on my existing printer?
Yes, if your printer has a 32-bit mainboard and a USB port. You’ll need a Raspberry Pi (or similar SBC) and to flash new MCU firmware to the board. Your existing mechanical hardware, hotend, and bed are unchanged. Most popular printers (Ender 3, CR-10, Anet, Sidewinder) have community-maintained Klipper configs.
Does Klipper work without internet?
Yes. Once installed, Klipper and Mainsail/Fluidd run on your local network. The Raspberry Pi creates a local web server — you don’t need internet access to print. You only need internet to install updates.
Is Klipper better for resin printers?
No. Klipper is for FDM (filament) printers. Resin printers (MSLA/DLP) use completely different firmware — typically proprietary firmware bundled with the printer or ChiTuBox-based systems.
What Raspberry Pi do I need for Klipper?
A Raspberry Pi 3B+ is the minimum and handles most printers well. A Pi 4B (2GB or 4GB) is recommended if you want webcam streaming, input shaping, and future-proofing. In India, look for official Pi 4B units from authorised distributors to avoid fakes.
Which firmware do professional/high-end printers use?
Most high-end commercial printers in 2026 use Klipper or Klipper derivatives: Bambu Lab (modified Klipper), Creality K2 Plus (Klipper-based), Voron (community standard Klipper), RatRig V-Core 4 (Klipper). Marlin remains dominant in the budget/mid-range segment.
Can Klipper improve print quality on a cheap printer?
Yes — significantly. Pressure Advance alone (Klipper’s equivalent of Marlin’s Linear Advance) visibly improves corner sharpness on any FDM printer. Input shaping eliminates ringing artefacts. These improvements are real even on a ₹15,000 Ender 3.
Upgrade Your 3D Printer’s Performance
Whether you’re on Klipper or Marlin, the right hotend, nozzle, and filament make all the difference. Zbotic carries genuine parts from Bambu Lab and other trusted brands.


Add comment