
If you’ve ever wanted to control your air conditioner from your phone or automate it with schedules, building a smart AC IR blaster ESP32 control system is one of the most satisfying weekend projects you can do. Using an ESP32 microcontroller paired with an IR LED transmitter, you can replicate any air conditioner remote’s signals and control your AC over Wi-Fi, through a dashboard, or even with voice commands. In this guide, we’ll walk through everything — from understanding IR protocols to wiring up your circuit and programming the ESP32 — so that even a beginner can have a working smart AC remote by the end.
What Is an IR Blaster and How Does It Work?
An IR (Infrared) blaster is a device that emits infrared light pulses — the same kind your standard TV or AC remote uses. When you press a button on your AC remote, it sends a coded pattern of IR pulses to the AC unit’s IR receiver. The receiver decodes this pattern and executes the corresponding command (e.g., set temperature to 24°C, fan speed medium, cooling mode).
By capturing these pulse patterns and replaying them with an IR LED connected to an ESP32, we can software-emulate any remote control. The ESP32 is ideal for this because it has built-in Wi-Fi, enough processing power to decode complex IR protocols, and excellent Arduino/MicroPython support. Popular libraries like IRremoteESP8266 already know the IR protocols used by hundreds of AC brands including Daikin, Hitachi, LG, Voltas, Blue Star, Lloyd, and Samsung — very common brands in India.
The key advantage over commercial smart home plugs is cost and flexibility. A DIY IR blaster using ESP32 costs under ₹300 in components, integrates with any platform you choose, and you have full control over the code.
Components You’ll Need
Before we start, gather the following components. All of these are available at Zbotic.in with fast delivery across India:
- ESP32 Development Board — The main brain of the project
- IR LED (940nm) — Transmits the infrared signal
- IR Receiver (TSOP1738 or similar) — For capturing codes from the original remote
- 2N2222 or BC547 NPN Transistor — Boosts the IR LED current for longer range
- 47Ω and 10kΩ resistors
- DHT11 or DHT22 sensor (optional) — For temperature-triggered automation
- Breadboard and jumper wires
- USB cable and 5V power supply

Ai Thinker NodeMCU-32S ESP32 Development Board – IPEX Version
A reliable ESP32 dev board with external antenna support for strong Wi-Fi range — perfect for smart home projects like this IR blaster.

DHT11 Digital Relative Humidity and Temperature Sensor Module
Add temperature-based automation to your smart AC — automatically turn on the AC when room temperature exceeds your set threshold.
Wiring the Circuit
The circuit has two parts: the IR receiver section for capturing codes, and the IR transmitter section for sending them.
IR Receiver Wiring (for code capture phase)
Connect the TSOP1738 IR receiver as follows:
- VCC → 3.3V on ESP32
- GND → GND on ESP32
- OUT → GPIO 15 on ESP32 (or any digital input pin)
IR LED Transmitter Wiring
A single IR LED driven directly from GPIO may not be powerful enough to reach your AC unit from across the room. Using a transistor amplifier stage is recommended:
- GPIO 4 (ESP32) → 10kΩ resistor → Base of NPN transistor (2N2222/BC547)
- Collector → 47Ω resistor → Anode of IR LED → 5V
- Cathode of IR LED → Collector (the resistor connects between 5V and anode, LED cathode to collector)
- Emitter → GND
This setup allows the IR LED to draw up to 100mA in pulses, giving you a range of 8–10 metres — sufficient for most rooms. For even better range, you can use 2–3 IR LEDs in parallel, each with its own 47Ω resistor.
Capturing IR Codes from Your AC Remote
The first step is to capture the IR codes from your existing AC remote. We’ll use the IRremoteESP8266 library, which works perfectly with ESP32.
Install the Library
In Arduino IDE, go to Sketch → Include Library → Manage Libraries. Search for IRremoteESP8266 by David Conran and install it. This library supports over 90 AC brands and makes code capture trivial.
Capture Sketch
#include <Arduino.h>
#include <IRrecv.h>
#include <IRutils.h>

const uint16_t kRecvPin = 15;
IRrecv irrecv(kRecvPin);
decode_results results;

void setup() {
  Serial.begin(115200);
  irrecv.enableIRIn();
  Serial.println("IR Receiver Ready — Point remote and press button");
}

void loop() {
  if (irrecv.decode(&results)) {
    Serial.println(resultToHumanReadableBasic(&results));
    Serial.println(resultToSourceCode(&results));
    irrecv.resume();
  }
}
Upload this sketch, open Serial Monitor at 115200 baud, and point your AC remote at the IR receiver. Press each button (Power On, Power Off, Set Temp 24, etc.) and copy the decoded output. The library will tell you which protocol your AC uses (e.g., DAIKIN, LG_AC, SAMSUNG_AC).
Save the raw or decoded codes for each function you want to replicate. For split ACs popular in India — Voltas, Lloyd, Daikin, Hitachi, LG Dual Inverter — the library has dedicated support with structured command sets.
Programming the ESP32 as a Smart IR Blaster
Now that you have the IR codes, let’s build the full smart AC controller. The ESP32 will host a simple web server accessible on your local Wi-Fi network.
#include <Arduino.h>
#include <WiFi.h>
#include <WebServer.h>
#include <IRsend.h>
#include <ir_Daikin.h>  // Change to your brand

const char* ssid     = "YOUR_WIFI_SSID";
const char* password = "YOUR_WIFI_PASSWORD";

const uint16_t kIrLedPin = 4;
IRDaikinESP ac(kIrLedPin);
WebServer server(80);

void handleRoot() {
  String html = "<h2>Smart AC Control</h2>";
  html += "<a href='/on'><button>Turn ON</button></a> ";
  html += "<a href='/off'><button>Turn OFF</button></a> ";
  html += "<a href='/cool24'><button>Cool 24°C</button></a>";
  server.send(200, "text/html", html);
}

void handleOn() {
  ac.begin();
  ac.setPower(true);
  ac.setMode(kDaikinCool);
  ac.setTemp(24);
  ac.setFan(kDaikinFanAuto);
  ac.send();
  server.send(200, "text/plain", "AC turned ON");
}

void handleOff() {
  ac.begin();
  ac.setPower(false);
  ac.send();
  server.send(200, "text/plain", "AC turned OFF");
}

void setup() {
  Serial.begin(115200);
  WiFi.begin(ssid, password);
  while (WiFi.status() != WL_CONNECTED) { delay(500); Serial.print("."); }
  Serial.println("nConnected: " + WiFi.localIP().toString());
  ac.begin();
  server.on("/", handleRoot);
  server.on("/on", handleOn);
  server.on("/off", handleOff);
  server.begin();
}

void loop() {
  server.handleClient();
}
After uploading, the Serial Monitor will show the ESP32’s IP address. Open that IP in your phone’s browser (on the same Wi-Fi) and you’ll see buttons to control your AC. You can bookmark this page for quick access, or use it as the API backend for home automation.

2 x 18650 Lithium Battery Shield for Arduino/ESP32/ESP8266
Make your IR blaster portable with this battery shield — run your ESP32 IR controller wirelessly without needing a USB power source.
Integrating with Home Automation Platforms
Once your basic IR blaster works, you can take it further by integrating with popular home automation platforms:
Home Assistant
Flash ESPHome firmware on your ESP32. ESPHome has a built-in climate platform with IR support. Define your AC brand in YAML, and it appears as a fully featured climate entity in Home Assistant with a beautiful thermostat card. You can then create automations like “Turn on AC at 2PM on weekdays if temperature is above 32°C.”
Google Home / Alexa
Connect Home Assistant to Google Home or Alexa. Once your AC is a Home Assistant climate entity, it shows up in Google Home as a thermostat. You can say “OK Google, set AC to 22 degrees” — and it works!
MQTT + Node-RED
For a more custom setup, publish IR commands over MQTT from a Node-RED dashboard. The ESP32 subscribes to an MQTT topic and sends the IR signal whenever a message arrives. This approach is great for integrating with other sensors — for example, automatically turning off the AC when a window sensor detects an open window.
Scheduling with RTC
Add a DS3231 RTC module to your ESP32 to enable time-based schedules even without internet. Program it to turn on the AC at 10PM every night and off at 7AM — perfect for maintaining a comfortable sleeping temperature through Indian summers.
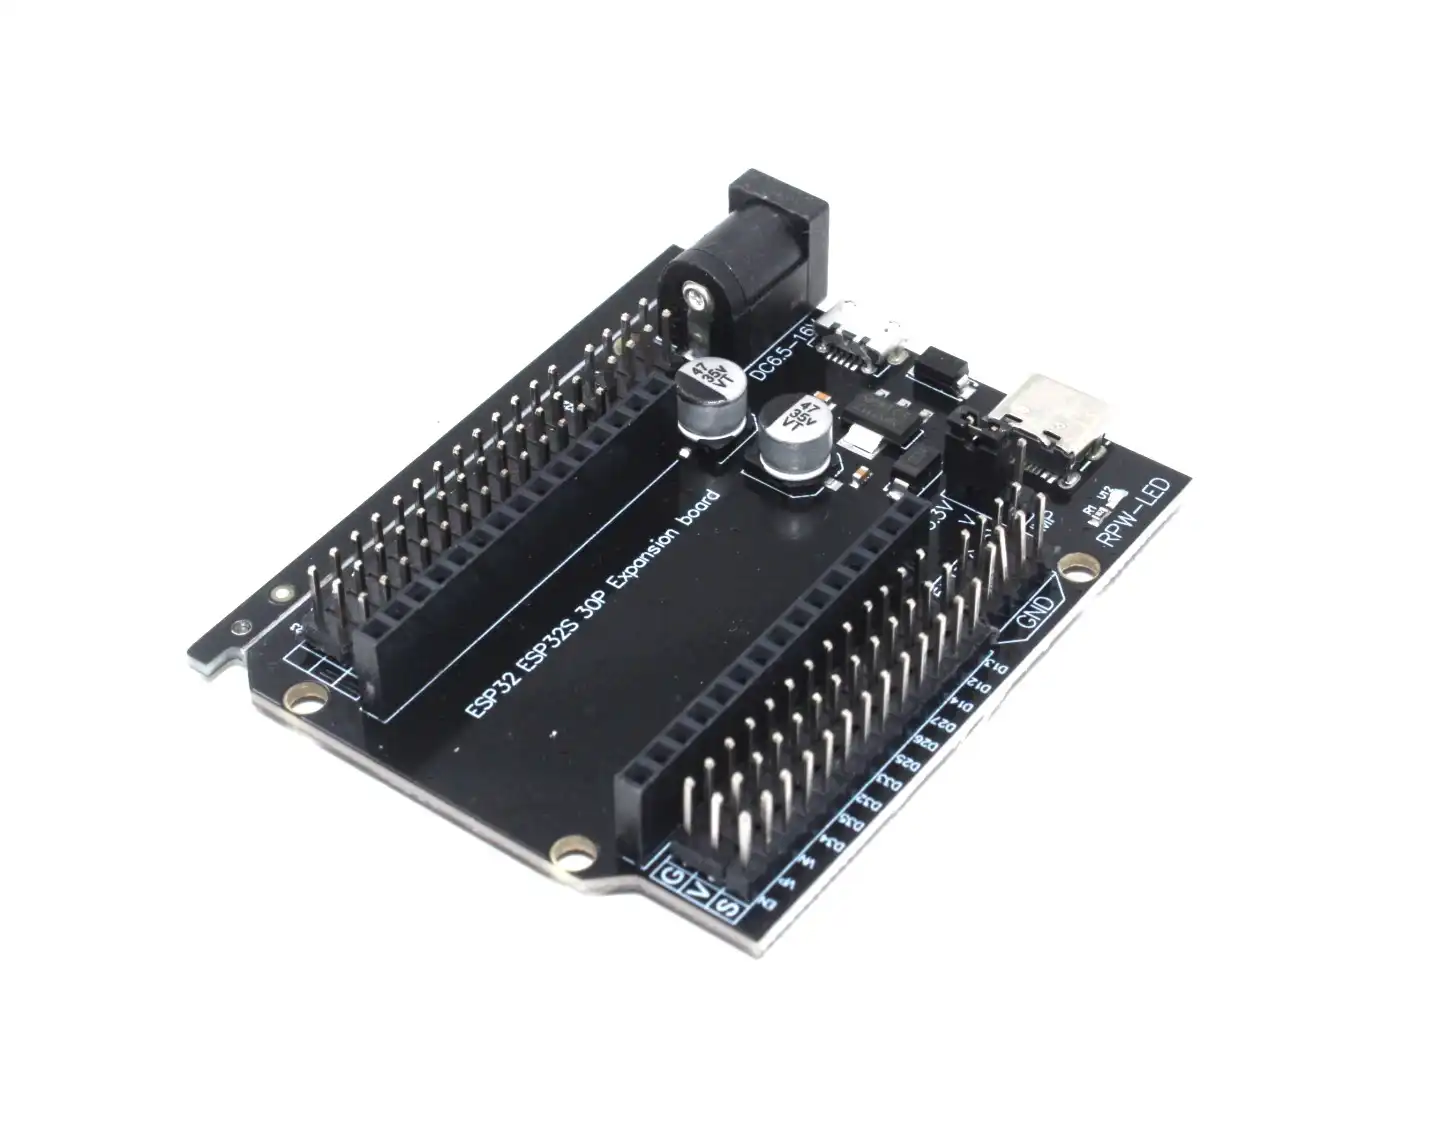
30Pin ESP32 Expansion Board with Type-C USB and Micro USB Dual Interface
This expansion board makes it easy to connect multiple sensors and modules to your ESP32 without a breadboard — ideal for a permanent smart AC installation.

Ai Thinker ESP32-C3-01M Wi-Fi + BLE Module
A compact and cost-effective ESP32-C3 module that fits into a small enclosure, perfect for a wall-mounted IR blaster that stays discreet.
Frequently Asked Questions
Will this work with any AC brand available in India?
Yes, the IRremoteESP8266 library supports over 90 AC brands including Voltas, LG, Daikin, Hitachi, Blue Star, Lloyd, Samsung, Carrier, and Panasonic — which cover the vast majority of ACs sold in India. For any brand not supported, you can use raw IR code capture and replay.
What is the maximum range of the IR blaster?
With a single IR LED and transistor driver, you can expect 5–8 metres of reliable range. Using 2–3 IR LEDs in parallel can extend this to 10–12 metres. Ensure the IR LED is pointed toward the AC unit’s IR sensor, usually located at the front panel.
Can I control multiple AC units with one ESP32?
Yes. You can connect multiple IR LEDs pointing in different directions (each through its own transistor), and assign separate HTTP endpoints or MQTT topics for each. The IRremoteESP8266 library supports multiple IR send objects on different GPIO pins simultaneously.
Does this work when the internet is down?
Yes, as long as your local Wi-Fi router is working. The ESP32 hosts a local web server, so internet connectivity is not required. However, voice assistant integrations (Google Home, Alexa) do need internet.
How do I make the IR blaster permanent and reliable?
Solder the final circuit on a perfboard, put it in a 3D-printed or small plastic enclosure, and power it from a USB charger. Add a watchdog timer in code (esp_task_wdt) and enable the ESP32’s hardware watchdog so it auto-restarts if the firmware hangs.
Get all the components you need for this project — ESP32 boards, sensors, battery shields, and more — from Zbotic.in. We stock genuine components with fast shipping across India.


Add comment