
Building a WiFi-controlled FPV robot with ESP32-CAM live video is one of the most exciting beginner-to-intermediate robotics projects you can tackle in 2026. With the ESP32-CAM module streaming real-time video to your browser and a 2WD chassis driven over WiFi, you get a fully functional first-person-view ground robot for under ₹1,500. This guide walks Indian makers through every step — hardware selection, wiring, firmware flashing, and streaming setup — so you can drive your robot around a room while watching the live feed on your phone or laptop.
What Is an FPV Robot and Why ESP32-CAM?
An FPV (First-Person View) robot streams a live camera feed back to the operator so you can navigate the robot from the camera’s perspective — just like a drone pilot experience, but on the ground. The ESP32-CAM is the ideal microcontroller for this project because it packs an Xtensa dual-core 240 MHz processor, 4 MB PSRAM, an onboard OV2640 camera, and a WiFi radio all in a tiny 40×27 mm footprint costing around ₹350–₹500 in India.
Unlike a Raspberry Pi camera setup, the ESP32-CAM needs no operating system, boots in under two seconds, and can stream MJPEG video at 640×480 (VGA) at ~20 fps on your local network without breaking a sweat. Combined with an L298N or L9110 motor driver, two DC gear motors, and a robot chassis, you get a complete remote-controlled rover that you can drive from any browser on your WiFi network.
Components You Need
Before you start building your WiFi FPV robot, gather the following components. All are available from Zbotic with fast delivery across India:
- ESP32-CAM module (AI-Thinker variant recommended)
- FTDI USB-to-Serial adapter (for flashing)
- L298N or L9110S dual motor driver module
- 2WD robot car chassis with DC gear motors and wheels
- 18650 Li-ion battery pack (7.4 V) or 4×AA battery holder
- Jumper wires, breadboard or PCB protoboard
- Small power bank or TP4056 LiPo charger module
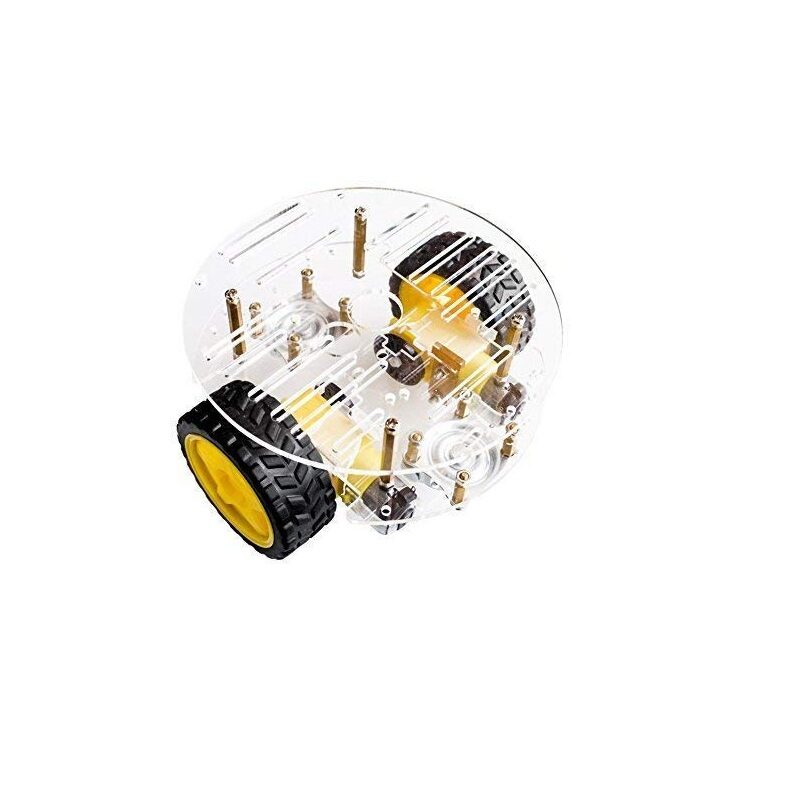
2WD Mini Round Double-Deck Smart Robot Car Chassis DIY Kit
A complete 2-layer acrylic chassis kit with two DC gear motors, wheels, and battery holder — the perfect base for your ESP32-CAM FPV rover.
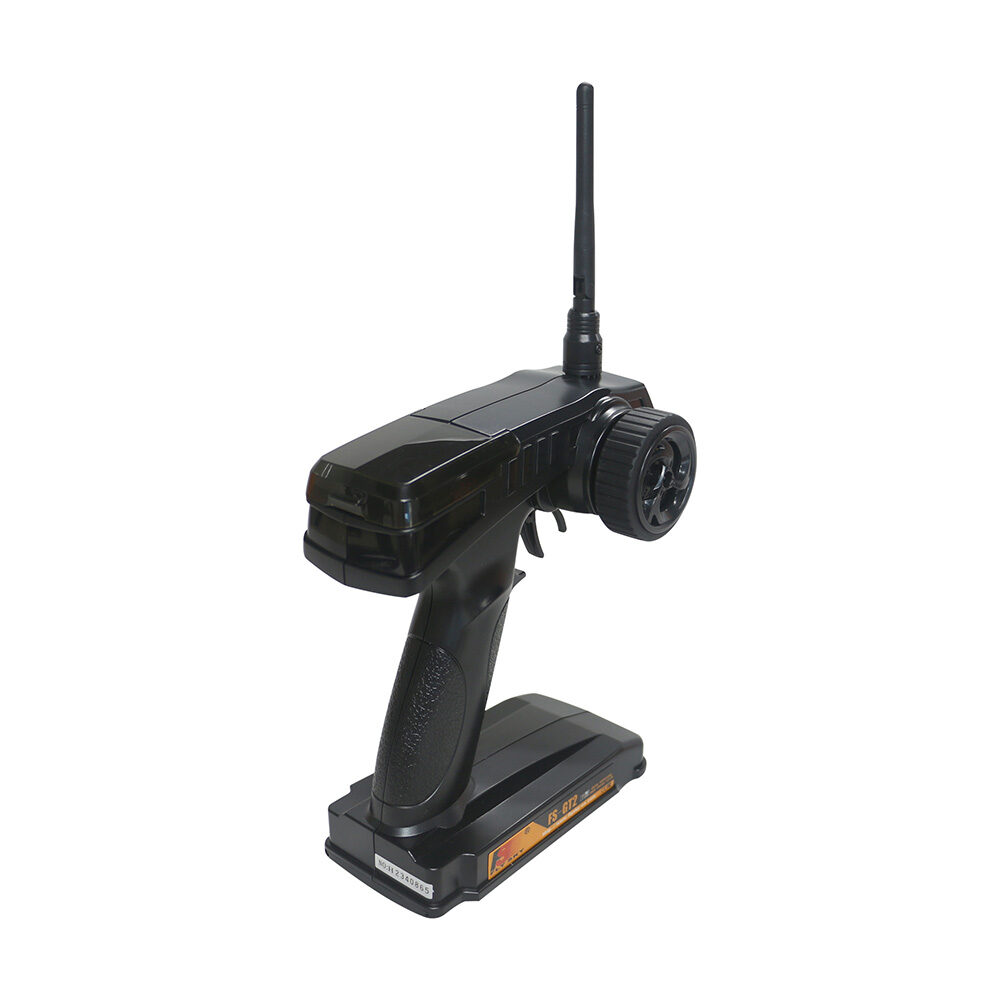
Flysky FS-GT2 Transmitter with FS-GR3E Receiver
Optional RC transmitter and receiver for a secondary radio control layer alongside your ESP32-CAM WiFi stream.
Circuit Wiring & Motor Driver Setup
The ESP32-CAM has limited GPIO pins exposed, so careful pin mapping is essential. Here is the recommended wiring for an L298N motor driver:
- ESP32-CAM GPIO 12 → L298N IN1 (Motor A forward)
- ESP32-CAM GPIO 13 → L298N IN2 (Motor A backward)
- ESP32-CAM GPIO 14 → L298N IN3 (Motor B forward)
- ESP32-CAM GPIO 15 → L298N IN4 (Motor B backward)
- L298N 5V → ESP32-CAM 5V (if your L298N has onboard 5V regulator)
- L298N GND → ESP32-CAM GND → Battery GND
Important: The ESP32-CAM’s GPIO 0 must be pulled LOW during flashing and then released (or left floating) for normal operation. GPIO 16 is used for the onboard LED, and GPIO 4 controls the flash LED. Avoid using GPIO 1 and 3 (UART TX/RX used for flashing). Use a dedicated 5 V supply for the L298N motor power rail — drawing motor current from the ESP32-CAM’s 3.3 V rail will cause resets and corrupt the video stream.
Use short, thick jumper wires for power connections and keep signal wires away from motor wires to minimise EMI interference that can disrupt your WiFi stream. A 100 µF electrolytic capacitor across the motor power rail helps filter voltage spikes.
Flashing the ESP32-CAM Firmware
The ESP32-CAM does not have a built-in USB port, so you need an FTDI USB-to-Serial adapter (3.3 V logic level) to flash firmware from the Arduino IDE.
- Connect FTDI TX → ESP32-CAM U0R (RX), FTDI RX → ESP32-CAM U0T (TX), FTDI GND → ESP32-CAM GND, FTDI 3.3 V → ESP32-CAM 3.3 V.
- Bridge ESP32-CAM GPIO 0 to GND (enters bootloader/flash mode).
- In Arduino IDE, install the ESP32 board package by Espressif (Boards Manager → search “esp32” → install v2.x).
- Select board: AI Thinker ESP32-CAM, partition scheme: Huge APP (3MB No OTA), upload speed: 115200.
- Open the CameraWebServer example (File → Examples → ESP32 → Camera → CameraWebServer) or paste your custom motor+stream code.
- Enter your WiFi SSID and password in the sketch, compile, and upload.
- After upload succeeds, remove the GPIO 0–GND bridge and press the RST button.
Open Serial Monitor at 115200 baud to see the IP address the ESP32-CAM received from your router (e.g., 192.168.1.105). Navigate to that IP in your browser to see the stream control page.
Building the WiFi Web Server & Controls
The most beginner-friendly approach is to run an AsyncWebServer on the ESP32-CAM that serves an HTML page with directional buttons (Forward, Backward, Left, Right, Stop). Each button sends an HTTP GET request to a unique endpoint (e.g., /forward, /stop) that the ESP32-CAM handles by writing the appropriate HIGH/LOW values to the motor driver GPIO pins.
A minimal sketch structure looks like this:
- Include
WiFi.h,ESPAsyncWebServer.h,esp_camera.h - Define motor pins and camera pin config (AI-Thinker model)
- In
setup(): initialize camera, connect to WiFi, register route handlers - Route
/stream: returns MJPEG stream response withesp_camera_fb_get()in a loop - Routes
/forward,/back,/left,/right,/stop: set motor GPIO states
Use JavaScript touchstart / touchend events on mobile buttons so the robot stops when you lift your finger. This gives much more natural control than a simple click-based interface.
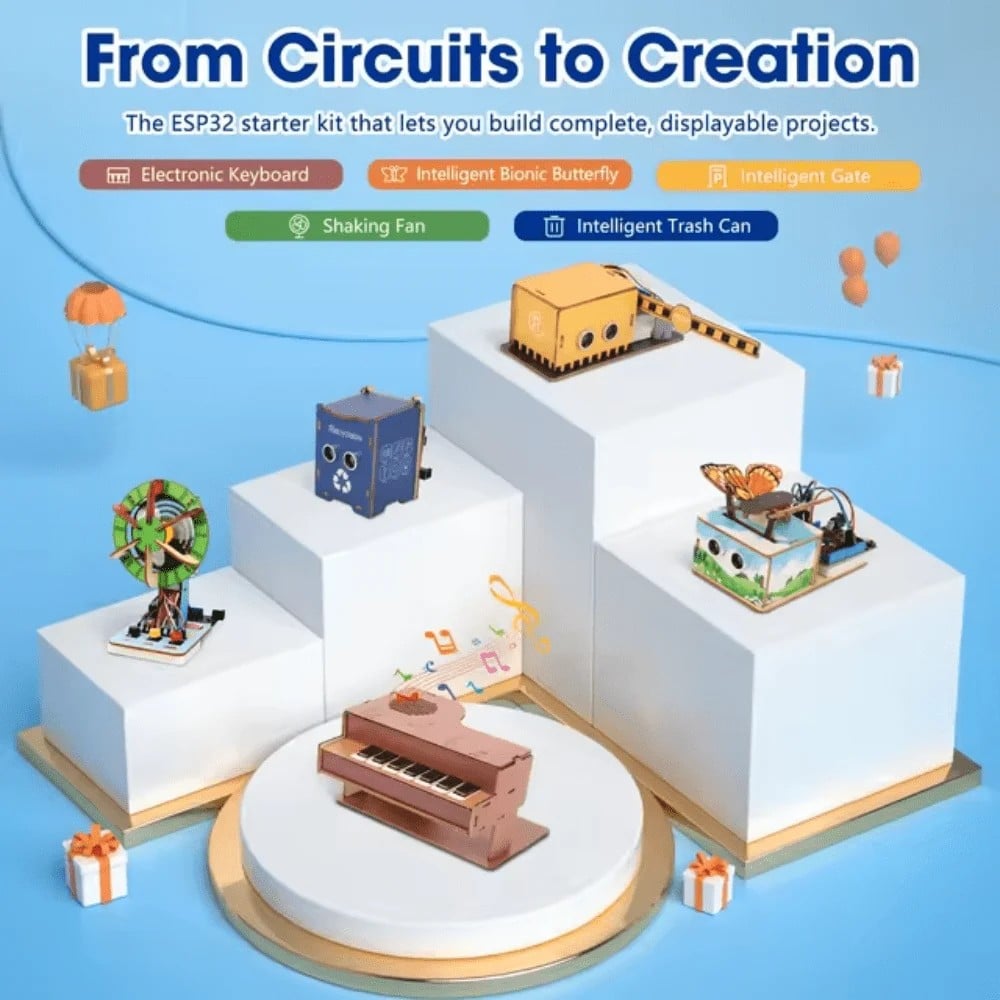
ACEBOTT ESP32 Basic Starter Kit (Project Expansion Pack) – QE201
Comprehensive ESP32 starter kit with sensors, modules, and components — ideal for prototyping your FPV robot control system before final assembly.
Setting Up Live Video Streaming
The ESP32-CAM streams MJPEG (Motion JPEG) — a sequence of individually compressed JPEG frames sent over HTTP with a multipart content type. To display this stream in your web interface, simply add an <img> tag pointing to the stream URL:
<img src="https://192.168.1.105/stream" style="width:100%;max-width:640px;">For best streaming performance on your local network:
- Set frame size to VGA (640×480) for a balance of quality and speed. UXGA (1600×1200) will drop to ~2 fps and is not suitable for live control.
- Set JPEG quality to 10–15 (lower number = higher quality in ESP32 API).
- Set
xclk_freq_hzto 20000000 (20 MHz) for the camera clock. - Position your WiFi router close to the robot during initial testing. The ESP32-CAM has a small chip antenna and a 2 dBi gain — walls and interference will degrade the stream.
- Use a 2.4 GHz WiFi band for better range (5 GHz has shorter range despite higher speed).
You can also add a pan-tilt mechanism to the camera using two SG90 servo motors, controlled by additional HTTP endpoints on the web server. Mount the ESP32-CAM on the pan-tilt bracket, wire the servos to GPIO 2 and 14, and add slider controls to your HTML interface for real-time camera aiming.
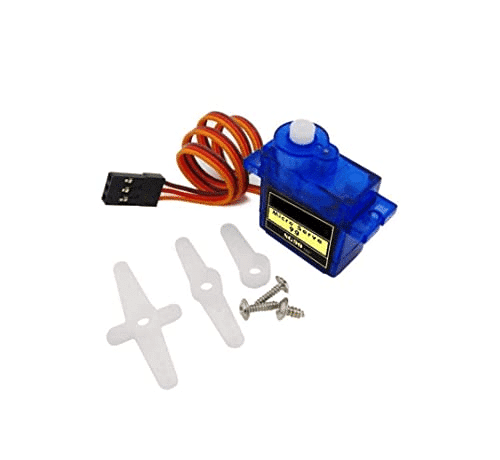
TowerPro SG90 180 Degree Rotation Servo Motor
Lightweight 9g servo motor for building a pan-tilt camera mount on your FPV robot — smooth 180° rotation for aiming the ESP32-CAM.
Common Troubleshooting Tips
Here are the most common issues Indian makers face when building an ESP32-CAM FPV robot and how to fix them:
- Camera init failed / brownout detected: Your power supply cannot deliver enough current (the ESP32-CAM draws up to 310 mA during WiFi transmission). Use a dedicated 3.3 V LDO regulator rated for at least 500 mA, not the FTDI adapter’s 3.3 V output.
- Guru Meditation Error / core dump: Usually a stack overflow in the stream task. Increase the stream task stack size from 4096 to 8192 bytes in your
xTaskCreate()call. - Video stream freezes after ~30 seconds: Camera frame buffer not being released. Always call
esp_camera_fb_return(fb)after sending each frame in your stream handler. - Robot won’t connect to WiFi: Check SSID/password. ESP32-CAM only supports 2.4 GHz — it will not connect to a 5 GHz-only network. Also try reducing WiFi transmit power with
WiFi.setTxPower(WIFI_POWER_8_5dBm)to improve stability. - Motors running at full speed / no PWM control: The ESP32-CAM has limited PWM-capable pins. Use the L298N’s ENA/ENB pins connected to PWM-capable GPIO pins (12, 13, 14, 15 support PWM) and call
ledcWrite()for speed control.
Upgrades & Next Steps
Once your basic FPV robot is working, here are exciting extensions to try:
- Obstacle avoidance: Add an HC-SR04 ultrasonic sensor or IR distance sensor so the robot automatically stops or turns when an obstacle is detected within 20 cm.
- 4WD upgrade: Swap the 2WD chassis for a 4-wheel version with Mecanum wheels for omnidirectional movement — you can strafe sideways while watching the live feed.
- MQTT control: Replace the HTTP REST API with MQTT (PubSubClient library) to control the robot from anywhere on the internet via a broker like HiveMQ Cloud.
- Face tracking: Run OpenCV on a Python laptop connected to the MJPEG stream, detect faces, and send HTTP commands back to the robot to follow the face — a fascinating AI+robotics project.
- Night vision: Enable the ESP32-CAM’s built-in flash LED as an infrared illuminator and switch the OV2640 to night mode for low-light FPV.
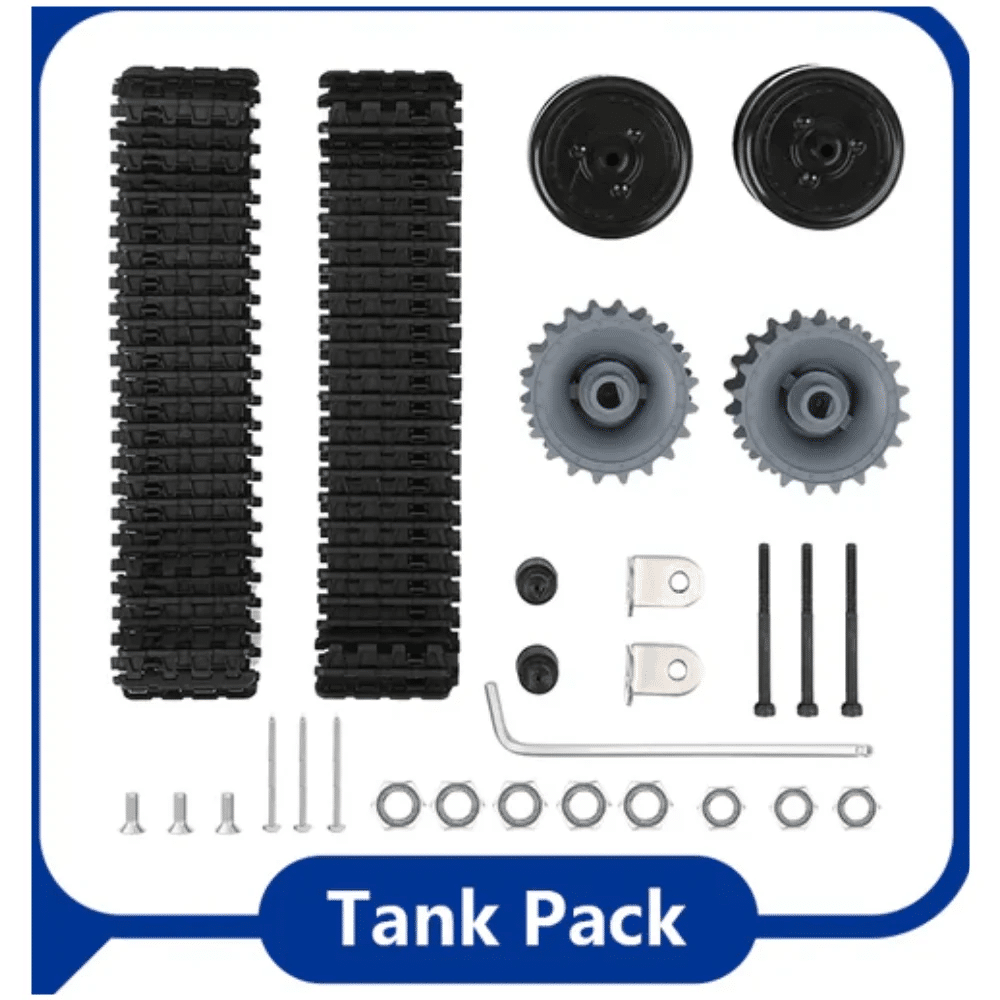
ACEBOTT ESP32 Tank Robot Car Expansion Pack for QD001–QD004
Upgrade your FPV robot to a tank-style chassis with this ESP32 expansion pack — includes all electronics needed for an advanced rover build.
Frequently Asked Questions
Can the ESP32-CAM stream video over the internet (not just local WiFi)?
Yes, but you need port forwarding on your router or a tunneling service like ngrok. Port-forward your router’s port 80 (or 8080) to the ESP32-CAM’s local IP. Note that streaming over the internet introduces latency — local WiFi typically gives 100–300 ms latency while internet streaming can be 500 ms+.
What is the range of the ESP32-CAM WiFi FPV robot?
In open space with a clear line of sight to your WiFi router, expect 30–50 metres before the stream degrades. Indoors with walls, expect 10–20 metres. Adding an external WiFi antenna to the ESP32-CAM’s U.FL connector significantly extends range.
Can I use the ESP32-CAM without a router (direct AP mode)?
Yes. Configure the ESP32-CAM as a WiFi Access Point using WiFi.softAP(). Your phone connects directly to the ESP32-CAM’s network (192.168.4.1) without needing an external router. Range is limited (~10 m) but works great in the field.
Is the ESP32-CAM suitable for beginners?
The ESP32-CAM is an intermediate-level component — the lack of a USB port and the need for careful GPIO management make it slightly more complex than an Arduino Uno project. However, with this guide and the Arduino IDE, most makers with 1–2 months of Arduino experience can complete the project successfully.
What frame rate can I expect from the ESP32-CAM stream?
At VGA (640×480) with JPEG quality 10, you can typically achieve 15–25 fps on a local 2.4 GHz WiFi network. At QVGA (320×240) with quality 15, expect 25–30 fps. Frame rate drops significantly if you simultaneously run motor control tasks on the same core as the camera — use dual-core task pinning (xTaskCreatePinnedToCore()) to separate camera and control tasks.
Ready to Build Your FPV Robot?
Zbotic stocks all the components you need — ESP32 kits, robot chassis, motor drivers, servos, and more. All products ship across India with fast delivery.


Add comment