
Voltage level shifting is one of those fundamental skills that every maker encounters as soon as they try to connect a 3.3V device (ESP32, Raspberry Pi, STM32) to a 5V device (Arduino Uno, classic LCD, relay module). Get it wrong and you either damage the 3.3V device, get unreliable logic levels, or both. This comprehensive guide covers every practical method for 3.3V to 5V logic level conversion — from the humble resistor divider to dedicated translator ICs — so you can pick the right approach for your specific project.
Why Voltage Level Shifting Is Necessary
Modern microcontrollers like the ESP32, ESP8266, STM32, and Raspberry Pi GPIO all operate at 3.3V logic. This means their GPIO pins output 3.3V for a logic HIGH and tolerate a maximum input voltage of 3.3V (sometimes 3.6V with 5V-tolerant pins). Older microcontrollers like the AVR-based Arduino Uno, the classic 8051, and many industrial peripherals operate at 5V logic.
Two problems arise when you mix them:
- 3.3V output → 5V input: A 3.3V HIGH signal may fall below the minimum HIGH threshold of a 5V TTL input (typically 2.0 V) — but often it works marginally. For CMOS 5V inputs (threshold ~3.5V), 3.3V output is reliably read as LOW — the opposite of what you want! You must boost the signal.
- 5V output → 3.3V input: This is the dangerous one. Feeding 5V into a 3.3V GPIO pin WILL damage or destroy the device over time, or immediately. You must clamp or divide the signal down.
The good news: solutions exist at every price point, from a ₹2 resistor divider to a ₹50 dedicated translator module.
Method 1: Resistor Voltage Divider (5V → 3.3V, One-Way)
The simplest way to drop a 5V signal to 3.3V is a voltage divider using two resistors. This is a unidirectional method — signal flows only from 5V device to 3.3V device. It cannot translate a 3.3V output up to 5V.
Circuit
5V Device TX ──[R1 = 10kΩ]──┬──[R2 = 20kΩ]── GND
                              │
                         3.3V Device RX (max 3.3V input)
The output at the midpoint is: Vout = 5V × (20k / (10k + 20k)) = 3.33V. That is within the 3.3V device’s input range.
Choosing Resistor Values
For UART/SPI signals at moderate speeds (up to ~1 Mbps), use 10 kΩ and 20 kΩ. For I²C open-drain lines, use 4.7 kΩ and 10 kΩ. Keep total resistance below 100 kΩ to avoid excessive filtering of fast edges.
Limitations
- Slows down signal edges — not suitable for high-speed SPI (>4 MHz)
- One-way only — you cannot use this for bidirectional signals like I²C SDA
- Slightly loads the 5V output
When to Use It
Resistor dividers are perfect for UART RX lines, SPI MISO lines (data from 5V device to 3.3V device), and any slow unidirectional signal. They cost under ₹5 in components and take 30 seconds to build on a breadboard.
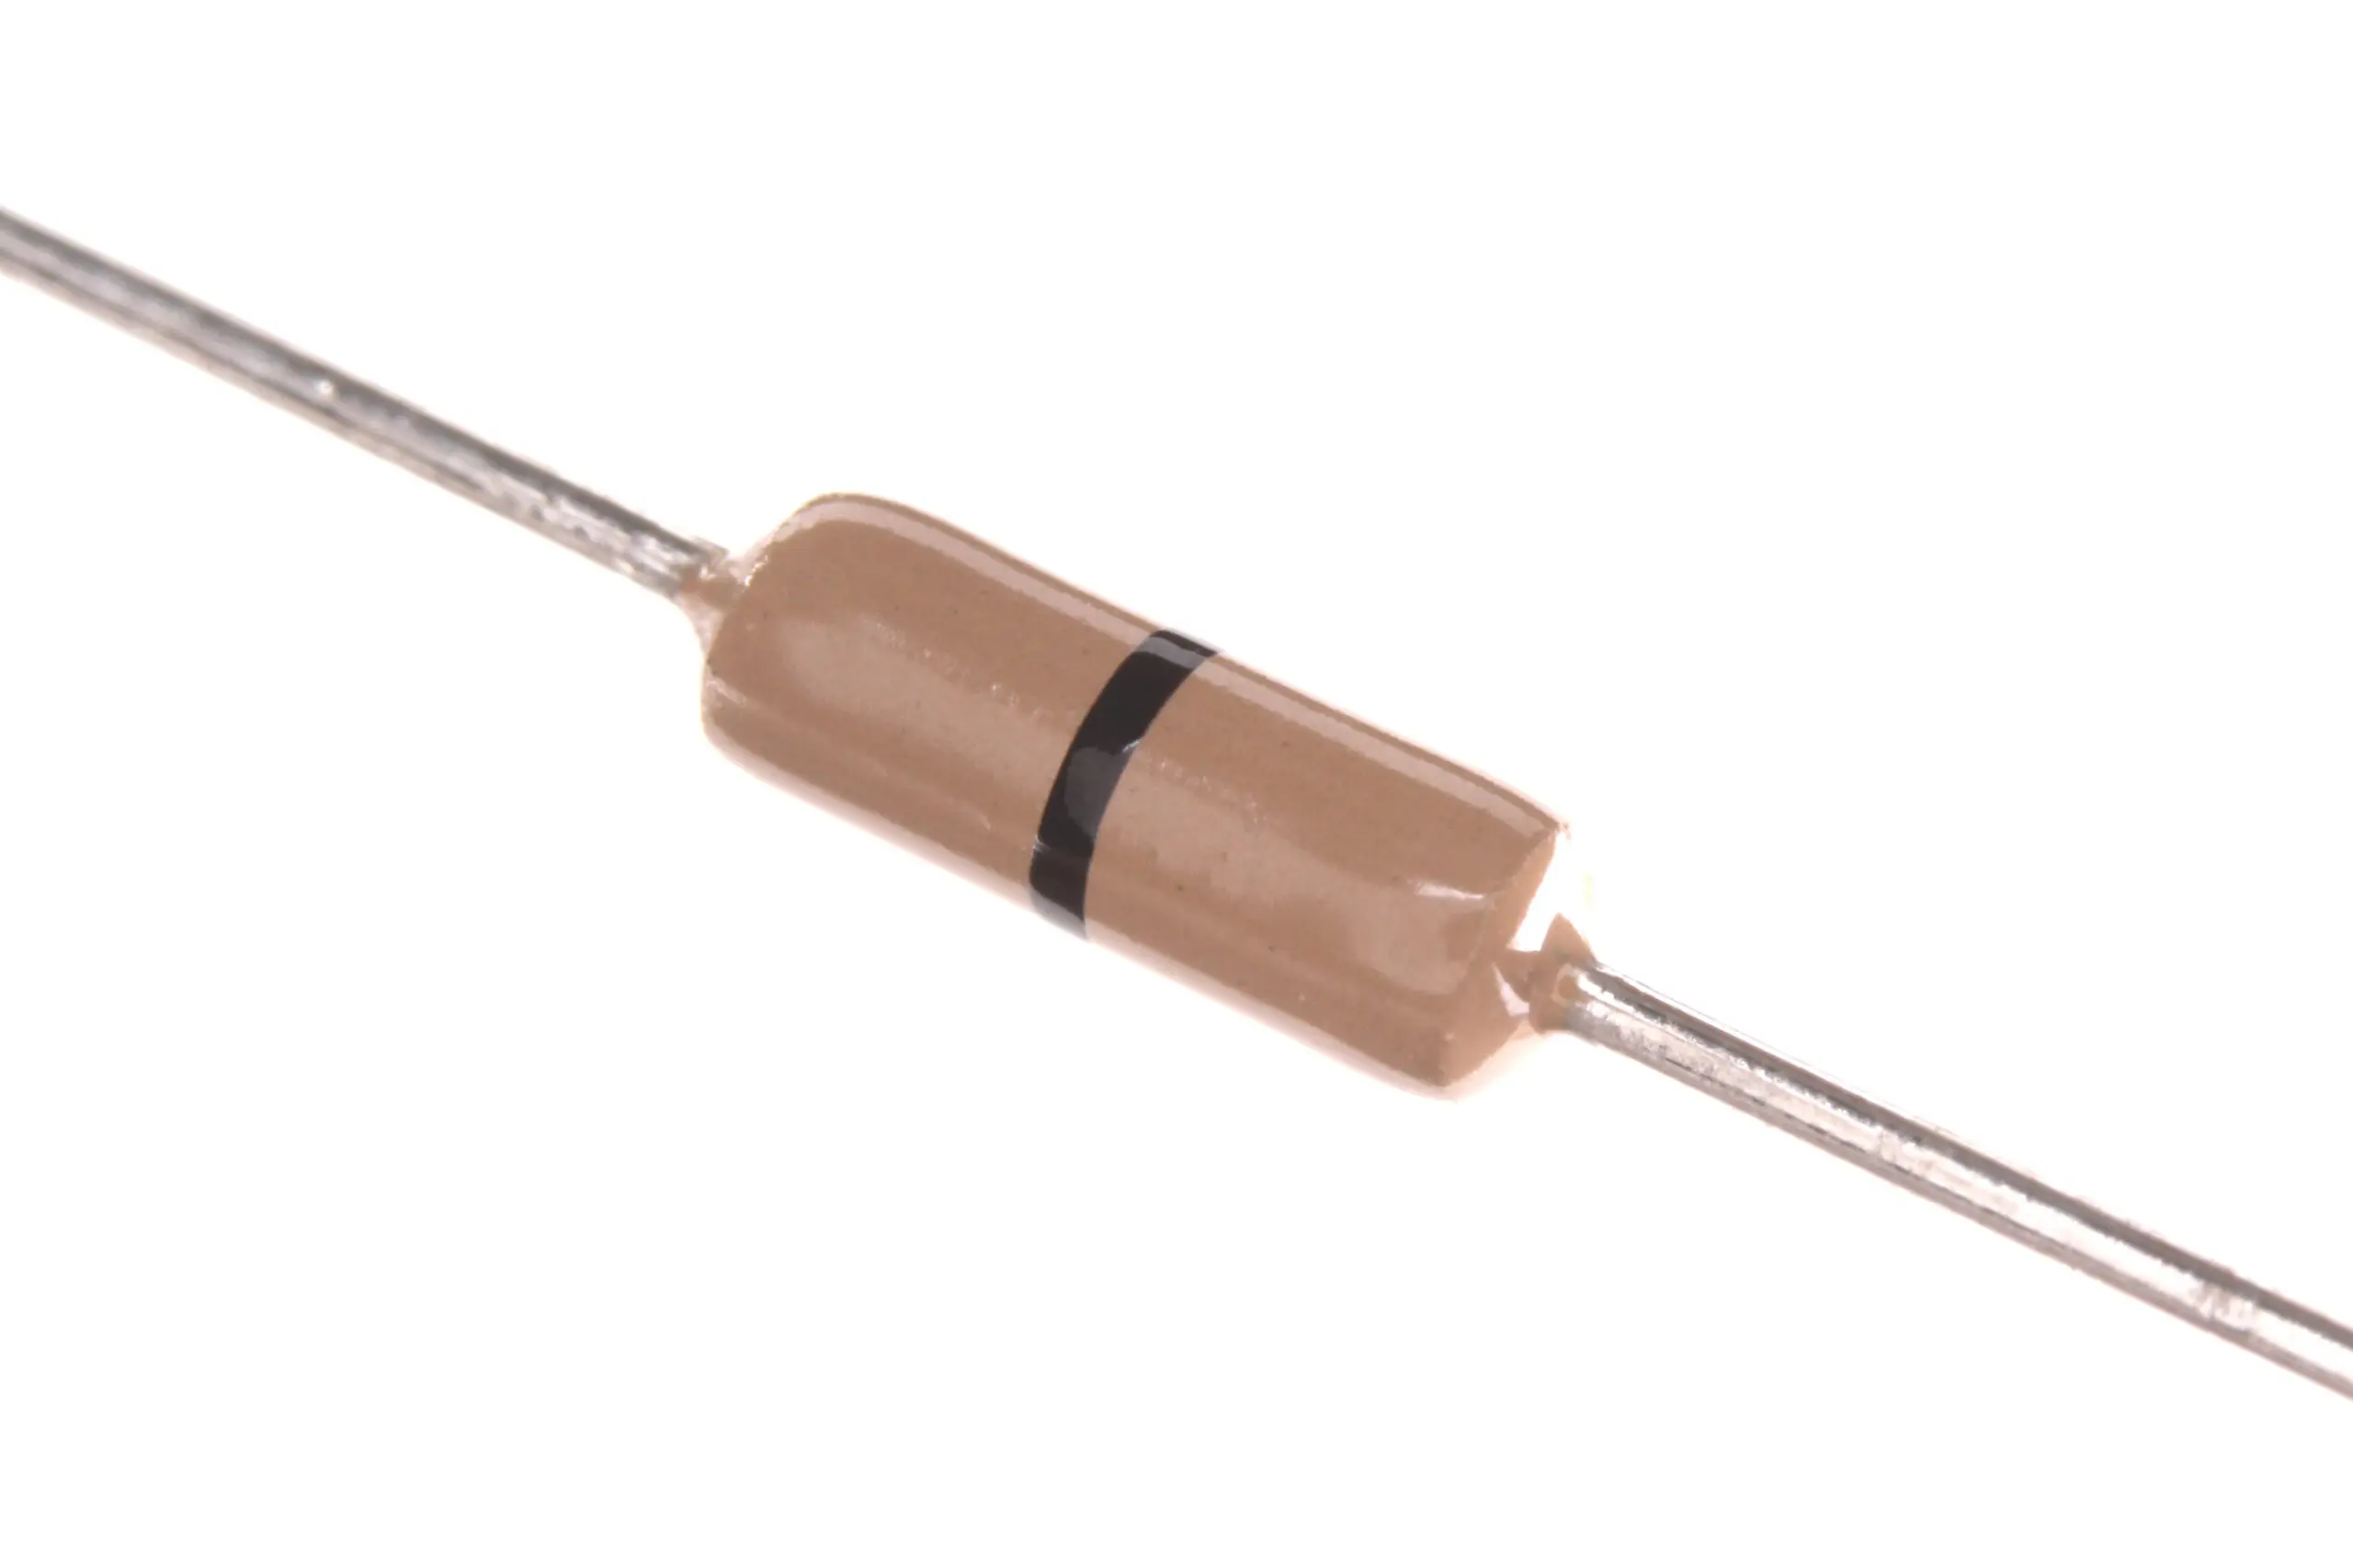
Carbon Film Resistors — Pack of 100
Keep a variety of resistor values on hand for voltage dividers and level-shifting circuits. Zbotic stocks all standard E24 values.
Method 2: MOSFET / Transistor Level Shifter
The most versatile and popular method for maker projects is the N-channel MOSFET level shifter, famously described by Philips (NXP) for I²C applications. The classic part used is the BSS138 MOSFET, but common parts like 2N7000, Si2302, or even the 2N2222 NPN BJT (with slight circuit changes) work well too.
N-MOSFET Bidirectional Shifter Circuit
3.3V ──[R_pullup 10k]──┬── MOSFET Source
                        │         │ Gate ← 3.3V rail
3.3V Device IO ─────────┘   MOSFET Drain ──┬── [R_pullup 10k] ── 5V
                                             │
                                        5V Device IO
When the 3.3V side pulls low, the MOSFET gate-source voltage drops to 0V, turning it OFF — the 5V side is pulled HIGH by its pull-up. When the 3.3V side goes HIGH (3.3V), and the 5V side pulls LOW, current flows through the body diode, pulling the 3.3V side LOW too. This is the bidirectional magic — it works in both directions automatically.
Using the 2N2222 NPN BJT Instead
For a simpler unidirectional 3.3V→5V translation (boost), use an NPN BJT in open-collector configuration:
3.3V Signal ──[1kΩ]── Base
Emitter ── GND
Collector ──[10kΩ]── 5V
Collector → 5V Device Input
When the 3.3V signal is HIGH, the NPN turns ON, pulling the collector to GND (logical LOW at 5V device). When 3.3V signal is LOW, collector is HIGH (5V) through pull-up. Note: this inverts the signal, so add a NOT gate or use two stages if you need the original polarity.

2N2222 NPN Transistor (Pack of 20)
Versatile general-purpose NPN transistor for open-collector level shifting, switching, and amplification. A maker’s essential component.

BC547 NPN 100mA Transistor TO-92 (Pack of 10)
A popular alternative for open-collector level shifting circuits. The BC547 is widely available, affordable, and perfect for small signal switching.
Method 3: Zener Diode Clamping
For 5V→3.3V translation, a zener diode clamp can protect sensitive inputs when you cannot tolerate the slow edges of a resistor divider but need something simple without an IC.
5V Signal ──[Series R 100Ω]──┬── 3.3V Device Input
                              │
                        [3.3V Zener Diode] (cathode up)
                              │
                             GND
The zener clamps the voltage at ~3.3V, preventing the input from exceeding that level. The series resistor limits current through the zener. This is more of a protection circuit than a precision level translator — the clamped voltage is approximate (±5% zener tolerance) and the circuit introduces some resistance in the signal path.
Use a 3.3V or 3.6V zener (BZX55C3V3 or BZX55C3V6). These cost less than ₹5 each from electronics markets.
Method 4: Dedicated Level Shifter ICs
For high-speed, multi-channel, or precision-critical applications, dedicated level translator ICs offer the cleanest solution. The most common families:
74LVC245 / 74LVCH245 (Octal Bus Transceiver)
8-channel, unidirectional, works from 1.65V to 5.5V. Handles up to 400 Mbps. Used in professional PCB designs for parallel bus translation. DIR pin controls direction. Available in DIP-20 or SOIC-20 packages.
TXB0104 / TXB0108 (Texas Instruments)
4 or 8-channel bidirectional, push-pull (not open-drain). Does NOT work with I²C (open-drain). Excellent for SPI, GPIO, and other push-pull signals. Auto-direction sensing. VCC A: 1.2–3.6V, VCC B: 1.65–5.5V.
PCA9306 (I²C Specific)
2-channel bidirectional open-drain translator designed specifically for I²C. Handles 400 kHz fast mode. Each channel is truly independent and bidirectional. Perfect for connecting 3.3V MCU I²C to 5V I²C sensors.
MOSFET Module Boards (BSS138-Based)
4-channel bidirectional MOSFET level shifter modules are available for ₹40–₹80 on online stores and use BSS138 MOSFETs. These are the most popular choice for Indian makers — no soldering required, just plug into a breadboard and connect. Works for I²C, UART, and SPI signals up to ~1–2 MHz.
Speed Considerations: Choosing for Your Protocol
| Protocol | Max Speed | Recommended Method |
|---|---|---|
| UART (simple) | Up to 115200 baud | Resistor divider (RX) + direct (TX if 3.3V is >2V threshold) |
| I²C (100/400 kHz) | 400 kHz | MOSFET module (BSS138) or PCA9306 |
| SPI (slow) | 1–4 MHz | MOSFET module or TXB0108 |
| SPI (fast) | 8–50 MHz | 74LVC245 or TXB0108 |
| GPIO / slow signals | Any | Resistor divider or NPN transistor |
Practical Examples: ESP32 with 5V Arduino Peripherals
Example 1: ESP32 UART to Arduino Uno
The ESP32 TX outputs 3.3V. Arduino Uno TTL input accepts >2.0V as HIGH, so ESP32 TX can connect directly to Arduino RX without any level shifter in most cases. For the reverse direction (Arduino TX 5V → ESP32 RX 3.3V), use a resistor divider: 10 kΩ from Arduino TX to ESP32 RX, then 20 kΩ from ESP32 RX to GND.
Example 2: ESP32 I²C to 5V OLED or RTC Module
If the OLED runs on 5V I²C (some older modules), use a BSS138 MOSFET module. Connect 3.3V rail to the LV pin, 5V rail to HV pin, ESP32 SDA/SCL to LV1/LV2, and the display SDA/SCL to HV1/HV2. Add 4.7 kΩ pull-ups on both sides if they are not already on the module.
Example 3: Raspberry Pi 3.3V GPIO to 5V Relay Module
Most relay modules have an optocoupler input that triggers at >3V and draws <5 mA — so in many cases 3.3V GPIO can directly drive them. But if the relay module requires 5V for reliable triggering, use one NPN transistor (BC547 or 2N2222): base to Pi GPIO through 1 kΩ, emitter to GND, collector to relay IN pin, with a 10 kΩ pull-up from relay IN to 5V.

10CM Male to Female Breadboard Jumper Wires — 40 Pcs
Connect modules, level shifter boards, and sensors on your breadboard with these colour-coded M-F jumper wires. Essential for level-shifting experiments.
Frequently Asked Questions
Q1: Does the ESP32 need a level shifter to talk to Arduino Uno?
For UART: the ESP32 TX (3.3V) is usually read correctly by the Arduino Uno RX (TTL-compatible, 2V threshold). For the Arduino TX (5V) to ESP32 RX direction, you DO need a voltage divider or level shifter — 5V will damage the ESP32 over time without protection.
Q2: Can I connect a 5V I²C device directly to the ESP32?
No. I²C is open-drain, so normally the pullup resistors define the voltage. If the 5V device has 5V pull-ups, the bus idles at 5V — which exceeds the ESP32’s 3.3V limit. Use a bidirectional MOSFET level shifter module between them. If you add 3.3V pull-ups and the 5V device has no internal pull-ups, it can sometimes work, but this is not reliable or guaranteed.
Q3: Which is better for I²C level shifting: resistor divider or MOSFET?
MOSFET (BSS138 module) is far better for I²C. I²C is bidirectional and open-drain — a resistor divider is unidirectional and will not correctly handle both data directions. The MOSFET circuit handles bidirectional open-drain lines correctly and supports I²C pull-up properly.
Q4: What if my 3.3V device has 5V-tolerant pins?
Many STM32 pins are marked as 5V-tolerant (check the datasheet for “FT” pin designation). These can safely receive 5V signals without damage. You still need to ensure the output from the 3.3V device is detected as valid HIGH by the 5V device — 3.3V usually exceeds the 2.0V threshold for TTL 5V inputs, so it often works in that direction too.
Q5: How do I level shift SPI at 8 MHz or higher?
At 8 MHz and above, the capacitance of MOSFET circuits creates edge-rounding that causes bit errors. Use a 74LVC245 (unidirectional, with DIR control) or the TXB0108 bidirectional IC. Both are designed for high-speed operation up to hundreds of MHz with minimal signal degradation.
Shop Zbotic for transistors, resistors, capacitors, and all the discrete components you need to build reliable level-shifting circuits — delivered fast across India.


Add comment