
Flashing Tasmota firmware on smart plugs and IoT sensors is the single most impactful thing you can do to break free from cloud-dependent, privacy-invasive smart home ecosystems. Tasmota is an open-source firmware that runs on ESP8266 and ESP32 chips — the same chips inside hundreds of affordable smart home devices sold in India. Once flashed, your devices communicate locally over MQTT, integrate seamlessly with Home Assistant or Node-RED, and never send data to foreign servers.
This guide walks you through everything: understanding what Tasmota is, identifying compatible devices, flashing methods (OTA, serial, and Tuya Convert alternatives for Indian devices), configuring MQTT, and setting up automation rules — all with practical guidance for the Indian smart home context.
What is Tasmota and Why Use It?
Tasmota was created by Theo Arends in 2016 as a replacement firmware for Sonoff devices. Today, it supports over 1000 device templates and has become the gold standard for open-source smart home firmware on ESP-based devices. Key reasons Indian makers and home automation enthusiasts choose Tasmota:
Privacy and Data Sovereignty
Most budget smart plugs sold on Amazon.in and Flipkart — brands like Wipro, Syska, Oakter, and Chinese brands like Sonoff, Tuya/SmartLife — route all control commands through cloud servers. Tasmota eliminates this entirely. Your “turn on the fan” command goes device → local MQTT → Home Assistant, never leaving your home network.
Local Control = Reliability
Cloud-dependent smart home devices fail when the internet is slow or down. In India’s metropolitan areas, fiber outages, ISP maintenance, and power cuts are common. With Tasmota + local MQTT broker, your smart home works even when the internet is down completely.
Deep Integration
Tasmota natively supports MQTT auto-discovery for Home Assistant, OpenHAB, and Domoticz. It also supports direct HTTP API, rules-based automation on the device itself, support for I2C/SPI sensors (AM2301, BMP280, SHT30, ADS1115, etc.), and even custom berry scripting (ESP32 variant).
Cost
A Tasmota-compatible device costs ₹400-₹800 in India. A Philips Hue or similar premium smart plug costs ₹2500+. For full-home automation, the cost difference is enormous.
Compatible Devices Available in India
Tasmota runs on any device with an ESP8266 or ESP32 chip. Here are the most popular categories available in India:
Smart Plugs
- Sonoff S26 / S26R2: The most popular globally, widely available on Amazon.in. R2 version uses ESP8285 (built-in flash), fully Tasmota-compatible.
- Sonoff S31: Includes energy monitoring (voltage, current, power, kWh) — excellent for tracking appliance power usage.
- Wipro Next Smart Plug / Syska Smart Plug: Some models use Tuya chips. Check the template database at templates.blakadder.com before buying.
Smart Switches (In-Wall)
- Sonoff Basic R2/R3: Single-relay module, widely used in Indian homes to retrofit existing switches.
- Sonoff Dual R2: Controls two circuits — ideal for two-way fan speed or double-gang switches.
- Sonoff Mini R2: Extremely compact, fits behind existing switch boxes — most popular for Indian false-ceiling light control.
Sensors
- Sonoff TH16/TH10: Smart switch with external temperature/humidity sensor input (DS18B20 or AM2301). Perfect for AC control based on room temperature.
- Wemos D1 Mini + DHT/BMP: Build your own sensor node.
Flashing Methods: OTA, Serial, and Tasmotizer
Method 1: Tasmota OTA via Tuya-Convert (For Unflashed Devices)
Historically, Tuya-Convert allowed OTA flashing of Tuya-based devices without opening them. However, as of Tuya firmware v2.x (2021+), this method no longer works due to Tuya’s signing requirements. Most new stock in India will be on updated firmware. Do not rely on Tuya-Convert for new purchases.
Method 2: Serial Flashing (Universal, Works on All Devices)
This is the reliable method that works on all ESP8266/ESP32 devices regardless of firmware version. You’ll need:
- A USB-to-TTL Serial adapter (CP2102, CH340, or FTDI FT232)
- Soldering iron and solder
- Tasmotizer GUI tool (Windows/Linux/macOS) or esptool.py CLI
- Tasmota firmware binary from tasmota.github.io
General Serial Flashing Procedure:
- SAFETY FIRST: Ensure the device is completely unplugged from mains. Serial flashing requires opening the case, exposing live PCB components on a mains-connected device. Work only with the device powered via USB-to-TTL, never from mains during flashing.
- Open the smart plug/switch (usually two clips or Phillips screws under a sticker)
- Locate the ESP8266 chip or UART test pads (TX, RX, GND, 3.3V, GPIO0)
- Connect USB-to-TTL: TX→RX, RX→TX, GND→GND, 3.3V→3.3V
- Pull GPIO0 LOW (connect to GND) before powering to enter bootloader mode
- Open Tasmotizer, select your COM port, select the firmware variant, click Flash
- After flash completes, disconnect GPIO0 from GND and reset the device
Method 3: Tasmota Web Installer (For Devices Already Running Tasmota or ESPHome)
If a device already runs Tasmota or a compatible open firmware, you can upgrade to the latest version directly from the web browser using the Tasmota Web Installer (install.tasmota.com). Just connect the device via serial USB and click Install — Chrome’s WebSerial API handles everything.
Method 4: Pre-Flashed Devices (Easiest for India)
Some Indian sellers on Amazon.in now sell Sonoff devices that are already Tasmota-compatible out of the box. Sonoff itself recommends Tasmota and the official eWeLink cloud simultaneously. For your own ESP8266/ESP32 modules from Zbotic, you can flash Tasmota directly without opening any commercial device.
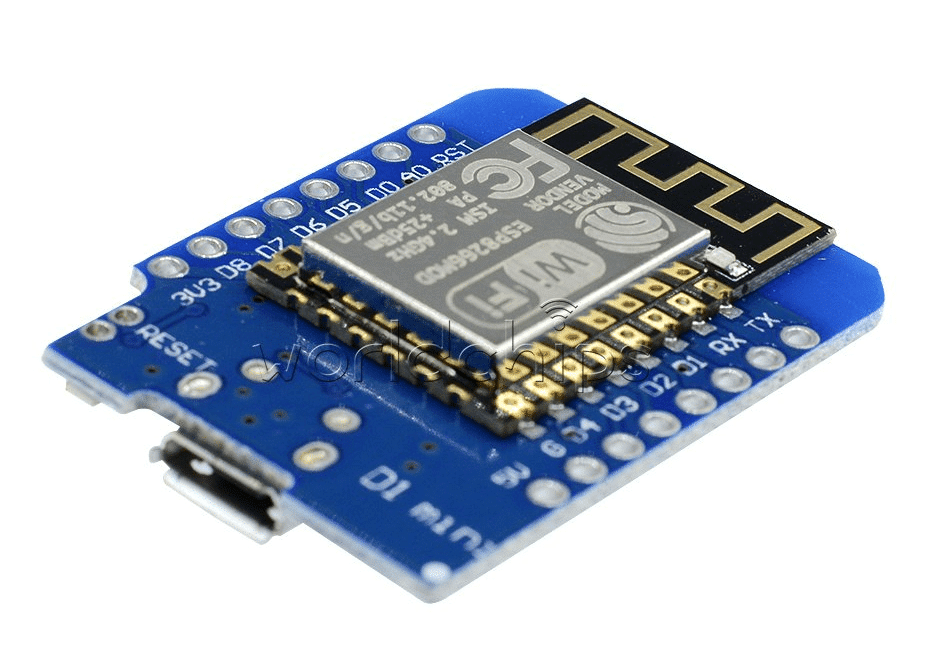
D1 Mini V2 NodeMCU 4MB ESP8266 Wi-Fi IoT Development Board
Flash Tasmota directly onto this ESP8266 board to build custom sensor nodes — supports all Tasmota sensor drivers with 4MB flash for full feature set.
Initial Configuration: Wi-Fi and MQTT Setup
After flashing, Tasmota creates a Wi-Fi access point named “tasmota_XXXXXX”. Connect to it with your phone or laptop:
- Open a browser and navigate to 192.168.4.1
- Enter your home Wi-Fi SSID and password
- The device connects to your router; find its IP from your router’s DHCP leases
- Access the Tasmota web interface at the device’s IP
- Go to Configuration → Configure MQTT
- Enter your MQTT broker IP (e.g., Home Assistant’s IP: 192.168.1.X, port 1883)
- Set Topic (unique per device), Full Topic, and optionally MQTT username/password
Configure the Device Template: This is the most important step. Templates tell Tasmota which GPIO does what (relay, button, LED, sensor). Find your exact device template at templates.blakadder.com, paste the JSON template in Configuration → Configure Other → Template.
Example template for a Sonoff Basic R3:
{"NAME":"Sonoff Basic R3","GPIO":[0,0,0,0,0,576,0,0,288,0,0,0,0,0],
"FLAG":0,"BASE":1}
Integrating with Home Assistant via MQTT
Tasmota + Home Assistant is the most popular local smart home stack in India among tech-savvy users. Setup is easy:
- Install the Mosquitto MQTT broker add-on in Home Assistant
- In Home Assistant, go to Settings → Devices & Services → Add Integration → MQTT
- Tasmota devices with MQTT Discovery enabled automatically appear as Home Assistant entities
- Each Tasmota device shows up with switches, power sensors (if supported), and status sensors
For devices not auto-discovered, manually add MQTT entities to your configuration.yaml:
mqtt:
  switch:
    - name: "Living Room Fan"
      command_topic: "cmnd/living_fan/POWER"
      state_topic: "stat/living_fan/POWER"
      payload_on: "ON"
      payload_off: "OFF"
      retain: false

ESP8266 ESP-12F Witty Cloud Development Board + Mini NodeMCU
An ESP8266-based development kit that’s perfect for Tasmota experimentation — includes a programmer board, ambient light sensor, RGB LED, and push button onboard.
Advanced Tasmota Features: Rules, Timers, Sensors
Rules Engine
Tasmota’s built-in rules let devices act autonomously without MQTT or internet. Rules run on the device itself using a simple trigger-condition-action syntax:
; Turn off relay after 30 minutes (for water heater / geyser control):
Rule1 ON Power1#State=1 DO RuleTimer1 1800 ENDON
       ON Rules#Timer=1 DO Power1 OFF ENDON
Rule1 1

; Auto turn on light at sunset (if sunrise/sunset is configured):
Rule2 ON Time#Sunset DO Power1 ON ENDON
      ON Time#Sunrise DO Power1 OFF ENDON
Rule2 1
Energy Monitoring
Devices with HLW8012 or BL0937 energy monitoring chips (Sonoff S31, Sonoff POW) show real-time voltage, current, active power, apparent power, and energy in kWh. This data publishes to MQTT and integrates with Home Assistant energy dashboard.
Sensor Support
Tasmota supports 100+ sensor drivers. Connect a DHT11/DHT22 to a Tasmota node and it auto-reads and publishes to MQTT every 60 seconds (configurable). Supported sensors include DS18B20, DHT11/22, AM2301, BMP280, BME280, SHT30, ADS1115, MPU6050, and many more.

GY-BME280-3.3 Precision Altimeter Atmospheric Pressure Sensor Module
Supported natively by Tasmota — connect via I2C to any ESP8266/ESP32 node and Tasmota auto-detects and publishes temperature, humidity, and pressure over MQTT.
Tasmota on Custom ESP8266/ESP32 Hardware
You don’t need a commercial smart plug to use Tasmota. Building your own custom Tasmota node on a D1 Mini, NodeMCU, or ESP32 DevKit from Zbotic is perfectly straightforward:
- Download the appropriate firmware:
tasmota.binfor ESP8266,tasmota32.binfor ESP32 - Flash using Tasmota Web Installer (browser + serial cable) or esptool.py
- Connect your sensors/relays to appropriate GPIO pins
- Assign GPIO functions via Configuration → Configure Module or Template
- Done — Tasmota handles the rest: MQTT, web interface, OTA updates
This approach is popular in India for building custom IoT solutions for specific applications — energy monitoring for shops and offices, irrigation controllers for rooftop gardens, air quality monitors, and smart AC controllers.
Ai Thinker ESP32-C3-01M Wi-Fi + BLE Module
ESP32-C3 modules are fully supported by Tasmota32 — this compact stamp-hole module is ideal for embedding Tasmota-based smart relay nodes into custom PCBs at scale.
Frequently Asked Questions
Will flashing Tasmota void the warranty of my smart plug?
Yes, in most cases. Opening the device and modifying the firmware voids the manufacturer warranty. However, for most Indian consumers buying ₹500 smart plugs, warranty support is rarely available anyway. The trade-off — full local control, no cloud dependency, privacy — is well worth it for most users.
Can Tasmota devices be controlled without internet?
Yes — that’s one of Tasmota’s biggest advantages. As long as your local Wi-Fi network is up and your MQTT broker (e.g., Home Assistant on a Raspberry Pi or Mini PC) is running, Tasmota devices work perfectly without any internet connectivity. Control via the device’s built-in web interface also works on local LAN without internet.
Is Tasmota compatible with Alexa and Google Home?
Yes, through Home Assistant with the Alexa/Google Home integration, or directly using the Sinric Pro service which supports Tasmota natively. For local voice control, Assist (Home Assistant’s built-in voice assistant) with a local speech model like Whisper works entirely offline.
What Tasmota firmware version should I use in 2026?
Use the latest stable release from tasmota.github.io/tasmota — as of 2026, that’s Tasmota 14.x. For ESP32, use tasmota32.bin (standard) or tasmota32-display.bin if you have a connected display. For energy-monitoring devices, tasmota.bin includes all energy monitoring drivers by default. OTA updates are easy once Tasmota is flashed.
Can I run Tasmota and keep the original firmware as a backup?
Not simultaneously, but Tasmota does OTA updates to its own partition and saves a backup slot. If a Tasmota update goes wrong, the device boots the previous Tasmota version. Restoring the original manufacturer firmware requires serial flashing with the original binary, which is often not publicly available — so save a backup before flashing.
Build Your Tasmota-Based Smart Home with Zbotic
Zbotic.in stocks ESP8266 and ESP32 modules, sensors, and accessories perfect for Tasmota projects. Whether you want to build a custom sensor node, retrofit a relay, or experiment with home automation, find all the components you need with fast delivery across India.


Add comment