
When you are setting up a solar power system in India — whether it is for a rooftop, a remote cabin, or an off-grid maker project — one of the first practical decisions you face is how to wire multiple solar panels together. Should you use solar panel series parallel wiring, or keep them in a simple series or parallel arrangement? The choice directly affects your charge controller, battery bank voltage, and overall system efficiency. This guide explains everything clearly with real examples tailored for Indian conditions.
Solar Panel Basics: Voltage, Current, and Power
Before diving into wiring configurations, you need to understand the key specs on every solar panel datasheet:
- Voc (Open Circuit Voltage): The voltage across the panel when no current is flowing. For a typical 100W 12V panel, Voc is around 21–22V.
- Vmp (Voltage at Maximum Power): The voltage at which the panel produces maximum power, usually around 17–18V for a 12V panel.
- Isc (Short Circuit Current): The maximum current the panel can deliver. For a 100W 12V panel, this is about 5–6A.
- Imp (Current at Maximum Power): The current at the maximum power point, slightly less than Isc.
- Pmax (Maximum Power): The rated watt-peak output under standard test conditions (STC: 1000 W/m², 25°C cell temp).
When you wire panels together, these values combine in predictable ways depending on whether you wire them in series or parallel. Getting this right is the foundation of any good solar design.
Series Wiring: Higher Voltage, Same Current
In a series connection, you connect the positive terminal of one panel to the negative terminal of the next panel, like batteries in a torch. The result:
- Voltages add up: Two 17V Vmp panels in series give you 34V Vmp
- Current stays the same: If each panel produces 5.8A, the series string still produces 5.8A
- Power doubles: 100W + 100W = 200W total (as expected)
This configuration is typically used to increase the array voltage to match a higher-voltage battery bank (24V, 48V) or to meet the minimum input voltage requirement of an MPPT charge controller.
Key risk with series wiring: If one panel in a series string is shaded, dirty, or damaged, it acts like a bottleneck and reduces the output of the entire string, not just the affected panel. This is called the “Christmas light problem.” This makes orientation, tilt angle, and shading avoidance critically important in series configurations.
Parallel Wiring: Higher Current, Same Voltage
In a parallel connection, you connect all positive terminals together and all negative terminals together. The result:
- Voltage stays the same: Multiple 17V Vmp panels in parallel still give you 17V Vmp
- Currents add up: Three panels each producing 5.8A give you 17.4A combined
- Power triples: 100W × 3 = 300W total
Parallel wiring suits systems where you want to keep voltage at a standard level (like 12V or 24V nominal) while adding capacity. It is also more shading-tolerant — one shaded panel only loses its own output, not the entire array’s output.
Key consideration with parallel wiring: Higher current means thicker cables are needed between the array and the charge controller. Cable losses increase with current (P_loss = I² × R), so short, thick cables are essential. You also need a combiner box with fuses on each parallel branch to prevent backfeed if one panel fails.
Series-Parallel Wiring: Combining Both
For larger systems with many panels, you combine both methods. A common approach for a 24V system with six 100W 12V panels:
- Create three series strings of 2 panels each (2 × 17V = 34V Vmp per string)
- Connect the three strings in parallel (34V, 3 × 5.8A = 17.4A, 600W total)
This gives you a good balance between voltage (high enough for an MPPT controller) and current (manageable cable sizes). The key rule for series-parallel wiring is that all panels must be identical — same model, same age, same tilt angle, and same orientation. Mixing mismatched panels in the same string causes the weaker panel to limit the stronger one.
Also ensure each series string in a parallel bank has the same number of panels. Unequal string lengths create voltage mismatches that force current to flow in unintended directions, reducing efficiency and potentially damaging panels.
Which Configuration Is Right for Your Setup?
The answer depends on your battery bank voltage and charge controller type. Here is a practical decision guide:
| Battery Bank | Recommended Wiring | Reason |
|---|---|---|
| 12V (small home/cabin) | Parallel (single 12V panel) or short series with MPPT | Keep voltage manageable for PWM controllers |
| 24V (medium home) | 2 × 12V panels in series | Matches 24V battery bank voltage directly |
| 48V (large home) | 4 × 12V panels in series, or series-parallel for more wattage | Reduces cable losses, needs MPPT controller |
| Any (DIY Arduino/Raspberry Pi solar) | Single panel or parallel (keep voltage low) | Easier to manage with simple PWM or TP4056-style ICs |
PWM vs MPPT Charge Controllers and Wiring Choice
Your wiring choice is tightly linked to which type of charge controller you use:
PWM (Pulse Width Modulation) Controllers
PWM controllers are simpler and cheaper (₹500–₹2000 for small units). They work by directly connecting the solar array to the battery and using switching to regulate charging. The panel Vmp must closely match the battery voltage. So for a 12V battery, use a single 12V panel (Vmp ≈ 17V). A PWM controller with a 36V array feeding a 12V battery wastes the excess voltage — you effectively only use 17V/36V = 47% of available panel voltage.
MPPT (Maximum Power Point Tracking) Controllers
MPPT controllers are smarter and more efficient (₹1500–₹15,000+ depending on rating). They use DC-DC conversion to extract maximum power from the panel regardless of the voltage difference between panel and battery. You can wire panels in series to get 40V, 60V, or even higher and let the MPPT controller step it down to 12V or 24V for the battery. This eliminates the voltage matching constraint and makes series wiring much more practical.
Rule of thumb: If you have 2+ panels, the MPPT controller usually pays for itself within 1–2 seasons through increased energy harvest, especially in the morning and evening when panel voltage and battery voltage differ most.
Practical Tips for Indian Solar Installations
India’s diverse climate creates unique considerations for solar wiring:
- Dust and partial shading: Indian rooftops often have overhead water tanks, trees, and overhead wires that cast partial shade. This makes parallel wiring more resilient than series for small DIY setups.
- Summer heat: High cell temperatures (45–65°C on Indian rooftops) reduce Vmp by about 0.4%/°C. A panel rated 17V at 25°C might only deliver 14–15V on a hot summer afternoon. Account for this when designing series strings for MPPT controllers.
- Monsoon cleaning: Heavy rains partially self-clean panels, but dusty pre-monsoon months can reduce output by 20–40%. In series configurations, the dirtiest panel drags down the string.
- Cable sizing for Indian heat: Standard cable ampacity ratings are at 30°C. Indian ambient temperatures often reach 45°C+, which dereates cable capacity by 15–20%. Always size cables conservatively — one size thicker than calculated.
- MC4 connector quality: Use branded MC4 connectors (not cheap copies). Poor quality MC4 connectors arc and fail in Indian monsoon humidity, creating fire risks.
Recommended Products from Zbotic
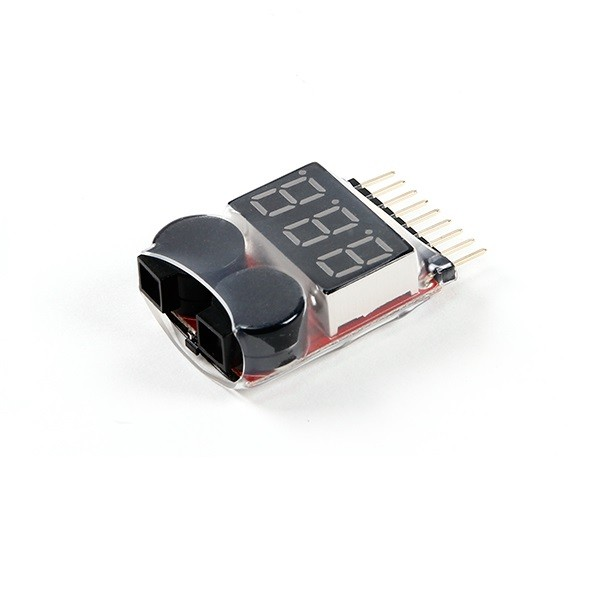
1–8S LiPo Battery Voltage Tester
Monitor individual cell voltages in your battery bank to catch imbalances early. Works with 1S to 8S packs — invaluable for diagnosing solar battery performance issues.
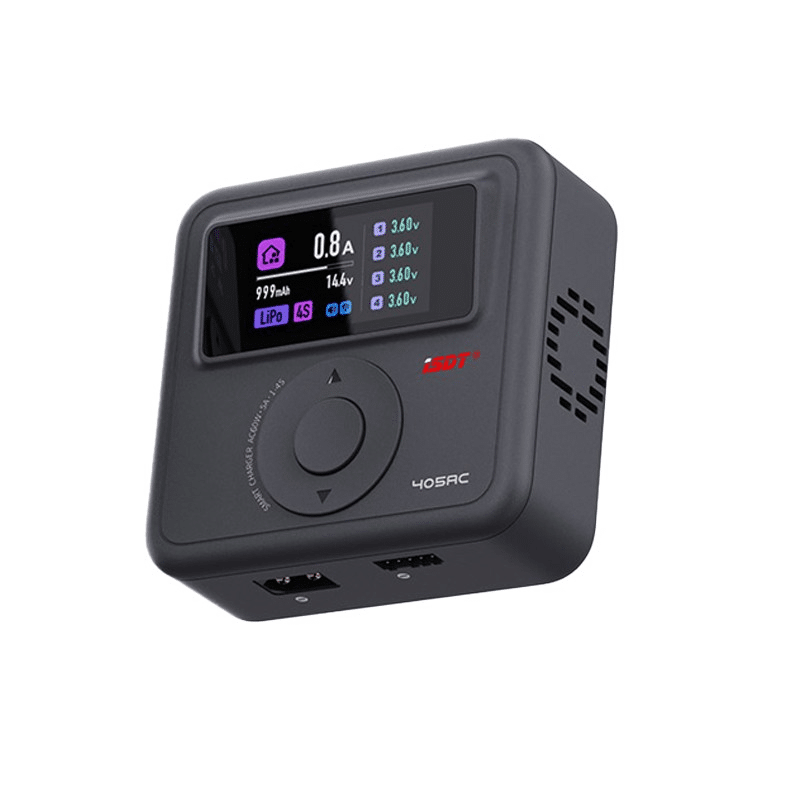
ISDT 405AC 60W AC GaN Smart Charger
A high-efficiency GaN-based smart charger for multi-chemistry packs. Great for supplemental or backup charging of your solar battery bank during overcast monsoon days.
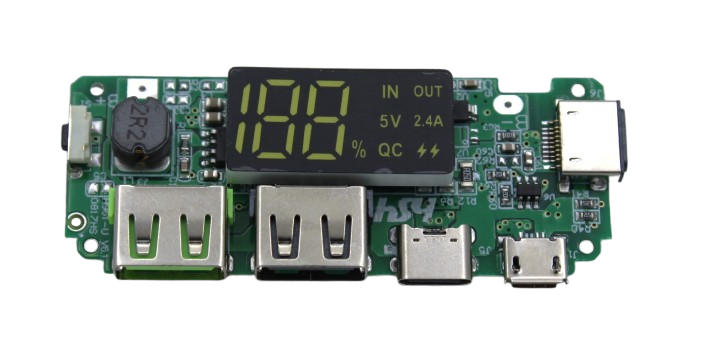
18650 5V 2.4A Lithium Battery Digital Display Charging Module
For small-scale solar projects using 18650 cells as a battery bank, this module charges with digital display feedback — perfect for maker-scale solar experiments.
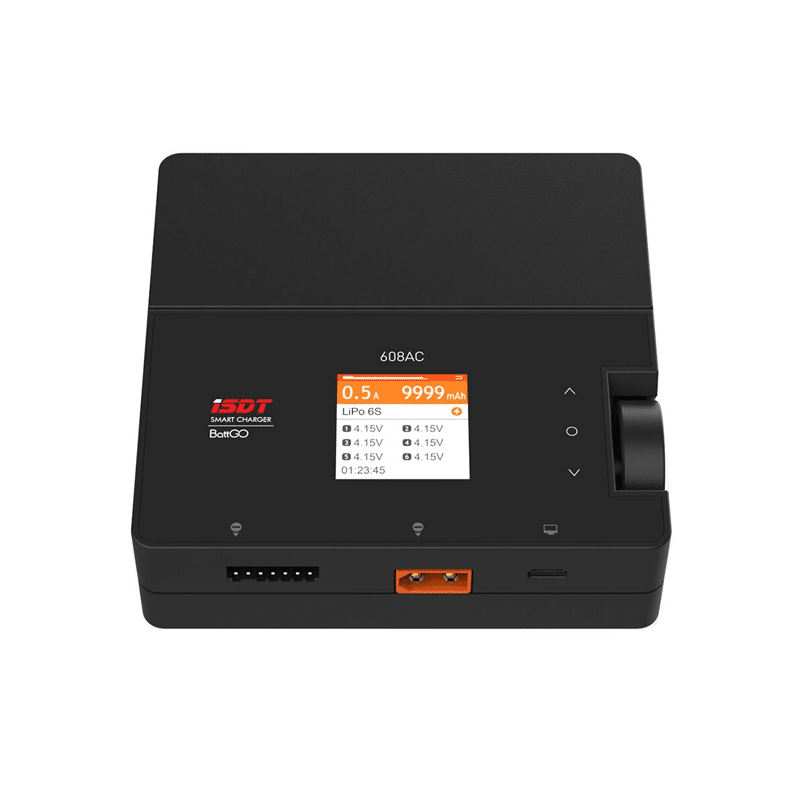
ISDT 608 AC LiPo Battery Charger – 50W/200W Dual Mode
Dual AC/DC mode charger that can accept direct DC input — making it easy to connect to your solar battery bank for off-grid charging of RC and portable packs.
18650 Polymer Lithium Ion Charger Type C to 3S 12.6V 4A Booster Module
A high-current 4A Type-C charging module for 3S lithium packs — ideal for portable solar-charged power stations in remote Indian maker workshops.
Frequently Asked Questions
Can I mix different watt solar panels in the same array?
In general, avoid mixing panels in the same string. If you mix panels with different Vmp values in series, the lower Vmp panel limits the string. If you parallel panels with different Isc values, the weaker panel may not contribute much and can even be reverse-biased. If you must mix, use an MPPT controller with separate inputs or separate charge controllers for each mismatched panel.
Which wiring gives more power — series or parallel?
Neither. Series and parallel wiring of identical panels produce the same total power (Watts = Volts × Amps). The difference is in how that power is delivered: higher voltage + lower current (series) or lower voltage + higher current (parallel). The “right” choice is about matching your system voltage and minimizing losses in cables and controllers.
How many solar panels can I wire in parallel before I need a combiner box?
If you have more than 2 panels in parallel, use a combiner box (also called a junction box) with individual fuses or breakers on each panel’s positive lead. This protects against backfeed current from other panels if one panel fails. For 3+ parallel strings, it is also good practice from a safety standpoint.
My solar panels are on two different roof faces — can I still wire them together?
Yes, but with caution. Panels facing different directions will have different power output profiles throughout the day. Wiring them in series is risky because shading or different irradiance means mismatched current. Wiring them in parallel is safer, but an MPPT controller with multiple independent MPP trackers (dual MPPT input) is the ideal solution for panels on different orientations.
What wire gauge should I use for solar panel connections in India?
Use 4mm² (12 AWG) stranded copper wire rated for solar (UV and temperature resistant) for most residential systems. For longer runs (over 10 metres) or high current parallel arrays, step up to 6mm² or 10mm². Always calculate voltage drop and keep it below 3% of system voltage for optimal efficiency.
Power Your Projects with the Right Components
Whether you are building a solar-powered IoT node, a rooftop charging system, or an off-grid maker station, Zbotic has the charging modules, battery holders, and power management boards you need — shipped across India.


Add comment