
SMD Components Soldering: Hot Air Station Beginner Guide
Learning SMD components soldering with a hot air station for beginners opens up a whole new world of miniaturised electronics. Surface Mount Devices (SMDs) are used in everything from smartphones to Arduino shields, and most modern electronics you want to repair, modify, or build use them exclusively. This hands-on guide takes you from zero experience to confidently soldering and desoldering 0805 resistors, SOT-23 transistors, TSSOP ICs, and QFP chips — using just a hot air station, a good flux pen, and a steady hand.
SMD Basics: Package Types and Sizes
SMD packages are named by their footprint size. Understanding the naming system helps you choose the right tools and settings:
Passive Components (Resistors, Capacitors)
| Package | Size (mm) | Difficulty | Best Tool |
|---|---|---|---|
| 2512 | 6.3 × 3.2 | Easy | Soldering iron |
| 1206 | 3.2 × 1.6 | Easy | Iron or hot air |
| 0805 | 2.0 × 1.25 | Beginner | Iron or hot air |
| 0603 | 1.6 × 0.8 | Intermediate | Hot air preferred |
| 0402 | 1.0 × 0.5 | Advanced | Hot air + magnification |
| 0201 | 0.6 × 0.3 | Expert | Hot air + stereo microscope |
IC Packages
- SOT-23: 3–6 pin transistor/diode/small IC package — good beginner target
- SOT-23-8: Slightly larger, 8 pins in SOT footprint
- SOP/SOIC: 8–28 pin ICs with 1.27 mm pitch — iron or hot air
- TSSOP: 0.65 mm pitch — hot air only for most beginners
- QFP/LQFP: Square, 0.5 mm pitch, 32–256 pins — hot air + stencil
- QFN/DFN: No leads, pads under the chip — hot air + reflow required
- BGA: Ball Grid Array — reball station required, not for beginners
Start with 1206 and 0805 passives and SOT-23 transistors. These are large enough to handle with tweezers and forgiving of small positioning errors.
Tools You Need: Hot Air Station, Flux, Solder
Hot Air Station
A hot air rework station blows heated air through a nozzle to melt solder. The key features to look for are:
- Temperature control: Digital display with 1°C resolution, 100–500°C range
- Airflow control: Variable airflow (L/min or rpm), typically 1–120
- Nozzle selection: Multiple nozzle shapes — round (general), oval, square (IC packages)
- Sleep/standby mode: Automatically cools down when not in use (prevents burning pads)
Popular beginner stations in India: 858D+, 878D, Yihua 858, Bakon BK850. Budget: ₹1,500–₹3,000 gets you a functional station. Spend more for stable temperature and better airflow control.
Soldering Iron
Even with a hot air station, you still need a fine-tip iron for touch-up work, through-hole components, and drag soldering of SOIC packages. A pencil-type iron with interchangeable tips (chisel, conical, knife) is ideal. Use a fine chisel tip (900M-T-I type) for SMD work.
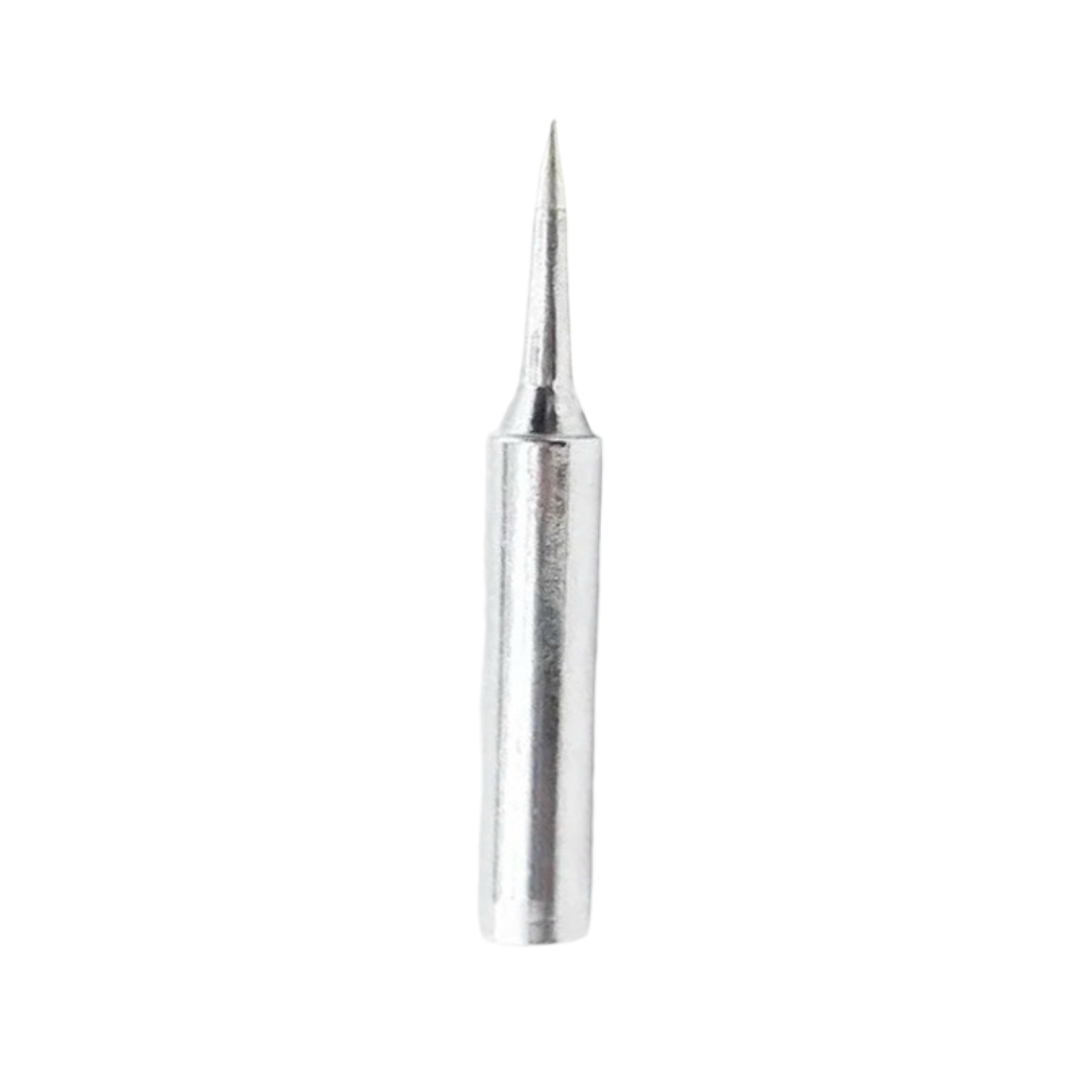
BAKON Soldering Iron Tip 900M-T-I
A sharp, precision soldering iron tip for SMD touch-up work and drag soldering of SOIC packages. Compatible with most 900M series stations commonly used in India.
Solder and Flux
- Solder wire: 0.5–0.8 mm diameter for SMD work (thinner than through-hole 1 mm solder). Use 63/37 or 60/40 tin-lead for easiest melting and best flow. SAC305 lead-free works but requires 30°C higher temperatures.
- Solder paste: Mixture of solder powder and flux — essential for paste-and-reflow technique. Apply with a stencil or syringe.
- Flux: Rosin-based no-clean flux pen or liquid flux. Flux is non-negotiable for hot air work — it prevents oxidation, helps solder flow, and dramatically improves joint quality.
- Flux cleaner / IPA: Isopropyl alcohol (99%) + brush to clean residue after soldering.
Supporting Tools
- SMD tweezers (angled and straight) — for placing and holding tiny components
- Helping hands / PCB holder — keeps the board stable during hot air work
- Magnifying glass or loupe (3–10×) — for inspection and precise placement
- Copper braid (desoldering wick) — absorbs excess solder and cleans bridged pads
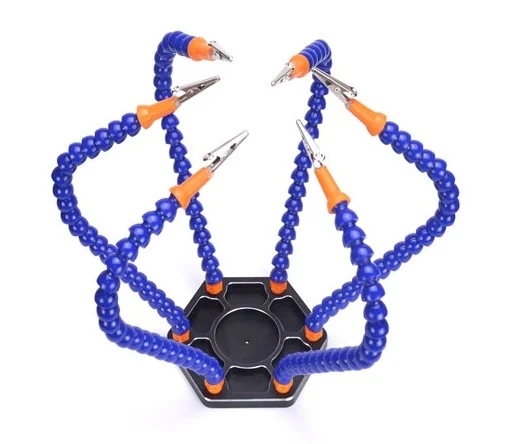
6 Flexible Arms Soldering Station With Swiveling Alligator Clip
Hold your PCB at the perfect angle for hot air SMD work with this 6-arm helping hands station. The swivelling clips keep your hands free for component placement.
Hot Air Station Settings: Temperature and Airflow
Correct settings are critical — too hot or too much airflow damages components and lifts pads.
| Task | Temp (°C) | Airflow | Nozzle |
|---|---|---|---|
| 0805/1206 passives | 320–350 | Low (2–3) | Round small |
| SOT-23 transistors | 330–360 | Low (2–3) | Round small |
| SOIC-8/14 ICs | 340–370 | Medium (4–5) | Round or oval |
| QFP chips | 350–380 | Medium (4–6) | Square/oval |
| QFN/BGA reflow | 360–390 | Low (2–4) | Large round |
| Lead-free solder (SAC305) | +30°C from above | Same | Same |
Important: These are nozzle temperature settings. Actual board temperature depends on distance, thermal mass, ambient temperature, and airflow. Always test on scrap PCBs first. Move the nozzle in slow circles 2–4 cm above the component, never directly pointing perpendicular at a single spot.
Step-by-Step Soldering Technique for Beginners
Method 1: Iron + Paste (Best for Beginners)
- Apply a small amount of solder paste to both pads using a toothpick or paste syringe
- Place the SMD component with tweezers, aligning leads with pads
- Use the soldering iron tip to touch one end briefly — the paste melts and tacks the component
- Apply heat to the other end — component self-centres due to surface tension
- Inspect under magnification for bridges or cold joints
Method 2: Hot Air Reflow
- Apply no-clean flux to both pads generously
- Apply a tiny amount of solder to each pad with the iron (pre-tinning)
- Place the component with tweezers in the correct orientation
- Hold the hot air nozzle 3–4 cm above the component, set to correct temperature
- Move in slow circles — you will see the solder flash to liquid (all solder melts simultaneously)
- When component settles to the pads and self-aligns due to surface tension, remove heat
- Let cool for 10–15 seconds before touching
Method 3: Drag Soldering (SOIC/TSSOP ICs)
- Tack one corner pin with iron to hold IC in position
- Verify alignment of all pins with pads
- Apply generous flux across all pins
- Use a chisel/blade tip on your iron: drag it across all pins in one smooth motion
- Surface tension pulls excess solder off the pads if flux is used correctly
- Remove bridges with desoldering wick + iron
Desoldering and Rework with Hot Air
Hot air is especially powerful for desoldering because it heats all joints simultaneously:
Removing a passive (0805, resistor/capacitor):
Apply flux, heat with hot air until both ends reflow simultaneously (~3–5 seconds), then slide the component sideways with tweezers while solder is liquid. Clean pads with wick.
Removing an SOIC IC:
Apply flux around all pins. Heat with oval/square nozzle moving around the IC perimeter. When all pins are reflowed (~15–25 seconds), lift with tweezers. The IC should come off cleanly.
Protecting adjacent components:
Use polyimide (Kapton) tape to shield nearby components from stray hot air. Keep airflow low and distance at least 3 cm to avoid unintended reflow of neighbouring parts.
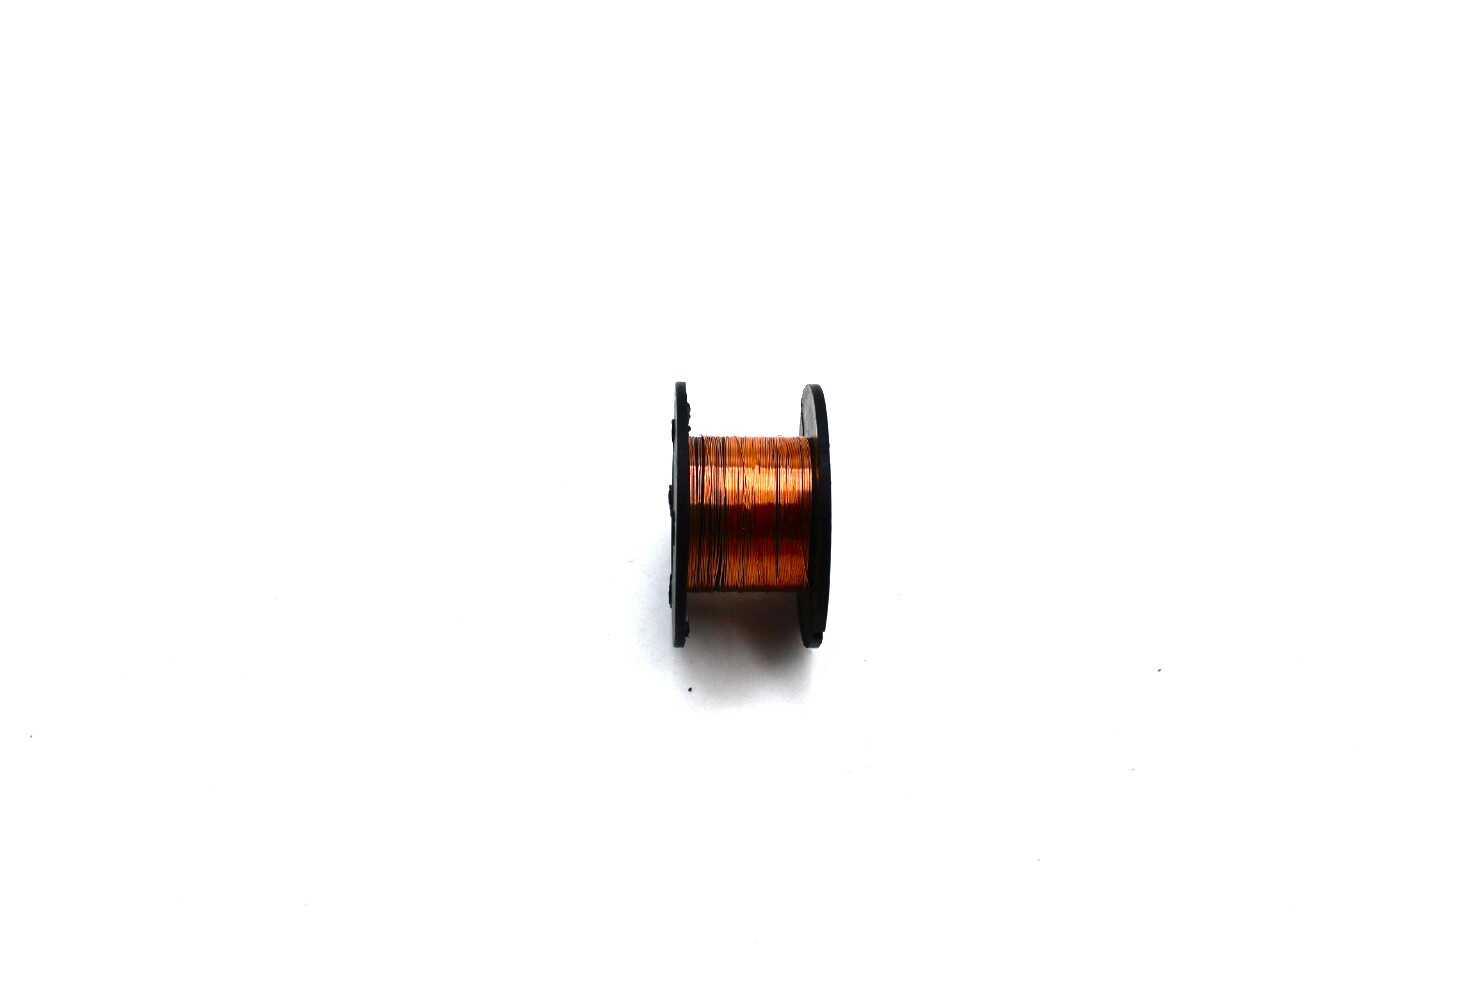
0.1MM Copper Soldering PPA Enamelled Repair Reel Wire
Ultra-fine 0.1mm enamelled copper wire is perfect for SMD rework — repair damaged PCB traces, create jumper wires for lifted pads, or do fine pitch soldering repairs.
Common Mistakes and How to Avoid Them
1. Tombstoning (Passive stands on one end)
Cause: Uneven heating — one pad melts before the other.
Fix: Heat both pads simultaneously in circular motion. Ensure paste or pre-tinning is equal on both pads.
2. Bridging (Solder connecting adjacent pins)
Cause: Too much solder, not enough flux, poor tip cleaning.
Fix: Use desoldering wick generously fluxed and drag across bridges with the iron. Then re-flux and reflow for clean joints.
3. Lifted Pads
Cause: Too much heat for too long, especially on rework of old PCBs.
Fix: Prevention — use lower temperature, less time. Repair lifted pads with fine gauge enamel wire connecting to the nearest via or trace.
4. Moved Component (Tombstone / rotated during reflow)
Cause: Component not placed correctly, or airflow blew it off.
Fix: Reduce airflow setting. Pre-tack one end with the iron before hot air reflow. Use tacky flux (rosin paste) to hold component in place.
5. Cold Joints (Dull, grainy appearance)
Cause: Insufficient temperature, movement during cooling, or contaminated pads.
Fix: Add fresh flux and reheat. Ensure pads are clean (IPA wipe) before soldering. Raise temperature by 10–15°C.
Practice Strategy: From 0805 to QFP Chips
Do not jump straight to fine-pitch ICs. Follow this progression:
Week 1: Solder and desolder 1206 resistors on an old PCB scrap. Focus on using flux, correct temperature, and controlled airflow. Inspect each joint under magnification.
Week 2: Graduate to 0805 components. Practice hot air reflow of resistors/capacitors. Learn to identify and correct tombstoning.
Week 3: SOT-23 transistors. Three leads in a tight triangle — good practice for fine-pitch work. Practice drag soldering with a BC547 SMD equivalent.
Week 4: SOIC-8 IC (like LM741 or NE5532). 8 pins, 1.27mm pitch — manageable with drag soldering. Practice removing and replacing the same chip 5 times.
Month 2: TSSOP-16, 0.65mm pitch. This is the major skill jump — requires good flux usage, a fine nozzle, and steady hands. Practice desoldering from broken phone PCBs (great free practice material).
Buy a bag of dead or cheap PCBs from old electronics for practice — laptop motherboard sections from repair shops, old phone chargers, or broken power banks all have great SMD practice opportunities.
Frequently Asked Questions
Q1: Can I solder SMD components without a hot air station?
Yes, 0805 and larger passives can be soldered with a fine-tip iron. Paste-and-reflow with a regular iron works well. However, SOIC and smaller packages are much easier with hot air, and QFN/BGA packages genuinely require it. A hot air station is a worthwhile investment for any serious hobbyist.
Q2: What is the difference between solder paste and regular solder wire for SMD?
Solder paste is a mix of tiny solder spheres in flux — it stays in place when applied and reflows cleanly. Wire solder requires you to apply it to a heated joint. For paste-and-reflow (applying solder before the component), paste is far superior. For touch-up and rework, wire solder is more practical.
Q3: How do I know when solder has fully reflowed during hot air work?
Watch for the “wetting” moment — solder transitions from a dull grey blob to a shiny, smooth liquid. You will also see the component self-centre slightly due to surface tension. Remove heat immediately after this — do not over-dwell.
Q4: My hot air station shows 350°C but the solder won’t melt. Why?
Budget hot air stations often have inaccurate temperature readouts. The actual nozzle exit temperature can be 30–60°C below the displayed value. Calibrate by checking when solder paste visibly melts and work up from there. Also check that the nozzle is clean — blocked nozzles reduce airflow and effective temperature.
Q5: Is it safe to inhale flux fumes?
No — solder and flux fumes contain harmful compounds. Always solder with ventilation: open a window, use a small fan to blow fumes away from you, or use a dedicated fume extractor. This is especially important for long soldering sessions and when working with lead-based solder.
Start your SMD journey today! Get quality soldering tips, repair wire, and helping hands accessories from Zbotic.in. We stock all the tools Indian electronics hobbyists need for SMD rework, with fast shipping to Mumbai, Pune, Delhi, Bangalore, and all major cities.


Add comment