
Table of Contents
- What Is Infill in 3D Printing?
- Infill Density vs Infill Pattern
- All Major Infill Patterns Compared
- Strongest Infill Patterns
- Fastest Infill Patterns
- Which Filament Works Best With Each Pattern
- Real-World Use Cases for Indian Makers
- Pro Tips for Better Infill Results
- Frequently Asked Questions
- Conclusion
If you have spent any time with a slicer like Cura, PrusaSlicer, or Bambu Studio, you have definitely come across the infill settings. The infill pattern is one of the most underrated decisions in 3D printing — it directly determines how strong your part is, how much filament you use, and how long the print will take. Yet most beginners just leave it on Grid and move on.
In this comprehensive guide, we break down every major infill pattern available in popular slicers, compare them for strength and print speed, and help you make the right choice for your next project. Whether you are printing structural drone frames, decorative props, or functional mechanical parts right here in India, this guide has you covered.
What Is Infill in 3D Printing?
When your 3D printer builds a solid-looking object, the interior is rarely 100% solid plastic. Instead, the slicer generates a repeating internal structure called the infill. The infill fills the space between the outer walls (perimeters) and the top/bottom solid layers. This approach saves material, reduces print time, and — if chosen wisely — preserves most of the mechanical strength of a fully solid print.
The two primary infill settings you will encounter are:
- Infill Density: Expressed as a percentage (0–100%). A 20% infill means only 20% of the interior volume is filled with plastic.
- Infill Pattern: The geometric shape of the internal lattice — grid, honeycomb, gyroid, etc.
Both settings interact with each other. A weak pattern at 50% may be less strong than a superior pattern at 30%. Understanding the geometry is just as important as the percentage.
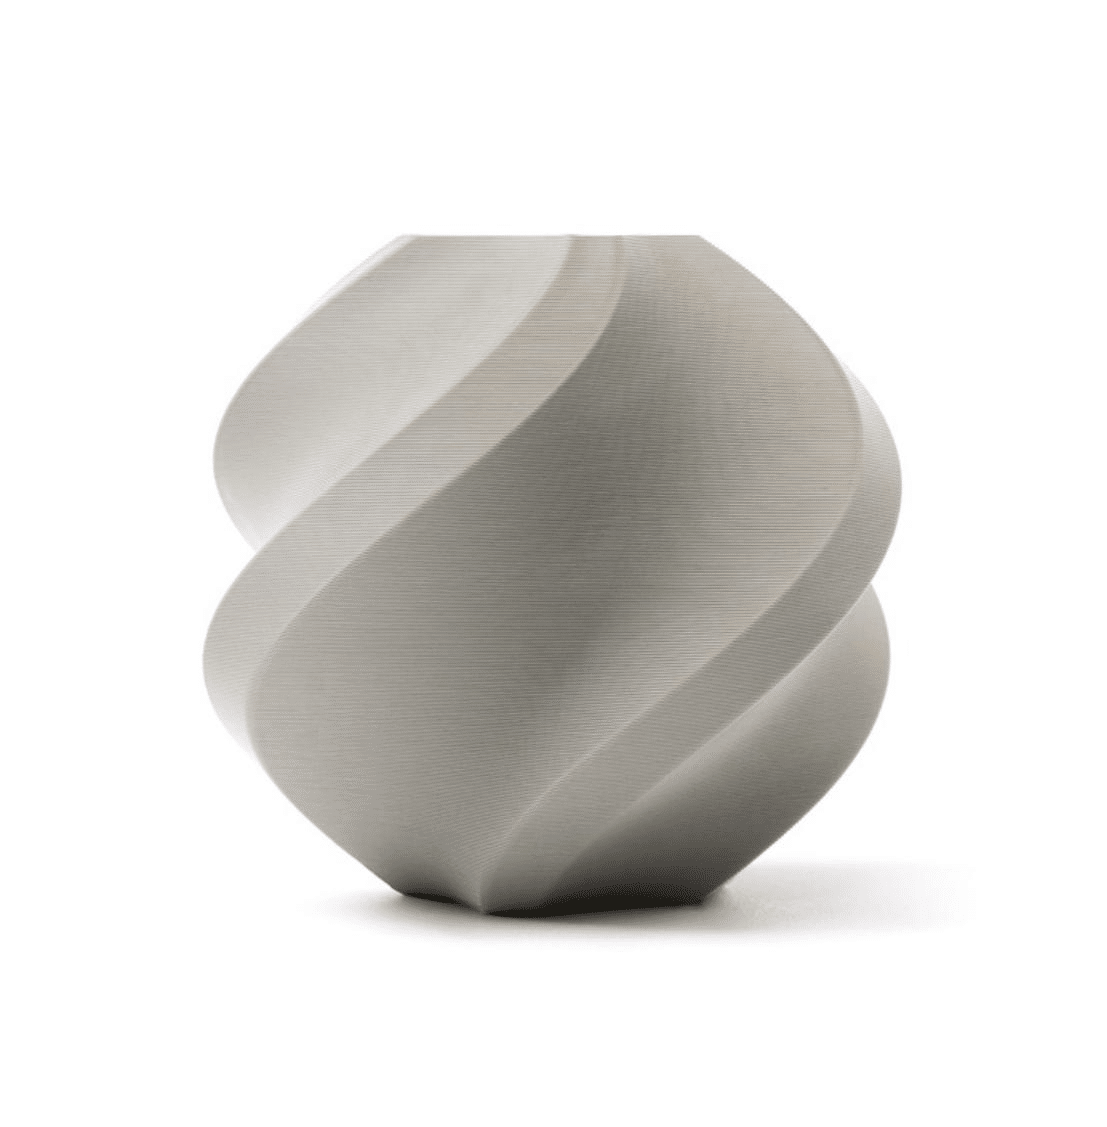
Bambu Lab PLA 3D Printer Filament – Grey 1.75mm with Reusable Spool
Premium Bambu Lab PLA filament — ideal for testing infill patterns with consistent flow and minimal stringing.
Infill Density vs Infill Pattern — Understanding the Relationship
A common mistake is to crank up infill density to 80–100% thinking it will always produce the strongest part. That is not always true. Here is why:
- At very high densities (above 60–70%), certain patterns like Grid start creating over-extrusion at intersections, weakening the part.
- 3D printed strength is also governed by layer adhesion, wall count, and top/bottom layer thickness — not just infill.
- Some patterns like Gyroid distribute stress three-dimensionally and can outperform simple grids at the same density.
A practical rule for most functional parts: use 3–4 walls, 4–5 top/bottom layers, and 20–40% infill with an appropriate pattern. Going beyond 40% infill rarely adds proportional strength but dramatically increases print time and filament cost.
All Major Infill Patterns Compared
1. Lines (Rectilinear)
Speed: Very Fast | Strength: Moderate (anisotropic) | Material Use: Very Low
Lines infill prints parallel lines in alternating directions between layers. It is the fastest infill pattern and uses the least filament. Strength is decent along the line direction but weaker perpendicular. Ideal for non-structural prints like decorative items, figurines, and prototypes.
2. Grid
Speed: Fast | Strength: Moderate-Good | Material Use: Low-Medium
Grid is the default in most slicers for good reason. It prints two sets of perpendicular lines on the same layer, creating a basic lattice. Stronger than Lines in both axes. Good for everyday objects. However, the intersections can cause slight over-extrusion which matters in precision parts.
3. Triangles
Speed: Moderate | Strength: Good (shear resistance) | Material Use: Medium
Triangular geometry distributes loads evenly and resists shear forces better than square grids. Useful for parts that experience lateral forces. Slightly slower and heavier than grid but worth it for structural applications.
4. Honeycomb (2D)
Speed: Slow | Strength: Good | Material Use: Medium-High
The classic hexagonal honeycomb mimics natural structures found in beehives. Good strength-to-weight ratio, but the curved paths slow the printhead significantly, especially at high speeds. The 3D (cubic) variant is generally more efficient.
5. Gyroid
Speed: Moderate-Slow | Strength: Excellent (isotropic) | Material Use: Medium-High
Gyroid is a mathematically minimal surface that distributes stress equally in all three axes. This makes it the strongest infill pattern per gram of material used. It is also excellent for flexible filaments like TPU because the curved paths flex smoothly. The downside is slower print speed and higher computational load on the slicer.
6. Cubic / 3D Honeycomb
Speed: Moderate | Strength: Very Good (3D distribution) | Material Use: Medium
Cubic infill creates a three-dimensional structure that resists forces from any direction. It is often called the best balance between strength, speed, and material use for functional parts. Highly recommended for mechanical components, brackets, and tool handles.
7. Lightning
Speed: Extremely Fast | Strength: Very Low | Material Use: Minimal
Lightning infill (available in Cura) is designed purely to support the top surface — it does not provide structural strength. Think of it as the minimum possible infill to prevent top layers from sagging. Use only for visual models and display items. Not suitable for any load-bearing part.
8. Concentric
Speed: Slow | Strength: Moderate | Material Use: Medium
Concentric prints rings that follow the shape of the outer wall. It is the best infill for flexible parts (especially TPU) because it allows uniform flex without stress concentration. Also used for transparent/translucent prints where internal structure visibility matters.
9. Hilbert Curve / Archimedean Chords / Octagram Spiral
Speed: Slow | Strength: Moderate | Material Use: Medium-High
These decorative infills are mostly used when the print will be translucent or when the infill pattern will be visible through the walls. They offer moderate strength but are chosen for aesthetics over function.
10. Cross / Cross 3D
Speed: Slow | Strength: Moderate | Material Use: Medium-High
Cross 3D is Cura’s best option for flexible filament printing after gyroid. The cross pattern allows even flex in all directions without creating stress points. Recommended for TPU grips, gaskets, and phone cases.
Strongest Infill Patterns — Ranked
Based on material science principles and community testing, here is the strength ranking:
- Gyroid — Best isotropic strength (resists forces equally from all directions)
- Cubic / 3D Honeycomb — Excellent 3D load distribution, faster than gyroid
- Triangles — Best for in-plane shear resistance
- Grid — Good for XY plane forces, weakens under Z-axis loading
- Honeycomb (2D) — Good but mostly 2D strength distribution
- Lines / Rectilinear — Anisotropic, directional strength only
- Lightning — Near zero structural strength
Recommendation for structural parts: Use Gyroid at 25–35% infill with 4 walls and 5 top/bottom layers. This combination provides excellent strength while keeping print time and material use reasonable.
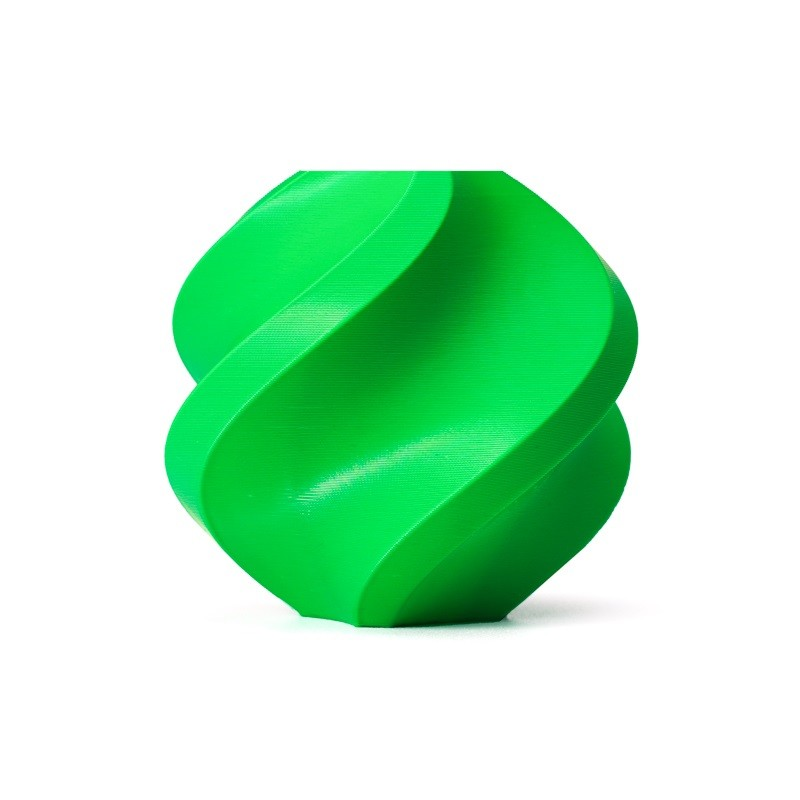
Bambu Lab ABS 3D Printer Filament – Bambu Green 1.75mm
Strong ABS filament for structural parts — pairs excellently with Gyroid or Cubic infill for maximum toughness.
Fastest Infill Patterns — Ranked
Print speed depends on path complexity. Straight lines are fastest; curved 3D structures are slowest. Here is the speed ranking from fastest to slowest:
- Lightning — Minimal material, minimum paths
- Lines / Rectilinear — Straight lines, maximum speed
- Grid — Two-pass lines, slightly slower
- Triangles — More direction changes, moderately slower
- Cubic — 3D structure but optimised paths
- Honeycomb (2D) — Curved paths, slow
- Cross 3D — Complex geometry, slow
- Gyroid — Smooth curves throughout, slowest structural option
Recommendation for fast prints: Use Lines or Grid at 10–15% infill when strength is not needed. For display models, Lightning at 10% is optimal.
Which Filament Works Best With Each Pattern
PLA
PLA is rigid and brittle. Gyroid and Cubic infill work well because their curved paths prevent crack propagation. Avoid high-density Grid with PLA as intersection stress concentrations can cause brittle failure. For decorative PLA prints, Lines at 15% is perfectly sufficient.
ABS
ABS is tougher and handles impact better than PLA. Grid and Cubic are both excellent. Gyroid is slightly overkill for most ABS applications but still the best choice if maximum strength is needed. ABS also warps less with uniform infill patterns like Cubic that distribute thermal mass evenly.
PETG
PETG is flexible enough to benefit from Gyroid’s isotropic structure. It is also used in food-safe and waterproof applications where Gyroid’s continuous surface limits moisture ingress. Grid works too but Gyroid is the premium choice for PETG structural parts.
TPU (Flexible)
For TPU, the infill pattern is critical. Concentric, Gyroid, and Cross 3D are the best options because they allow the part to flex without creating stress points. Grid and triangles create rigid zones inside a flexible shell, ruining the feel of the part. Always use low infill density (15–25%) with flexible filaments.
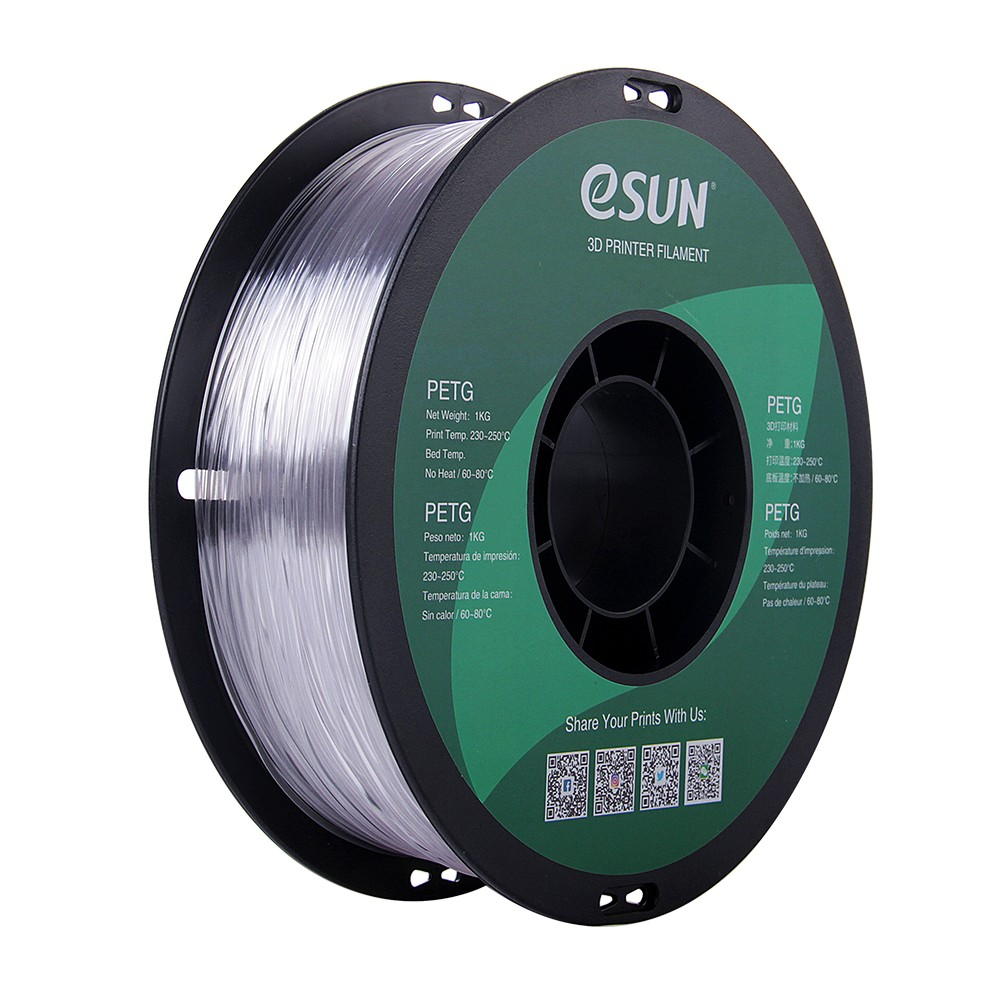
eSun PETG 1.75mm 3D Printing Filament 1kg – Clear
Crystal clear PETG — great for functional parts where Gyroid infill shines. Waterproof, food-safe, and tough.
Real-World Use Cases for Indian Makers
Drone & RC Frames
Indian FPV and drone builders need parts that survive crashes. Use ABS or PETG filament with Gyroid at 30% infill and 4 walls. The isotropic strength handles multi-directional impact forces from crashes. Avoid PLA for outdoor drone parts — Indian summer heat will warp PLA frames quickly.
Engineering & College Projects
For mechanical linkages, gears, and structural test pieces, Cubic or Gyroid at 30–40% infill with PLA gives good results for most BTech project demonstrations. When you need documentation, note that Gyroid provides measurably superior tensile and compression strength in all three axes.
Decorative & Display Models
For figurines, nameplates, architectural models, and trophies, Lines or Grid at 10–15% infill is perfectly sufficient. Lightning infill at 10% saves even more material and time. PLA is the best material choice here.
Jigs and Work Fixtures
Workshop jigs and PCB holders need to be dimensionally accurate and stiff. Grid or Triangles at 25–35% infill with PETG or ABS. Avoid Gyroid here as the curved paths can introduce slight dimensional inaccuracies in tight-tolerance features.
Flexible Phone Cases and Grips
TPU with Concentric or Cross 3D infill at 20% gives the best feel and grip. Indian climate means your prints will see high humidity and temperature swings — TPU handles this better than rigid materials for wearable or grip applications.
Pro Tips for Better Infill Results
- Reduce infill overlap: Setting infill overlap to 15–20% (down from the default 25–30%) reduces bulging at wall-infill interfaces and improves dimensional accuracy.
- Use infill speed separate from wall speed: You can print infill faster than walls. In Cura, set infill speed to 80–100mm/s even if walls are at 40–50mm/s.
- Match top layer count to infill density: At low infill densities (10–15%), use 5–6 top layers to prevent pillowing (sagging top surface).
- Vary infill per layer range: Advanced slicers allow different infill patterns in different Z ranges. Use dense cubic infill only in the load-bearing section of a part, and lightweight lines everywhere else.
- Clean your nozzle regularly: Infill paths expose partially burnt filament residue more than walls do. Keep your nozzle clean with a cleaning drill bit kit for consistent results.
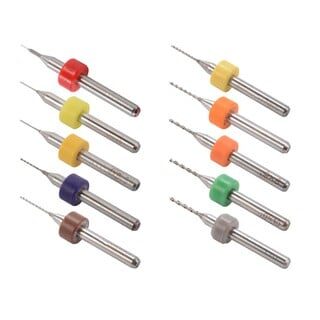
0.1–1.0mm Mixed 3D Printer Nozzle Cleaning Drill Bit Kit – 10 Pcs
Keep your nozzle clear for consistent infill extrusion. Essential maintenance kit for any FDM printer.
Frequently Asked Questions
Which infill pattern is the absolute strongest?
Gyroid infill is the strongest pattern because it distributes stress isotropically — equally in all three axes (X, Y, and Z). At the same density, gyroid outperforms grid, honeycomb, and most other patterns in tensile, compressive, and shear strength tests.
Which infill pattern uses the least filament?
Lightning infill uses the least filament as it creates the minimal possible structure to support the top surface. Lines (Rectilinear) is the next lightest option while still providing some structural integrity.
Is 20% infill strong enough for functional parts?
For most functional parts like brackets, enclosures, and tool holders, 20% Gyroid or Cubic infill with 3–4 walls is sufficient. The walls contribute most of the strength in typical FDM parts. Increase infill density to 30–40% only for parts under heavy load.
What infill pattern should I use for TPU flexible prints?
Use Concentric, Gyroid, or Cross 3D for TPU. These patterns flex smoothly without stress concentration. Grid and Honeycomb create rigid spots inside flexible parts and should be avoided for elastomeric filaments.
Does higher infill always mean stronger parts?
Not necessarily. Beyond 40–50% infill, the strength gain per percent drops sharply while print time and material use increase linearly. At 80–100% infill, over-extrusion at intersections (for grid-type patterns) can actually weaken parts. Focus on wall count and top/bottom layers for strength, and use a smart pattern like Gyroid at 30–40% for infill.
Which infill is best for Bambu Lab printers?
Bambu Studio offers all major infill types. For Bambu printers running at high speed (250–500mm/s), Gyroid may be slower than desired. Cubic or Grid at 20–25% offers an excellent balance of speed, strength, and quality on Bambu Lab machines.
Conclusion
Choosing the right infill pattern is not about picking the most exotic option — it is about matching the geometry to your application. For structural parts, Gyroid and Cubic are the clear winners. For fast decorative prints, Lines and Lightning save significant time and material. For flexible TPU parts, Concentric and Cross 3D are the correct choices.
As a practical recommendation for most Indian makers: use Cubic infill at 20–25% as your default setting. It provides excellent 3D strength, prints reasonably fast, and works well with PLA, ABS, and PETG. Reserve Gyroid for your most demanding structural applications where every gram of material needs to count.
The other half of the equation is using quality filament. Consistent diameter, dry storage, and good formulation matter just as much as your slicer settings. Explore our range of premium PLA, ABS, PETG, and accessories at Zbotic to get the best results from every print.
Get premium Bambu Lab PLA, ABS, and eSun PETG filaments delivered across India. Fast shipping, quality guaranteed.


Add comment