
A robot arm that can only control position is limited — it will crush a soft object or fail to grip a heavy one. Adding force control with load cell feedback on Arduino transforms a basic robot arm into a compliant manipulator that senses how hard it is pressing and adjusts in real time. This tutorial covers everything from wiring an HX711 load cell amplifier to implementing a simple force-position hybrid controller.
Force Control: Why It Matters
Position control tells a servo: “go to 90 degrees.” Force control tells it: “push with 200 grams of force — adjust position until the force sensor reads that value.” This distinction is critical for tasks like:
- Delicate grasping: Picking an egg without breaking it, or a foam cup without crushing it.
- Assembly: Pressing a peg into a hole with controlled insertion force, detecting when it seats correctly.
- Surface following: A painting or polishing arm that maintains constant contact pressure regardless of surface contour.
- Human collaboration: A robot arm that yields when a human pushes it — essential for safe human-robot interaction.
Industrial robots achieve this with 6-axis force/torque sensors costing ₹1–5 lakh. For hobby and research prototypes, a ₹200 load cell + ₹150 HX711 module delivers surprisingly capable force sensing. Accuracy is lower (±5 g vs ±0.1 g industrial), but sufficient for most educational and light-duty industrial demonstrations.
Load Cell Types and Selection
Load cells convert mechanical force into an electrical signal (voltage change) via strain gauges bonded to a flexing element. Common types for robot arms:
- Bar load cell (single-point): Rectangular aluminium bar, typical range 1 kg–200 kg. Best for gripper fingertip sensing or end-effector force measurement. Cheap and easy to mount.
- S-type load cell: Higher accuracy, handles both tension and compression. Good for wrist force sensing (axis-aligned). Costs ₹300–₹800.
- Button/disc load cell: Very compact, fits inside gripper jaws. Range typically 50 g–50 kg. Ideal for fingertip feedback.
- Thin film (FSR) sensor: Not a true load cell — resistance changes with pressure, very nonlinear. Useful only for binary touch detection, not calibrated force measurement.
For a beginner robot arm project, a 1 kg bar-type load cell mounted on the gripper tip is the easiest starting point. It requires only four wires (E+, E–, S+, S–) and connects directly to the HX711 module.
HX711 Amplifier: Wiring and Calibration
The HX711 is a 24-bit ADC designed for Wheatstone bridge sensors like load cells. It provides ×128 gain on channel A (best for load cells) and communicates with Arduino via a simple 2-wire interface (CLK + DOUT — not I2C or SPI).
Wiring the load cell to HX711:
- Load cell E+ → HX711 E+
- Load cell E– → HX711 E–
- Load cell S+ → HX711 A+
- Load cell S– → HX711 A–
Wiring HX711 to Arduino:
- HX711 VCC → Arduino 5V
- HX711 GND → Arduino GND
- HX711 DT → Arduino D3
- HX711 SCK → Arduino D4
Calibration procedure (using the HX711 library by bogde):
- Install via Arduino Library Manager: search “HX711”.
- Run the calibration sketch with no load on the cell. Note the raw ADC value — this is your
OFFSET. - Place a known weight (e.g. 500 g calibration mass or a bottle of water weighed on a kitchen scale). Note the new raw ADC value.
- Calculate:
SCALE = (raw_with_weight – OFFSET) / known_weight_in_grams. - Hard-code OFFSET and SCALE into your sketch. The HX711 library’s
set_scale()andset_offset()functions handle this.
After calibration, scale.get_units(10) (average of 10 readings) returns force in grams directly. Noise floor is typically ±2–5 g, which is adequate for robot arm applications above 20 g.

ACEBOTT ESP32 5-DOF Robot Arm Kit Expansion Pack
5-DOF robot arm expansion for ESP32 robot kits — perfect platform for adding load cell force feedback.
DIY Acrylic Robot Manipulator Mechanical Arm Kit
Multi-DOF acrylic robot arm kit — great structural base for experimenting with force control and load cell feedback.
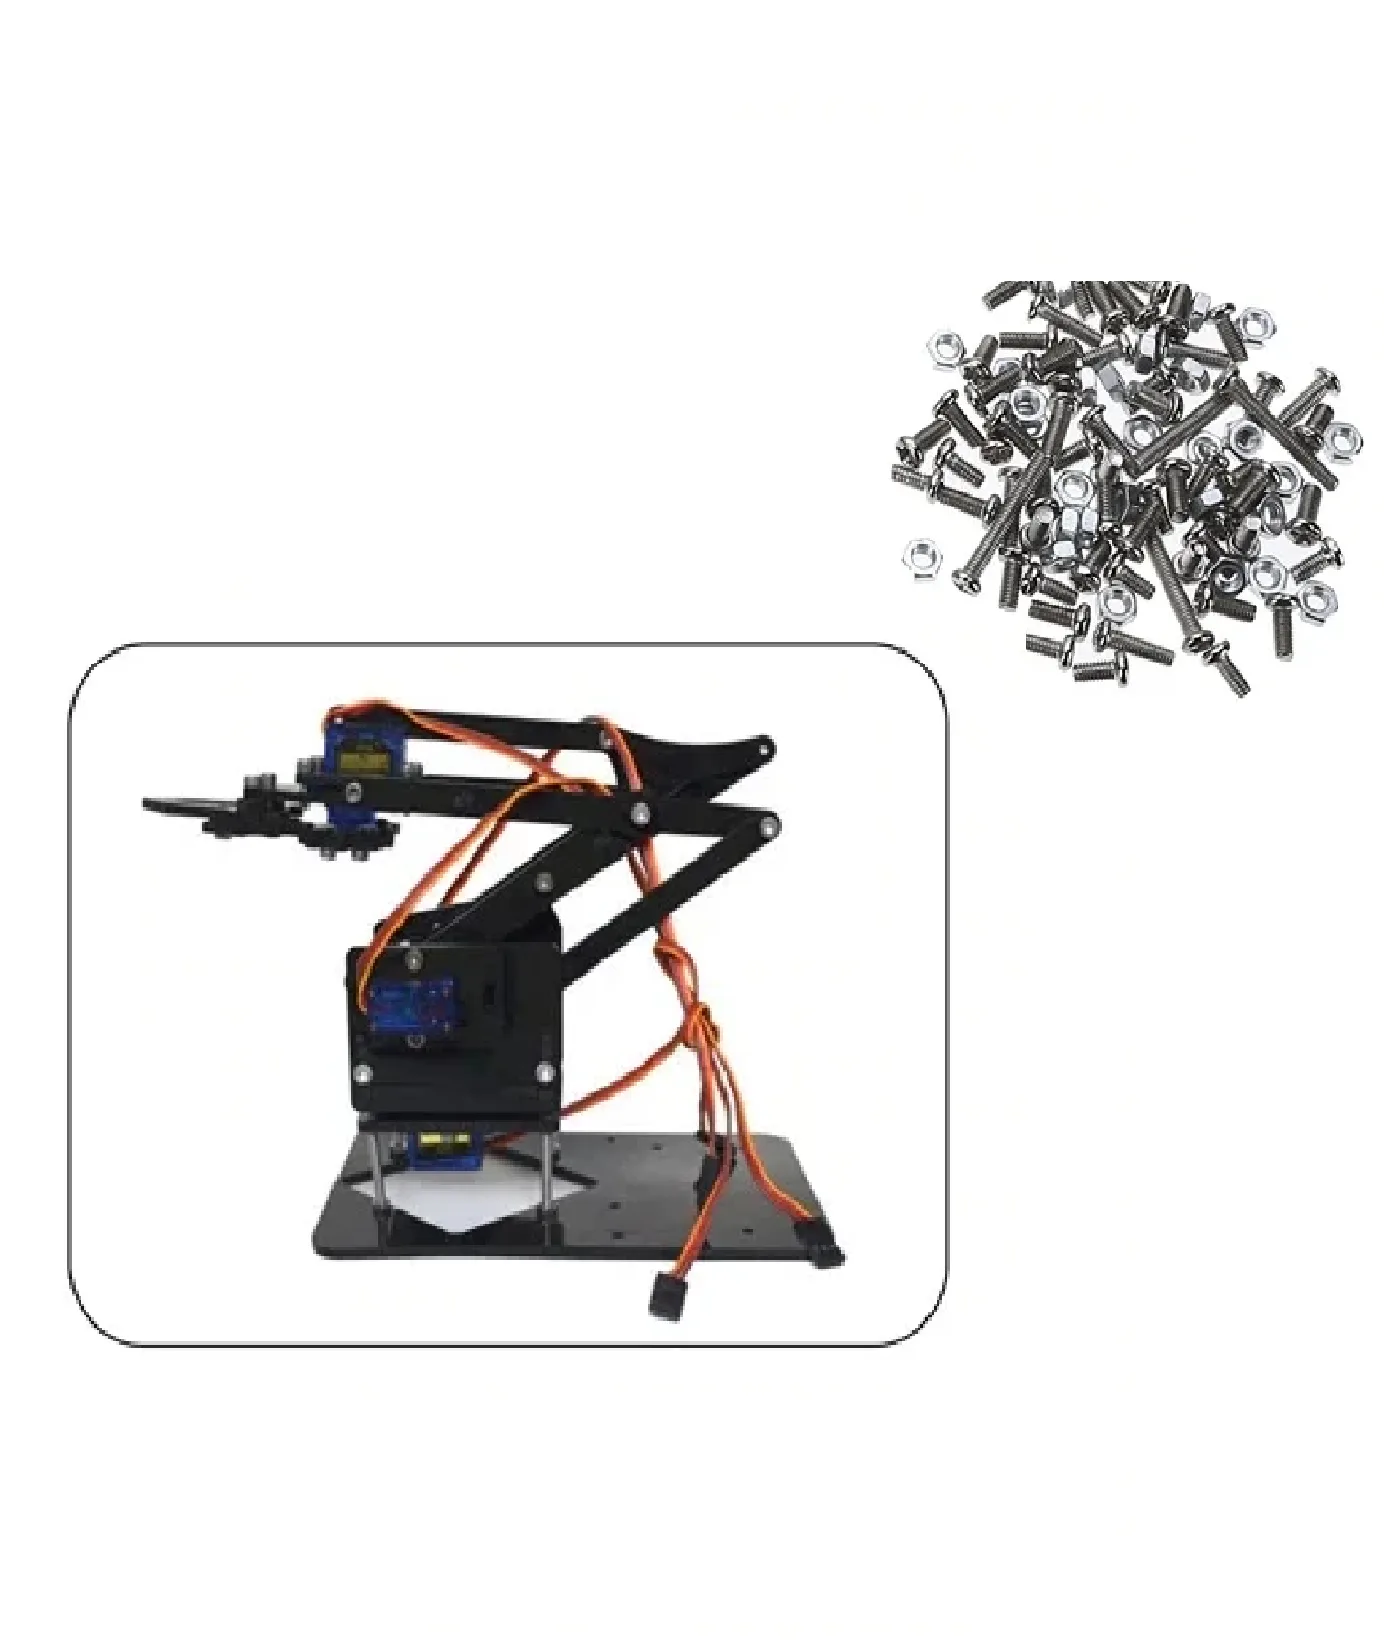
Robot Arm Hardware Setup
For this tutorial, we assume a 4–5 DOF servo-driven robot arm with a two-finger gripper. The load cell is mounted in one of two positions depending on your goal:
- Gripper fingertip: Measures grasping force directly. Needs a compact button or bar cell (max 1 kg range). Mount between finger and contact pad using M2 screws.
- Wrist mounting: Measures combined X/Y/Z force at the end-effector. Requires a higher-capacity cell (5–10 kg) and gives more useful data for surface-following applications.
Mount servos using proper brackets to avoid backlash and frame flex that introduces noise into force readings. The SG90 servo is adequate for light arms, but MG996R metal-gear servos provide stiffer position holding, which makes force control more stable (less position oscillation when the force loop corrects).

Servo Mount Holder Bracket For SG90/MG90 (Pack of 2)
Precision servo brackets that reduce mechanical flex — essential for stable force control performance.
Force Control Algorithm
The simplest force controller is proportional force control (P-controller in force domain):
error = target_force - measured_force;
position_correction = Kp * error;
new_position = current_position + position_correction;
Here, Kp is the proportional gain (start with 0.01°/g and tune). If measured force exceeds the target, the arm retreats (reduces position); if below target, it advances. This creates compliant behaviour — the arm naturally backs off when it encounters more resistance than expected.
A more robust approach is the hybrid force-position controller used in industrial robots:
- Define a task frame with force-controlled axes and position-controlled axes.
- Along the surface normal (Z axis): use force control (maintain constant contact pressure).
- Along the surface plane (X, Y axes): use position control (follow the desired path).
For an Arduino-based arm, implement this by running position control on all joints except the gripper, and force control only on the gripper jaw position. This separates complexity and is manageable within Arduino’s processing limits.
Integral windup: If you add an I term to reduce steady-state force error, cap the integral accumulator to prevent it from winding up when the arm is physically blocked. Typical cap: ±30% of servo travel range.
Arduino Implementation
#include <Servo.h>
#include <HX711.h>

HX711 scale;
Servo gripperServo;

const int DT_PIN = 3, SCK_PIN = 4, SERVO_PIN = 9;
const float TARGET_FORCE = 150.0; // grams
const float Kp = 0.02;            // deg per gram error
const float DEADBAND = 10.0;      // grams — ignore tiny errors

float gripAngle = 60.0;           // start half-open

void setup() {
  Serial.begin(115200);
  scale.begin(DT_PIN, SCK_PIN);
  scale.set_scale(YOUR_CALIBRATION_FACTOR);
  scale.set_offset(YOUR_OFFSET);
  gripperServo.attach(SERVO_PIN);
  gripperServo.write((int)gripAngle);
}

void loop() {
  float force = scale.get_units(5);          // avg 5 readings
  float error = TARGET_FORCE - force;

  if (abs(error) > DEADBAND) {
    gripAngle += Kp * error;
    gripAngle = constrain(gripAngle, 10, 90); // safety limits
    gripperServo.write((int)gripAngle);
  }

  Serial.print("Force:"); Serial.print(force);
  Serial.print(" Angle:"); Serial.println(gripAngle);
  delay(50); // 20 Hz control loop
}
This sketch runs a 20 Hz force control loop on the gripper. When you place an object between the gripper jaws, the servo closes until the load cell reads 150 g, then holds that force even if the object shifts slightly. Removing the object causes the gripper to gently close to the stop limit.
For a full robot arm with position control on the shoulder/elbow/wrist joints and force control only on the gripper, use a separate loop timer (e.g. millis()-based) for each control mode to avoid HX711 reading delays blocking servo updates.
Gripper Force Applications
Once your force-controlled gripper works, these applications become achievable:
- Egg sorting: Grip, lift, and classify by weight (via load cell) without breaking — then place in appropriate bin.
- Texture detection: Compare force-vs-displacement curves to distinguish hard (steel) from soft (foam) materials before vision confirmation.
- Slip detection: Monitor force drops during lifting — a sudden 20% drop indicates the object is slipping; trigger re-grip immediately.
- Fruit picking: Apply constant 80 g grasping force to avoid bruising soft fruits. Commercial systems like Dogtooth Technologies use this exact principle.
- Assembly insertion: Press a connector with 500 g force until load cell detects a sudden force spike (indicating full insertion), then stop.

ACEBOTT ESP32 Programmable Robot Arm Kit – QD022
Complete beginner-friendly ESP32 robot arm kit — an excellent platform for your first force control experiments.
Frequently Asked Questions
- Can I use a Force Sensitive Resistor (FSR) instead of a load cell?
- FSRs are much cheaper (₹30–₹80) but are highly nonlinear, temperature-sensitive, and don’t hold calibration well. Use them only for binary touch detection. For calibrated force control, a proper load cell + HX711 is necessary.
- What range load cell should I buy for a robot arm gripper?
- For grasping everyday objects (phones, bottles, fruits), a 500 g–1 kg load cell is ideal. For heavier assembly tasks (pressing bearings, inserting large connectors), use 5 kg. Going too large reduces sensitivity at low forces.
- How fast can the force control loop run on Arduino?
- The HX711 outputs at 10 Hz or 80 Hz depending on the RATE pin setting. At 80 Hz, you can run a force control loop at ~60–70 Hz accounting for computation time — sufficient for most gripper applications. Servo control can run at 50 Hz (standard PWM period).
- My force readings are very noisy. What can I do?
- Average multiple readings (5–10 samples per control cycle). Ensure mechanical isolation — the load cell should flex only along its sensitive axis. Check that wires to the load cell are not pulling on the body. Add a 100 nF capacitor between E+ and E– on the HX711 module.
- Can this be extended to 6-axis force/torque sensing?
- Yes, in principle, using 6 load cells in a Stewart platform configuration. In practice, this is mechanically complex. For true 6-axis F/T sensing at low cost, look at the OpenFT project or commercial units from Robotiq (~$5,000 USD).


Add comment