
Getting a great 3D print off the bed is only half the battle. Fresh off the printer, even a well-tuned machine leaves layer lines, support marks, and a surface texture that looks clearly mechanical rather than finished. Post-processing transforms raw prints into smooth, professional-looking objects — props, scale models, cosplay pieces, product prototypes, and decorative items that can fool the eye into thinking they were injection-moulded.
This guide covers the full post-processing workflow for 3D printed parts: from removing supports and cleaning up layer lines, through sanding and filling, to priming and painting with professional results. All techniques and materials are available in India.
Support Removal and Cleanup
Post-processing starts before you pick up any sandpaper. Support removal done carelessly leaves torn surface texture and embedded white fibres that are impossible to sand out without removing large amounts of surrounding material.
Tools for Support Removal
- Flush cutters: For cutting support structures close to the surface without tearing. Essential.
- X-Acto knife / hobby knife: Scraping and trimming leftover support nubs.
- Needle-nose pliers: Gripping and peeling tree-style or breakaway supports.
- Dental picks: Cleaning support material from holes, recesses, and tight internal spaces.
Technique
Remove large support structures by gripping them close to the attachment interface and rotating as you pull — this shears the support at its designed break-off point with minimal damage to the surface below. Never yank large supports away from the body of the print; always start at the tips and work toward the attachment points.
For complex designs with many small support columns, use flush cutters to remove them section by section. After all supports are off, go over the part under good light and identify every leftover nub. Mark them with a pencil, then remove them cleanly with the hobby knife.
Stringer filaments (thin webs of melted plastic left during travel moves) can be removed with a heat gun or hair dryer. Hold 15–20cm away from the part and apply 2–3 seconds of heat — the fine strings melt away without affecting the main structure. Do not use this technique on PLA parts that will be sanded extensively — the heat can slightly soften the surface layer and make fine sanding marks harder to remove.
Wet Sanding: The Foundation Technique
Wet sanding is the most important technique in 3D print post-processing. Water acts as a lubricant that prevents sandpaper from loading up with plastic, reduces heat (which can soften PLA), and gives a much more even scratch pattern than dry sanding.
Sandpaper Progression
Work through a progressive grit sequence. Skipping grits means spending far more time on later grits removing the scratch pattern from the previous grit:
- 80–120 grit: Heavy removal of layer lines, large support marks, print artefacts. Only use if there is significant material to remove. Very aggressive.
- 220 grit: Standard starting grit for most parts with normal layer height (0.2mm). Removes layer lines efficiently.
- 320–400 grit: Removes scratches from 220 grit. Surface starts to look matte-smooth.
- 600 grit: Fine smoothing. This is the minimum acceptable finish for primer application.
- 800–1000 grit: Pre-paint finish. Scratches are invisible to the eye but still provide mechanical key for primer.
- 1500–2000 grit: Between-coat sanding. Used after each primer coat to knock down high spots.
- 2500–3000 grit: After final colour coat, before clear coat — or as a pre-polish stage for bare clear finishes.
Wet Sanding Technique
- Fill a bowl with water and a drop of dish soap
- Cut sandpaper into manageable pieces (60×90mm)
- Wet the sandpaper and the part
- Sand in a consistent direction — straight strokes, not circular — within each grit level
- Rinse frequently and check progress under light
- When the previous grit’s scratch pattern is replaced by finer, uniform scratches from the current grit, move to the next finer grit
- Always change sanding direction by 90° between grits so you can visually confirm you have sanded out all previous marks
Sanding Complex Geometry
Flat surfaces are easy. Curved surfaces, tight radii, and textured areas need specialised approaches:
- Wrap sandpaper around a dowel rod or pen for concave curves
- Use foam-backed wet/dry sandpaper for convex surfaces — it conforms without flattening the curve
- Dremel with sanding drum attachment for internal radii and hard-to-reach areas (use carefully at low speed)
- Nail files and emery boards work well for small, tight areas
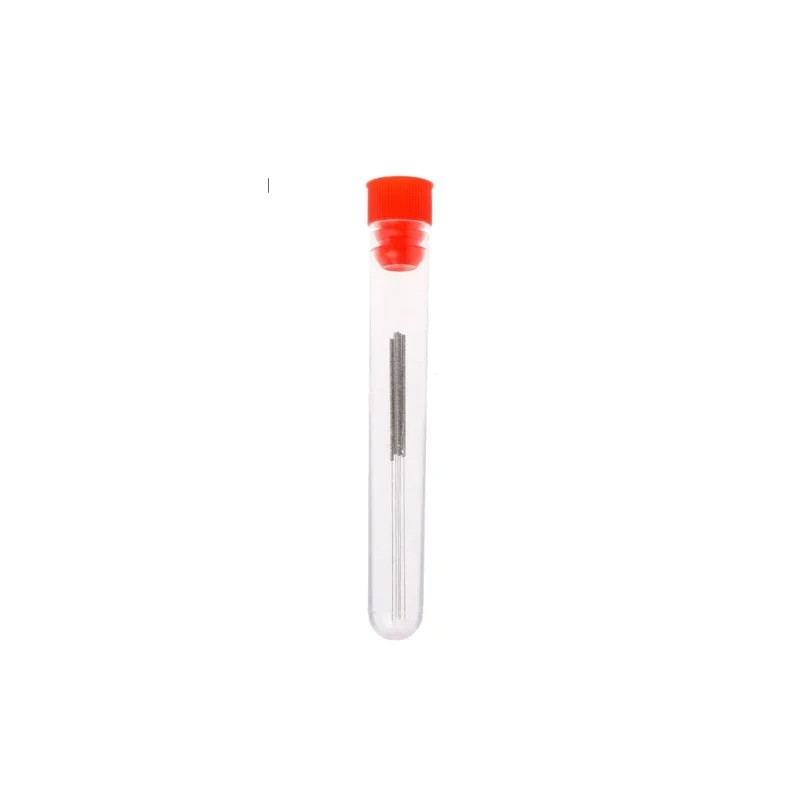
Stainless Steel Nozzle Cleaning Needles – Pack of 10
Maintain your printer during your post-processing projects. A clean nozzle ensures consistent extrusion so your next print comes out with fewer layer artefacts that need sanding.
Gap Filling and Surface Filling
Even after thorough sanding, layer lines in recessed areas, seams between printed sections, and small voids from print artefacts often remain. Surface filling addresses these before priming.
Spot Putty (Nitro Putty)
Automotive spot putty (also called nitro putty or glazing putty, sold in tubes at auto parts shops) is the standard solution for filling small defects and depressions. Apply with a spatula or old credit card, let dry for 15–30 minutes, then sand flat. Works on PLA, PETG, ABS, and resin prints. Available at any automotive shop in India for around ₹150–₹300 per tube.
Bondo / Body Filler
Two-part polyester body filler (Bondo or Indian equivalents from Wuerth or Perma) is for larger voids and areas needing significant material buildup. Mix the filler with the hardener, apply with a spreader, and shape before it sets (working time is 5–10 minutes). Sands easily after curing (30–60 minutes). Use this for joining separately printed parts or filling large gaps from support removal.
Cyanoacrylate (Super Glue) + Baking Soda
A classic maker technique: pour a small amount of baking soda into a gap or depression, then saturate it with thin super glue. The reaction creates a hard, sandable filler in seconds. Works well for seams between printed parts assembled with CA glue. Dries opaque white — will show through paint without primer.
3D Gloop / XTC-3D
Epoxy-based surface coatings like XTC-3D (available in India through select online retailers) flow across the surface of a print, filling layer lines chemically. One coat eliminates most 0.2mm layer lines without any sanding at all. Adds 0.5–1mm to all dimensions — account for this in your design if precision matters.
Chemical Smoothing: Acetone, XTC-3D, and More
Acetone Smoothing for ABS
ABS dissolves in acetone vapour, allowing the surface to reflow and self-smooth. This is the fastest way to eliminate layer lines on ABS prints completely, achieving an injection-moulded appearance in 30–60 minutes.
Acetone vapour method (safer approach):
- Use a metal or glass container with a lid (never plastic — acetone dissolves most plastics)
- Soak a paper towel in acetone and place it in the container, not touching the print
- Suspend the print above the acetone-soaked towel on a small platform
- Close the lid. Acetone vapour fills the container.
- Check every 15 minutes — ABS parts over-exposed to acetone vapour become mushy and lose detail
- Remove when the surface is glossy and layer lines are gone (typically 20–45 minutes)
- Allow to cure in open air for at least 4 hours before handling — the outer layer is still soft
Safety: Acetone is highly flammable. Do this outdoors or in a well-ventilated area far from any flame or spark. Never use electric heating elements to accelerate the process.
Acetone Smoothing for PLA — Does It Work?
Regular PLA is not soluble in acetone. However, some PLA+ and modified PLA formulations can be lightly smoothed with MEK (methyl ethyl ketone) or DCM (dichloromethane). These solvents are harder to source in India and more hazardous. For PLA, the sanding and filling approach gives better, more controllable results.
Resin Coating
UV or epoxy resin coatings (like Smooth-On XTC-3D or similar Indian-available two-part clear epoxies) brush over the print surface, fill layer lines by flowing into recesses, and harden to a smooth, paintable surface. Best for organic shapes and complex geometry where sanding is difficult. One coat takes 4–8 hours to cure.
Priming: The Most Important Step
Many makers skip primer and go straight to paint. This is the single biggest mistake in 3D print painting. Primer serves three critical functions: it reveals surface defects that are invisible in white or grey plastic, it provides a chemically compatible adhesion surface for topcoat paints, and it fills micro-scratches from the final sanding stages.
Types of Primer for 3D Prints
- Filler primer (high-build primer): Automotive spray cans of 2K urethane primer or lacquer-based high-build primer. Best for 3D prints — fills remaining scratches and small defects. Look for Rustoleum or Motip brands at automotive shops in India. Cost: ₹400–₹800 per can.
- Grey surfacer: Used between colour coats to check surface quality. Tamiya and Gunze Fine Surface Primer are excellent for scale models.
- Etch primer: Not needed for plastic — designed for bare metal. Avoid on 3D prints.
Primer Application
- Clean the part thoroughly — wipe with isopropyl alcohol (IPA) to remove any sanding residue and fingerprint oils
- Spray in light, even coats from 20–30cm distance
- Allow each coat to flash off (turn matte) before the next coat — typically 10–15 minutes
- Apply 2–3 coats total
- Inspect under raking light (light held nearly parallel to surface) to reveal remaining defects
- Fill any remaining issues with spot putty, re-sand with 600–800 grit, and apply another primer coat
- Final primer coat: wet sand with 1000 grit, then 1500 grit
Painting Techniques for 3D Prints
Rattle Can (Spray Can) Painting
The most accessible painting method in India. Rustoleum, Motip, and local brands (Berger, Asian Paints spray cans) are available at hardware and automotive stores nationwide. Lacquer-based paints bond well to primed 3D prints. Apply in thin coats at 25–30cm distance. At least 3–4 thin coats are better than 1–2 heavy coats — heavy coats cause runs, fish-eyes, and orange peel texture.
Brush Painting
For detail work, colour separation, and small parts. Acrylic paints (Tamiya, Vallejo, Games Workshop Citadel) are ideal — water-based, fast-drying, and excellent adhesion over primer. Thin with water or airbrush medium to a skim-milk consistency for smooth brush marks. Use multiple thin coats: each coat flows out as it dries, progressively building up smooth colour.
Airbrushing
Gives the smoothest finish and most control, but requires an airbrush (₹1,500–₹8,000) and compressor (₹5,000–₹15,000). Worth the investment for serious modellers or cosplay prop makers who paint regularly. Water-based acrylics (Vallejo Model Air, Tamiya Air) are formulated for airbrushing and give exceptional results on 3D prints.
Metallics, Washes, and Detail Painting
Advanced painting techniques borrowed from scale modelling dramatically improve the appearance of 3D printed props and models:
- Dry brushing: Load a stiff brush lightly with metallic paint, wipe most of it off on paper, then brush across raised surfaces. Picks out edges and texture naturally.
- Washes: Thin dark paint applied over a dry base coat flows into recesses and panel lines, creating shadow effects. Citadel Shade paints are pre-formulated for this and available in India through hobby stores.
- Stippling: Dabbing a sponge lightly loaded with paint creates a worn metal or battle-damage texture.
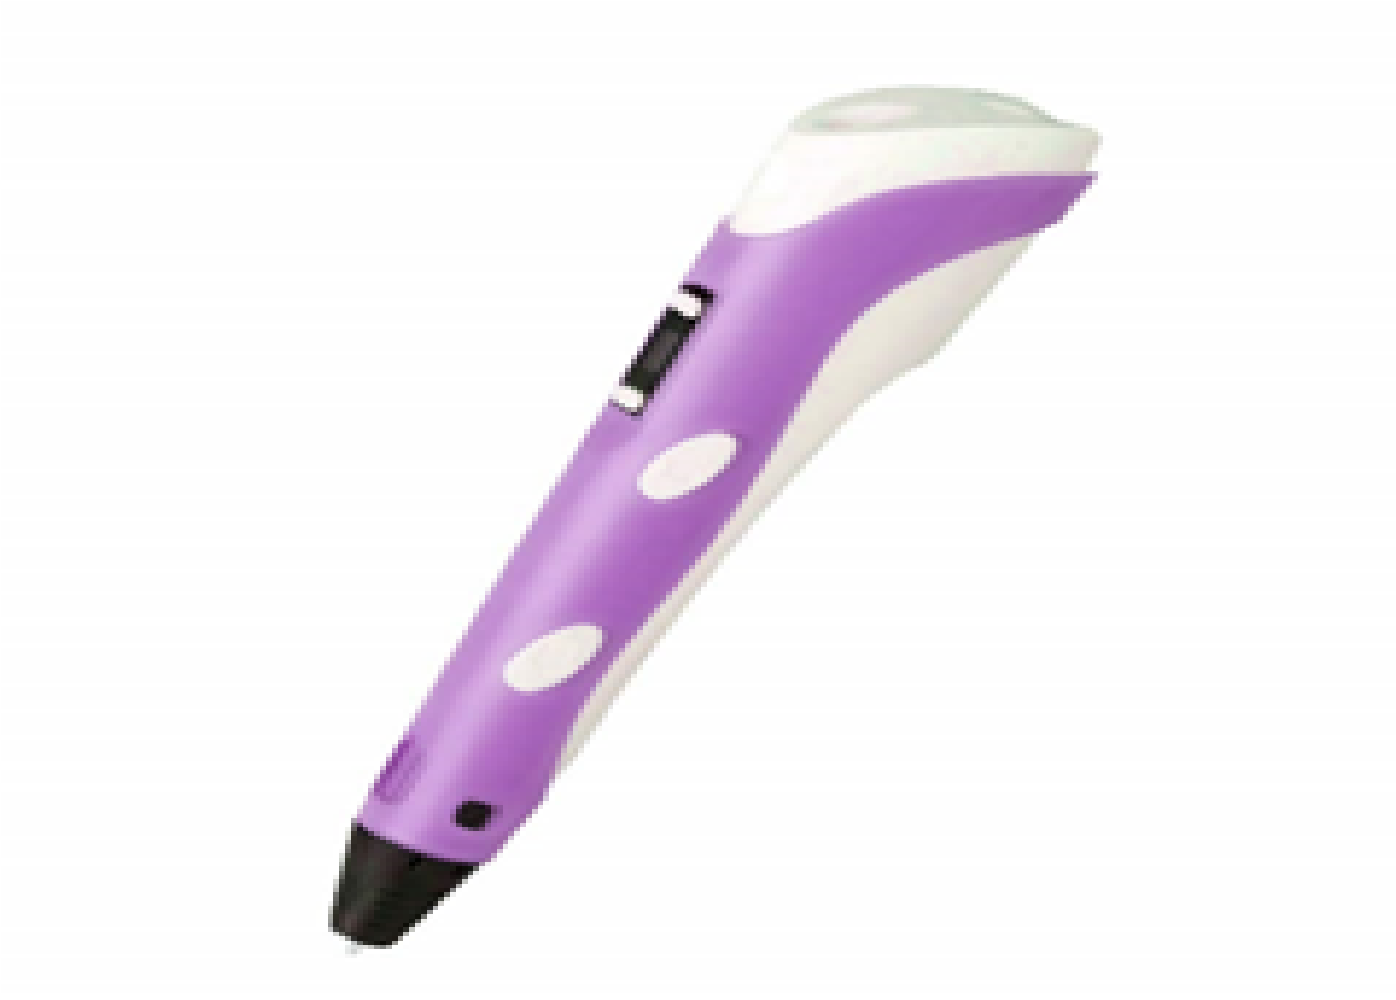
3D Printer Pen with Filament and USB Cable
A 3D pen is a fantastic tool for post-processing — use it to fill gaps, add details, and repair small print defects before sanding and painting. Runs on standard 1.75mm PLA filament.
Clear Coating and Sealing
A clear coat protects the paint, provides a uniform sheen, and can dramatically change the perceived quality of a finished piece.
- Gloss clear coat: Reflects light, makes colours appear richer and more saturated. Best for scale models, display pieces, miniatures after washing.
- Matte clear coat: Flat, non-reflective. Used for realistic military models, organic textures (fabric, skin), or any piece where gloss would look artificial.
- Satin / Semi-gloss: A natural-looking middle ground. Good for skin tones, leather, and general-purpose finishing.
Apply clear coat after the final colour coat is fully cured (24–48 hours for spray lacquers). Apply 2–3 light coats. For maximum gloss, wet sand the colour coat with 2000 grit before clear coat, then wet sand the clear coat with 2000 grit and polish with automotive cutting compound.
Post-Processing by Material
| Material | Sanding | Chemical Smoothing | Notes |
|---|---|---|---|
| PLA / PLA+ | Excellent | Not practical | Sands easily; heat during sanding can cause surface softening |
| ABS | Good | Excellent (acetone) | Acetone vapour is the fastest method; avoid flexing while sanding |
| PETG | Moderate | Limited | Gummy when sanding; use finer grits and less pressure |
| ASA | Good | Good (acetone) | Similar to ABS; UV-resistant for outdoor parts |
| Resin (SLA) | Excellent | Resin coat | Already smooth from printing; sands to glass finish quickly |
| Nylon | Difficult | Not practical | Flexible and gummy; very hard to achieve smooth finish |
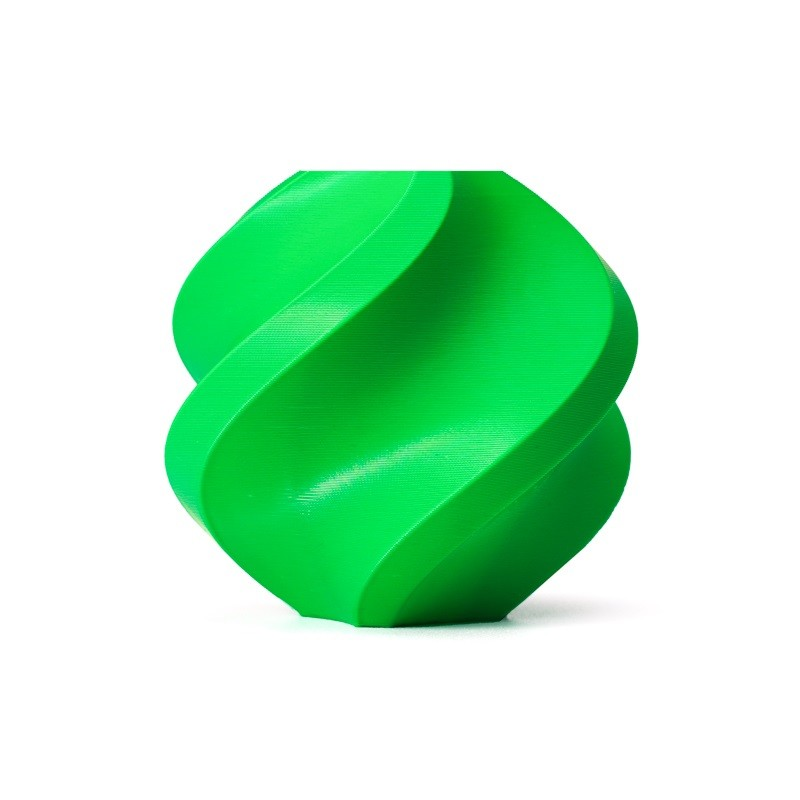
Bambu Lab ABS Filament – 1.75mm Bambu Green
ABS is the best material for parts you plan to sand and acetone-smooth. This Bambu Lab ABS delivers consistent extrusion with minimal warping, giving you a better raw surface to start your post-processing with.
Where to Buy Post-Processing Materials in India
Sourcing post-processing supplies is straightforward across India:
- Sandpaper (wet/dry, all grits): Any auto parts shop or hardware store — 3M and Norton are the most reliable brands. Ask specifically for wet/dry sandpaper (waterproof backing). A pack of assorted grits (220–2000) costs ₹150–₹400.
- Filler primer spray: Auto parts shops (Rustoleum, Motip), large hardware stores. ₹400–₹700 per can.
- Spot putty / body filler: Auto parts shops nationwide. Bondo is available on Amazon India. ₹200–₹500.
- Acrylic hobby paints: Hobbycraft stores, Archies stores, and online (Amazon, Flipkart) stock Vallejo, Tamiya, and Citadel paints. ₹150–₹400 per pot/bottle.
- Acetone: Hardware stores, nail care suppliers (acetone nail polish remover works but is diluted — use pure hardware-grade for smoothing). ₹100–₹200 per litre.
- Isopropyl alcohol (IPA 99%): Medical stores, electronics suppliers, Amazon. Essential for cleaning parts before painting. ₹150–₹250 per litre.
- Clear coat spray: Auto parts shops. Motip and Rustoleum are widely available. ₹400–₹600 per can.
Frequently Asked Questions
Do I need to sand 3D prints before painting?
Not always, but almost always for best results. If you are painting a rough-surfaced part for a prop or toy where surface quality is not critical, you can prime directly over unsanded PLA and the primer will hide some layer lines. For anything where appearance matters — models, cosplay, product prototypes — sand first.
What grit sandpaper should I start with?
For a standard Ender 3-class print at 0.2mm layer height, start with 220 grit wet. If there are heavy support marks or large layer steps from overhangs, start with 120 grit and then jump to 220. Never skip from 120 directly to 400 — you will spend hours removing the 120-grit scratch pattern.
Can I use regular wall paint on 3D prints?
Water-based acrylic wall paint technically adheres to primed PLA but gives poor results — it is too thick, dries slowly, and does not level out smoothly. Use dedicated spray paint or hobby acrylics formulated for fine detail work.
Is acetone smoothing safe to do indoors?
Not safely. Acetone vapour is highly flammable and produces fumes that should not be inhaled. Always do acetone smoothing outdoors or with strong mechanical ventilation, away from all ignition sources. Do not use acetone near a 3D printer that is running (hot end = ignition source).
How do I paint transparent or clear filament prints?
Clear PETG or clear PLA can be painted from the inside of a hollow print for a backlit effect. For painting the exterior, sand normally but note that primer will eliminate the transparency — paint on a clear print is opaque. If you want translucent colour effects, tinted resin coatings or transparent inks work better than opaque primer+paint systems.
How long should I wait between coats of paint?
For spray lacquers: 15–20 minutes between coats (flash time), but 24–48 hours before wet sanding or handling roughly. For hobby acrylics brushed on: 20–30 minutes between coats. For clear coat over colour coat: let colour coat dry at least 24 hours to avoid clouding or wrinkling.
Get the Best Filaments for Your Next Finished Project
A great post-processing result starts with a great print. Browse premium PLA, ABS, and PETG filaments from Bambu Lab and eSun — the brands trusted by Indian makers who care about quality.


Add comment