
Fusion 360 is one of the most powerful and accessible CAD tools available today, and the best part for Indian hobbyists and students — it is free for personal use and startups with under $100,000 annual revenue. If you have a 3D printer and want to move beyond downloading STL files from the internet, Fusion 360 is the natural first step into designing your own parts.
This guide walks you through a complete beginner workflow: from installing Fusion 360 and understanding the interface to designing a real part, preparing it for your slicer, and exporting an STL that will print cleanly. We will cover common mistakes beginners make and how to avoid them, with plenty of tips tuned for 3D printing rather than manufacturing.
1. Why Fusion 360 for 3D Printing?
There are many CAD tools in the world — SolidWorks, Inventor, CATIA, NX — but most are expensive and complex. On the other end of the spectrum, Tinkercad is free and simple but limited. Fusion 360 hits the sweet spot:
- Parametric modelling — change a dimension and the entire model updates automatically
- Full feature set — sketches, extrusions, sweeps, lofts, fillets, chamfers, assemblies, simulations
- Cloud-based storage — your designs sync automatically; no lost files
- Free personal licence — Autodesk’s personal/hobbyist licence is legitimate and fully functional
- Direct STL/3MF export — optimised export settings for 3D printing are built in
- Large community — thousands of YouTube tutorials, Udemy courses, and forum posts specifically for 3D printing
For Indian engineering students and electronics hobbyists, Fusion 360 is particularly valuable because it teaches the same parametric modelling philosophy used in professional engineering tools. Skills transfer directly to SolidWorks or Inventor if you go into a manufacturing career.
2. Getting Started: Installation and Setup
Creating an Account
Go to autodesk.com/products/fusion-360 and create a free Autodesk account using your email. During signup, select the “Personal Use” licence option (sometimes called “Non-Commercial”). This gives you full access to all modelling tools. The licence does not expire but requires an annual renewal click.
System Requirements
Fusion 360 is cloud-assisted and requires an internet connection to save, but you can work offline in limited mode. Minimum specs:
- Windows 10 64-bit or macOS 10.15+
- 4 GB RAM (8 GB recommended)
- DirectX 11 / Metal GPU
- 3 GB free disk space
Most modern laptops and desktops (even those sold in India at ₹30,000–40,000) meet these requirements. The software runs acceptably on integrated Intel Iris / AMD Vega graphics.
Setting Up Units
After installing and launching, go to Preferences → Default Units → Design → Millimeters. Always work in millimetres for 3D printing. This is the standard unit used by virtually every slicer and most STL files online.
3. Fusion 360 Interface: Key Areas to Know
The Data Panel (Left)
This is your file manager. All your projects and components live here. Create a folder called “3D Printing Projects” to keep things organised.
The Toolbar (Top)
Fusion 360 uses workspaces: Design, Generative Design, Render, Animation, Simulation, Manufacture, Drawing. For 3D printing, you will spend 95% of your time in the Design workspace. Within Design, the main tool groups are Sketch, Create (solid modelling), Modify (edit solids), Assemble, and Inspect.
The Browser Tree (Left Side)
Think of this as your model’s family tree. It shows all bodies, components, sketches, and construction geometry in your design. Learning to navigate the browser is critical — it is where you turn features on/off, rename parts, and control visibility.
The Timeline (Bottom)
The timeline shows every operation you have performed on your model in sequence. You can right-click any feature to edit it, and Fusion 360 will roll back to that state, let you change parameters, then replay all subsequent features. This parametric capability is Fusion 360’s superpower.
The Canvas (Centre)
Your 3D working area. Navigation: hold Middle Mouse Button to pan, scroll wheel to zoom, and Shift + Middle Mouse to orbit. On a laptop trackpad, pinch to zoom and two-finger drag to pan.
4. The Core Workflow: Sketch → Body → Export
The standard Fusion 360 workflow for 3D printing follows a clear sequence. Let us walk through it by designing a simple parametric phone stand.
Step 1: Start a New Design
Click File → New Design. This creates a new empty project. Save it immediately (Ctrl+S) with a descriptive name like “phone-stand-v1”.
Step 2: Create a Sketch
Click Sketch → Create Sketch and select the XY plane (the “floor” plane) from the origin planes. You enter sketch mode — the canvas flattens to 2D.
Use the Rectangle tool (shortcut: R) to draw a 120 mm × 80 mm rectangle. Click the first corner, drag, and click the second corner. Now add dimensions: press D to activate the Sketch Dimension tool, click one side of the rectangle, and type the dimension. Both the width and height should be fully defined.
A fully constrained sketch shows all lines in black. Blue lines mean the sketch is under-constrained — add more dimensions or constraints until everything turns black.
Step 3: Extrude the Sketch
Press E to activate the Extrude tool. Click the inside of your rectangle to select it as the profile. Type 5 mm for the distance. Click OK. You now have a flat slab — your base plate.
Step 4: Add Features
Now modify the slab. Select the top face and create a new sketch. Draw a slot in the centre to hold the phone (e.g. 15 mm wide × 50 mm long). Extrude this sketch using the Cut option with a distance of 5 mm to cut through the slab. You now have a slot.
Use the Fillet tool (shortcut: F) to round sharp corners. 2–3 mm fillets on external corners improve aesthetics and reduce stress concentrations. Never leave sharp internal corners on parts that will be load-bearing — they are stress crack initiation points.
Step 5: Mirror or Pattern for Symmetry
If your design has symmetrical features, use Create → Mirror or Create → Rectangular Pattern. These save you from drawing the same features twice and keep your model truly symmetrical.
Step 6: Appearance and Inspection
Use Inspect → Measure to verify dimensions. Use Inspect → Section Analysis to look inside your solid and check wall thicknesses. A minimum wall thickness of 1.2 mm (3 × 0.4 mm nozzle) is generally recommended for FDM printing.
5. Designing for 3D Printing: Key Considerations
Overhangs and the 45° Rule
FDM printers can print overhangs up to about 45° from vertical without supports. Beyond that, the layer must bridge unsupported air, and quality degrades. In Fusion 360, use the Inspect → Draft Analysis tool to visualise overhang angles. Red areas in the analysis need supports or a design change.
Design tip: split overhanging features and reorient them. For example, a hook that overhangs backward can often be rotated 180° so it prints overhang-free.
Minimum Wall Thickness
With a 0.4 mm nozzle, walls thinner than 0.4 mm will not print. Walls between 0.4–1.2 mm are fragile. Design walls at a minimum of 1.2 mm (three extrusion widths). For structural parts, 2.0 mm or more is better.
Flat Surfaces for Bed Adhesion
Design parts so they have at least one flat face to sit on the print bed. Curved or pointed bottoms need either supports or rafts, which waste filament. Adding a small flat platform (“mouse ears”) to the base corners of curved parts dramatically improves bed adhesion without large rafts.
Avoid Very Tall Narrow Features
Tall thin features (like a spike or antenna) wobble and vibrate as the nozzle hits them layer after layer, often causing print failures or poor surface finish. If you need a tall narrow feature, consider splitting the model and printing the tower separately, then gluing it.
Holes Shrink When Printed
Due to plastic shrinkage during cooling, a 10 mm hole in Fusion 360 will print as roughly 9.7–9.85 mm on most FDM printers. For holes that need to accept standard hardware (M3 bolt = 3 mm, M5 bolt = 5 mm), add 0.1–0.2 mm to the hole diameter in Fusion 360. Use the calibration test approach: print a series of holes at 3.0, 3.1, 3.2, 3.3 mm and measure which fits your M3 screw.
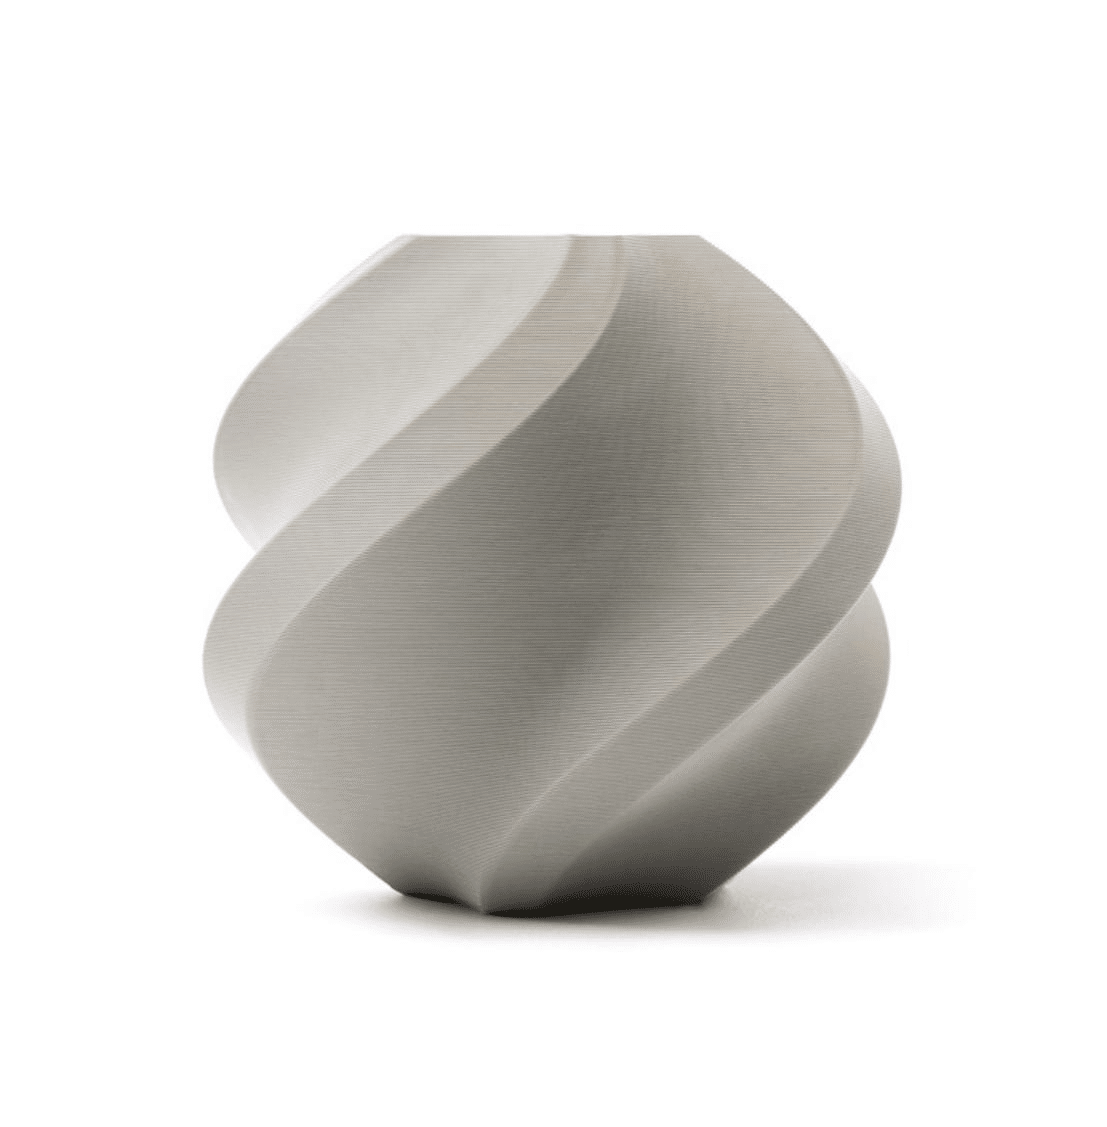
Bambu Lab PLA 3D Printer Filament Grey – 1.75mm
Premium PLA with tight diameter tolerance — essential for first prints from your Fusion 360 designs. Consistent extrusion means your dimensions come out as designed.
View on Zbotic6. Tolerances, Fits and Clearances in Fusion 360
One of the most valuable skills in Fusion 360 for 3D printing is understanding fits — how two parts come together. There are three standard fit types:
- Clearance fit — parts slide or rotate freely. Example: a pin in a hole that needs to spin. Add 0.2–0.3 mm clearance.
- Transition fit — parts fit snugly but can be assembled/disassembled by hand. Example: a lid on a box. Add 0.1–0.15 mm clearance.
- Interference fit — parts must be pressed together. This relies on plastic deformation. In FDM, use −0.1 to 0 mm clearance (i.e. the hole is the same as or 0.1 mm smaller than the pin).
Using Parameters for Tolerances
In Fusion 360, go to Modify → Change Parameters. Here you can create a variable called clearance = 0.25mm and reference it in sketches. If you find you need to adjust the clearance after calibrating your printer, you change the single parameter and the entire model updates. This is parametric design at its most powerful.
Thread Design
Fusion 360 has a built-in thread feature (Create → Thread). For 3D-printable threads, use M-series metric threads at M5 or larger. M3 threads can print but are fragile. Always select “Modelled” checkbox in the thread dialog so the thread geometry is actually part of the solid — otherwise Fusion 360 just applies a visual texture and the STL will be smooth.
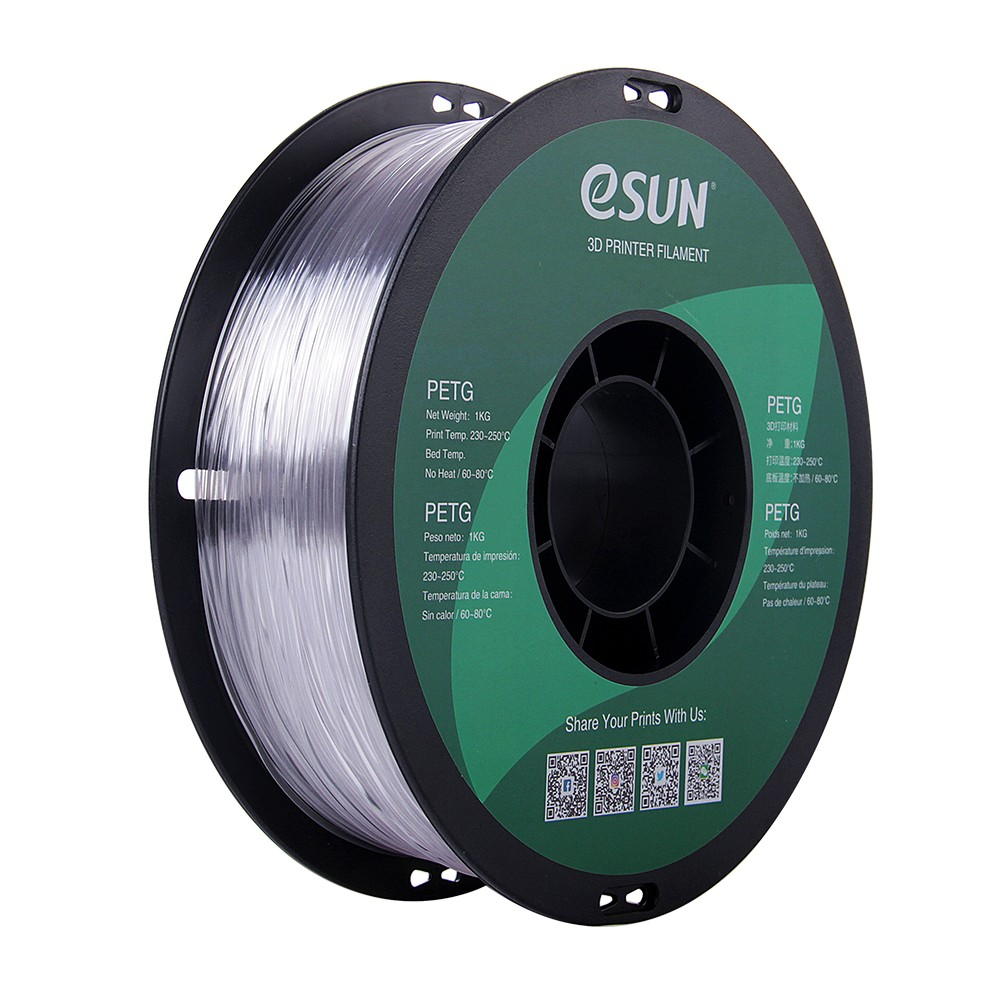
eSun PETG 1.75mm 3D Printing Filament 1kg – Clear
Strong, impact-resistant PETG — the ideal filament for printing functional mechanical parts designed in Fusion 360 that need to survive real-world use.
View on Zbotic7. Exporting the Perfect STL / 3MF for Your Slicer
STL Export
Right-click the body in the browser tree → Save as Mesh → select STL format. In the export dialog, set:
- Refinement: High — gives smooth curves without file size exploding
- Unit: Millimeter — always
- Structure: One File Per Body if you have multiple components you want to import separately
3MF Export (Recommended)
The 3MF format is newer and superior to STL. It preserves colour data, component structure, and uses smaller file sizes. Bambu Studio, PrusaSlicer, OrcaSlicer, and Cura all support 3MF natively. Right-click the body → Save as Mesh → choose 3MF format. Use this whenever your slicer supports it.
Checking Your STL in the Slicer
After importing into your slicer, check for:
- Correct dimensions (measure key features in the slicer)
- No inverted normals (parts showing red/orange in slicer error overlays)
- No non-manifold edges (holes in the mesh the slicer cannot process)
If you see errors, go back to Fusion 360 and use Inspect → Interference and Inspect → Curvature to diagnose. Common causes are accidentally cutting completely through a solid or having overlapping bodies that were not properly joined.
8. Practice Projects for Beginners
Project 1: Custom Filament Clip
Design a simple clip that snaps onto your filament spool to hold the end in place. This teaches: sketch constraints, extrude, shell (hollow out), and snap-fit geometry. Print in PETG for enough flex.
Project 2: Parametric Wall Mount Bracket
A wall mount with a slot for a cable or rod. Teaches: parametric dimensions, holes, chamfers, and how hole sizing affects real-world fit with screws. Print in PLA.
Project 3: Raspberry Pi / Arduino Case
A two-part enclosure with standoffs for a Raspberry Pi Zero or Arduino Nano. Teaches: multipart assemblies, lid-to-box tolerances, and vent hole patterns. This is one of the most useful real-world projects for electronics hobbyists in India.
Project 4: Custom Nozzle Wrench
A 16 mm open-ended wrench for nozzle changes. Teaches: sketch on multiple planes, extrude, and designing for specific dimensions. Print in PETG or ABS for heat resistance.
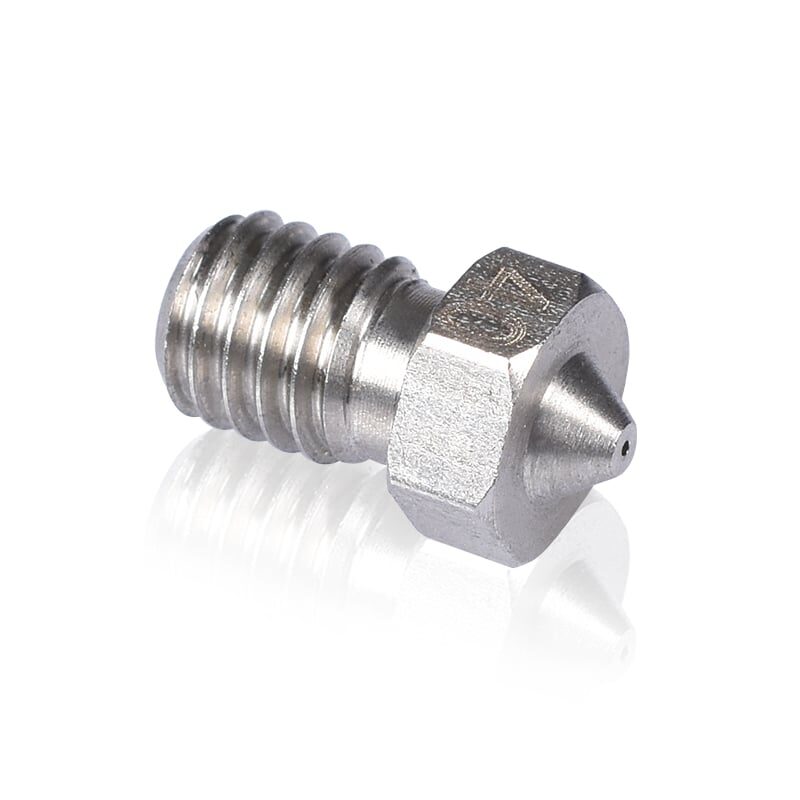
3D Printers Stainless Steel Nozzle 0.4mm
Upgrade your hotend with a durable stainless steel nozzle. Print abrasive filaments for functional prototypes designed in Fusion 360 without worrying about nozzle wear.
View on Zbotic9. Common Mistakes and How to Fix Them
Mistake 1: Under-Constrained Sketches
Blue lines in sketch mode mean under-constrained geometry. When you extrude, dimensions may behave unexpectedly. Always fully constrain sketches (all lines black) before extrusion. Use constraints like horizontal, vertical, coincident, concentric, and equal aggressively.
Mistake 2: Modelling in Parts, Not Parameters
Many beginners hardcode all dimensions directly in sketches. Then when they want to scale the design, they must manually change 20 numbers. Instead, use the Parameters manager (Modify → Change Parameters) and define key dimensions as named variables from the start.
Mistake 3: Forgetting Print Orientation During Design
Fusion 360 does not know about your print orientation. You must mentally simulate how the part will sit on the bed. If your design has a large, flat bottom — great. If it has a rounded or curved bottom, decide now whether you will add supports or modify the design to have a better printing base.
Mistake 4: Designing Walls That Are Too Thin
Walls thinner than 1.2 mm (3× extrusion width) are risky. Slicers may merge thin walls with infill in unexpected ways, causing weak spots. Use Inspect → Minimum Radius Analysis or simply measure with the Measure tool before exporting.
Mistake 5: Not Accounting for Hole Shrinkage
Print a calibration test with multiple hole sizes and measure them after printing. Add the measured offset (typically +0.1 to +0.25 mm) to all functional holes in your designs. Keep this number in your Fusion 360 parameters as a hole_compensation variable.
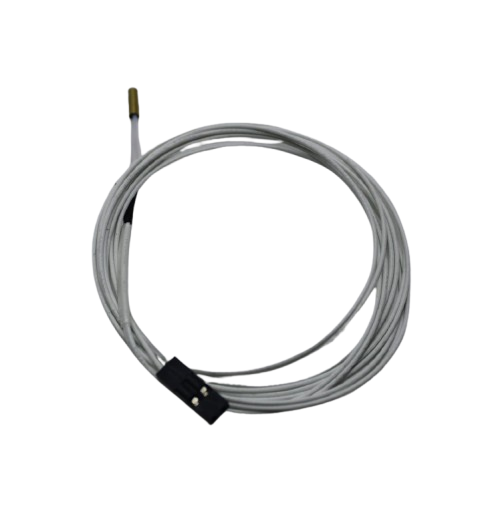
100k NTC Thermistor with Copper Tip for MK8 Extruder
Accurate hotend temperature is crucial for consistent extrusion when printing precise Fusion 360-designed parts. Replace a worn thermistor to eliminate temperature fluctuation errors.
View on ZboticFrequently Asked Questions
Q: Is Fusion 360 truly free for Indian hobbyists and students?
Yes. Autodesk’s Personal Use licence is free for non-commercial use, with no time limit. Students can also apply for a free 1-year educational licence with a college email. Simply visit the Autodesk Education portal and verify your student status.
Q: Can I use Fusion 360 offline?
Fusion 360 has an offline mode. You can work offline for up to 2 weeks before the licence needs to verify online. Saving and file syncing require internet, but modelling itself works offline. Good for use on trains or areas with poor connectivity.
Q: What is the difference between Fusion 360 and FreeCAD?
Fusion 360 is cloud-based, commercially developed, and has a polished UI. FreeCAD is fully open-source, runs 100% offline, and is free forever. Both are capable for 3D printing, but Fusion 360 has a gentler learning curve and better YouTube tutorial support. FreeCAD is the better long-term choice if you want full data ownership and no licence concerns.
Q: How long does it take to learn Fusion 360?
For basic 3D printing parts — about 5 to 10 hours of practice. The official Autodesk Fusion 360 tutorials (free on their website) cover the fundamentals in about 4 hours. Within a weekend, most beginners can design a functional custom part. More complex assemblies and surfaces take weeks to months.
Q: My designed part does not print to the right dimensions. What is wrong?
Check three things: (1) Did you export in mm? (2) Is your slicer import scale set to 100%? (3) Is your printer’s E-steps/flow rate properly calibrated? A printer printing at 98% extrusion will consistently print slightly under-size. Calibrate your extrusion multiplier using a single-wall cube calibration print.
Start Designing Your Own 3D Prints Today
Fusion 360 + a well-tuned 3D printer is one of the most empowering combinations available to an Indian maker or engineering student. Download Fusion 360 free today, grab quality filament from Zbotic, and go from downloading other people’s designs to creating your own within a weekend.
Shop 3D Printing Filament & Accessories at Zbotic


Add comment