
“My quad oscillates.” “It feels mushy.” “There’s propwash in fast turns.” If you’ve flown an FPV drone, you’ve probably said one of these. PID tuning is the solution — and Betaflight, the dominant FPV flight controller firmware, gives you extraordinary control over your quad’s feel if you know how to use it.
This guide covers everything Indian FPV builders need to know about Betaflight PID tuning, rates, and filters — from basic concepts to step-by-step tuning procedures. Whether you’re flying a 3-inch toothpick or a 5-inch freestyle ripper, the principles are the same.
1. What Is PID Control in FPV Drones?
PID stands for Proportional, Integral, Derivative. It’s a control loop mechanism that continuously calculates an error value (the difference between your desired attitude and actual attitude) and applies corrections to the motors to minimise that error. Betaflight runs this loop at up to 8kHz — 8,000 times per second — making near-instant corrections.
The Feedback Loop
- Setpoint: Where you want the drone to be (determined by your stick inputs).
- Actual: Where the drone actually is (measured by the IMU/gyroscope).
- Error: Setpoint minus Actual.
- PID controller: Calculates motor corrections based on the error.
- Motors respond → drone moves → new actual → new error… cycle repeats.
Why PID Tuning Is Necessary
The “default” PID values in Betaflight are reasonable starting points but not optimal for your specific build. Every frame, motor, propeller, and battery combination behaves differently. A heavy 6S quad needs different PIDs than a lightweight 3S cruiser. Proper tuning eliminates oscillations, reduces propwash (turbulence-induced wobble after fast manoeuvres), and makes the quad feel responsive and locked-in.
2. Betaflight PID Terms: P, I, D, F Explained
P — Proportional
P gain is the immediate, proportional response to current error. If the drone is tilting right when you want it level, P makes a correction proportional to how far off it is.
- Too low P: The quad feels sloppy, doesn’t respond sharply to sticks. Slow to return to level.
- Too high P: The quad oscillates rapidly (high-frequency wobble, especially visible on slow-motion footage). You’ll hear it as a whine in motor sounds.
- Starting values: 40–50 on roll/pitch for a typical 5-inch build.
I — Integral
I gain corrects for accumulated error over time. It “remembers” past errors and corrects for persistent offsets — like wind pushing the quad off-level, or a motor imbalance.
- Too low I: The quad drifts or “wanders” in windy conditions. It doesn’t maintain heading well when not actively correcting.
- Too high I: “I-term windup” — the quad bounces or rocks when you release sticks. It overshoots corrections.
- Starting values: 60–80 on roll/pitch.
D — Derivative
D gain responds to the rate of change of error — it’s predictive, anticipating where the error is heading and pre-correcting. D term is primarily responsible for damping oscillations and reducing propwash.
- Too low D: P-term oscillations aren’t damped — you get bouncy, oscillating flight.
- Too high D: The quad gets “D-term buzz” — a high-frequency oscillation in the motors even when hovering. Motors get hot. Efficiency drops.
- Starting values: 25–40 on roll/pitch.
F — Feedforward
Feedforward (formerly “D-term” on stick input or “setpoint weight”) is a Betaflight-specific addition. It responds to stick movement directly — not to error, but to the rate of change of the setpoint itself. This gives the quad a “punchy,” responsive feel on fast stick inputs without needing high P gains.
- Too low F: The quad feels slightly behind your inputs — a lag sensation.
- Too high F: The quad overshoots on stick inputs — “kicks” at the start of a roll.
- Starting values: 90–120.
3. Rates Explained: RC Rate, Expo, Super Rate
Rates are not about flight controller response — they define how your stick inputs translate to desired rotation speeds. A high rate means a full stick deflection commands a fast rotation. The three parameters in Betaflight’s ACTUAL rates mode (default since 4.2):
Center Sensitivity (RC Rate equivalent)
Determines how fast the drone rotates per degree of stick at the stick centre. Lower = more sluggish feel in the middle of the stick range. This is primarily a freestyle preference — cinematic flyers want low centre sensitivity for smooth panning, freestyle pilots want moderate sensitivity.
Typical values: 0.5–1.2 deg/s per unit of stick.
Expo (Expo)
Creates a curve in the stick response. Higher expo makes the centre of the stick range less sensitive (easier to make small corrections) while the outer range stays fast. Exponential curves are excellent for beginners who struggle with over-correction at slow speeds.
Typical values: 0–0.5.
Max Rate (Super Rate equivalent)
The maximum rotation speed achievable at full stick deflection. Higher values = faster spins, bigger rolls. This is where your flight style really dictates the value.
- Freestyle / Cinematic: 400–600 deg/s. Smooth, manageable.
- Aggressive freestyle: 700–900 deg/s. For experienced pilots doing split-Ss and Juicy style.
- Racing: 800–1000+ deg/s. Maximum agility for gate turns.
Yaw Rates
Yaw (rotation around the vertical axis) behaves differently because it’s controlled by torque imbalance rather than angle. Yaw rates can be set independently — typically 70% of the pitch/roll max rate. Yaw P gain is often lower (50–70) because yaw response is slower.
4. Filters Overview: Why They Matter
Raw gyroscope data from an FPV drone’s IMU is extremely noisy — motors vibrate, props are never perfectly balanced, frames flex. Feeding this raw noise directly into the PID controller would cause the motors to react to noise rather than actual motion, generating heat and oscillation. Filters smooth out this noise before PID processing.
Gyro Filters
Applied to raw gyroscope data before it reaches the PID controller:
- Gyro Low Pass Filter 1 (LPF1): First-stage low-pass filter. Betaflight 4.x uses a Biquad filter by default. Cutoff frequency around 100–200Hz for most builds.
- Gyro Low Pass Filter 2 (LPF2): Second-stage filter for additional noise reduction. Often set to 250–350Hz or disabled on clean builds with RPM filter.
- Gyro Notch Filters: Notch filters target specific frequency ranges (like motor resonance frequencies) and cut them sharply. Pre-RPM filter era, you’d manually identify motor resonance peaks in Blackbox and set notch filters to target them.
D-term Filters
The derivative term amplifies high-frequency noise (since it measures rate of change). D-term filtering is critical to prevent D-term buzz:
- D-term LPF1: Primary D-term filter. Aggressive filtering (lower cutoff) reduces buzz but adds phase delay, reducing D-term effectiveness. Typical: 100–150Hz.
- D-term LPF2: Additional filtering for very noisy builds.
Filter Philosophy in 2026
With the RPM filter (described below) doing the heavy lifting on motor-frequency noise, you can actually reduce other filters significantly, which reduces phase delay and makes the PID controller more responsive. A clean build with RPM filter can run filters at 250–350Hz, giving much sharper, cleaner flight.
5. RPM Filter: The Game Changer
The RPM filter, introduced in Betaflight 3.5, is arguably the most significant advancement in FPV flight controller software in the past decade. It uses real-time RPM data from each motor (via bidirectional DSHOT ESC protocol) to dynamically notch-filter the exact motor noise frequencies.
Why It’s Revolutionary
Motor noise frequency changes with throttle — at low throttle, motors spin slow (low-frequency noise), at high throttle they spin fast (high-frequency noise). Traditional static notch filters can only target a fixed frequency. The RPM filter tracks the actual motor frequency in real time and adjusts its notch continuously. Result: dramatically reduced noise with minimal phase delay.
Enabling RPM Filter (Prerequisites)
- Bidirectional DSHOT: Your ESCs must support bidirectional DSHOT (DSHOT300 or DSHOT600). This allows the ESC to send RPM telemetry back to the flight controller. Most modern BLHeli_32 and AM32 ESCs support this.
- In Betaflight Configurator → Motors: Enable “Bidirectional DSHOT.”
- In Betaflight Configurator → Filters: Enable “RPM Filter” and set Harmonics to 3 (filters fundamental + 2nd and 3rd harmonic noise).
Benefits After Enabling RPM Filter
- Motors run significantly cooler (less energy wasted fighting noise)
- Battery life improves 5–15%
- Video quality improves (less motor buzz in audio, less jelly effect in footage)
- Can reduce gyro and D-term filter cutoffs, improving responsiveness
- Propwash is significantly reduced with proper D-term tuning

35A V2.1 2-5S 4-in-1 Brushless ESC for FPV Racing
A 4-in-1 brushless ESC designed for FPV racing quads. Supports bidirectional DSHOT, which is the prerequisite for enabling Betaflight’s RPM filter — the single most impactful software improvement you can make to your tune. Get this right first.
6. Step-by-Step PID Tuning Process
The methodical approach to PID tuning. Do these steps in order:
Step 1: Start With a Clean Build
PID tuning cannot compensate for mechanical problems. Before tuning:
- Balance or replace propellers — run a prop balance check
- Tighten all motor screws
- Ensure the flight controller is properly vibration-isolated
- Check for frame flex — a flexy frame causes PID oscillations that no amount of software tuning fixes
- Verify all motor directions and prop orientation are correct
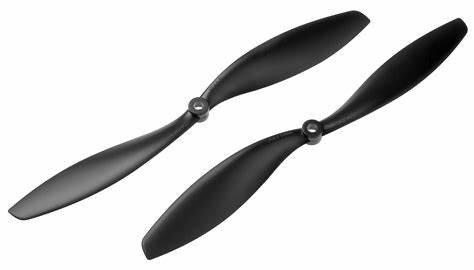
1045 2-Blade Carbon Fiber Propeller CW & CCW
Stiff carbon fibre props dramatically reduce noise compared to plastic props, simplifying the tuning process. Less blade flex means less variable resonance frequency — the RPM filter can track it more accurately. A must for any serious FPV build.
Step 2: Enable Bidirectional DSHOT and RPM Filter
Do this before any PID tuning. The RPM filter changes the noise profile significantly — tuning without it, then enabling it later, means you’ll need to retune.
Step 3: Start With Master Multiplier
In Betaflight 4.4+, use the Master PID Slider in the PID Tuning tab. Start at 1.0 (default) and verify the quad flies without obvious oscillations. If it oscillates badly, reduce to 0.8 and assess.
Step 4: Tune P Gain
Hover and do rapid stick inputs. Gradually increase P (using sliders or typing values) until you see/feel P-term oscillations (rapid, high-frequency wobble — you’ll see it in the propellers and hear it as a buzz). Then reduce P by 20% from that point. That’s your maximum safe P.
Step 5: Tune D Gain
With P at your safe maximum, increase D gain gradually. D should damp the P oscillations. Stop increasing D when:
- Motors get warm after a short hover (D-term buzz is heating them)
- You see rapid oscillation on Blackbox D-term channel
- Video shows high-frequency jitter
Step 6: Check for Propwash
Do aggressive split-S manoeuvres or dive-to-throttle-chop sequences. Propwash appears as a wobble in the recovery from these moves. To reduce propwash:
- Increase D term (helps most)
- Reduce gyro filter cutoffs slightly (more filtering helps propwash but reduces responsiveness)
- Increase Feedforward
- Adjust Anti-Gravity (compensates for I-term windup at throttle changes)
Step 7: Set Rates
Rates are a personal preference. Start with:
- Freestyle starter: Center 0.7, Expo 0.2, Max Rate 500 deg/s on roll/pitch
- Racing starter: Center 1.2, Expo 0.0, Max Rate 900 deg/s
- Cinematic: Center 0.5, Expo 0.4, Max Rate 360 deg/s
Adjust after flying a few packs until the stick feel matches your mental model of how the drone should respond.
Step 8: Tune I Gain
I term is easiest to tune last. Enable “TPA” (Throttle PID Attenuation) if flying at variable throttle — TPA automatically reduces P and D at high throttle to prevent oscillations under different flight loads. Default TPA (0.1 starting at 1250 throttle) is usually fine.
Test I term by holding a roll or flip and releasing sticks abruptly. If the quad oscillates after stick release (especially at the end of a fast flip), I is too high. If it wanders or doesn’t hold level in wind, I is too low.
7. Betaflight Presets for Common Builds
Betaflight 4.3+ includes a comprehensive preset system. In the Configurator, go to Presets and search for your specific motor/frame combination. Popular community presets for Indian builds:
- “BRotorF 5” or “UAV Tech 5-inch” presets work well as starting points for typical 2206–2306 motor builds on 5-inch frames.
- “Lumenier Cinematic” for heavy 5-inch cinematic builds with GoPro payload.
- GPS rescue settings are available as presets — essential if you fly beyond short range in India’s open fields.
8. Hardware for Clean, Tunable Builds
Good hardware makes tuning dramatically easier. The three most important mechanical factors for a tunable quad:
Motor Quality and Consistency
A motor with bent bell, damaged bearings, or unbalanced magnets generates noise that no amount of software filtering can fully compensate. Buy quality motors and inspect each one before building.
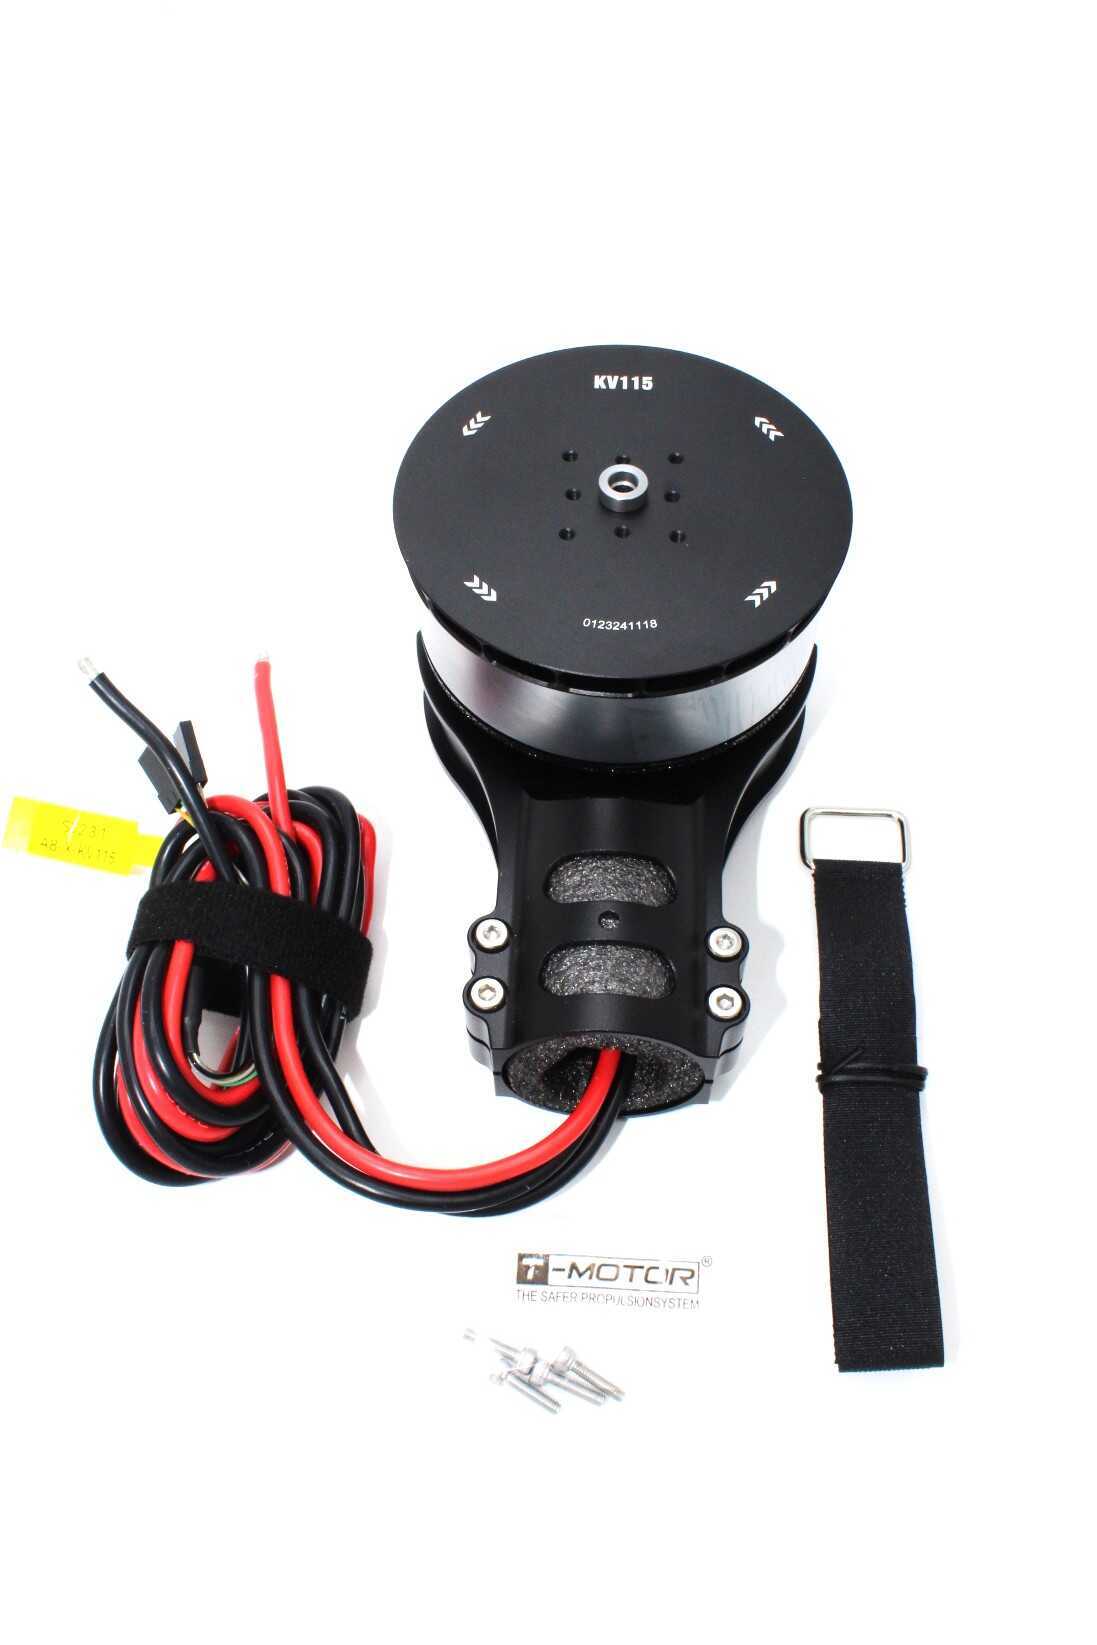
T-Motor A8-X-KV115-CCW Modular Propulsion System
T-Motor’s A8-X is a precision-manufactured motor with tightly controlled KV tolerance. When all 4 motors in a quad have consistent KV, the RPM filter can track noise harmonics more accurately, and the tune feels more consistent across all axes.
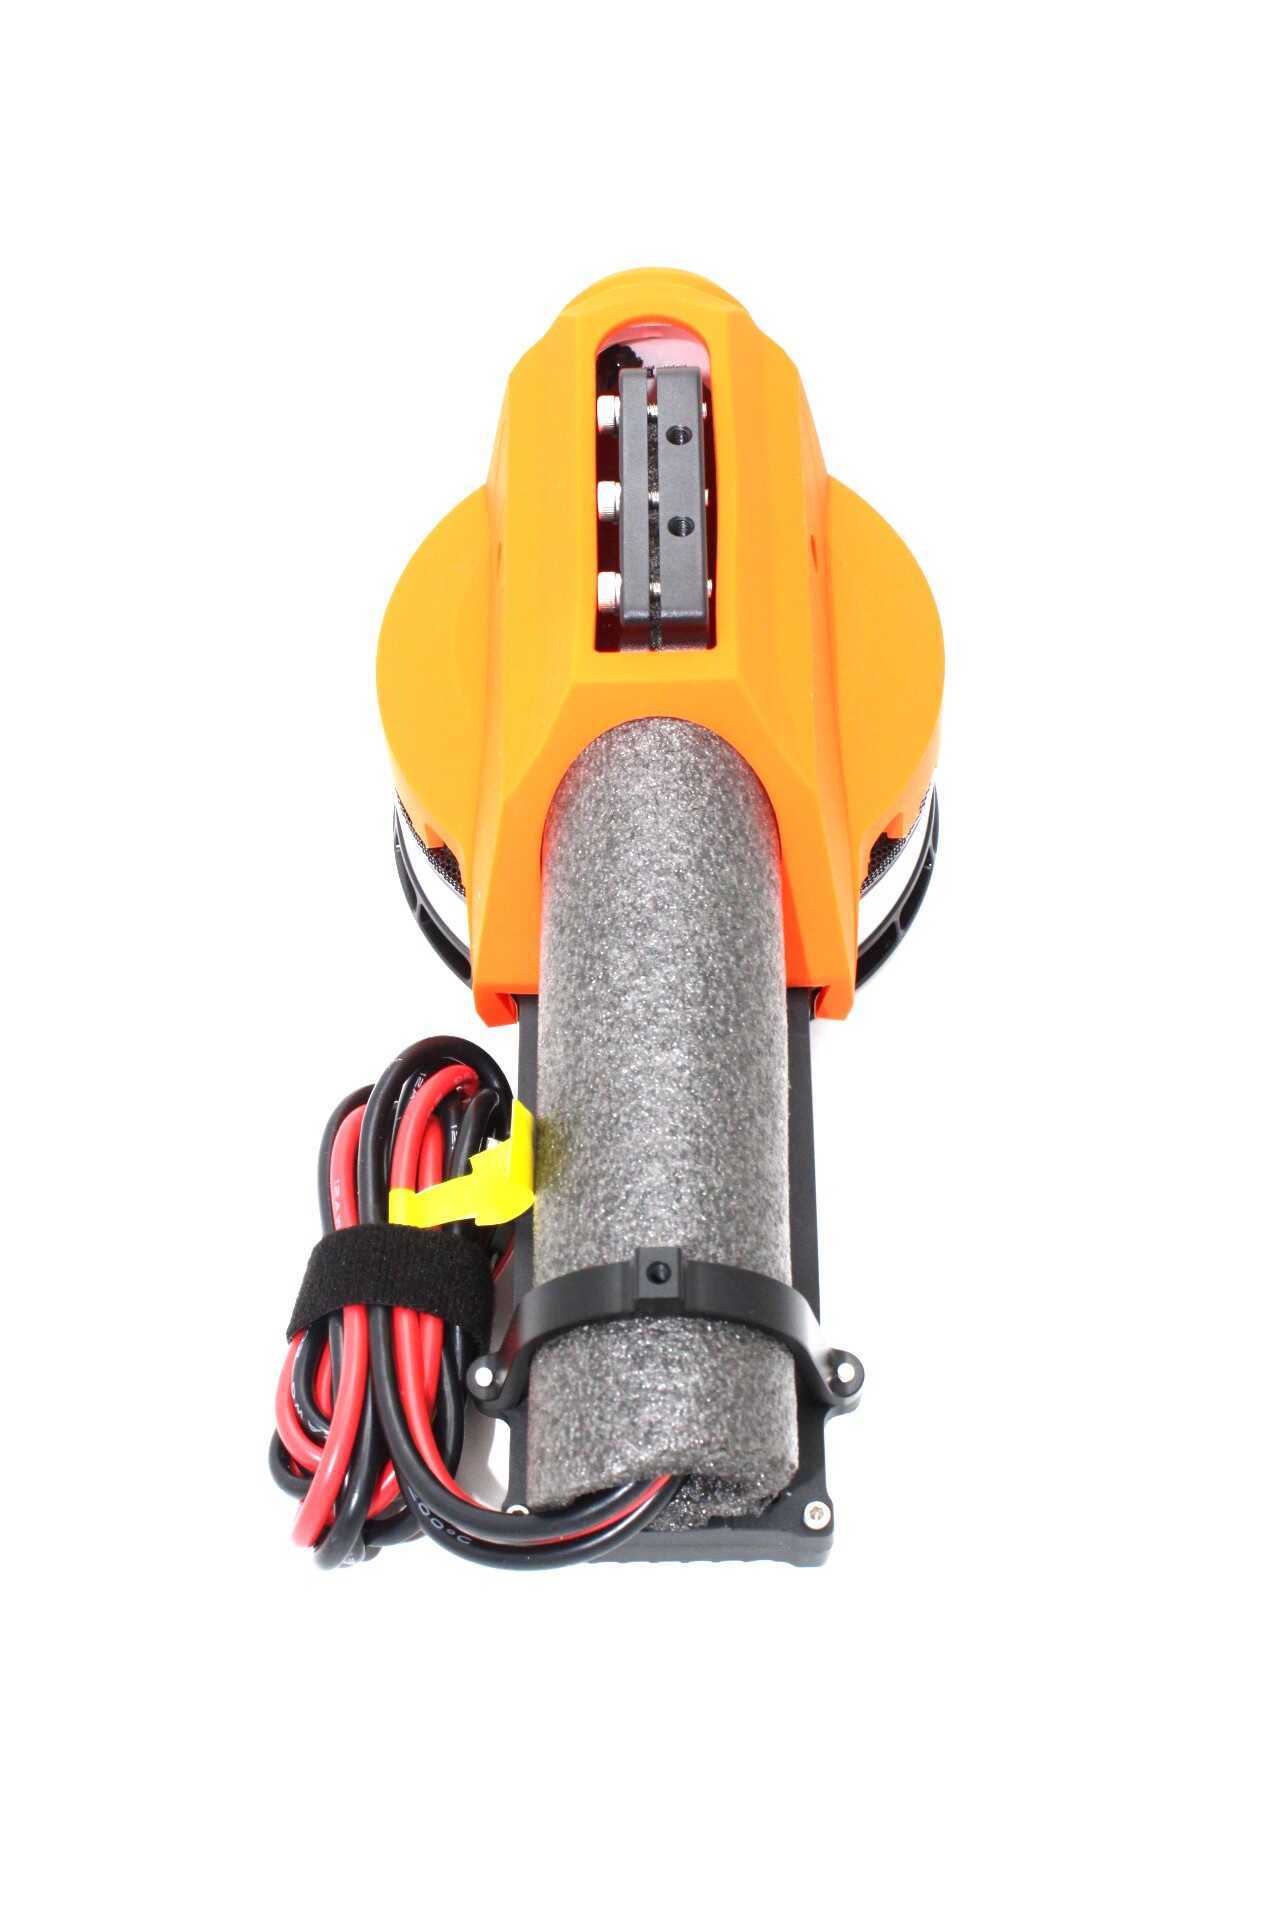
T-Motor A10-KV120-CW Modular Propulsion System
The CW companion to the A10 CCW. Buy these as matched CW/CCW sets for the most consistent motor performance. T-Motor’s quality control on KV and wind resistance means both directions will behave identically — your yaw tune will be more symmetric.
ESC BEC for FC Power
A clean, regulated power supply to the flight controller prevents power noise from corrupting gyro readings. If your FC is powered from a noisy ESC 5V BEC, you’ll see it in Betaflight’s gyro noise floor.

2-6S 5V 5A BEC for Quadcopter Drone
A dedicated linear/switching BEC provides stable 5V power to your flight controller, separate from ESC BEC noise. For builds where clean power to the FC makes the difference between a noisy and a clean tune, a dedicated BEC is the answer.
9. Blackbox Analysis Tips
Blackbox logging is the professional tool for PID tuning. Enable it in Betaflight Configurator → Blackbox and use the Betaflight Blackbox Explorer (free, browser-based tool at https://blackbox.betaflight.com) to analyse logs after flights.
What to Look For in Blackbox
- Gyro vs Setpoint: Plot both on the same axis. A well-tuned quad’s gyro trace should follow the setpoint trace closely, with minimal lag and no oscillation after the setpoint settles.
- P-term oscillations: Visible as a regular sinusoidal wave in the P-term output, especially at hover. Reduce P if present.
- D-term: Should be a relatively smooth trace. Spiky D-term in hover indicates either mechanical noise or D filter cutoff too high.
- Spectral analyser: Blackbox Explorer’s frequency analysis tab shows your noise spectrum as a heat map. Motor noise appears as bands at motor RPM harmonics. After enabling RPM filter, these bands should be significantly reduced.
Step Inputs for Tuning
The best tuning test flight: hover at medium throttle and do rapid, short stick inputs in each axis. These step inputs excite the system and make P and D oscillations immediately visible in Blackbox. Don’t fly around — just hover and twitch.
FAQ
Q: My quad oscillates only at high throttle. What’s wrong?
A: High-throttle oscillations typically indicate TPA (Throttle PID Attenuation) is needed, or P gain is too high for the thrust levels at high throttle. Enable TPA at around 1500 throttle with a 0.2 value and increase until the high-throttle oscillation disappears.
Q: What’s the difference between roll/pitch and yaw PID settings?
A: Roll and pitch are controlled by tilting the thrust vector (very responsive). Yaw is controlled by torque difference between CW and CCW motors (slower response). Yaw P is typically 50–60% of roll/pitch P, and yaw D is often 0 or very low since yaw responds sluggishly anyway.
Q: How do I know if my tune is good without Blackbox?
A: Touch the motors immediately after a hover session — they should be barely warm. Watch your DVR footage for high-frequency jitter. Try slow, controlled rolls — the quad should feel locked-in without overshooting or oscillating. For quick checks, use Betaflight Configurator’s live gyro display while spinning props by hand.
Q: Does PID tuning change when I use a different battery?
A: Yes, significantly. Higher voltage (6S vs 4S) or higher C-rating batteries deliver more responsive thrust, effectively changing the system response. Your PIDs may be fine on one battery type and oscillatory on another. Betaflight’s voltage-compensated D-term (VBAT_D_SCALE) helps, but some re-tuning may still be needed when switching battery configurations.
Q: I’ve heard about “Master Multiplier” in Betaflight 4.4. Should I use it?
A: Yes. The Master Multiplier (previously Strength sliders for Roll/Pitch/Yaw) scales all PID terms simultaneously — very useful for quickly finding the right ballpark for your build. Start at 1.0 (default), fly, and move up or down in 0.1 increments based on overall feel. Once in the right range, fine-tune individual P/I/D terms.
Conclusion
Betaflight PID tuning is a skill that pays dividends every time you fly. A properly tuned quad feels locked-in, responsive, and predictable — dramatically safer and more enjoyable than a drone running factory default values on hardware it wasn’t designed for.
The key principles to remember: enable the RPM filter first (it does the most work), use Blackbox to see what’s actually happening, tune P and D before rates, and always start with mechanical cleanliness before software. With good hardware — quality motors with consistent KV, stiff carbon props, a dedicated BEC for clean FC power — your tuning sessions will be shorter and your results will be better.
For Indian FPV pilots dealing with India’s hot and humid conditions, also remember that ESC and motor temperature limits are real — tune to the point where motors stay cool, not the absolute maximum your PID values can handle on a cold day in December.
Get FPV Build Components at Zbotic
Quality ESCs, motors, propellers, and power components for your next Betaflight FPV quad build — shipped across India.


Add comment