
Drone Photography Tips: Best Camera Settings for Aerial Shots
Aerial photography has democratized dramatically over the past five years. What once required a helicopter charter and a ₹5 lakh camera rig is now achievable with a sub-₹1 lakh drone setup. From the ghats of Varanasi at sunrise to the tea gardens of Munnar in misty morning light, Indian aerial photography offers extraordinary visual opportunities — but only if you know how to capture it.
This guide covers everything you need to know about drone photography: camera settings, composition principles, timing, legal considerations, post-processing workflows, and the best gear for aerial imaging in India.
1. Why Drone Photography is Different
Drone photography isn’t just ground photography from a height. The aerial perspective fundamentally changes what makes an image compelling:
- No foreground anchor: Ground photographers rely heavily on strong foreground elements. From the air, your entire frame is typically middle-to-far distance.
- Patterns and geometry: From above, natural and human-made patterns (crop rows, river bends, street grids, shadow geometry) become the primary visual interest.
- Shadow as texture: Aerial images taken during low-angle light reveal textures through long shadows — a concept rarely relevant in ground photography.
- Moving platform: Even the most stable drone vibrates. A poorly tuned platform will ruin photos that look perfect on the preview screen.
- Atmospheric effects: Haze, smog, and humidity create a density of atmosphere between you and the ground that dulls contrast and colour. India’s air quality makes this particularly relevant.
2. Camera Modes: Auto vs Manual
Most consumer drones (DJI, Autel, Parrot) and DIY builds with quality cameras offer multiple shooting modes. Here’s when to use each:
Auto Mode
The camera adjusts ISO, shutter speed, and aperture automatically. Good for:
- Quick snapshot situations where speed matters more than quality
- Rapidly changing light (flying from shadow into direct sun)
- Beginners learning to fly and photograph simultaneously
The problem with auto mode: the camera doesn’t know your creative intent. It exposes for the average brightness, often blowing out bright sky or crushing dark shadows.
Aperture Priority (Av)
You set the aperture; the camera sets shutter and ISO. Most drone cameras have a fixed aperture (f/2.8 or f/2.4), so this mode is more relevant on drones with adjustable aperture lenses (higher-end systems).
Shutter Priority (Tv)
You set the shutter speed; the camera adjusts ISO and aperture. Useful when motion blur control is the priority (e.g., blurring water, freezing fast-moving subjects).
Full Manual (M)
Recommended for all serious aerial photography. You control everything. Once you nail the settings for your shooting conditions, you get perfectly consistent exposures across an entire shoot — critical for panorama stitching and time-lapse sequences.
3. Exposure Settings: ISO, Shutter, Aperture
ISO
ISO determines your sensor’s light sensitivity. Keep it as low as possible.
- Daytime (bright sun): ISO 100–200
- Overcast/cloudy: ISO 200–400
- Golden hour: ISO 400–800
- Blue hour/dusk: ISO 800–1600 (watch for noise)
- Night (if your drone supports it): ISO 1600–6400 with noise reduction in post
Most drone cameras (1/2.3″ or 1″ sensors) produce acceptable images up to ISO 800. Beyond that, noise becomes pronounced. Larger sensor drones (4/3″ sensors like DJI Mavic 3) handle ISO 3200+ with minimal noise.
Shutter Speed
For still photography from a drone:
- Minimum shutter for sharp stills: 1/500s or faster in bright conditions. Camera shake from drone vibration is worse than what you’d experience handheld.
- Water blur effect: 1/60–1/125s creates silky water at this speed. Use an ND filter to achieve this in daylight.
- Freezing action: 1/1000s+ for crisp shots of boats, vehicles, or birds.
Aperture
Most drone cameras have fixed lenses with fixed apertures between f/2.4 and f/2.8. For drones with adjustable aperture:
- f/2.8–f/4: Shallow depth of field (subject separation, blurred background)
- f/5.6–f/8: Sharpest images (lens sweet spot)
- f/11+: Diffraction softening begins — avoid for critical sharpness
The good news with aerial photography: depth of field is rarely a concern when everything is hundreds of metres away. Set your aperture for sharpness, not bokeh.
4. White Balance for Aerial Shots
If you shoot in RAW format, white balance can be corrected in post-processing. However, setting an approximate white balance helps you judge exposure on the drone’s live feed more accurately.
| Condition | Recommended White Balance |
|---|---|
| Clear blue sky | Daylight / 5600K |
| Overcast/cloudy | Cloudy / 6500K |
| Golden hour sunrise/sunset | 5000–5500K (don’t over-correct the warm tones) |
| Blue hour | Auto (or 4000–4500K) |
| Shooting over water | Shade / 7500K (compensate for blue reflected light) |
Pro tip: For a series of shots that will be stitched into a panorama, lock white balance to a specific Kelvin value. Auto white balance can shift between frames and create visible seams in the final panorama.
5. ND Filters: The Drone Photographer’s Essential
Neutral Density (ND) filters are the single most impactful accessory for drone photography. They work like sunglasses for your camera — reducing light entering the lens without affecting colour.
Why ND Filters?
In bright Indian daylight, even at base ISO and f/2.8, you’re forced into 1/2000s+ shutter speeds. This:
- Creates unnaturally sharp, slightly jittery video
- Doesn’t allow creative long-exposure effects
- Makes video look like cheap home video (the 180-degree shutter rule violation)
ND Filter Guide
- ND4 (2 stops): Early morning, late afternoon, overcast days
- ND8 (3 stops): Mixed cloud days, golden hour
- ND16 (4 stops): Bright overcast, morning sun
- ND32 (5 stops): Full midday Indian sun — your standard go-to filter
- ND64 (6 stops): Intense tropical sun, beach shooting at noon
Polarising Filters
Circular Polarising (CPL) filters reduce reflections on water and glass, and deepen blue sky colour. Very effective for aerial photography over coastal India (Goa, Kerala, Andamans) where water reflection management is critical. Look for ND+CPL combo filters for maximum versatility.
6. Aerial Composition Principles
Rule of Thirds from Above
The rule of thirds applies to aerial photography just as it does on the ground. Place your main subject — a river bend, a cluster of buildings, a lone tree — at one of the four intersection points of a 3×3 grid, not dead centre.
Leading Lines
Aerial photography reveals leading lines everywhere: roads, rivers, shorelines, rows of crops, walls, railway tracks. Use them to draw the viewer’s eye through the frame. The most powerful compositions have leading lines pointing toward the primary subject.
Symmetry and Patterns
The aerial perspective reveals geometric patterns invisible from the ground: concentric circles of harvested fields, the perfect grid of urban blocks, the repeating arches of a bridge. Symmetry works best when the frame is perfectly aligned — use your drone’s gimbal horizon lock to ensure level horizons.
Top-Down (Nadir) Shots
Point the camera straight down for abstract, pattern-focused compositions. This eliminates the horizon entirely and forces the viewer to engage with the texture and geometry of what’s below. Particularly effective over:
- Beaches at low tide (wave patterns in sand)
- Paddy fields with water reflections
- Colourful markets and festivals
- Urban street grids
Horizon Placement
When your composition includes sky and ground, follow these rules:
- Dramatic sky: Place horizon in the bottom third of the frame
- Dramatic ground: Place horizon in the top third
- Equal interest: Never centre the horizon (it creates static, uninteresting images)
7. Golden Hour and Blue Hour Shooting
India’s golden hours are particularly rich. The dust and moisture in the air scatter light beautifully during the hour after sunrise and before sunset, creating warm, directional light that casts long shadows and reveals landscape texture.
Golden Hour Tips
- Arrive early: Be in the air 20 minutes before sunrise. The light changes dramatically minute by minute.
- Face the sun: Flying with the sun at your back creates flat, uninteresting light. Turn around — face into the light. Subjects between you and the sun are backlit and dramatic.
- Watch shadows: During golden hour, every object casts a long, defined shadow. These shadows become compositional elements — include them intentionally.
- Temperature: Early morning in India (especially October–February) can have mist and fog over fields and valleys. This creates incredible atmospheric depth in aerial shots.
Blue Hour
The 20–40 minutes after sunset (or before sunrise) when the sky is deep blue and artificial lights begin glowing. Blue hour is challenging for drones because:
- Light levels drop rapidly — exposure must be adjusted continuously
- Most drones require strong illumination for visual obstacle avoidance
- Battery efficiency drops in colder temperatures
Set ISO to 800–1600, shutter to 1/100–1/200s, and let the city lights create that magical warm-cool colour contrast against the deep blue sky.
8. Video Settings for Cinematic Footage
The 180-Degree Shutter Rule
For cinematic video, your shutter speed should be approximately double your frame rate:
- 24fps → 1/50s shutter
- 30fps → 1/60s shutter
- 60fps (slow motion) → 1/120s shutter
This creates natural motion blur that mimics cinema cameras and makes footage look smooth and professional. In bright Indian daylight, achieving 1/50s at ISO 100 requires ND32 or ND64 filters.
Resolution and Frame Rate
- 4K/24fps: Cinematic look, large files, smooth motion
- 4K/30fps: Standard delivery format, slightly crisper motion
- 1080p/60fps: For 2x slow motion playback in 30fps timelines
- 4K/60fps: For 2x slow motion with 4K output quality (requires capable drone)
Colour Profiles
If your drone camera supports log colour profiles (D-Log, D-Cinelike, V-Log), use them for maximum dynamic range and colour grading flexibility. Log footage appears flat and washed out in camera but gives your editing software maximum latitude. Apply a LUT (Look-Up Table) in post-processing to restore natural colours before grading.
Movement Speed
Drone video should move slowly and deliberately. Fast drone movements look amateur. Aim for:
- Reveal shots: 2–3 m/s while rising or flying backward
- Orbit shots: Slow, steady circle around a point of interest
- Flyover: Smooth forward flight with gradual altitude change
- Hyperlapse: Very slow movement (0.5 m/s) captured in time-lapse mode

1/3″ CMOS 700TVL Mini FPV Camera 2.1mm Lens PAL/NTSC
Compact and lightweight CMOS FPV camera. Wide 2.1mm lens gives excellent field of view for aerial photography and FPV flying.
9. Shooting in Indian Conditions
Dealing with Haze and Air Pollution
India’s air quality, particularly in North Indian cities during October–February, creates significant aerial haze. Tips to combat it:
- Shoot during golden hour when horizontal haze is minimized and light is warm
- Shoot early morning before industrial/traffic pollution builds up
- Fly lower (within 100–150m AGL) rather than at maximum altitude — less atmosphere between you and the subject
- In post, apply a Haze Removal slider (Lightroom) or Dehaze (Capture One) before any other adjustments
- Use a polarising filter to cut through some atmospheric scatter
Heat Shimmer
From May to August, heat shimmer (mirages caused by rising hot air) can distort images at altitude, particularly over urban concrete. Shoot early morning (before 8 AM) during summer months to avoid this.
Monsoon Photography
Flying during or immediately after monsoon rain gives extraordinary results — dramatic skies, lush green landscapes, flowing rivers. But be extremely careful:
- Never fly in active rain (water ingress can fry electronics)
- After rain stops, windows of 30–60 minutes before the next shower are prime shooting time
- Watch for gusty winds that accompany monsoon systems — these can push even well-tuned drones off course
- Moisture-laden air affects barometer accuracy — recalibrate if altitude readings seem off
Wind Management
Check wind at altitude before flying. Surface wind may be calm while at 100m it’s blowing at 30 km/h. Use apps like Windy.com (which shows wind by altitude layer) for pre-flight planning. As a general rule, if wind exceeds 60% of your drone’s maximum speed rating, stay grounded.
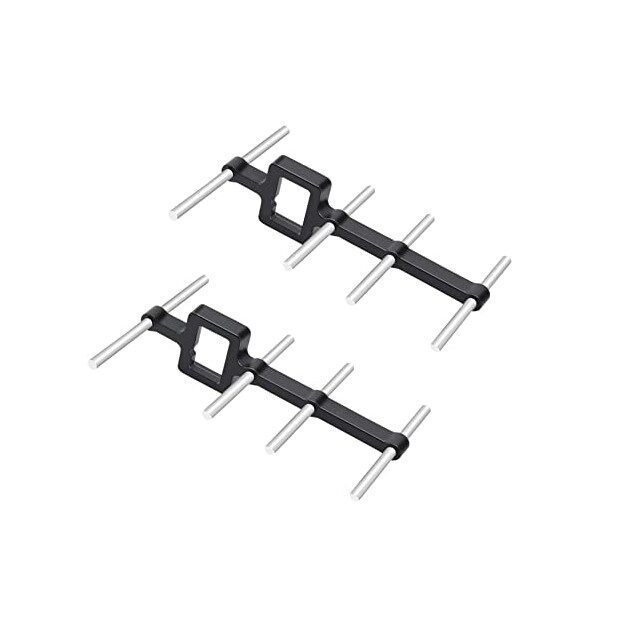
2.4Ghz Yagi-UDA Drone Signal Booster
Directional Yagi antenna booster for extended drone control range. Ideal for photography missions requiring maximum standoff distance from the subject.
10. Post-Processing Workflow
Great drone photography happens in two places: in the air and at the editing desk. Here’s a recommended post-processing workflow:
Step 1: Import and Cull
Import RAW files into Adobe Lightroom, Capture One, or Darktable. Use star ratings or flags to cull ruthlessly — keep only the sharpest, best-composed frames from each sequence.
Step 2: Lens Correction
Apply lens correction profiles for your drone’s camera/lens combination. Drone wide-angle lenses typically show barrel distortion (curved lines at the edges). Lightroom has profiles for most DJI cameras; for others, use the generic profile and tweak manually.
Step 3: Basic Adjustments
- Exposure: Adjust to your target brightness. Watch the histogram — avoid clipping highlights or crushing blacks unless intentional.
- Highlights and Whites: Pull highlights down to recover sky detail blown by bright sun.
- Shadows and Blacks: Lift shadows to reveal ground detail that was underexposed to protect the sky.
- Clarity and Texture: Add moderate Clarity (+15 to +25) to improve aerial detail without over-sharpening.
- Dehaze: Apply +10 to +30 to cut through atmospheric haze. Don’t overdo it — excessive dehaze creates unnatural contrast.
Step 4: Colour Grading
Aerial imagery from India is typically rich in greens (agriculture), ochres (desert/soil), and blues (sky/water). Common grading approaches:
- Natural/documentary: Minimal grading, accurate colours
- Warm cinematic: Orange/teal split toning (lift shadows toward teal, push highlights toward orange)
- Moody atmospheric: Desaturate slightly, add vignette, boost clarity
Step 5: Sharpening and Noise Reduction
For drone RAW files at ISO 100–400, apply moderate sharpening (Amount 50, Radius 1.0, Detail 25) and minimal noise reduction. At ISO 800+, increase luminance noise reduction while watching for softening of fine detail.
11. Legal Reminders for Drone Photography in India
Before every aerial photography session, remember:
- Drones over 250g require DGCA registration and a valid UIN sticker on the drone
- Commercial photography requires a Remote Pilot Certificate (RPC)
- Flying over crowds, gatherings, or populated areas requires special permission
- No flying within 5 km of airports without ATC permission via Digital Sky
- Heritage monuments under ASI (Archaeological Survey of India) have specific restrictions — some prohibit all drone photography, others require written permission from the site director
- Military areas, border regions, and government complexes are Red Zones — strictly prohibited
- Always inform local police/security if shooting in sensitive or high-profile locations — they may not be aware of your legal permissions
12. Recommended Gear from Zbotic
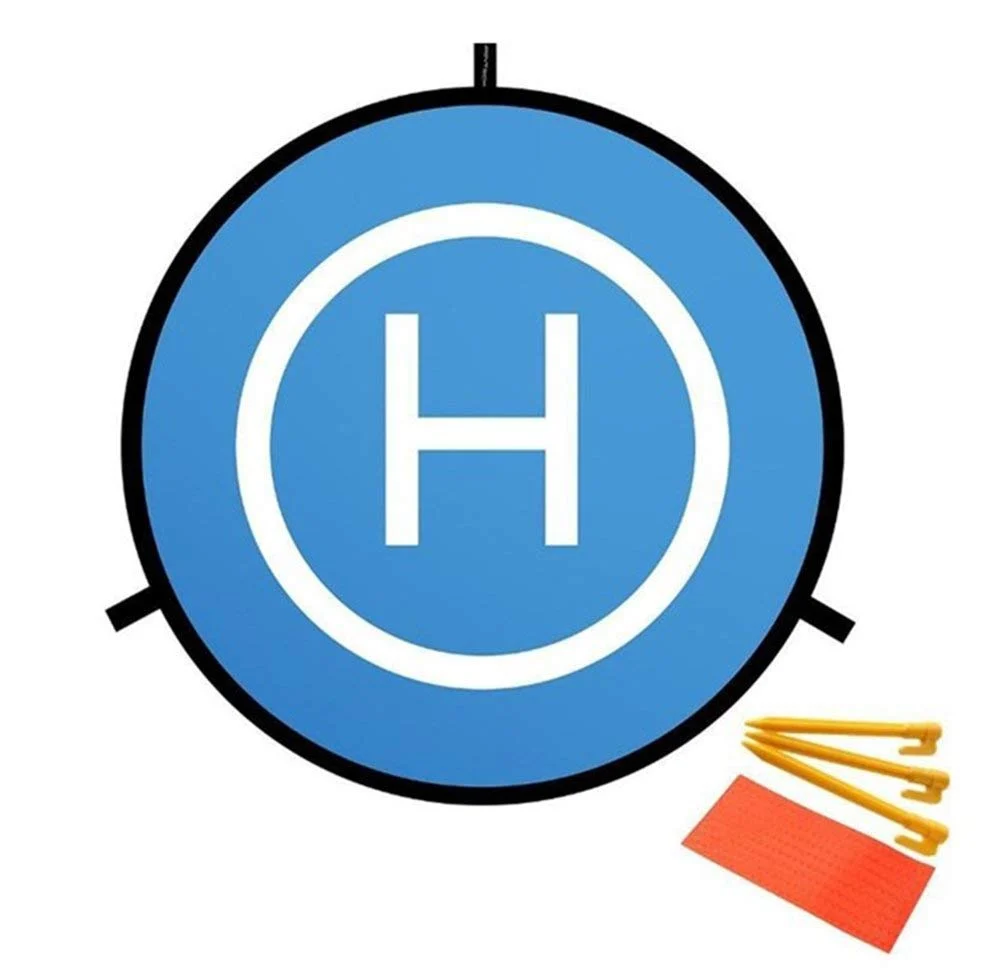
110cm Fast-Fold Landing Pad/Helipad for RC Drone
Large 110cm landing pad for drone photography sessions in the field. Protects camera gimbals from dust and debris on takeoff and landing.
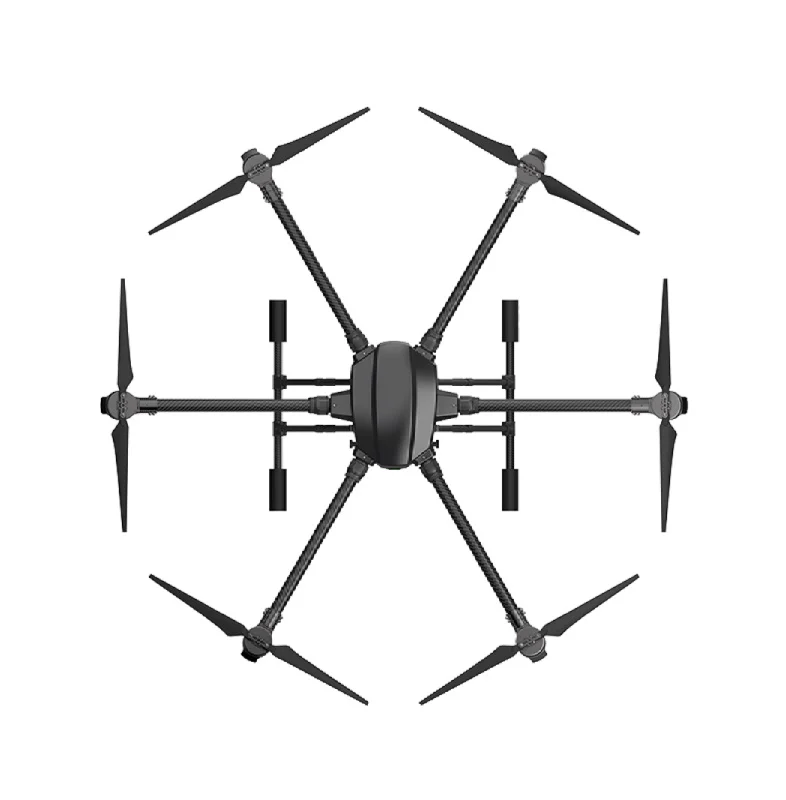
EFT 6120 Multifunction Surveillance Drone Frame
Hexacopter frame built for professional photography and surveillance. Redundant motor configuration ensures camera safety even with one motor failure.
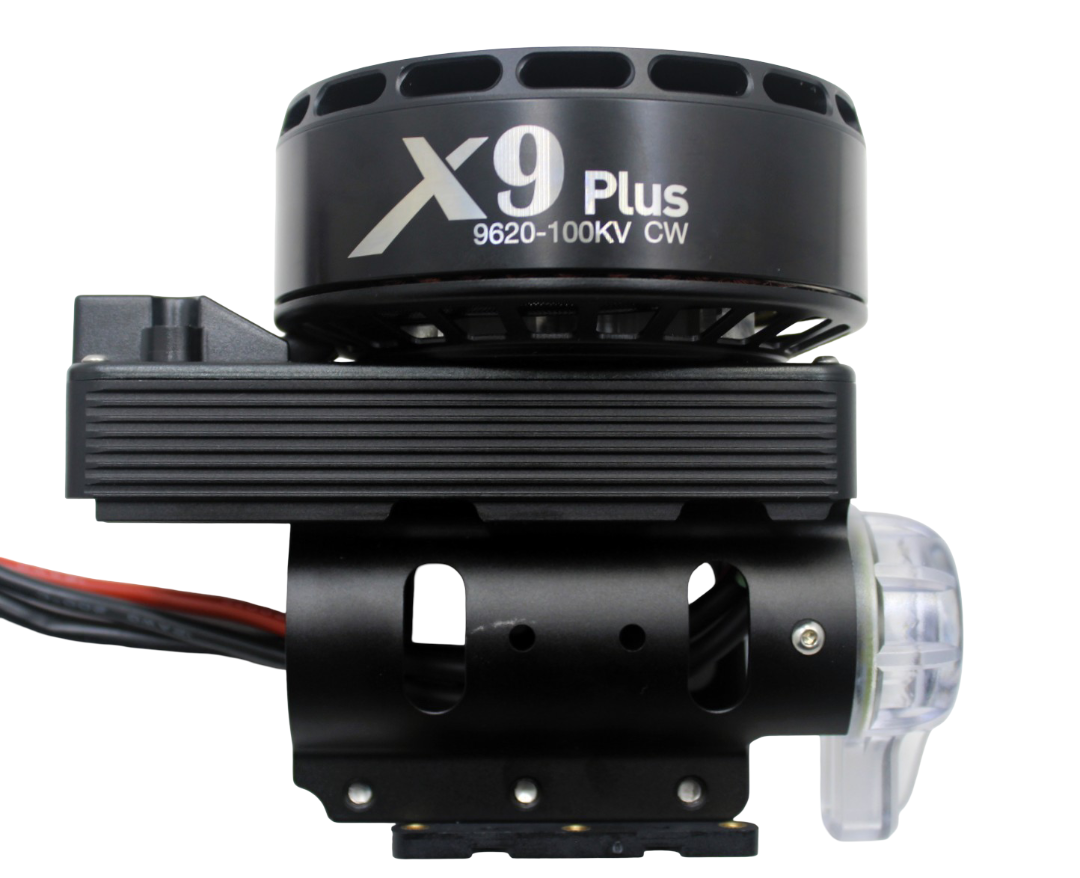
Hobbywing X9 Plus Motor CW
Industry-leading efficiency motor for professional photography platforms. Long flight times mean more time in the air capturing shots, less time changing batteries.
2.4Ghz Yagi-UDA Drone Signal Booster
Extend control range for photography drones. Essential when shooting at distance from a subject or in environments with RF interference.
13. Frequently Asked Questions
Q: Should I shoot in JPEG or RAW for drone photography?
Always RAW if your drone camera supports it. RAW files contain significantly more tonal and colour information than JPEG, giving you 3–5 stops more latitude in post-processing. JPEGs from drone cameras are often over-sharpened and over-saturated from in-camera processing — RAW avoids this entirely.
Q: What is the best time to shoot aerial photography in India?
The golden hour after sunrise (typically 6–7:30 AM, varying by season and location) is consistently the best time. Light is warm, shadows are directional, and crowds and traffic are minimal. The hour before sunset is the second-best window. Avoid harsh midday shooting from 10 AM to 4 PM — flat, contrasty light that washes out colours.
Q: How do I avoid jello effect in drone footage?
Jello (rolling shutter distortion that makes footage appear to wobble like jelly) is caused by high-frequency vibration reaching the camera. Solutions: (1) Balance your propellers — even slight imbalance causes significant vibration at motor speeds. (2) Add vibration dampers between the camera mount and the frame. (3) Use electronic image stabilization (EIS) as a last resort — it crops the frame slightly. (4) Slower shutter speeds make jello worse; use ND filters to shoot at the motion-blur shutter speed.
Q: Can I use a GoPro on a DIY drone for photography?
Yes, but you need a gimbal to stabilize the camera. A 2-axis or 3-axis brushless gimbal smooths out the drone’s movements and keeps the camera horizon level. Without a gimbal, footage from a GoPro mounted directly to a drone frame is too shaky for serious photography. Lightweight GoPro-compatible gimbals are available for most quadcopter builds.
Q: What’s a good first location for aerial photography practice in India?
For your first serious aerial photography sessions, look for open agricultural areas or large public parks (outside city limits where drone rules are more relaxed). The agricultural plains of UP, MP, and Rajasthan offer spectacular geometric patterns from above. Coastal areas like Goa’s beaches outside peak season also provide beautiful subjects with minimal crowds and good light.
14. Conclusion
Mastering drone photography is a journey of combining technical knowledge (camera settings, ND filters, flight planning) with artistic vision (composition, light, timing). India, with its extraordinary diversity of landscapes — from the Thar Desert to the Kerala backwaters, from the Himalayan foothills to the Deccan plateau — offers some of the most visually compelling aerial photography subjects in the world.
Start with manual exposure control, invest in a set of ND filters, shoot during golden hour, and spend significant time in post-processing giving your images the polish they deserve. The technical side will become second nature with practice, freeing you to focus on the creative decisions that turn good aerial shots into great ones.
Ready to build or upgrade your aerial photography platform? Zbotic stocks drone frames, motors, cameras, and accessories for everything from compact photo drones to professional hexacopter rigs.
Build Your Aerial Photography Platform with Zbotic
Frames, motors, cameras, and accessories for professional aerial photography — fast delivery across India.


Add comment