
If you’ve ever built or studied a differential drive robot, you already know it’s the most popular locomotion system in DIY robotics. Understanding differential drive robot kinematics and control is the cornerstone of building robots that can navigate reliably — whether it’s a line-follower, a maze-solver, or a warehouse bot. In this guide, we break down the kinematics math, speed control strategies, and PID tuning in plain language so you can apply it on your next build.
What Is a Differential Drive Robot?
A differential drive robot uses two independently driven wheels mounted on a common axis. Steering is achieved entirely by varying the relative speeds of the two wheels — no dedicated steering mechanism is needed. This simplicity makes it the go-to design for beginners and professionals alike.
Key characteristics:
- Two active wheels (left and right), often supplemented by a passive caster or ball-transfer unit
- Zero turning radius — can spin in place by driving wheels in opposite directions
- Simple mechanical construction but requires precise speed matching for straight motion
- Used in: Roomba vacuum robots, AGVs, educational kits, ROS TurtleBot, and most DIY chassis kits

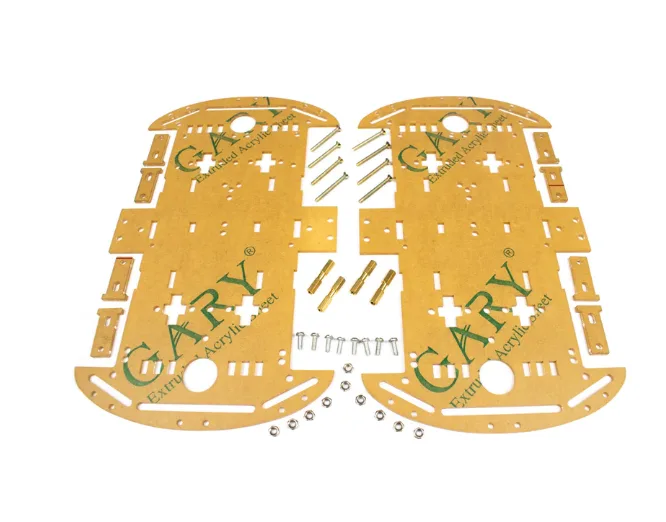
2WD Mini Round Double-Deck Smart Robot Car Chassis DIY Kit
A compact two-wheel-drive chassis perfect for learning differential drive kinematics. Includes motors, wheels, and dual-deck acrylic frame.
Forward Kinematics: From Wheel Speeds to Robot Motion
Forward kinematics answers: “Given the left and right wheel velocities, where does the robot go?”
Define the following:
- vL = left wheel linear velocity (m/s)
- vR = right wheel linear velocity (m/s)
- L = wheelbase (distance between wheel contact points, m)
- v = robot linear velocity
- ω = robot angular velocity (rad/s)
The core equations are:
v = (v_R + v_L) / 2
ω = (v_R - v_L) / L
From these, the robot’s new pose (x, y, θ) after a small time-step Δt:
x_new = x + v * cos(θ) * Δt
y_new = y + v * sin(θ) * Δt
θ_new = θ + ω * Δt
Special cases to remember:
- v_L = v_R: robot moves straight
- v_L = -v_R: robot spins in place (pivot turn)
- v_L = 0, v_R > 0: robot turns around the left wheel (point turn)
Inverse Kinematics: Commanding the Robot
Inverse kinematics answers the reverse question: “Given the desired v and ω, what wheel speeds should I set?”
v_R = v + (ω * L) / 2
v_L = v - (ω * L) / 2
In practice, a high-level controller outputs (v, ω) commands — for example, ROS’s cmd_vel Twist message — and the motor driver translates them to individual wheel PWM values.
Practical example: If your robot has a wheelbase of 15 cm (L = 0.15 m) and you want it to move at 0.3 m/s while turning left at 0.5 rad/s:
v_R = 0.3 + (0.5 * 0.15) / 2 = 0.3 + 0.0375 = 0.3375 m/s
v_L = 0.3 - (0.5 * 0.15) / 2 = 0.3 - 0.0375 = 0.2625 m/s
PWM-Based Speed Control with L298N / L293D
DC gear motors in robot chassis are controlled via PWM (Pulse Width Modulation). The PWM duty cycle (0–255 on Arduino) maps to motor voltage and thus speed.
Typical wiring with L298N:
- ENA → PWM pin (e.g., D9)
- IN1, IN2 → direction control (D8, D7)
- ENB → PWM pin (e.g., D10)
- IN3, IN4 → direction control (D6, D5)
// Arduino speed control example
void setMotorSpeed(int leftPWM, int rightPWM) {
  // Left motor
  digitalWrite(IN1, leftPWM > 0 ? HIGH : LOW);
  digitalWrite(IN2, leftPWM > 0 ? LOW : HIGH);
  analogWrite(ENA, abs(leftPWM));
  // Right motor
  digitalWrite(IN3, rightPWM > 0 ? HIGH : LOW);
  digitalWrite(IN4, rightPWM > 0 ? LOW : HIGH);
  analogWrite(ENB, abs(rightPWM));
}
Important: even with identical PWM values, left and right motors may run at different speeds due to manufacturing variance. This is why encoders and PID control are essential.
PID Control for Straight-Line Accuracy
Without feedback control, a differential drive robot drifts. A PID controller continuously corrects the speed error based on encoder feedback.
The error signal is the difference between desired and actual wheel speed:
error = target_speed - measured_speed
output = Kp * error + Ki * integral(error) + Kd * derivative(error)
Tuning tips for robot chassis motors:
- Start with Kp only (Ki = Kd = 0). Increase until oscillation appears, then halve.
- Add Ki slowly to eliminate steady-state error — too high causes windup and oscillation.
- Add Kd only if response is sluggish; it can amplify noise from encoders.
- Typical starting values for small chassis: Kp = 2.0, Ki = 0.5, Kd = 0.1
- Run PID loop at a fixed rate (e.g., every 20ms) for consistent behaviour.
For heading correction (keeping the robot going straight), use the encoder tick difference between left and right wheels as the error input to a second PID loop that adjusts motor speeds accordingly.
4 Wheels Car Chassis Acrylic Frame
Sturdy acrylic 4-wheel robot chassis with ample space for motor drivers, batteries, and controllers. Great for PID and odometry experiments.
Wheel Encoders and Odometry
Wheel encoders are sensors that count rotations (or partial rotations) of each wheel. They are the foundation of odometry — estimating the robot’s position from wheel movement alone.
Types of encoders used in hobby robots:
- Optical disk encoders — most common in cheap chassis kits; 20–40 slots per revolution, giving position resolution of 360/slots degrees.
- Magnetic encoders — more robust, higher resolution (e.g., 12–64 CPR). Found on quality motors like Pololu and N20.
- Quadrature encoders — two channels (A and B), 90° phase difference. Can detect direction and gives 4× resolution.
Converting encoder ticks to distance:
// If wheel diameter = 65mm, CPR = 20
distance_per_tick = (π * wheel_diameter) / CPR
distance_per_tick = (3.14159 * 0.065) / 20 = 0.01021 m/tick
Accumulate tick counts from both encoders, apply the forward kinematics equations, and you get the robot’s estimated pose. This is dead-reckoning — errors accumulate over time, which is why fusion with IMU or external localization (SLAM) is added for longer runs.
Choosing the Right Chassis for Differential Drive
When picking a chassis, consider:
- Wheelbase (L): Wider wheelbase = more stable, slower turning. Narrow = agile but tips more easily.
- Wheel diameter: Larger wheels = more ground clearance, higher top speed per RPM.
- Motor gear ratio: Higher gear ratio = more torque, lower speed. 1:48 to 1:120 is common for small chassis.
- Payload capacity: Ensure chassis can carry your controller, battery, and sensors without overloading motors.
- Encoder compatibility: Some motors come with encoder slots pre-cut on the motor shaft.

60MM-K Mecanum Wheel Compatible with 6.7mm Coupling (Pack of 4) – Black
Upgrade from standard differential drive to omnidirectional motion. These mecanum wheels enable lateral movement impossible with standard wheels.

4mm Hex Coupling for Robot Smart Car Wheel 30mm Length
Essential hardware for attaching wheels securely to motor shafts. Available in 4mm and 5mm shaft sizes for most hobby robot motors.
Frequently Asked Questions
Q: Why does my differential drive robot curve even with equal PWM values?
Motor manufacturing tolerances mean two identical motors at the same voltage can spin at slightly different speeds. Use encoder feedback with a PID controller to equalize actual wheel speeds.
Q: What is the minimum wheelbase for a stable differential drive robot?
For small hobby robots (500g–2kg), a wheelbase of 10–20 cm works well. Too narrow and the robot tips easily around a caster; too wide and turning becomes slow and current-hungry.
Q: Can I implement differential drive kinematics on an ESP32 instead of Arduino?
Absolutely. ESP32 supports hardware PWM on most GPIO pins and has two cores — ideal for running the PID loop on Core 1 while handling Wi-Fi/Bluetooth commands on Core 0.
Q: What’s the difference between a point turn and an arc turn?
A point turn (v_L = -v_R) rotates the robot around its center — zero forward movement. An arc turn has one wheel moving faster than the other in the same direction, resulting in a curved path.
Q: How do I convert RPM to linear velocity?
Linear velocity (m/s) = (RPM / 60) × π × wheel_diameter. For a 65mm wheel at 150 RPM: v = (150/60) × π × 0.065 = 0.51 m/s.
Zbotic stocks everything you need — from 2WD chassis kits and motor driver boards to encoders, mecanum wheels, and hex couplings. Browse the Robotics & Automation collection and start building today.


Add comment