
Building a robot that navigates to a GPS coordinate on its own — without any human joystick input — is the hallmark of true autonomous navigation. This guide covers the complete system: a GPS module for position fixes, a digital compass (HMC5883L/QMC5883L) for heading, and a PID controller to smoothly steer the robot toward each waypoint. Whether you are building an outdoor rover, an agricultural bot, or a competition robot, this GPS + compass + PID approach is the industry-standard foundation.
System Architecture Overview
Autonomous GPS navigation has four distinct layers working together:
- Sensing: GPS gives absolute position (latitude/longitude); compass gives absolute heading (0–360°).
- Computation: The microcontroller calculates the bearing from current position to target waypoint using the Haversine formula, then computes the heading error (difference between desired bearing and actual compass heading).
- Control: A PID controller converts the heading error into a steering correction (differential speed between left and right motors).
- Actuation: Motor driver executes the corrected speeds.
This closed-loop architecture continuously corrects for wind, uneven terrain, and sensor drift, allowing the robot to track a waypoint path accurately within 2–5 metres using a standard consumer GPS module.
Choosing and Setting Up the GPS Module
The most popular modules for Arduino autonomous navigation are the NEO-6M (budget, 2.5 m accuracy) and NEO-M8N (higher precision, multi-constellation, 1.5 m accuracy). Both output NMEA sentences over UART at 9600 baud by default.
Wiring NEO-6M to Arduino Uno
- GPS TX → Arduino D4 (SoftwareSerial RX)
- GPS RX → Arduino D3 (SoftwareSerial TX)
- VCC → 5V
- GND → GND
Use the TinyGPS++ library to parse NMEA data. After acquiring a fix (typically 30–60 seconds outdoors), you get latitude and longitude updated once per second. For better accuracy, configure the module to 5 Hz update rate via u-center software and UBX protocol commands.
Cold start tip: Place the robot in open sky for 2–3 minutes on first power-on. The module caches almanac data for faster subsequent fixes (warm start: 5–15 seconds).
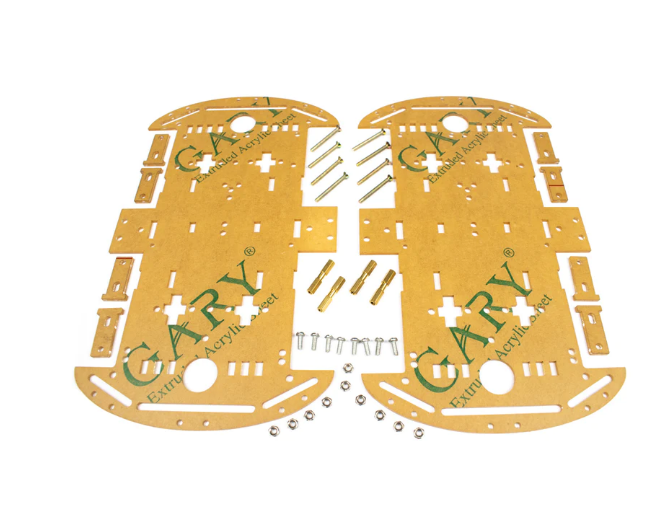
4 Wheels Car Chassis Acrylic Frame
Stable 4WD acrylic chassis — the ideal rover platform for GPS autonomous navigation projects requiring straight-line tracking.
Digital Compass: HMC5883L / QMC5883L
The HMC5883L (Honeywell, discontinued but widely cloned) and its drop-in replacement QMC5883L (QST Corp) are I²C 3-axis magnetometers. They measure the Earth’s magnetic field to derive a heading angle.
Key Setup Steps
- Mounting: Keep the compass at least 10 cm from motors and battery. EMI from motor brushes creates false headings — this is the number one failure mode in outdoor rover builds.
- Hard-iron calibration: Rotate the robot 360° slowly and record the min/max X and Y magnetometer values. The offset is
(max + min) / 2for each axis. Subtract these offsets from live readings to eliminate permanent magnetic bias from nearby metal on the chassis. - Tilt compensation: On flat terrain, ignore Z-axis. On rough terrain, combine with MPU6050 roll/pitch to perform full tilt-compensated heading — significantly improves accuracy on slopes.
Heading Calculation
float heading = atan2(my - offsetY, mx - offsetX) * 180.0 / PI;
if (heading < 0) heading += 360.0;
This gives true heading in degrees (0 = North, 90 = East, 180 = South, 270 = West). Magnetic declination correction (add your local declination from ngdc.noaa.gov) converts magnetic north to true north.
PID Controller Theory and Tuning
PID stands for Proportional–Integral–Derivative. For heading control in a differential-drive robot:
- Error (e): Desired bearing minus current compass heading. Wrap to −180°/+180° range to handle the 360°→0° rollover.
- Proportional (P): Immediate correction proportional to error. If heading error is 30°, steer harder. Kp typically 1.0–3.0.
- Integral (I): Accumulates small persistent errors (e.g., one motor slightly stronger). Ki typically 0.001–0.01. Cap the integral to ±50 to prevent windup.
- Derivative (D): Dampens oscillation. Kd typically 0.5–2.0. Helps the robot stop over-steering when approaching the correct heading.
float error = targetBearing - currentHeading;
if (error > 180)  error -= 360;
if (error < -180) error += 360;

integral += error * dt;
integral = constrain(integral, -50, 50);
float derivative = (error - prevError) / dt;
float output = Kp*error + Ki*integral + Kd*derivative;
prevError = error;

int leftSpeed  = baseSpeed - output;
int rightSpeed = baseSpeed + output;
// constrain both to 0–255 PWM range
PID Tuning Method
Start with Ki = Kd = 0. Increase Kp until the robot oscillates, then halve it. Add Kd until oscillation dampens. Add Ki only if the robot drifts consistently in one direction. Field-test on a 20 m straight path with a 90° turn.
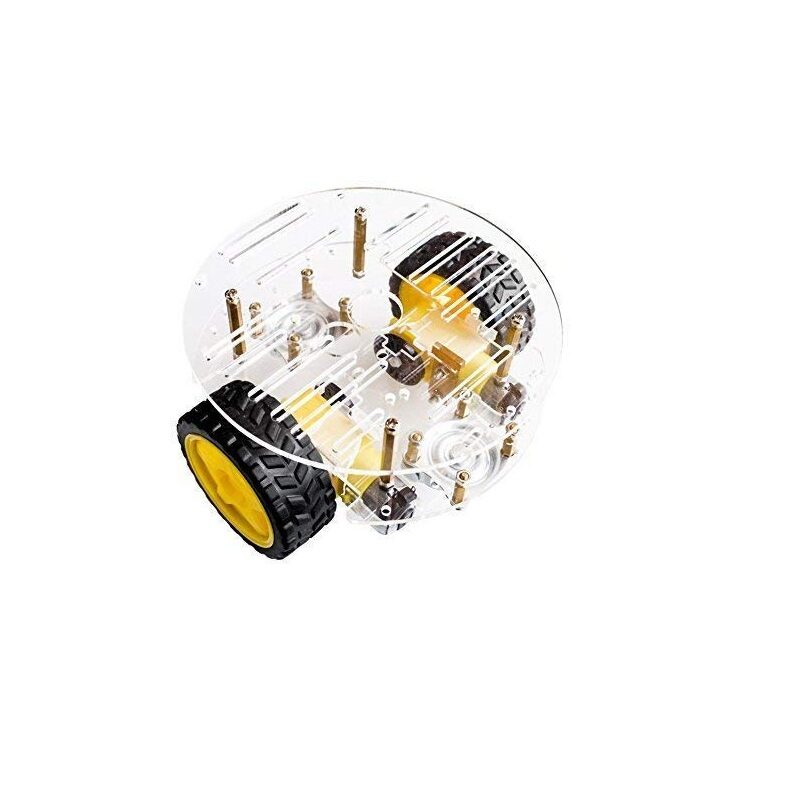
2WD Mini Round Double-Deck Smart Robot Car Chassis DIY Kit
Lightweight 2WD chassis — easy to PID-tune for heading control; lower inertia means faster response to steering corrections.
Waypoint Navigation Algorithm
With position and heading available, the navigation loop runs as follows:
- Read current GPS coordinates (lat1, lon1).
- Get target waypoint (lat2, lon2) from a stored array.
- Calculate distance to target using Haversine formula.
- If distance < arrival threshold (e.g., 3 m), advance to next waypoint.
- Calculate target bearing using
atan2()of the lat/lon differences. - Read compass heading.
- Feed bearing error into PID → get steering correction.
- Apply correction to motor speeds.
- Repeat at 10 Hz.
Haversine Distance Formula (simplified for short distances)
float dLat = (lat2 - lat1) * DEG_TO_RAD;
float dLon = (lon2 - lon1) * DEG_TO_RAD;
float a = sin(dLat/2)*sin(dLat/2) +
           cos(lat1*DEG_TO_RAD)*cos(lat2*DEG_TO_RAD)*
           sin(dLon/2)*sin(dLon/2);
float distance = 6371000 * 2 * atan2(sqrt(a), sqrt(1-a)); // metres
Full Wiring Diagram
Component connections summary for the complete autonomous navigation robot:
| Component | Arduino Pin | Notes |
|---|---|---|
| GPS TX | D4 (SS RX) | SoftwareSerial |
| GPS RX | D3 (SS TX) | Use 1kΩ voltage divider |
| HMC5883L SDA | A4 | I²C, 4.7 kΩ pull-up |
| HMC5883L SCL | A5 | I²C |
| L298N IN1–IN4 | D4–D7 | Direction control |
| L298N ENA, ENB | D9, D3 | PWM speed |
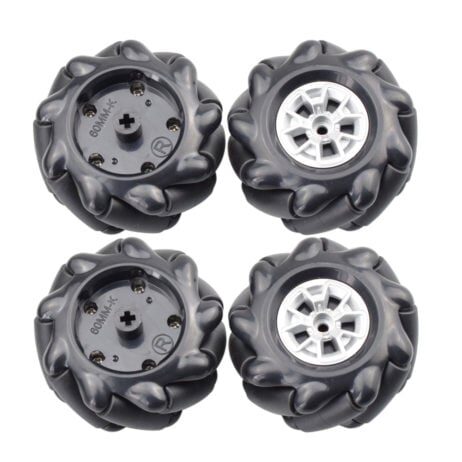
60MM-K Mecanum Wheel (Pack of 4) – Black
Mecanum wheels allow holonomic movement — your autonomous robot can strafe sideways to correct lateral GPS drift without turning first.
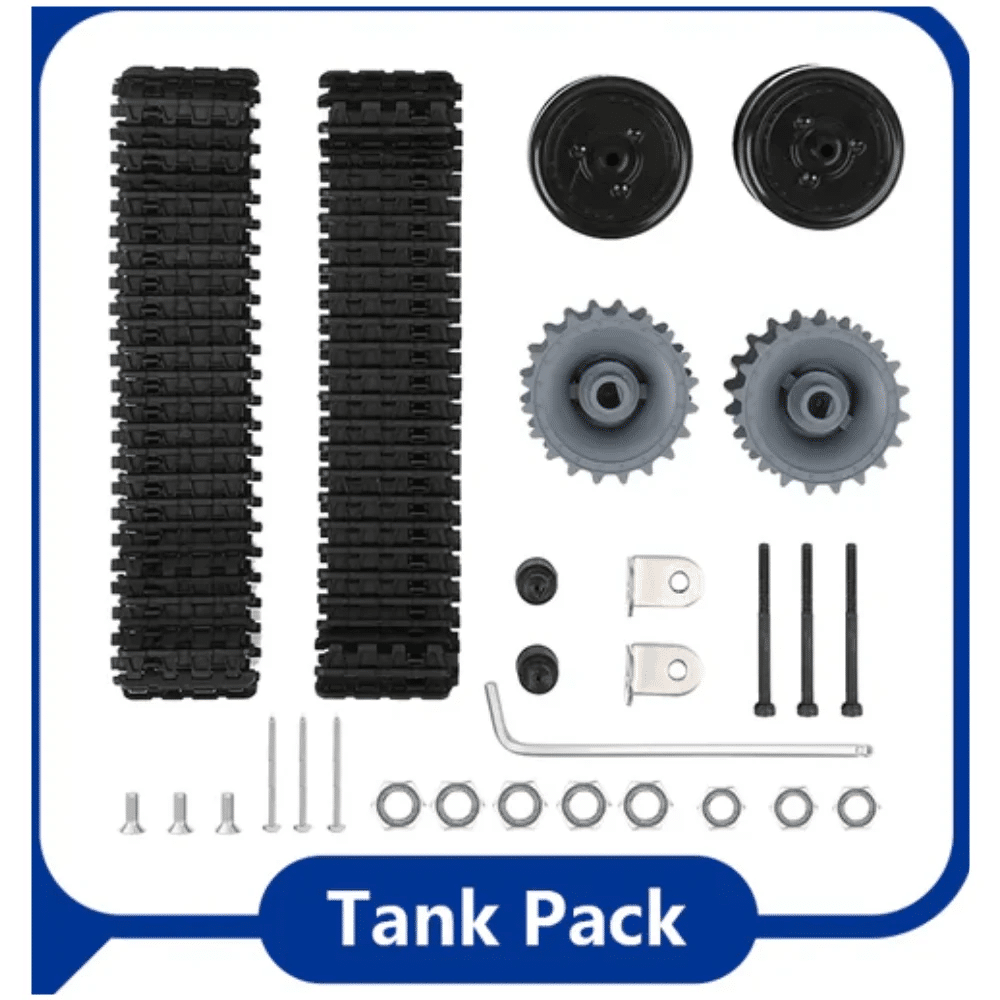
ACEBOTT ESP32 Tank Robot Car Expansion Pack
ESP32-powered tank chassis — robust outdoor autonomous rover platform with excellent traction for GPS navigation missions.
Arduino Code Structure
Organise your sketch into clear task functions, called from loop() at fixed intervals using non-blocking millis() timing:
readGPS()— parse NMEA, update lat/lon every 1 sreadCompass()— read HMC5883L, apply calibration offsets, every 100 mscomputeBearing()— Haversine bearing to current waypointrunPID()— compute steering correction, every 100 msdriveMotors(left, right)— apply PWMcheckWaypoint()— advance waypoint index when within arrival radius
Keep the GPS parsing in a non-blocking pattern using while (gpsSerial.available()) gps.encode(gpsSerial.read()); inside every loop iteration — do not use blocking delay() anywhere in the navigation loop.
Frequently Asked Questions
How accurate can GPS navigation be with a NEO-6M?
Typically 2–5 metres CEP (Circular Error Probable) in open sky. Adding a ground plane antenna and enabling SBAS (WAAS/EGNOS/GAGAN) improves this to 1.5–3 metres — sufficient for outdoor rover navigation.
Do I need a gyroscope in addition to the compass?
For slow-moving rovers (<1 m/s), compass alone is enough. At higher speeds or on rough terrain, fusing compass with a gyroscope (MPU6050) using a Kalman or Madgwick filter gives a more stable heading estimate, especially during sharp turns.
Can I use RTK GPS for centimetre-level accuracy?
Yes. Modules like the u-blox ZED-F9P with an RTK base station achieve 1–2 cm accuracy. This is used in professional agricultural robots and FPV race gates. It requires a second reference GPS unit on a known fixed location transmitting corrections.
How do I handle GPS signal loss mid-mission?
Implement a timeout: if no valid GPS fix for more than 3 seconds, stop the motors and hold position. Log the last known position. Resume when fix is re-acquired. Never continue navigating on stale coordinates.
Can this work indoors?
Standard GPS does not work indoors. For indoor autonomous navigation, use alternatives: UWB (ultra-wideband) positioning, optical flow, SLAM with LiDAR/ultrasonic, or a fixed overhead camera system.
Build Your Autonomous Robot Today
Zbotic stocks all the robotics components you need — chassis, wheels, motor drivers, and sensors — with fast shipping across India.


Add comment