
Combining a mobile robot chassis with a Raspberry Pi running TensorFlow Lite is one of the most impressive projects you can build as a maker or engineering student in 2026. A deep learning robot with TensorFlow Lite on Raspberry Pi can detect objects in real time, classify them, and make autonomous decisions — all without an internet connection. This tutorial walks you through every step: from assembling the chassis to deploying a trained neural network model that runs inference at 10–30 FPS on the Pi’s edge hardware.
Architecture Overview
The robot we are building follows a simple pipeline:
- Camera input — Pi Camera Module captures 640×480 frames.
- Pre-processing — OpenCV resizes frames to the model’s input size (e.g., 300×300 for MobileNet SSD).
- TFLite inference — The TensorFlow Lite interpreter runs a quantised INT8 model for object detection or image classification.
- Decision logic — Python code maps detected objects/labels to motor commands (e.g., detect red cup → approach, detect obstacle → turn).
- Motor output — GPIO signals drive an L298N or TB6612FNG motor driver connected to the chassis DC motors.
TensorFlow Lite is Google’s lightweight inference framework designed for microcontrollers and single-board computers. On a Raspberry Pi 4, a quantised MobileNetV2 model runs at 20–40 ms per inference — fast enough for real-time robotics. The Pi 4’s 4 GB RAM and quad-core A72 processor make it the best value edge AI platform available in India today.
Hardware Requirements
Here is the complete bill of materials for this deep learning robot build:
- Raspberry Pi 4 (2 GB or 4 GB) — heart of the system
- Pi Camera Module v2 (8 MP) or USB webcam
- Robot chassis (2WD or 4WD, as below)
- L298N dual H-bridge motor driver
- DC gear motors (2× or 4×, typically included with chassis)
- 7.4V 2200 mAh LiPo battery or 2× 18650 cells in a holder
- 5V 3A USB-C power bank (for Pi — keep motor power separate!)
- Jumper wires, mini breadboard
- SD card (32 GB Class 10, for Pi OS)
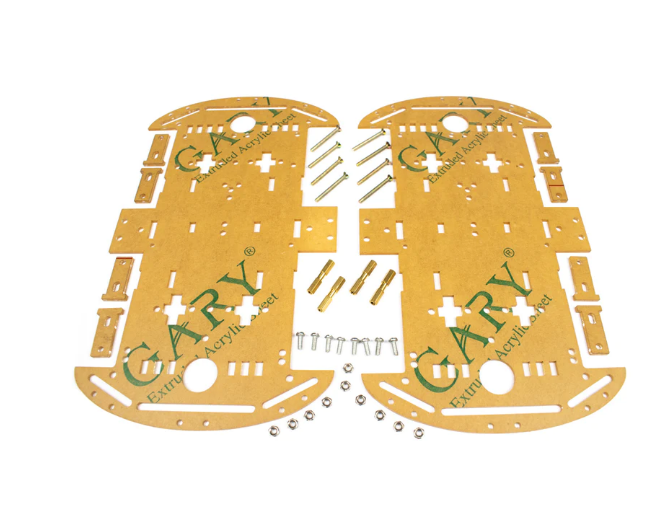
4 Wheels Car Chassis Acrylic Frame
Sturdy 4WD acrylic chassis with ample deck space for mounting a Raspberry Pi 4, camera, and battery. Smooth-rolling wheels and strong DC motors handle varied indoor surfaces well.
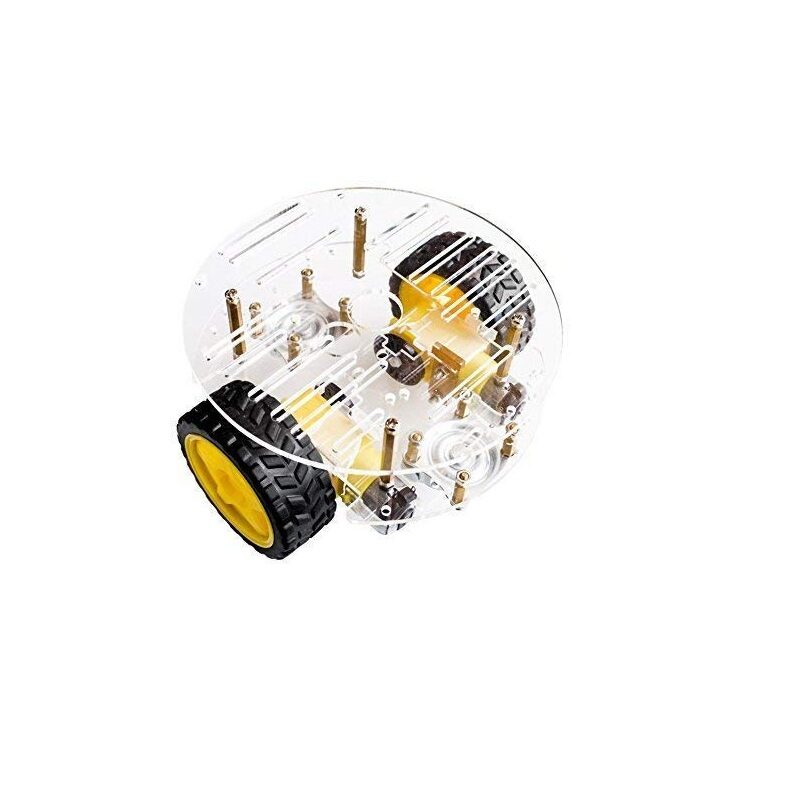
2WD Mini Round Double-Deck Smart Robot Car Chassis
Compact 2WD chassis — lighter and more manoeuvrable than 4WD variants. Perfect if you want a smaller robot with a tight turning radius for indoor object detection demos.
Chassis & Motor Assembly
Assemble the chosen chassis per its included instructions. Key tips for a Raspberry Pi robot:
- Mount the Raspberry Pi on the upper deck using M3 standoffs — keep it accessible for SD card swaps.
- Position the camera at the front-centre of the chassis at a slight downward angle (10–15°) to capture the ground ahead.
- Run motor wires through the frame grommet holes to keep them tidy and away from moving wheels.
- Keep the Pi’s USB-C power supply physically separate from the motor battery. Sharing a battery causes voltage sags that crash the Pi when motors start.
Raspberry Pi Setup & TFLite Installation
Start with a fresh Raspberry Pi OS (64-bit Bookworm) installed via Raspberry Pi Imager. Enable the camera interface and SSH. Then install the required packages:
sudo apt update && sudo apt upgrade -y
sudo apt install -y python3-pip python3-opencv libatlas-base-dev
pip3 install tflite-runtime numpy pillow RPi.GPIO
The tflite-runtime package is a lightweight installer that provides only the TFLite interpreter — it’s much smaller than the full TensorFlow package and is optimised for ARM64. Verify installation:
python3 -c "import tflite_runtime.interpreter as tflite; print('TFLite OK')"Choosing & Converting a TFLite Model
For a beginner deep learning robot, start with a pre-trained model rather than training from scratch. Google’s TFLite model zoo provides ready-to-use models:
- MobileNet SSD v2 (COCO) — detects 80 object classes (person, bottle, cup, chair, etc.) at ~60 ms on Pi 4.
- EfficientDet-Lite0 — more accurate, ~120 ms on Pi 4. Better for demonstrations.
- MobileNetV2 classifier — image classification (not detection). Runs at ~25 ms for 1,001 classes.
Download a pre-quantised INT8 model from TensorFlow Hub or the official sample repository. No conversion needed — these .tflite files run directly on the Pi.
If you want to train a custom model (e.g., to detect specific lab equipment or components), use Google Teachable Machine for quick export or TensorFlow Object Detection API for full control. Convert your trained Keras model to TFLite with:
import tensorflow as tf
converter = tf.lite.TFLiteConverter.from_saved_model('saved_model/')
converter.optimizations = [tf.lite.Optimize.DEFAULT]  # INT8 quantisation
tflite_model = converter.convert()
open('model.tflite', 'wb').write(tflite_model)
Running Real-Time Inference
Here is a minimal real-time object detection loop using OpenCV and TFLite on the Raspberry Pi:
import cv2
import numpy as np
import tflite_runtime.interpreter as tflite

interpreter = tflite.Interpreter(model_path='detect.tflite')
interpreter.allocate_tensors()
input_details = interpreter.get_input_details()
output_details = interpreter.get_output_details()

cap = cv2.VideoCapture(0)
while True:
    ret, frame = cap.read()
    img = cv2.resize(frame, (300, 300))
    img = np.expand_dims(img, axis=0).astype(np.uint8)
    interpreter.set_tensor(input_details[0]['index'], img)
    interpreter.invoke()
    boxes = interpreter.get_tensor(output_details[0]['index'])[0]
    classes = interpreter.get_tensor(output_details[1]['index'])[0]
    scores = interpreter.get_tensor(output_details[2]['index'])[0]
    for i, score in enumerate(scores):
        if score > 0.5:
            print(f"Detected class {int(classes[i])} with confidence {score:.2f}")
This loop captures frames, resizes to 300×300, runs inference, and prints detections with confidence above 50%. On a Raspberry Pi 4, this runs at approximately 10–15 FPS for MobileNet SSD — sufficient for slow-moving robot applications.
Connecting Inference to Motor Control
The intelligent part of your robot is the decision logic that maps inference outputs to motor commands. Here is a simple example: follow a person (class 0 in COCO), stop if they are too close.
import RPi.GPIO as GPIO

MOTOR_A_FWD = 17; MOTOR_A_BWD = 18
MOTOR_B_FWD = 22; MOTOR_B_BWD = 23
GPIO.setmode(GPIO.BCM)
for pin in [MOTOR_A_FWD, MOTOR_A_BWD, MOTOR_B_FWD, MOTOR_B_BWD]:
    GPIO.setup(pin, GPIO.OUT)

def move_forward():
    GPIO.output(MOTOR_A_FWD, True); GPIO.output(MOTOR_A_BWD, False)
    GPIO.output(MOTOR_B_FWD, True); GPIO.output(MOTOR_B_BWD, False)

def stop():
    for pin in [MOTOR_A_FWD, MOTOR_A_BWD, MOTOR_B_FWD, MOTOR_B_BWD]:
        GPIO.output(pin, False)

# In inference loop:
# if person detected and bbox area < 0.3 (not too close):
#     move_forward()
# else:
#     stop()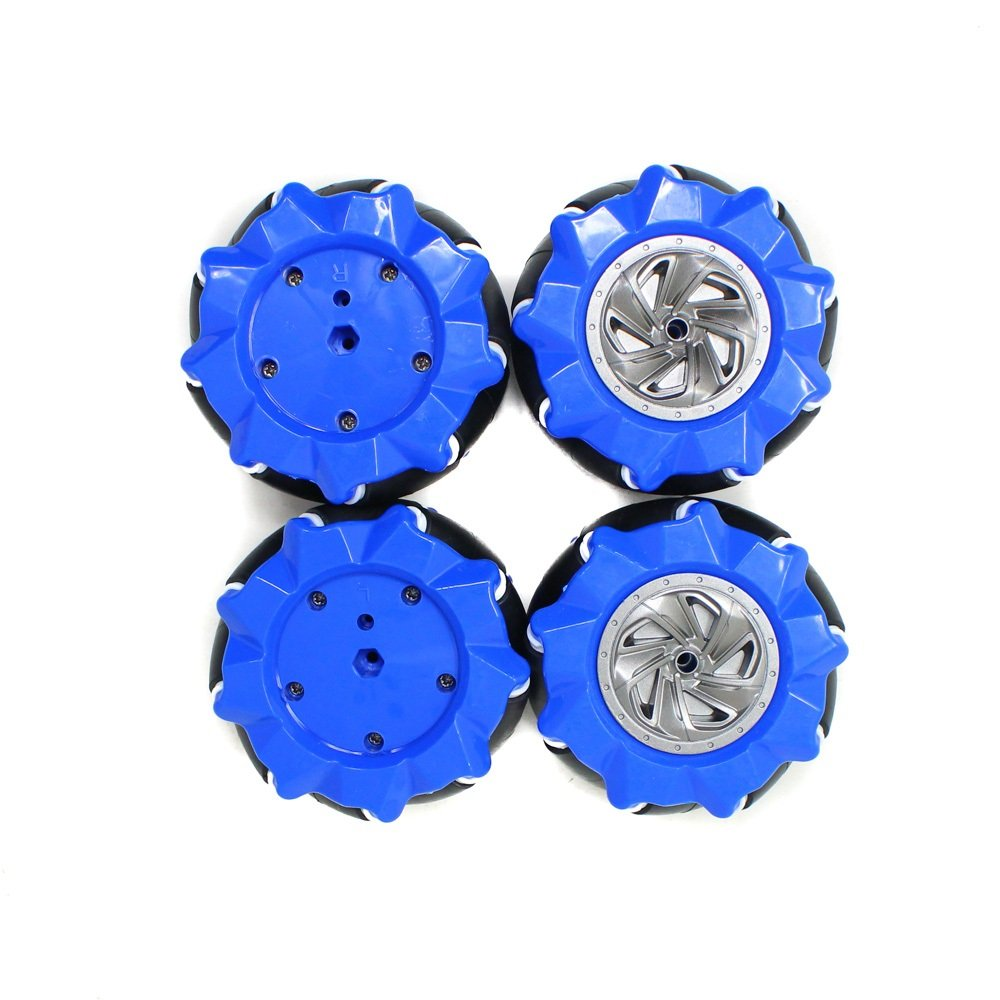
80mm Mecanum Wheels – Blue (Pack of 4)
Omnidirectional mecanum wheels for your deep learning robot chassis. Enables lateral movement and rotation in place — ideal when the robot needs to reorient based on detected object position.
Performance Optimisation Tips
Getting the most out of TFLite on Raspberry Pi requires several optimisation techniques:
- Use a quantised INT8 model — 4× smaller and 2–3× faster than float32 with minimal accuracy loss.
- Enable XNNPACK delegate:
interpreter = tflite.Interpreter(model_path='model.tflite', experimental_delegates=[tflite.load_delegate('libXNNPACK.so')])— can double inference speed on Pi 4. - Reduce input resolution — try 224×224 instead of 300×300 if accuracy allows. Halving resolution quarters compute time.
- Run inference in a separate thread — use Python’s
threadingmodule so camera capture and motor control don’t stall waiting for inference results. - Use picamera2 library instead of OpenCV VideoCapture — lower latency and better control over exposure settings on Pi Camera Module.
- Overclock cautiously — Pi 4 can be overclocked to 2.1 GHz with active cooling. Gains 15–20% inference speed.
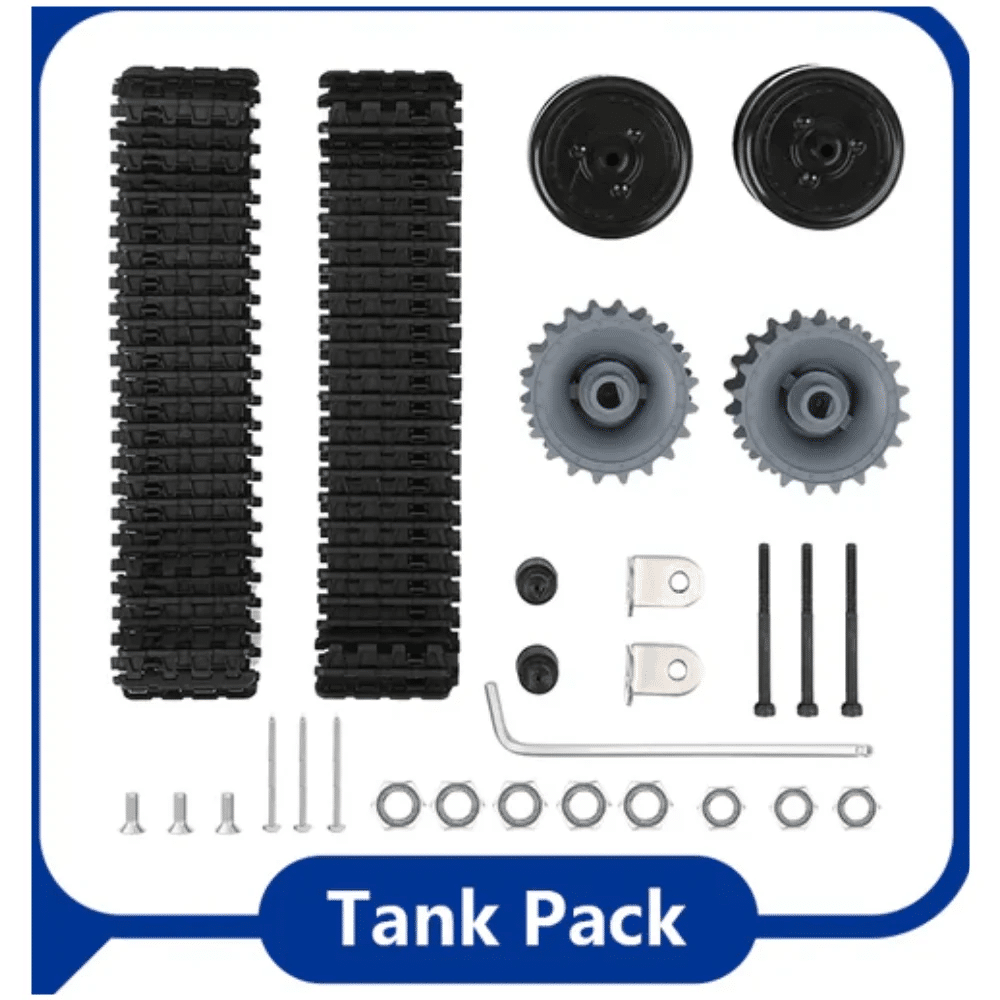
ACEBOTT ESP32 Tank Robot Car (QD001–QD004)
Tank-track platform with ESP32 control. Use as the mobile base for your TFLite robot by offloading motor control to the ESP32 via UART serial, freeing the Raspberry Pi for inference only.
Frequently Asked Questions
Which Raspberry Pi model is best for TensorFlow Lite robotics?
The Raspberry Pi 4 (4 GB) is the best choice for TFLite robotics in 2026. Its quad-core A72 processor and 4 GB LPDDR4 RAM provide enough headroom for real-time inference plus motor control. The Pi Zero 2W can run TFLite but is significantly slower (~3× lower throughput).
Can I use TensorFlow Lite on an ESP32 instead of Raspberry Pi?
Yes — TensorFlow Lite Micro (TFLu) runs on ESP32. However, it’s limited to tiny models (image classification only, no detection) due to the ESP32’s 520 KB SRAM. For full object detection, the Raspberry Pi is required.
What is the difference between TensorFlow and TensorFlow Lite?
TensorFlow is the full training and inference framework requiring a powerful CPU/GPU. TensorFlow Lite is an optimised inference-only runtime for edge devices. Models are converted (and optionally quantised) from TensorFlow to TFLite format before deployment on the Pi.
How do I train a custom model for my robot?
The easiest path for beginners: use Google Teachable Machine to train an image classifier in your browser, then export as TFLite. For object detection, use Roboflow to annotate images and export a pre-trained YOLOv5 or EfficientDet model in TFLite format.
How do I prevent the Raspberry Pi from crashing when motors draw current?
Always use a separate power supply for motors and the Pi. Share a common ground but use different batteries or a dual-output PSU. Add a 100 µF electrolytic capacitor across each motor’s power terminals to suppress voltage spikes.
Build your AI robot with components from Zbotic! We stock robot chassis kits, mecanum wheels, motor drivers, and accessories — all ready to ship across India. Shop Robotics & DIY →


Add comment