
A ball balancing robot with servo platform and PID control is one of the most elegant demonstrations of feedback control in robotics. The premise is deceptively simple: keep a ball perfectly centred on a flat platform by tilting it in real time. Yet the implementation requires precise sensor fusion, accurate servo control, and well-tuned PID algorithms — making it an outstanding project for intermediate and advanced builders. In this complete guide, you’ll learn how to design the platform, wire the MPU6050 sensor, program the PID controller, and tune your robot to hold the ball steady under disturbances.
Table of Contents
- How Ball-Balancing Works: The Control Concept
- Required Components
- Building the Servo Tilt Platform
- MPU6050 Sensor Setup and Orientation
- PID Control Code: Full Implementation
- PID Tuning Step-by-Step
- Advanced: Camera-Based Ball Detection
- FAQ
How Ball-Balancing Works: The Control Concept
A ball balancing robot is a classic 2D control problem. The system has two axes of freedom — X and Y tilt — and must minimise the ball’s displacement from the centre in both axes simultaneously. The control loop runs as follows:
- Sense: Measure the ball’s position (using a resistive touchscreen, camera, or IR grid).
- Calculate: Compute the error (how far the ball is from centre in X and Y).
- Control: Feed the error into two independent PID controllers (one per axis).
- Actuate: Drive two servo motors to tilt the platform to push the ball back to centre.
Two servo motors control two arms of the platform. When the ball rolls right, the right arm tilts down (platform tilts left), and gravity pulls the ball back toward centre. The PID controller decides how aggressively to tilt based on position error, rate of movement, and accumulated drift.
Required Components
- Arduino Uno or Nano
- 2× SG90 or MG90S servo motors (one per axis)
- MPU6050 6-axis IMU (accelerometer + gyroscope)
- Resistive 4-wire touch panel (A4988 + calibration, or a pre-made 4.3″ resistive touchscreen panel)
- Acrylic or plywood platform (20cm × 20cm)
- Ball bearing or table tennis ball
- Servo brackets and linkage rods
- 5V regulated power supply or USB
- Jumper wires
Alternative sensing method: For simplicity, some builds use the MPU6050 mounted directly on the platform (not on the frame) to measure platform tilt angle rather than ball position. This version is easier to build but only corrects tilt — it’s a platform stabiliser rather than a true ball-position controller. For the full ball-balancing experience, use a resistive touchscreen to detect the ball’s actual X/Y coordinates.
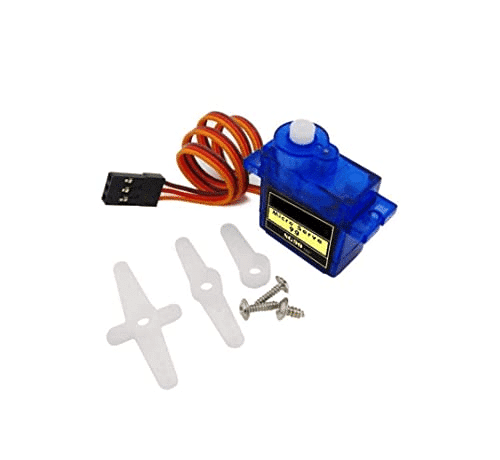
TowerPro SG90 Servo Motor
The lightweight SG90 servo is widely used for ball-balancing platforms. Its 1.8kg-cm torque is sufficient for a lightweight platform with a small ball. Two needed for X/Y axis control.
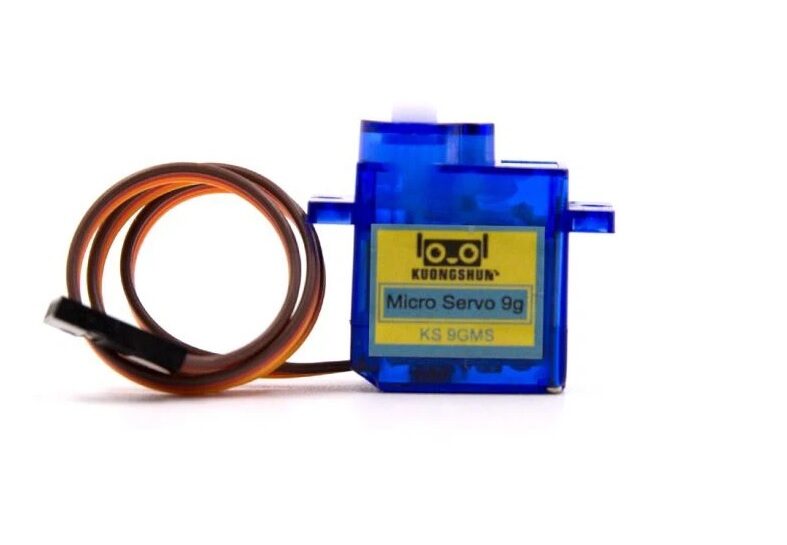
Servo SG90 9g 180 Degree (Value Option)
An affordable SG90 variant ideal for prototyping your ball-balancing platform. The 180-degree range gives plenty of travel for platform tilt adjustments.
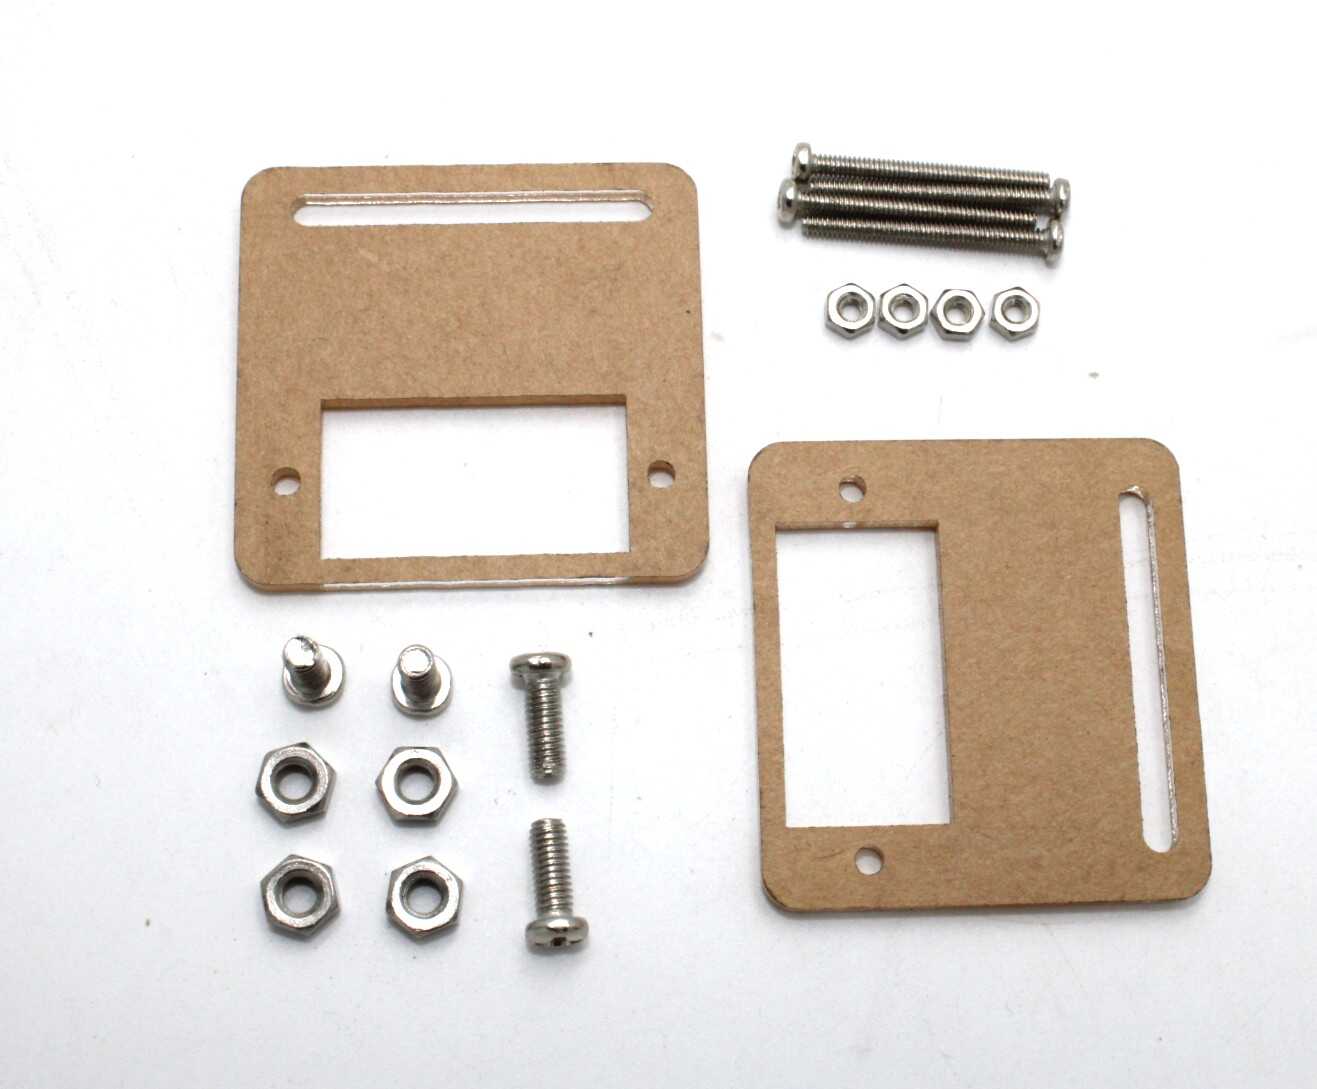
Servo Mount Holder Bracket For SG90/MG90 (Pack of 2)
Aluminium servo brackets for mounting SG90 servos to the platform frame. Provides rigid, aligned mounting essential for consistent platform tilt response.
Building the Servo Tilt Platform
The platform is a square or circular board suspended by four ball-and-socket joints (or similar linkages) at the edges. Two servo motors control tilt along perpendicular axes:
- Servo X: Mounted on the East edge. Its arm pushes the East edge of the platform up/down, tilting the platform in the East-West direction.
- Servo Y: Mounted on the North edge. Controls North-South tilt.
- Passive corners: The other two corners are mounted on loose ball-and-socket pivots that allow free movement in both axes.
Build tips:
- Cut the platform from 3mm acrylic (20cm × 20cm is ideal). Heavier platforms need stronger servos (MG996R).
- Drill a centre hole to mount the touchscreen panel. The touchscreen sits inside the platform frame.
- Use M3 threaded rod as linkage arms between servo horns and platform edge holes. Adjust linkage length so the servo midpoint (90°) corresponds to a level platform.
- Mount both servos on a rigid base frame, not on the platform itself.
MPU6050 Sensor Setup and Orientation
For the simplified tilt-based version (no touchscreen), mount the MPU6050 on the underside of the platform facing downward. Wire it to Arduino:
- SDA → A4, SCL → A5, VCC → 3.3V, GND → GND, AD0 → GND (I2C address 0x68)
#include <Wire.h>

void setup() {
  Wire.begin();
  Wire.beginTransmission(0x68);
  Wire.write(0x6B); // power management
  Wire.write(0);    // wake up
  Wire.endTransmission(true);
}

void readAccel(float &ax, float &ay) {
  Wire.beginTransmission(0x68);
  Wire.write(0x3B); // start at ACCEL_XOUT_H
  Wire.endTransmission(false);
  Wire.requestFrom(0x68, 6, true);
  int16_t rawX = Wire.read()<<8 | Wire.read();
  int16_t rawY = Wire.read()<<8 | Wire.read();
  // (skip Z)
  Wire.read(); Wire.read();
  ax = rawX / 16384.0; // ±2g range
  ay = rawY / 16384.0;
}
Apply a complementary filter or Kalman filter to combine accelerometer and gyroscope data for smooth, drift-free angle estimates. Most ball-balancing projects use the simple complementary filter (95% gyro + 5% accel) for good results.
PID Control Code: Full Implementation
Below is a complete Arduino sketch for a 2-axis ball-balancing platform using touchscreen ball detection:
#include <Servo.h>
#include <TouchScreen.h>

// Touchscreen pins
#define YP A3  #define XM A2
#define YM 9   #define XP 8
TouchScreen ts = TouchScreen(XP, YP, XM, YM, 300);

Servo servoX, servoY;

// PID constants — tune these!
float KpX=0.15, KiX=0.0008, KdX=1.2;
float KpY=0.15, KiY=0.0008, KdY=1.2;

const int CX=512, CY=512; // touchscreen centre
const int SERVO_CENTRE=90; // level position

float errX=0,prevErrX=0,intX=0;
float errY=0,prevErrY=0,intY=0;

void setup() {
  servoX.attach(9);
  servoY.attach(10);
  servoX.write(SERVO_CENTRE);
  servoY.write(SERVO_CENTRE);
}

void loop() {
  TSPoint p = ts.getPoint();
  if (p.z > ts.pressureThreshhold) {
    // Calculate errors from centre
    errX = p.x - CX;
    errY = p.y - CY;

    // PID X
    intX += errX;
    float dX = errX - prevErrX;
    float corrX = KpX*errX + KiX*intX + KdX*dX;
    prevErrX = errX;

    // PID Y
    intY += errY;
    float dY = errY - prevErrY;
    float corrY = KpY*errY + KiY*intY + KdY*dY;
    prevErrY = errY;

    // Apply to servos (constrain to safe range)
    servoX.write(constrain(SERVO_CENTRE + corrX, 60, 120));
    servoY.write(constrain(SERVO_CENTRE + corrY, 60, 120));
  } else {
    // No ball detected — level platform
    intX = 0; intY = 0;
    servoX.write(SERVO_CENTRE);
    servoY.write(SERVO_CENTRE);
  }
  delay(20); // 50Hz control loop
}
PID Tuning Step-by-Step
PID tuning for a ball-balancing platform follows a specific sequence. Start with only proportional gain:
- Kp only (Ki=0, Kd=0): Start at Kp=0.05. Place ball off-centre. If platform doesn’t react, increase Kp. If it overshoots and oscillates, Kp is too high. Target: ball moves back toward centre but oscillates slightly.
- Add Kd: Derivative damping reduces oscillation. Increase Kd from 0 until oscillation stops. Good starting value: Kd = 5–10× Kp for ball balancing.
- Add Ki last: Integral removes steady-state error (ball resting slightly off centre). Start extremely small (0.0001–0.001). Too large causes windup and the platform goes to extremes.
- Test with disturbances: Gently push the ball and observe recovery. The ball should return to centre within 1–2 seconds without excessive oscillation.
If the platform resonates at a fixed frequency, add mechanical damping (foam pads under servo arms) or increase Kd. If the ball drifts slowly to one side, increase Ki slightly.
Advanced: Camera-Based Ball Detection
For higher accuracy and the ability to handle any ball (not just a resistive touchscreen ball), use an OpenCV-based vision system on a Raspberry Pi or ESP32-CAM mounted above the platform. The camera detects the ball’s position via colour or blob detection, sends X/Y coordinates to Arduino over serial, and the PID loop runs identically. This approach enables:
- Use of any ball (rubber, ping pong, golf)
- Sub-millimetre position resolution
- Predictive control using ball velocity estimates
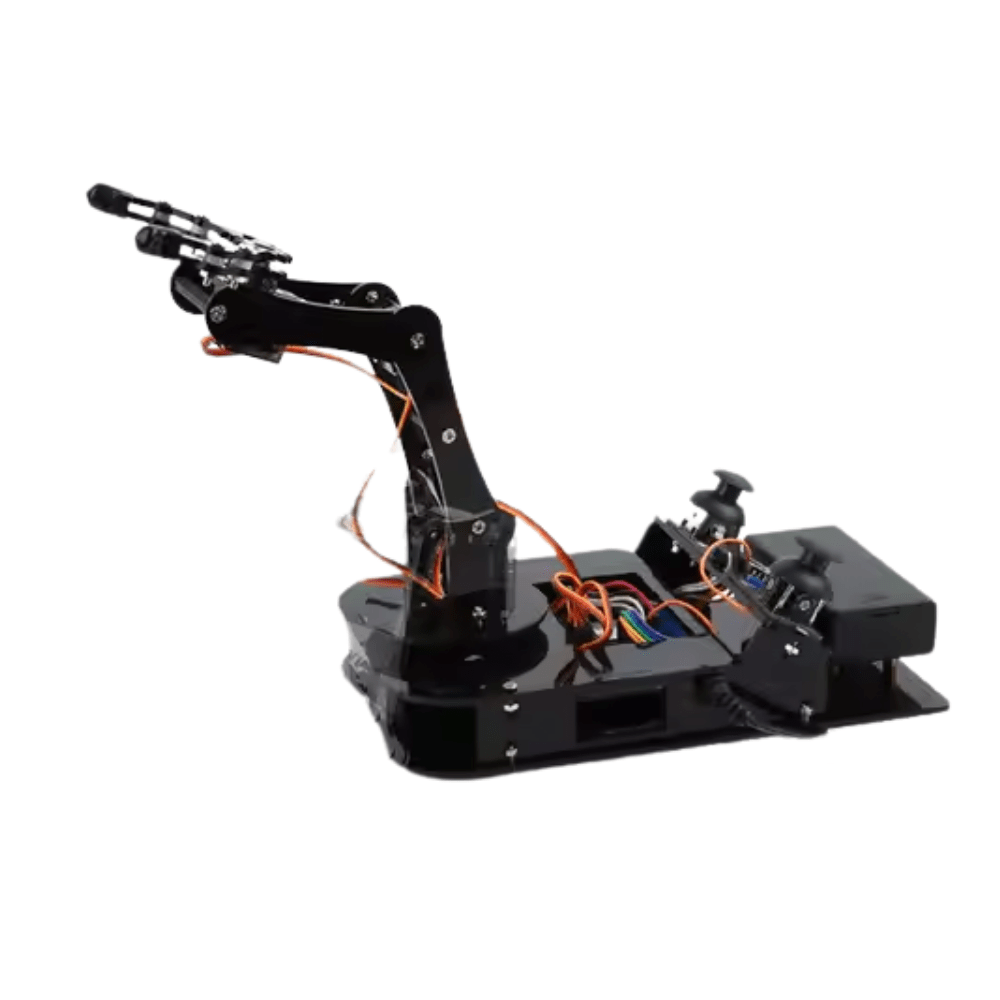
ACEBOTT ESP32 Programmable Robot Arm Kit (QD022)
An ESP32-based servo arm kit — excellent for learning PID servo control before applying the same principles to your ball-balancing platform. Beginner-friendly with guided programming.
Frequently Asked Questions
- Why does my ball fly off the edge instead of balancing?
- Kp is too high. The platform is over-correcting. Cut Kp in half and verify the servo constraint values (60–120 degrees is a safe range for most builds).
- The ball balances but slowly drifts to one corner over time.
- This is steady-state error — add a small Ki value or check if your platform is mechanically level when both servos are at 90 degrees. Mechanical misalignment can’t be fixed by Ki alone.
- How do I know if my touchscreen readings are good?
- Open Serial Monitor and print p.x, p.y, p.z. Verify that values cover 0–1023 range across the screen, readings are stable when the ball is stationary, and the centre value is around 512.
- Can I use stronger servos for a larger platform?
- Yes. For a 30cm+ platform, use MG996R (10kg-cm torque) or DS3218 digital servos. Digital servos have better holding torque and are more responsive — ideal for precise PID control.
- Can this project be done with MicroPython on ESP32?
- Yes. The PID math and servo PWM work identically in MicroPython. Touchscreen reading requires a custom SPI library. The main challenge is timing — Python’s
time.sleep_ms(20)for 50Hz control loops works fine for most setups.
Build Your Ball-Balancing Robot
The ball balancing robot with servo platform and PID control is one of the most visually impressive and technically educational robotics projects you can build. It teaches feedback control, sensor integration, and mechanical design in a single, compact package. All the servos, brackets, and microcontrollers you need are available at Zbotic with fast delivery across India.


Add comment