
The automated agriculture robot seed planting arduino project is one of the most exciting intersections of electronics and real-world problem-solving. With India’s agricultural sector demanding smarter solutions, building a low-cost Arduino-powered seed planting robot on a tracked chassis is both relevant and deeply satisfying. In this guide, you’ll learn how to design, wire, and program a complete automated seed planting robot that can travel across a field, dig small holes, and deposit seeds at precise intervals — all without human intervention.
Table of Contents
- Why Agriculture Robots Matter
- Components You Need
- Choosing the Right Chassis and Track
- Seed Dispensing Mechanism Design
- Wiring and Circuit Diagram
- Arduino Code Walkthrough
- Testing and Calibration
- FAQ
Why Agriculture Robots Matter in India
India has over 140 million farming households. Labour shortages during sowing seasons, rising input costs, and the need for precision agriculture have pushed engineers and hobbyists to explore low-cost robotic solutions. An Arduino-based seed planting robot can:
- Plant seeds at uniform depth and spacing, improving germination rates by up to 30%.
- Reduce manual labour during critical sowing windows.
- Serve as a proof-of-concept platform for advanced agri-tech research.
- Cost a fraction of commercial seeding machinery.
Whether you’re a student building this for a science fair, an engineer prototyping for a startup, or a farmer curious about automation, this project is highly accessible with off-the-shelf components available in India.
Components You Need
Here is the complete Bill of Materials (BOM) for the automated agriculture robot:
- Arduino Uno or Arduino Mega (recommended for extra I/O)
- 2WD or 4WD robot chassis with DC motors
- L298N or L293D motor driver module
- SG90 or MG90S servo motor (×2 — one for digging arm, one for seed gate)
- Ultrasonic sensor HC-SR04 (obstacle avoidance)
- 12V Li-ion or LiPo battery pack
- Servo brackets and mounting hardware
- Jumper wires, breadboard, and screw terminals

2WD Mini Round Double-Deck Smart Robot Car Chassis DIY Kit
A compact two-wheel-drive chassis with double deck acrylic platform — perfect base for your Arduino seed planting robot. Includes motors, wheels, and hardware.

TowerPro SG90 180 Degree Rotation Servo Motor
The industry-standard micro servo for light-duty robotic actuators. Use it to control the seed gate mechanism and the soil-poking arm on your agriculture robot.

Servo Mount Holder Bracket For SG90/MG90 (Pack of 2)
Metal servo brackets for securely mounting your SG90 servos to the robot chassis. Ensures precise alignment of the seed dispensing arm.
Choosing the Right Chassis and Track
For field terrain, a wider wheelbase with rubber tyres or a crawler-style track gives better stability on uneven soil. The 2WD mini round chassis is ideal for small prototype testing in a garden or greenhouse. For heavier field use, consider upgrading to a 4-wheel chassis with larger motors. Key parameters to check:
- Ground clearance: At least 30mm for soft soil.
- Torque: DC motors rated at 100–300 RPM with gear ratios for slow, controlled movement.
- Payload: The chassis must carry a seed hopper (100–300g), Arduino, and battery.
Track-based robots use belted drive similar to tanks, offering superior grip on muddy or soft ground. However, for a first build, a wheeled chassis with rubber tyres is easier to source and build.
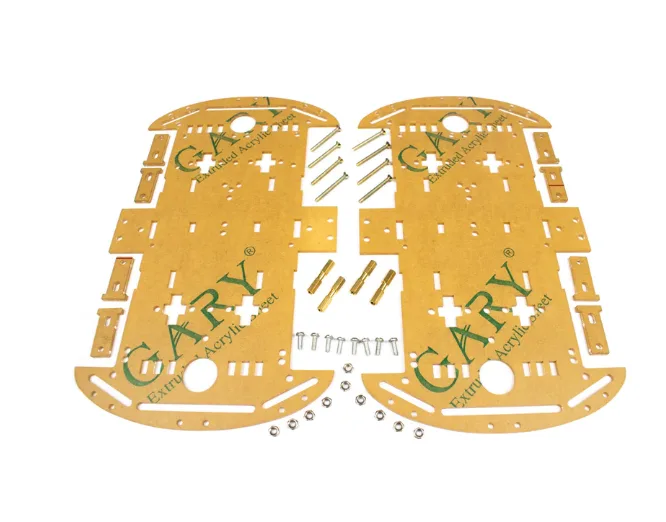
4 Wheels Car Chassis Acrylic Frame
A sturdy four-wheel acrylic chassis that provides a wider platform for mounting your seed hopper, servo arm, and electronics. Great for heavier agri-robot builds.
Seed Dispensing Mechanism Design
The heart of the project is the seed dispensing mechanism. Here is the most common approach for a hobby-grade build:
- Hopper: A 3D-printed or carved plastic funnel holds the seeds. Gravity feeds seeds into a tube.
- Gate servo: An SG90 servo opens a flap at the base of the hopper to release one seed at a time.
- Depth arm: A second servo pushes a pointed rod into the soil to create a planting hole before the seed is released.
- Spacing control: The Arduino counts encoder pulses or uses a timed delay at a fixed speed to space seeds at 5–10 cm intervals.
For seeds like maize, wheat, or vegetables, adjust the gate opening angle and tube diameter. Use a servo tester to calibrate opening and closing angles before flashing the final code.
Wiring and Circuit Diagram
Connect components as follows:
- Motor Driver (L298N): IN1→D4, IN2→D5, IN3→D6, IN4→D7. ENA/ENB to D9/D10 (PWM). VCC from 12V battery. Arduino powered via L298N 5V regulator output.
- Gate Servo (SG90): Signal→D11, VCC→5V, GND→GND.
- Depth Arm Servo (SG90): Signal→D12, VCC→5V, GND→GND.
- HC-SR04: TRIG→D2, ECHO→D3, VCC→5V, GND→GND.
Important: Servo motors draw significant current on startup. Power servos from the 5V motor driver output or a separate regulated supply — never directly from the Arduino 5V pin when using more than one servo simultaneously.
Arduino Code Walkthrough
Below is a simplified version of the seed planting logic:
#include <Servo.h>

Servo gateServo;
Servo depthServo;

const int IN1 = 4, IN2 = 5, IN3 = 6, IN4 = 7;
const int ENA = 9, ENB = 10;
const int TRIG = 2, ECHO = 3;
const long SPACING_MS = 3000; // plant every 3 seconds

void setup() {
  pinMode(IN1,OUTPUT); pinMode(IN2,OUTPUT);
  pinMode(IN3,OUTPUT); pinMode(IN4,OUTPUT);
  pinMode(ENA,OUTPUT); pinMode(ENB,OUTPUT);
  pinMode(TRIG,OUTPUT); pinMode(ECHO,INPUT);
  gateServo.attach(11);
  depthServo.attach(12);
  gateServo.write(0);   // gate closed
  depthServo.write(90); // arm up
}

void moveForward(int spd) {
  analogWrite(ENA, spd); analogWrite(ENB, spd);
  digitalWrite(IN1,HIGH); digitalWrite(IN2,LOW);
  digitalWrite(IN3,HIGH); digitalWrite(IN4,LOW);
}

void stopMotors() {
  analogWrite(ENA,0); analogWrite(ENB,0);
}

void plantSeed() {
  stopMotors();
  depthServo.write(0);  // push arm into soil
  delay(500);
  gateServo.write(90);  // open gate — release seed
  delay(400);
  gateServo.write(0);   // close gate
  delay(300);
  depthServo.write(90); // lift arm
  delay(300);
}

void loop() {
  moveForward(150);
  delay(SPACING_MS);
  plantSeed();
}
This code moves the robot forward for a set time, stops, plants a seed, then continues. In a production version you would use wheel encoders for precise distance measurement instead of time delays.
Testing and Calibration
Follow these steps for a successful first run:
- Bench test first: Place the robot on a table. Run with no soil. Verify servo angles open/close the gate cleanly.
- Seed flow test: Fill hopper with 20 seeds. Run the dispensing cycle 20 times — check for jamming or double-dispensing.
- Depth test: Press the arm into a tray of soft compost to measure penetration depth. Adjust the servo angle and arm length accordingly.
- Field test: Run the robot on a small 2m×2m patch. Check seed spacing with a ruler.
- Calibrate spacing: If seeds land too close, increase
SPACING_MS; too far apart, decrease it.
Once your robot is calibrated, you can add features like a soil moisture sensor to skip dry patches, or a GPS module for field mapping — building toward a fully autonomous precision agriculture system.
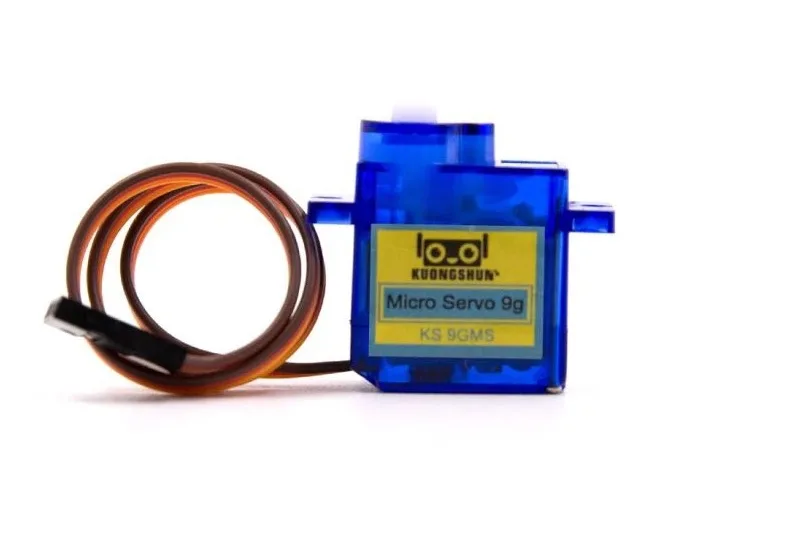
Servo SG90 9g 180 Degree
Lightweight and affordable SG90 servo — ideal for the seed gate and depth arm mechanism in your agriculture robot. Easy to interface with Arduino Servo library.
Frequently Asked Questions
- Can this robot work on hard clay soil?
- For hard soil, replace the SG90 with a stronger MG996R servo or add a motorised drill tip. The SG90 is best suited for loose or well-tilled soil.
- How many seeds can the hopper hold?
- A standard 3D-printed hopper holds 50–200 seeds depending on seed size. You can extend it for maize (large seeds) or wheat (small seeds) by adjusting tube diameter.
- What is the battery runtime?
- A 3000mAh 12V LiPo battery typically gives 45–90 minutes of operation depending on motor load and soil resistance.
- Can I add GPS for autonomous navigation?
- Yes. Add a Neo-6M GPS module and program waypoints into the Arduino. For a full autonomous field robot, consider upgrading to an ESP32 or Raspberry Pi for processing power.
- Is this project suitable for a college project?
- Absolutely. This project demonstrates motor control, servo actuation, timed logic, and real-world agricultural application — scoring well in innovation and practical relevance.
Start Your Agri-Robot Build Today
Building an automated agriculture robot for seed planting with Arduino is a rewarding project that combines electronics, mechanical design, and programming. Whether you’re aiming for a college competition or exploring agri-tech entrepreneurship, this project is an excellent starting point. All the components listed in this guide are available at Zbotic — India’s trusted source for robotics and electronics parts with fast delivery across the country.


Add comment