
A hexapod robot 18 servo arduino build is the pinnacle of beginner-to-intermediate robotics projects. Six legs, three servos each, all coordinated by a single microcontroller to produce smooth, stable walking — it looks like a living creature. Unlike wheeled robots, hexapods can navigate rough terrain, step over obstacles, and demonstrate biological locomotion principles in hardware you assemble with your own hands. This guide covers every aspect of the build, from understanding hexapod kinematics to uploading your first gait pattern.
Why 6 Legs? The Stability Advantage
Nature settled on the hexapod configuration for flying insects for excellent reasons that translate directly to robotics. A six-legged robot has a fundamental static stability advantage: at any given moment, three legs can be lifted and moving while the other three remain on the ground forming a stable tripod. The center of mass is always supported by a triangle of contact points, meaning the robot cannot tip over during normal walking.
Compare this to quadrupeds (4 legs, like Spot from Boston Dynamics) which require active balance control to remain stable while walking, or bipeds (2 legs) which are inherently unstable and require sophisticated dynamic balance algorithms like the ones in our self-balancing robot article.
For beginner robotics builders in India, the hexapod offers another advantage: if one servo fails, the robot can often still walk with modified gait patterns. This fault tolerance makes the hexapod an excellent platform for learning about redundancy and adaptive locomotion.
Hexapod Anatomy: Body, Coxa, Femur, Tibia
Each leg of a hexapod has three segments, named after insect anatomy:
- Coxa (hip): The first joint, connecting the leg to the body. Controls forward/backward swing of the leg (in the horizontal plane). This is the waist rotation of each leg.
- Femur (thigh): The second joint. Controls leg lift — how high the leg is raised. This is the most critical joint for determining step height.
- Tibia (shin): The third joint. Controls leg extension — how far down the foot pushes. Together with the femur, determines the robot’s body height.
With 6 legs × 3 joints = 18 servos total. The standard layout has the legs numbered 1–6 starting from the front right (R1) going clockwise: R1, R2, R3 (right front/middle/rear), then L3, L2, L1 (left rear/middle/front).
Servo placement on a standard hexapod body plate:
- 6 coxa servos: mounted horizontally on the body plate, pointing outward
- 6 femur servos: mounted on the coxa horn, pointing upward in the leg plane
- 6 tibia servos: mounted on the femur horn, completing the lower leg
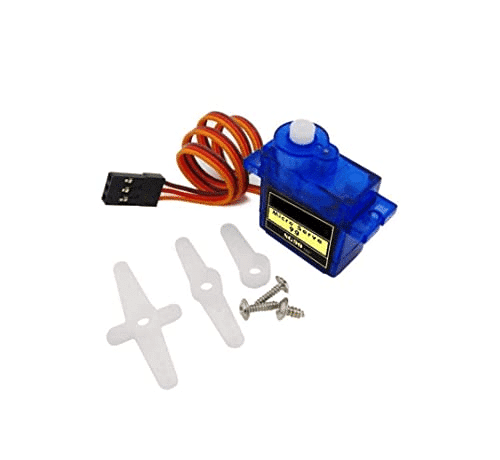
TowerPro SG90 180 Degree Rotation Servo Motor
For a lightweight hexapod under 400g, 18× SG90 servos can power all joints. Lightweight, inexpensive, and fully Arduino-compatible with the Servo library.
Full Components List
| Component | Qty | Approx. Price (₹) |
|---|---|---|
| SG90 9g Servo Motors | 18 | 1,440–2,000 |
| Arduino Mega 2560 | 1 | 700–900 |
| PCA9685 16-Channel PWM Servo Driver × 2 | 2 | 400–600 |
| Hexapod Body Plate (acrylic or ABS, 3D printed) | 1 | 200–500 |
| Leg segments (acrylic or 3D printed parts × 6 sets) | 1 set | 300–600 |
| 5V 6A Power Supply / 2S LiPo with BEC | 1 | 600–900 |
| M2/M3 Screws, Nuts, Standoffs (assorted kit) | 1 | 150–200 |
| HC-05 Bluetooth or PS2 joystick for control | 1 | 150–300 |
Total estimated cost: ₹4,000–₹6,000 for a lightweight SG90-based hexapod. An MG90S (metal gear) version costs ₹6,000–₹9,000 but handles heavier bodies and rougher terrain.
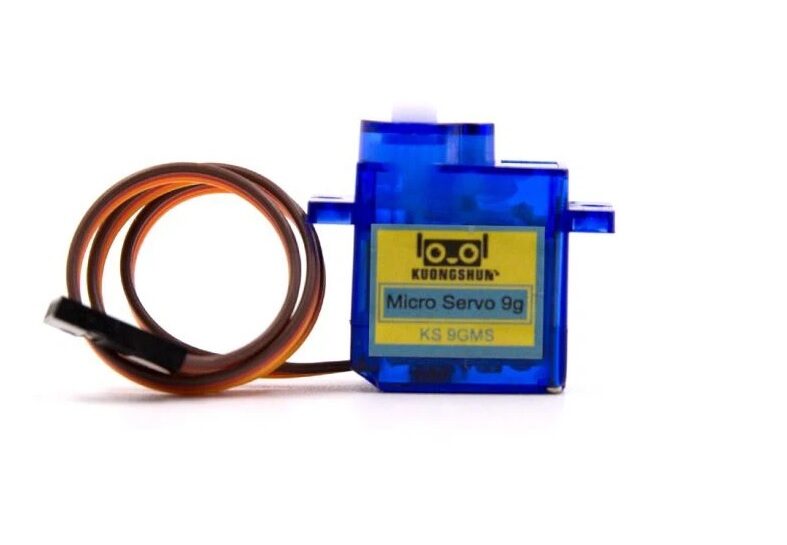
Servo SG90 9g 180 Degree
Budget-friendly SG90 servo perfect for hexapod builds. Available in bulk at Zbotic for multi-servo projects. Compatible with all Arduino servo libraries.
Using the PCA9685 Servo Driver
With 18 servos, you cannot connect them all directly to an Arduino Mega (which has only 15 dedicated PWM pins) and expect reliable operation. The PCA9685 is a 16-channel PWM driver that communicates with the Arduino over I2C (2 wires) and independently generates precise PWM signals for up to 16 servos. Two PCA9685 boards cover all 18 servos with channels to spare.
I2C address configuration: The default address of PCA9685 is 0x40. For a second board, solder the A0 pad to change it to 0x41. The Arduino Mega communicates with both boards over the same SDA/SCL lines.
PCA9685 to Arduino Mega connections:
- VCC → 3.3V or 5V (logic power only)
- GND → Arduino GND
- SDA → Pin 20 (SDA on Mega)
- SCL → Pin 21 (SCL on Mega)
- V+ → 5V from BEC/power supply (servo power)
- GND power terminal → Supply negative + Arduino GND
Use the Adafruit PCA9685 library (Adafruit_PWMServoDriver) for easy servo control. The library abstracts the I2C protocol and lets you set servo positions in microseconds or PWM ticks.
Mechanical Assembly Step-by-Step
Body plate preparation: The hexapod body plate is typically an oval or circular piece of 3mm acrylic or ABS plastic with 6 motor mounting slots, one per leg, arranged symmetrically. You can laser-cut a custom design or 3D print one using files from Thingiverse (search “hexapod body plate SG90”).
Coxa servo mounting: Mount all 6 coxa servos horizontally in their slots with the servo horn pointing outward. The servo body is fixed to the plate; the rotating horn is the output. Use M2 screws for SG90 (the servo has M2 mounting holes).
Coxa link: A short L-shaped bracket connects the coxa servo horn to the femur servo body. The length of this link determines the leg’s “reach” — typically 30–50mm.
Femur assembly: Mount the femur servo at the end of the coxa link, oriented 90° to the coxa servo (now pointing “up” when the leg is at rest). The femur servo raises and lowers the leg.
Femur link + tibia: A straight link (40–60mm) connects the femur horn to the tibia servo. The tibia servo completes the leg. The foot is typically a small rubber-tipped rod or a 3D-printed curved piece for grip.
Cable management: With 18 servos generating 54 wires, routing is critical. Bundle servo cables by leg, label each bundle, and use zip ties. Route cables under the body plate to keep the top clean.
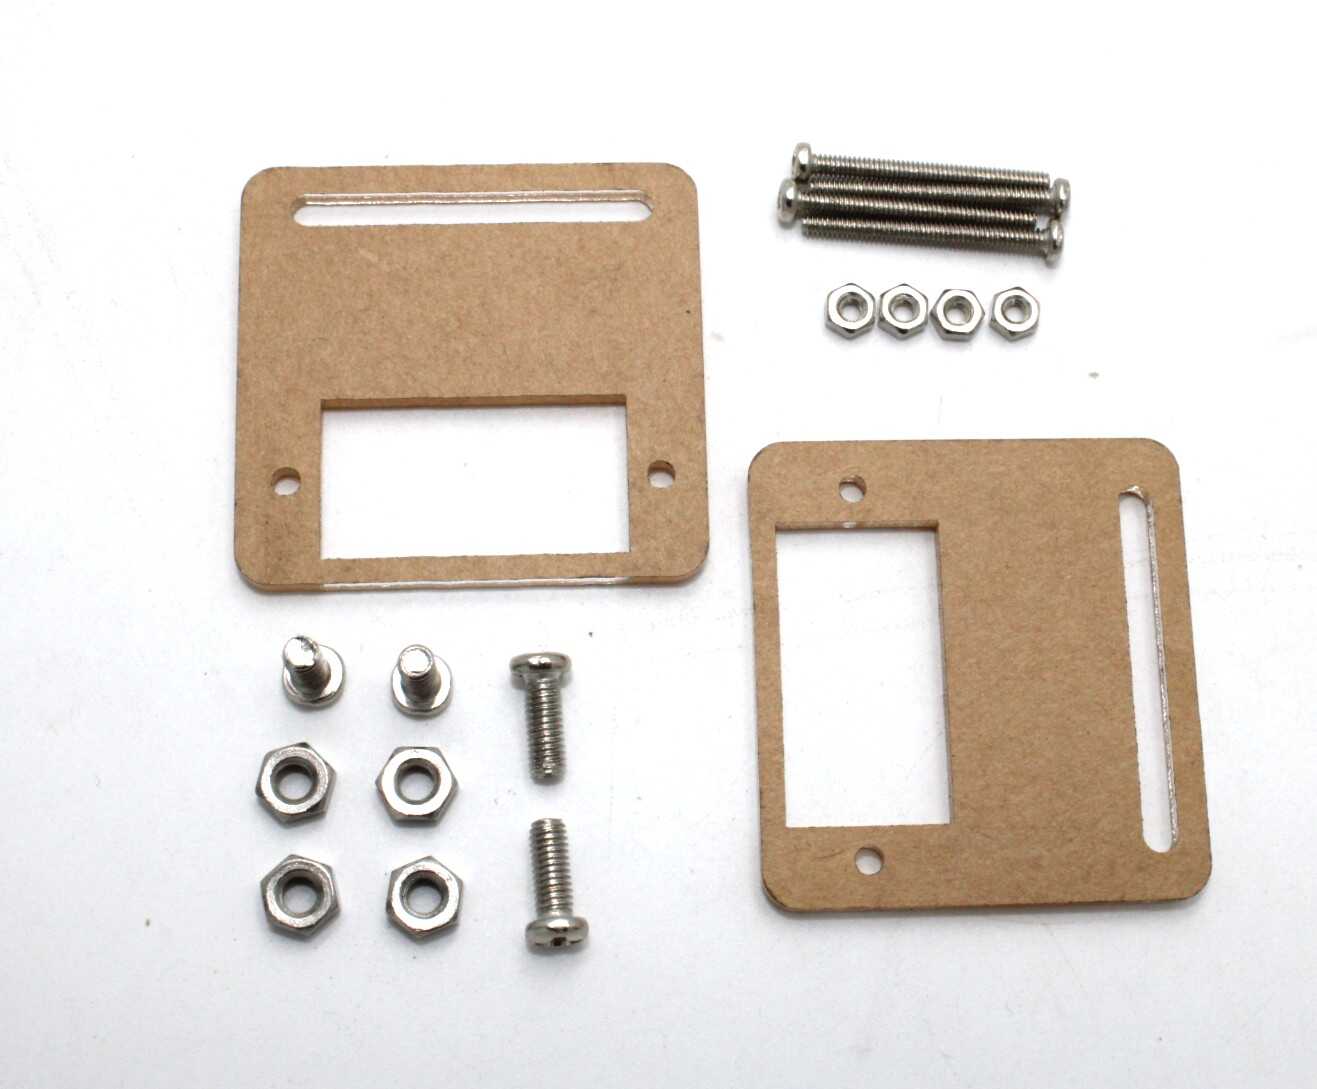
Servo Mount Holder Bracket for SG90/MG90 – Pack of 2
Essential for building hexapod legs. These metal servo mount brackets create rigid joint connections between coxa, femur, and tibia segments for smooth, accurate leg movement.
Gait Planning: Tripod, Wave & Ripple
A gait is the pattern in which legs move during locomotion. The choice of gait affects speed, stability, and power consumption.
Tripod gait (fastest, most common for beginner hexapods): Legs are divided into two groups of three: Group A (R1, L2, R3) and Group B (L1, R2, L3). While Group A lifts and steps forward, Group B supports the body and pushes backward. Then they swap. Each group forms a perfect tripod (3-point support), giving maximum stability at every moment. Walking speed is fast because two groups alternate.
Wave gait (slowest, most stable): Only one leg moves at a time. The sequence goes around the body: R1 → R2 → R3 → L3 → L2 → L1. Extremely stable — the robot can carry loads or walk over very rough terrain. Five legs are always grounded.
Ripple gait (intermediate): Three legs move simultaneously, but not as mirrored tripods. Instead, a wave propagates along both sides simultaneously, creating a smoother, more insect-like motion. More complex to implement but gives the most natural appearance.
For your first hexapod build, implement the tripod gait. It’s the easiest to code and produces a satisfying walking motion quickly.
Arduino Code for Tripod Gait
This simplified tripod gait code uses the PCA9685 library. Each leg has three servos indexed sequentially on the driver boards.
#include <Wire.h>
#include <Adafruit_PWMServoDriver.h>

Adafruit_PWMServoDriver pwm1 = Adafruit_PWMServoDriver(0x40); // Board 1 (legs 1-6 coxa+femur)
Adafruit_PWMServoDriver pwm2 = Adafruit_PWMServoDriver(0x41); // Board 2 (tibia servos)

#define SERVOMIN 150  // Min pulse count (~0°)
#define SERVOMAX 600  // Max pulse count (~180°)

void setAngle(Adafruit_PWMServoDriver &pwm, int channel, int angle) {
  int pulse = map(angle, 0, 180, SERVOMIN, SERVOMAX);
  pwm.setPWM(channel, 0, pulse);
}

// Leg layout: [leg][0=coxa, 1=femur, 2=tibia]
// Channel mapping: legs 1-6 coxa on pwm1 ch0-5, femur on pwm1 ch6-11, tibia on pwm2 ch0-5
void setLeg(int leg, int coxa, int femur, int tibia) {
  setAngle(pwm1, leg,     coxa);
  setAngle(pwm1, leg + 6, femur);
  setAngle(pwm2, leg,     tibia);
}

void standUp() {
  for (int i = 0; i < 6; i++) setLeg(i, 90, 90, 90); // All centered
  delay(500);
}

void tripodStep(bool groupA) {
  // Lift legs in the active group
  int lift[] = {0, 2, 4}; // Group A legs
  int support[] = {1, 3, 5}; // Group B legs
  if (!groupA) { int tmp[] = {1,3,5}; memcpy(lift, tmp, 12); int tmp2[] = {0,2,4}; memcpy(support, tmp2, 12); }

  // Lift group, step forward
  for (int i : lift) setLeg(i, 90, 70, 60); // Raise leg
  delay(100);
  for (int i : lift) setLeg(i, 110, 90, 90); // Step forward + lower
  delay(100);

  // Push support group backward
  for (int i : support) setLeg(i, 70, 90, 90);
  delay(100);
}

void setup() {
  pwm1.begin(); pwm1.setPWMFreq(50);
  pwm2.begin(); pwm2.setPWMFreq(50);
  standUp();
}

bool groupA = true;
void loop() {
  tripodStep(groupA);
  groupA = !groupA;
  delay(50);
}
This is a starting skeleton. In practice, each leg has different coxa/femur/tibia offset angles based on how the servos were centered during assembly. Calibrate these offsets individually for each servo before running the gait.
Introduction to Hexapod Inverse Kinematics
Basic gait code uses pre-programmed joint angles. This works, but the robot’s movement is not adaptive — it can’t adjust step height for different terrain or precisely position its feet. Inverse kinematics (IK) solves this: given a desired foot position (X, Y, Z in space), calculate the coxa, femur, and tibia angles required to reach it.
For a hexapod with standard leg geometry, each leg is a 3-link planar chain (since the coxa rotates in the horizontal plane and femur+tibia operate in the vertical plane). The IK has two independent parts:
Horizontal plane (coxa angle):
coxaAngle = atan2(Y_foot, X_foot) [in degrees]Vertical plane (femur + tibia angles):
L  = sqrt(X_foot^2 + Y_foot^2);    // Horizontal reach
L2 = sqrt(L^2 + Z_foot^2);         // 3D distance from hip to foot
// Law of cosines for femur angle:
femurAngle = acos((L2^2 + femurLen^2 - tibiaLen^2) / (2*L2*femurLen));
// And tibia angle similarly.
Once you have IK working, generating smooth gaits becomes a matter of defining foot trajectories (elliptical paths for swing phase, straight lines for stance phase) and computing all 18 servo angles at each time step. This is significantly more advanced but produces professional-quality locomotion.
Frequently Asked Questions
How much does it cost to build an 18-servo hexapod robot in India?
A beginner SG90-based hexapod costs approximately ₹4,000–₹6,000 including all 18 servos, Arduino Mega, PCA9685 boards, chassis, and power supply. An upgraded MG90S metal-gear version costs ₹7,000–₹10,000 and handles heavier builds and rougher terrain better.
Can I use Arduino Uno instead of Mega for a hexapod?
Yes, if you use PCA9685 drivers for all 18 servos (so you only need I2C pins from the Uno). However, the Uno has less RAM (2KB vs 8KB on Mega) which may limit complex IK calculations. An Arduino Mega is strongly recommended for hexapods with IK.
Why do my hexapod legs twitch randomly?
Electrical noise on the power lines. With 18 servos drawing current simultaneously, voltage dips cause servo jitter. Add 1000µF capacitors across the power supply terminals of each PCA9685 board, and use thick wires (22 AWG minimum) for power rails.
How long can a hexapod robot run on battery?
A 7.4V 2200mAh LiPo battery with a 5V BEC powering 18 SG90 servos typically lasts 30–60 minutes of walking, depending on terrain and gait speed. Stationary standing draws much less current than active walking.
What is the best gait for a beginner hexapod?
The tripod gait is best for beginners. It’s the fastest, most stable, and simplest to implement. Two groups of three legs alternate, with each group always forming a stable triangular support base. Once you master tripod gait, try implementing wave gait and then ripple gait.
Find all the servo motors, PCA9685 driver boards, and mechanical hardware you need at Zbotic.in. We ship across India and carry SG90, MG90S, and MG996R servos in single and bulk quantities. Browse Robotics components at Zbotic.


Add comment