
When WiFi reliability matters — in factories, server rooms, or outdoor enclosures with metal interference — the W5500 Ethernet module with Arduino and MQTT gives you rock-solid wired connectivity that wireless modules simply cannot match. Whether you are building an industrial sensor gateway, a home automation hub, or a data logger that must never drop a packet, the W5500 is the professional’s choice for wired IoT in India. This tutorial walks through everything: what the W5500 is, how to wire it to Arduino, and how to publish sensor data to an MQTT broker over Ethernet.
What Is the W5500 Ethernet Module?
The W5500 is a hardwired TCP/IP embedded Ethernet controller chip from WIZnet. Unlike software TCP/IP stacks that burden your microcontroller’s CPU, the W5500 handles all network protocol processing in hardware — TCP, UDP, ICMP, IPv4, ARP, IGMP, PPPoE — leaving your Arduino free to run application logic. This hardware offloading is what makes the W5500 so much faster and more reliable than older Ethernet chips.
The chip communicates with your microcontroller over SPI at up to 80 MHz (though most Arduino boards cap at much lower), supports 8 simultaneous independent sockets, and operates at 3.3V or 5V logic (the module boards typically include onboard level shifting and the RJ45 magnetics). You get a full-duplex 10/100BASE-T Ethernet connection that plugs directly into any router or switch with a standard Cat5 cable.
Key specifications of the W5500:
- Interface: SPI (up to 80 MHz)
- TCP/IP protocols: TCP, UDP, ICMP, IPv4, ARP, IGMP, PPPoE
- Simultaneous sockets: 8
- Speed: 10/100 Mbps full-duplex Ethernet
- Internal memory: 32 KB TX/RX buffer (16 KB each)
- Operating voltage: 3.3V core (most modules accept 5V input)
- Power: ~132 mA active, ~35 mA power-down mode
The W5500 module boards available from Indian electronics stores (like Zbotic) typically include the RJ45 connector with integrated magnetics, status LEDs, SPI header pins, and a 3.3V regulator — everything needed to plug and play with Arduino.
W5500 vs ENC28J60: Why Choose W5500?
The ENC28J60 is the older budget Ethernet chip you will find on many beginner Arduino shields. While it works, it has significant limitations compared to the W5500:
| Feature | W5500 | ENC28J60 |
|---|---|---|
| TCP/IP stack | Hardware (offloaded) | Software (CPU-heavy) |
| Simultaneous sockets | 8 | 1 active (software limited) |
| SPI speed | Up to 80 MHz | Up to 20 MHz |
| Library support | Official Arduino Ethernet lib | Third-party only |
| Reliability | Excellent | Moderate (known instability) |
For any serious IoT deployment — especially with MQTT which needs persistent TCP connections — the W5500 is the right choice. The Arduino official Ethernet library (v2.0+) natively supports the W5500 chip.

0.96 Inch I2C OLED LCD Module (SSD1306)
Pair an OLED display with your W5500 Ethernet project to show IP address, connection status, and live sensor readings locally.
Wiring W5500 to Arduino Uno / Nano
The W5500 module uses standard SPI pins. On an Arduino Uno, the hardware SPI pins are fixed: MOSI on D11, MISO on D12, SCK on D13, and you choose any digital pin for CS (chip select — D10 is conventional). Most W5500 modules include onboard 3.3V regulation and operate fine from Arduino’s 5V pin, but verify your specific module’s datasheet.
| W5500 Pin | Arduino Uno | Notes |
|---|---|---|
| VCC | 5V | Module has onboard 3.3V reg |
| GND | GND | |
| MOSI | D11 | Hardware SPI |
| MISO | D12 | Hardware SPI |
| SCK | D13 | Hardware SPI |
| CS / SS | D10 | Can be changed in code |
Some W5500 modules also expose a RST (reset) pin — connect it to any Arduino digital output and pull it LOW for 10ms at startup for a clean hardware reset, especially useful in long-running unattended deployments.
Connect an Ethernet cable from the W5500’s RJ45 port to your router or switch. The green/orange LEDs on the module will indicate link status and activity once properly connected.
Basic Arduino Code with Ethernet Library
Install the Ethernet library (version 2.0 or later) from Arduino’s Library Manager — it natively supports W5500. Here is a minimal sketch to verify connectivity and get an IP address via DHCP:
#include <SPI.h>
#include <Ethernet.h>

byte mac[] = { 0xDE, 0xAD, 0xBE, 0xEF, 0xFE, 0xED };

void setup() {
  Serial.begin(9600);
  if (Ethernet.begin(mac) == 0) {
    Serial.println("DHCP failed!");
    while (true);
  }
  Serial.print("IP: ");
  Serial.println(Ethernet.localIP());
}

void loop() {
  Ethernet.maintain(); // renew DHCP lease
}
Once you see an IP address in Serial Monitor, your W5500 is working. If DHCP fails, check your cable connection and that the router is accessible. You can also assign a static IP using Ethernet.begin(mac, ip).
Setting Up MQTT with PubSubClient
MQTT (Message Queuing Telemetry Transport) is the lightweight publish/subscribe protocol used by most IoT platforms — Home Assistant, Node-RED, AWS IoT, Google Cloud IoT, and Adafruit IO all support it. For Arduino + W5500, the PubSubClient library by Nick O’Leary is the standard choice.
Install PubSubClient from the Arduino Library Manager. You will need a local MQTT broker — Mosquitto is free and runs on a Raspberry Pi, a Linux server, or even on your laptop. Alternatively, use a free cloud broker like broker.hivemq.com for testing.
#include <SPI.h>
#include <Ethernet.h>
#include <PubSubClient.h>

byte mac[] = { 0xDE, 0xAD, 0xBE, 0xEF, 0xFE, 0xED };
IPAddress mqttServer(192, 168, 1, 100); // your broker IP

EthernetClient ethClient;
PubSubClient client(ethClient);

void reconnect() {
  while (!client.connected()) {
    if (client.connect("ArduinoW5500")) {
      client.subscribe("home/command");
    } else {
      delay(3000);
    }
  }
}

void callback(char* topic, byte* payload, unsigned int length) {
  // handle incoming messages
}

void setup() {
  Ethernet.begin(mac);
  client.setServer(mqttServer, 1883);
  client.setCallback(callback);
}

void loop() {
  if (!client.connected()) reconnect();
  client.loop();
}
1 Channel 12V 30A Relay Module with Optocoupler
Control high-power loads over MQTT via your W5500 Ethernet Arduino — receive MQTT commands and switch AC devices with this relay module.
Full Project: Temperature Sensor over MQTT
Here is a practical project: publish DHT11/DHT22 temperature and humidity readings to an MQTT broker every 30 seconds, then subscribe to receive relay control commands. This is a common pattern for wired IoT sensor nodes in Indian factories, greenhouses, and server rooms.
#include <SPI.h>
#include <Ethernet.h>
#include <PubSubClient.h>
#include <DHT.h>

#define DHTPIN 7
#define DHTTYPE DHT22
#define RELAY_PIN 6

byte mac[] = { 0xDE, 0xAD, 0xBE, 0xEF, 0xFE, 0xED };
IPAddress mqttServer(192, 168, 1, 100);

DHT dht(DHTPIN, DHTTYPE);
EthernetClient ethClient;
PubSubClient client(ethClient);
unsigned long lastMsg = 0;

void callback(char* topic, byte* payload, unsigned int len) {
  if (payload[0] == '1') digitalWrite(RELAY_PIN, HIGH);
  else digitalWrite(RELAY_PIN, LOW);
}

void reconnect() {
  while (!client.connected()) {
    if (client.connect("SensorNode1")) {
      client.subscribe("home/relay/1");
    } else delay(3000);
  }
}

void setup() {
  pinMode(RELAY_PIN, OUTPUT);
  Ethernet.begin(mac);
  client.setServer(mqttServer, 1883);
  client.setCallback(callback);
  dht.begin();
}

void loop() {
  if (!client.connected()) reconnect();
  client.loop();
  if (millis() - lastMsg > 30000) {
    lastMsg = millis();
    float t = dht.readTemperature();
    float h = dht.readHumidity();
    char buf[10];
    dtostrf(t, 4, 1, buf);
    client.publish("home/sensor/temp", buf);
    dtostrf(h, 4, 1, buf);
    client.publish("home/sensor/humidity", buf);
  }
}
With this sketch running on Arduino + W5500, you can monitor temperature and humidity in Home Assistant, Node-RED, or any MQTT-compatible dashboard from anywhere on your local network or the internet (with proper port forwarding or VPN).
Using W5500 with ESP32 for Advanced IoT
While Arduino Uno works fine for simple MQTT nodes, the ESP32 paired with a W5500 is a powerhouse for advanced wired IoT. The ESP32 brings dual-core 240 MHz processing, built-in WiFi/Bluetooth (as backup), and a large ecosystem of libraries. The W5500 provides the reliable wired connection.
For ESP32, use the ETH library with W5500 driver (available in ESP-IDF and Arduino-ESP32 v3+). The ESP32-S3 has a built-in RMII Ethernet MAC, but for modules without it, SPI-based W5500 works well using the esp_eth component with SPI driver.
This combination is ideal for:
- Industrial IoT gateways that aggregate data from multiple sensors and push to cloud
- Security systems that need reliable network connection for alarms
- Energy monitoring systems in commercial buildings
- Local web servers or REST API endpoints in factory automation
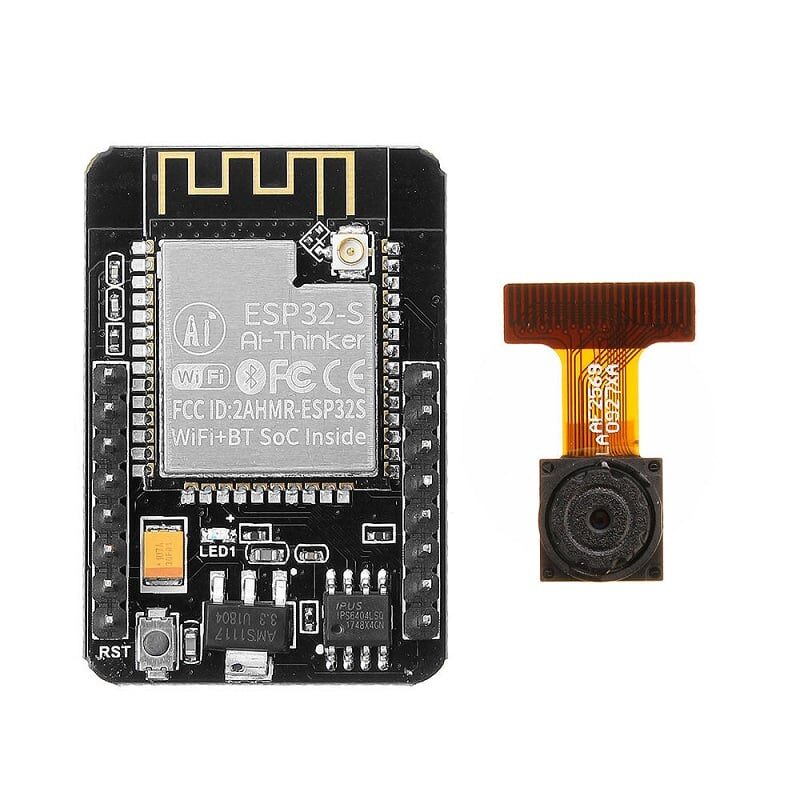
Ai Thinker ESP32-CAM Development Board
ESP32-CAM module with WiFi and Bluetooth — use as an MQTT gateway alongside W5500 for hybrid wired+wireless IoT architecture.
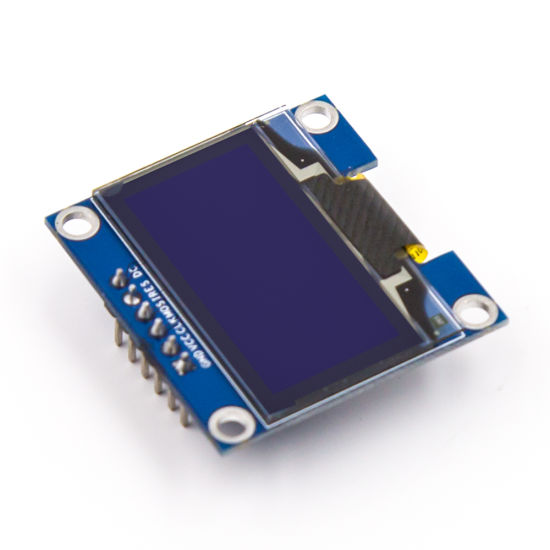
0.96 Inch SPI OLED LCD Module (Blue, SSD1306)
Add a local display to your W5500 MQTT node to show IP address, MQTT connection status, and live sensor data without needing a computer.
Frequently Asked Questions
Can I use W5500 without a DHCP server (static IP)?
Yes. Replace Ethernet.begin(mac) with Ethernet.begin(mac, ip, dns, gateway, subnet) to set a static IP. This is recommended for permanent IoT installations where you want a predictable, fixed address.
How many simultaneous MQTT connections can W5500 handle?
The W5500 supports 8 hardware sockets. Each TCP connection uses one socket. For a typical MQTT node that connects to one broker (1 socket), leaves 7 sockets free for additional clients or a web server. For more than 8 simultaneous connections, you need a more capable platform.
My W5500 gets an IP but loses connection after some time. How do I fix it?
Call Ethernet.maintain() in your main loop to periodically renew DHCP leases. Also implement a reconnect() function that re-establishes the MQTT connection if it drops. For truly reliable operation in unattended deployments, also implement a watchdog timer reset if connectivity is lost for more than a minute.
Does W5500 support TLS/SSL for secure MQTT?
Not natively — the W5500’s hardware TCP/IP stack does not include TLS. For MQTT over TLS (port 8883), you would need a more capable platform like ESP32 with software TLS (BearSSL). For secure MQTT with W5500, use a VPN or tunnel at the network level instead.
Can I run an HTTP web server on W5500 simultaneously with MQTT?
Yes. The W5500’s 8 sockets allow you to run both an EthernetServer (HTTP on port 80) and an MQTT client simultaneously. Manage them carefully in your loop — call client.loop() for MQTT and check the HTTP server for incoming clients in the same loop iteration.
The W5500 Ethernet module with Arduino and MQTT gives you professional-grade reliability for home automation, factory monitoring, and industrial IoT. Browse Zbotic’s full range of Communication & Wireless Modules — all shipped fast across India with GST invoice.


Add comment