
Imagine pulling a 3D print off your build plate and finding that it already moves, flexes, or articulates — no screws, no glue, no post-processing assembly required. That is the magic of print-in-place (PIP) design, one of the most satisfying techniques in the FDM 3D printing world.
Whether you want to print a working hinge, a chain, a snap-fit enclosure, or a fully articulated dragon, print-in-place opens up a world of possibilities. In this comprehensive guide, we will walk you through everything from the fundamental concepts to advanced tips, tolerances, filament choices, and real project ideas — all optimised for makers in India using commonly available printers and materials.
1. What Is Print-in-Place?
Print-in-place is a 3D printing technique where a model is designed so that mechanically moving or interlocking parts are printed together in a single job — fully assembled and functional straight off the print bed. There are no separate components to snap, glue, bolt, or fit together after printing.
The key insight is that FDM printers deposit plastic layer by layer, and if two parts are printed close to each other but separated by just enough of a gap, they will fuse at the contact perimeter within each layer but remain free to move relative to each other once cooled. This gap, called clearance, is typically between 0.15 mm and 0.35 mm depending on your printer, filament, and orientation.
Print-in-place is different from multi-part prints. A multi-part print requires you to design separate STL files and then join them mechanically. PIP bakes the assembly into the CAD model itself, and the slicer handles the rest.
Why Is PIP So Popular?
- No hardware required — no bolts, inserts, or adhesive needed
- Fewer print jobs — everything in one go, saving filament changes and setup time
- Gifts and novelty items — articulated creatures, fidget toys, and keychains are crowd-pleasers
- Functional prototyping — hinges, latches, and joints for enclosures and mechanical devices
- Educational value — great for explaining FDM layer fusion to students and hobbyists
2. How Print-in-Place Works: The Science
To understand why PIP works, you need to understand how FDM builds parts. The printer extrudes molten plastic in a continuous bead. This bead bonds to the previous layer below it via heat and pressure, creating a solid structure. However, if two separate bodies are close enough in the XY plane but with a deliberate gap between them, the printer must bridge or end its extrusion path at the boundary of each body.
If the gap is too small, the extrusion will overflow into the gap and fuse the parts together — that is a failed PIP print. If the gap is too large, the parts will rattle around loosely or structurally fail under load. The sweet spot for most FDM printers with a 0.4 mm nozzle is 0.2 mm to 0.3 mm clearance in the XY plane.
Z-Direction vs XY-Direction Clearance
This is one of the most misunderstood aspects of PIP design. Your printer’s XY accuracy and Z accuracy are different:
- XY clearance: 0.2–0.3 mm works well for most well-tuned printers
- Z clearance: Since layer heights are discrete steps, you should use at least 1–2 full layer heights (e.g. 0.2–0.4 mm) for Z-direction gaps to ensure separation between horizontally stacked parts
Pin-type joints that rotate around a vertical axis mostly use XY clearance. Horizontal hinge mechanisms may also rely on Z clearance for the top and bottom faces of the pin. Get both right and your print will snap free with minimal effort.
3. Clearance and Tolerances: The Most Critical Setting
Clearance is the single most important variable in print-in-place design. Every printer behaves slightly differently due to nozzle diameter, extrusion multiplier, material expansion, and cooling. Here are recommended starting values for popular Indian printers:
| Printer / Config | XY Clearance | Z Clearance |
|---|---|---|
| Ender 3 / CR-10 (stock) | 0.25–0.30 mm | 0.30 mm |
| Bambu Lab P1S / X1C | 0.15–0.20 mm | 0.20 mm |
| Prusa MK4 / MK3.5 | 0.20–0.25 mm | 0.25 mm |
| Artillery Sidewinder / Genius | 0.25–0.30 mm | 0.30 mm |
How to Calibrate Your Own Clearance
The best approach is to print a calibration test. Search Thingiverse or Printables for “clearance test” and download one for your printer. These models print a series of concentric rings or pin-and-hole combos at gaps ranging from 0.1 mm to 0.5 mm. After printing, you can identify the minimum gap that allows free movement on your specific printer.
Once you have your calibration number, keep it consistent across all your PIP designs. Many experienced makers keep a note of this value and hard-code it into their CAD templates.
4. Best Filaments for Print-in-Place
Not all filaments behave equally for PIP prints. The key properties you want are:
- Good layer adhesion — parts must stay structurally sound at the thin walls around the joint
- Controlled expansion — materials that expand significantly when hot are harder to dial in
- Good bridging — some PIP designs require bridges over the gap area
PLA — The Best Starting Point
PLA is the easiest filament for PIP prints. It has low warping, good bridging, excellent layer adhesion, and prints at temperatures (190–220°C) that are forgiving for beginners. The slight brittleness of PLA is rarely an issue for decorative or low-stress PIP parts. For functional parts that need more flex, consider PLA+ blends.
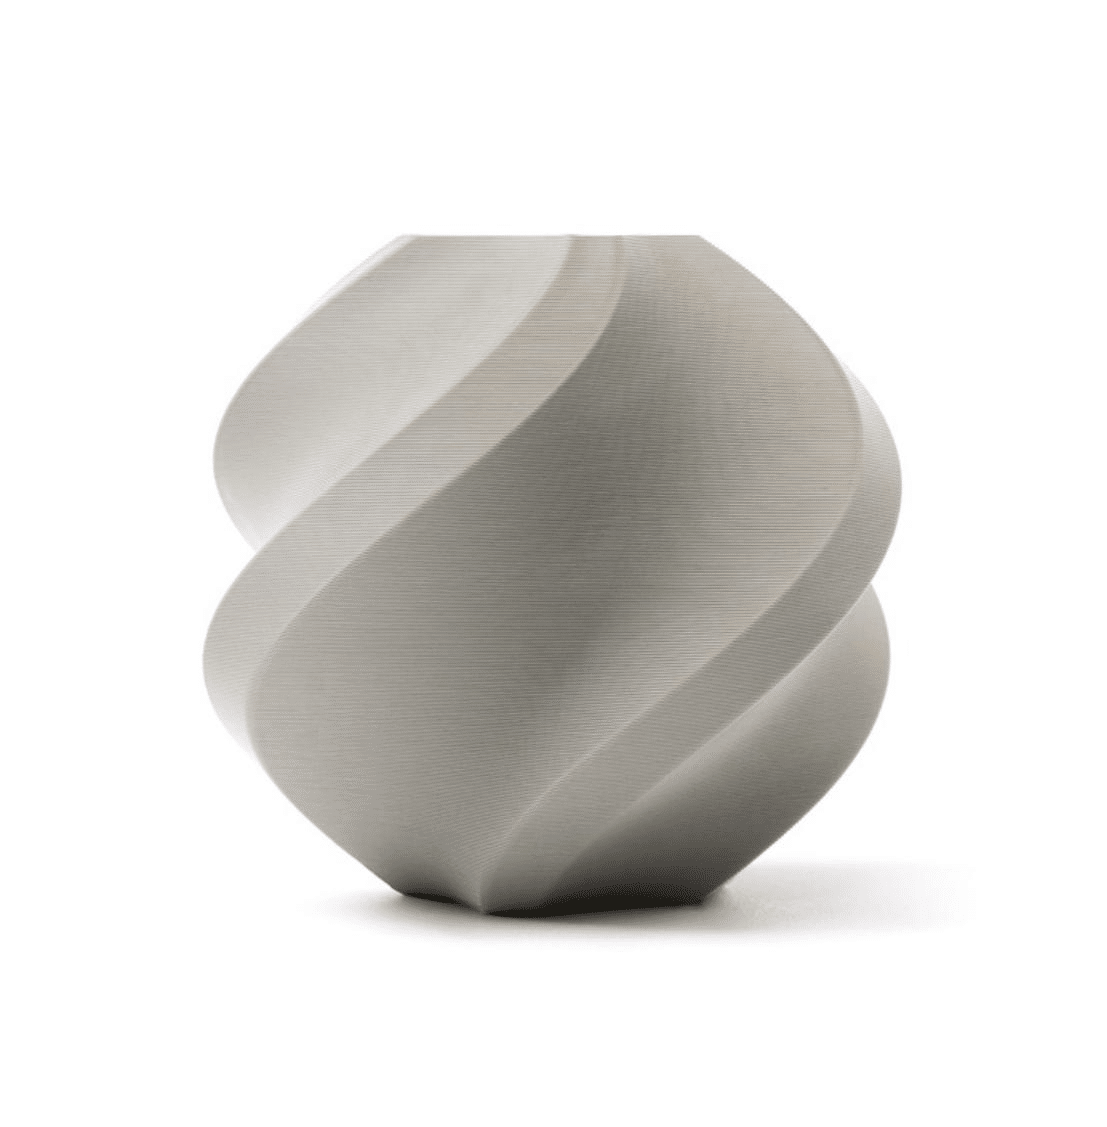
Bambu Lab PLA 3D Printer Filament Grey – 1.75mm with Reusable Spool
Premium Bambu Lab PLA with tight diameter tolerances — ideal for print-in-place models where consistent extrusion prevents unwanted fusion at clearance gaps.
View on Zbotic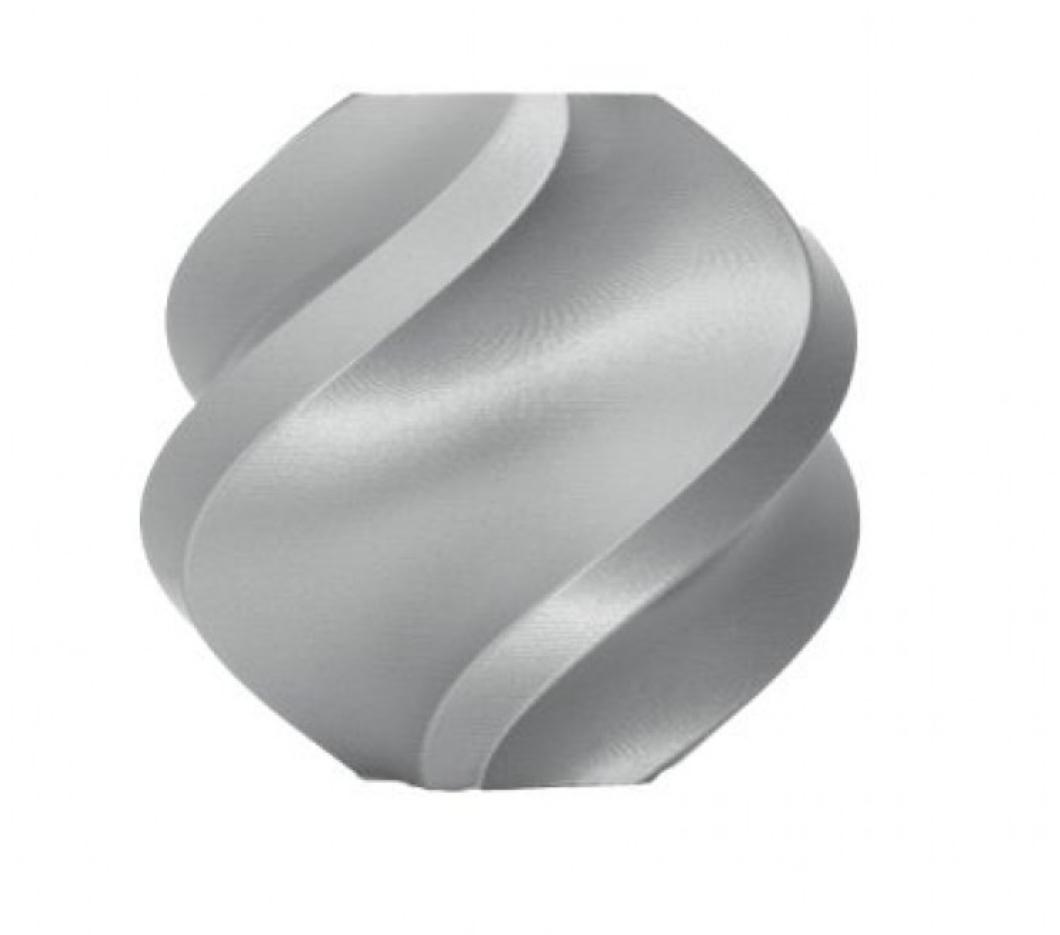
Bambu Lab PLA 3D Printer Filament Silver – 1.75mm with Reusable Spool
Consistent, clog-free PLA filament in a metallic silver finish — a great choice for mechanical PIP prints that need to look professional.
View on ZboticPETG — For Tougher Functional Parts
PETG offers more flexibility and impact resistance than PLA, making it excellent for hinges, latches, and any PIP part that will see real-world stress. However, PETG is stringy and tends to ooze more, which can clog the narrow clearance gaps. You need to dial in retraction carefully and increase your clearance slightly (add 0.05 mm extra) when using PETG.
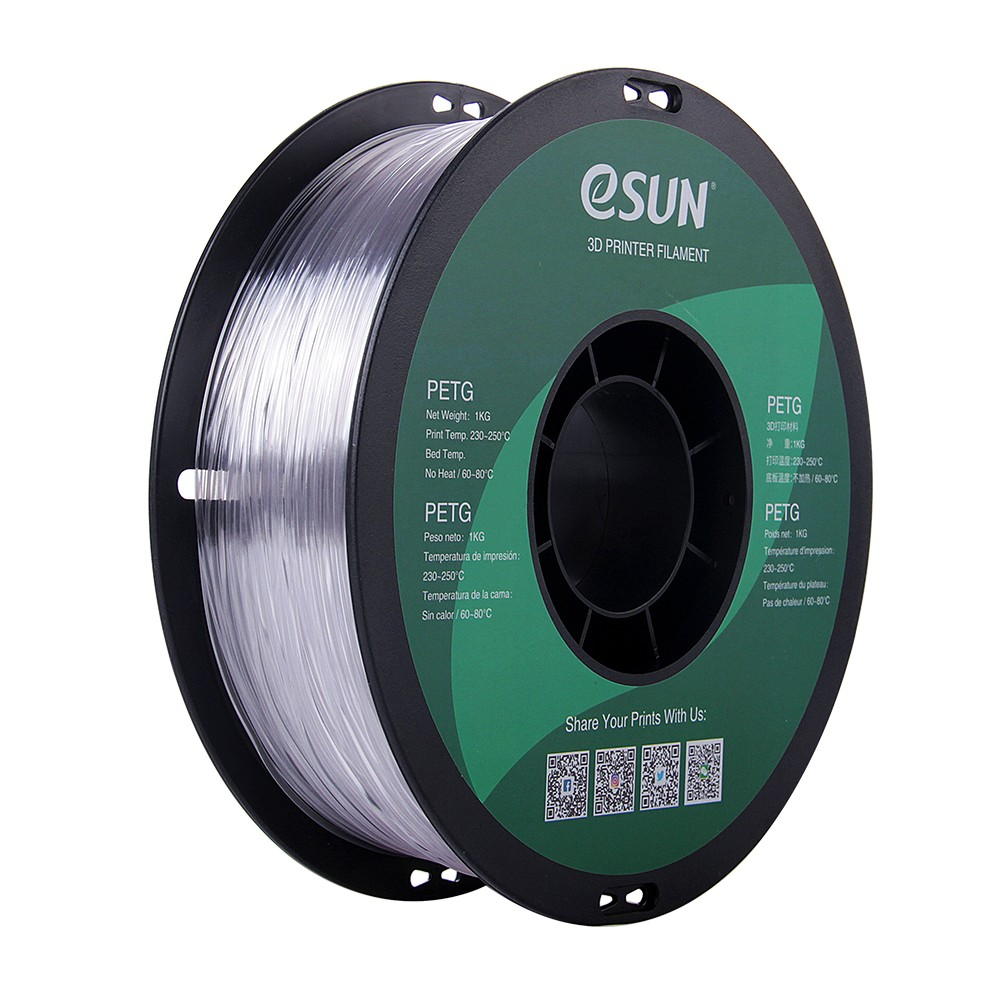
eSun PETG 1.75mm 3D Printing Filament 1kg – Clear
Tough, flexible PETG in clear — perfect for functional PIP latches, snap-fits, and hinges that need to survive repeated use without snapping.
View on ZboticABS — When You Need Heat Resistance
ABS is trickier to use but gives parts that handle higher temperatures — useful if your PIP mechanism will sit near an engine bay, electrical enclosure, or outdoor environment. ABS warps easily, so you need an enclosure, proper bed adhesion, and patience. The upside is that ABS can be acetone-smoothed after printing, which can actually free stuck PIP joints.
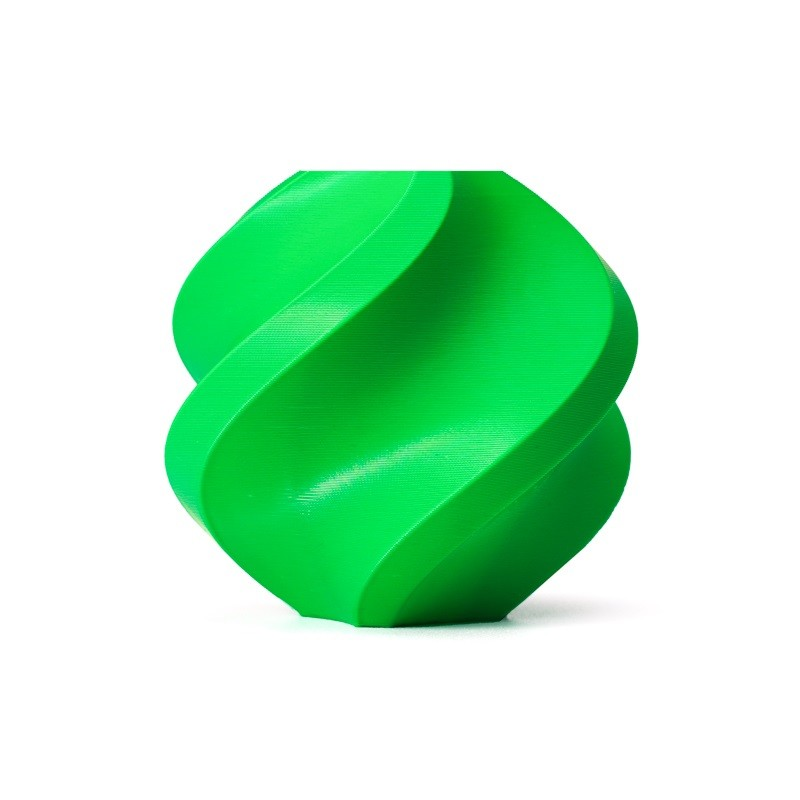
Bambu Lab ABS 3D Printer Filament Bambu Green – 1.75mm
Heat-resistant ABS filament from Bambu Lab — ideal for PIP mechanical parts that must survive temperatures above 60°C or outdoor Indian summers.
View on Zbotic5. Slicer Settings That Make or Break PIP
Even a perfectly designed PIP model can fail if the slicer settings are wrong. Here are the most impactful settings:
Layer Height
Use 0.15–0.20 mm layer heights for PIP prints. Thinner layers give finer detail at the joint area and reduce the chance of over-extrusion bridging the gap. Thick layers (0.28 mm+) increase the risk of fusion at tight gaps.
Print Speed
Slow down for PIP sections. Perimeter speed at 30–40 mm/s gives the filament time to cool and retract cleanly. Faster speeds increase ooze and stringing into the gap. Some slicers (like OrcaSlicer and PrusaSlicer) let you set a separate wall speed — use this feature.
Retraction
Increase retraction slightly for PIP models because the printer frequently lifts and moves across the gap between parts. A 0.5–1.0 mm retraction increase (over your standard settings) can eliminate stringing across the gap. Enable “wipe on retract” if your slicer supports it.
Cooling
Maximise part cooling for PIP prints. Run your part cooling fan at 100% from the first layer onward. Fast cooling solidifies the extrusion before it can sag into the clearance gap. This is especially important with PLA.
Supports
Many PIP designs are oriented so that supports are not needed — this is by design. If your PIP model does require supports, ensure they do not extend into the moving joint area, or the support material will lock the joint. In PrusaSlicer and OrcaSlicer, you can paint out support areas to prevent this.
Avoid Seams Inside Joints
Set your seam position to “rear” or “aligned” and rotate your model in the slicer so the seam lands on the outside of your model, not inside the joint area. A seam inside a pin joint can physically lock it.
6. Design Tips for Print-in-Place Models
Good PIP design is as much about understanding your printer as it is about CAD skill. Here are principles that experienced makers follow:
Design for the Print Orientation
Always model your PIP design with the final print orientation in mind. Joints that rotate in the XY plane are generally easier to print successfully than joints that rotate around a horizontal axis (Z-axis pin). XY plane joints rely entirely on XY clearance and are more predictable.
Make Joints Long and Slim
A longer pin gives more surface area for smooth rotation but also more area for potential fusion. A good rule of thumb: make pins at least 4–6 mm long and 5–8 mm in diameter. Very short, wide pins tend to fuse more easily.
Add a Chamfer to Pin Ends
Adding a 0.5–1.0 mm chamfer to the top and bottom faces of a pin reduces the chance of the first and last layers of the pin fusing to the socket. This is one of the most effective tricks in PIP design.
Avoid Sharp Internal Corners in Sockets
Sharp internal corners in socket walls create stress concentrations and can also trap fused material. Use a fillet radius of at least 0.5 mm on internal socket corners.
Test Clearance with a Small Model First
Before printing a large, multi-hour PIP model, export just the joint section and print it as a quick 30-minute test. This saves filament and time.
Keep Wall Count to 2 at Joints
Thick walls around a joint increase the chance of over-extrusion bridging into the gap. Keep the walls of the pin and socket to 2 perimeters (about 0.8 mm with a 0.4 mm nozzle) at the joint area.
7. Ten Print-in-Place Projects to Try
1. Articulated Dragon or Snake
The articulated dragon is the quintessential PIP project. Each body segment is a socket that links to the next segment’s ball or pin. The entire model prints in one job and flexes realistically out of the bed. Search Printables for “articulated dragon” — there are dozens of free designs.
2. Fidget Cube
A cube with interlocking rotating rings printed as one object. Excellent for stress testing your clearance calibration because it has many joints in multiple orientations.
3. Working Box with Hinged Lid
Print a small storage box where the lid is hinged to the body and closes with a snap-fit latch — all in one print. Great for electronics project boxes, small tool organisers, or Diwali gift boxes.
4. Chain Links
A chain is one of the classic PIP demonstrations. Each link is printed interlocked with its neighbours. Chains are great for keychains, decorative elements, and teaching the PIP concept to beginners.
5. Functional Spring
A helical spring printed in PETG or flexible TPU that actually compresses and returns. Useful in small enclosures where you need a mechanical spring but do not want to source one.
6. Print-in-Place Wrench
A wrench with an adjustable jaw that slides open and closed, printed in a single job. Made famous by the Thingiverse community, this is a great test of XY precision.
7. Ball-and-Socket Servo Horn
For robotics makers, a PIP ball-and-socket joint for servo horns allows multi-axis movement without separate hardware. Print in PETG for durability.
8. Pill Organiser with Rotating Compartments
A cylinder with rotating inner sections — each section is a separate compartment. A practical everyday item that makes a great gift.
9. Folding Phone Stand
A phone stand with hinged legs that fold flat. Print in PETG or ABS for enough strength to hold a phone reliably.
10. Dice Tower with Moving Gate
A dice tower where the gate at the bottom is a PIP hinged flap. Aesthetically impressive and genuinely functional for tabletop gaming.

B Type Aluminium Heat Sink for MK7 MK8 Extruder
Keep your hotend cool during long PIP prints. Proper heat sink cooling prevents heat creep that causes clogs mid-print on complex single-job models.
View on Zbotic8. Troubleshooting Common PIP Failures
Parts Are Fused Together
This is the most common PIP failure. Causes: clearance too small, over-extrusion, print too fast, cooling insufficient, or seam landing inside the joint. Fix: increase clearance by 0.05 mm increments, reduce extrusion multiplier by 2–3%, slow perimeter speed, maximise cooling fan.
If your print is fused, do not panic. Try to gently flex or twist the joint. PIP prints that are “barely fused” at the layer boundaries can often be freed with gentle pressure. A wooden skewer or plastic opening tool helps. Never use metal — it will scratch or gouge the plastic.
Parts Are Too Loose / Rattling
Clearance too large. Reduce by 0.05 mm increments and retest. Also check if your filament diameter is undersized — a 1.70 mm filament on a 1.75 mm printer profile will under-extrude, making walls thinner and gaps effectively larger.
ABS PLA PETG 1.75mm Filament Filters Cleaner – Dust Removal for Ender 3 / CR-10
Keep dust and debris off your filament during long PIP prints. Dust on filament causes under-extrusion spikes that can create blobs bridging your clearance gaps.
View on ZboticStringing Across the Gap
PETG and ABS are prone to stringing between bodies. Fix: increase retraction (add 0.5 mm), enable combing/avoid crossing perimeters, slow travel speed, and increase travel retract speed. Cleaning strings out of PIP joints is possible with a heatgun on low, but it is much better to prevent them.
Joint Works Once Then Locks
This happens when tiny layer-surface bumps or zits on the joint faces grip each other after cycling. Fix: reduce print speed further, enable linear advance / pressure advance to reduce blobs at direction changes, and add a tiny chamfer to contact faces in your CAD design.
Print Fails Mid-Way Through
Long PIP prints are vulnerable to mid-print failures because they run for many hours. Fix: use a filament dust filter (shown above) to prevent clogs, check your PTFE tube for heat damage, and ensure your nozzle is clean before starting.
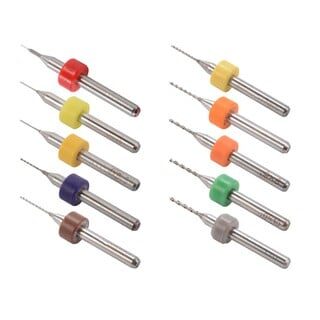
0.1–1.0mm Mixed 3D Printer Nozzle Cleaning Drill Bit Kit – 10 Pcs
Clear partial nozzle clogs before they ruin a multi-hour PIP print. This 10-piece kit covers all standard nozzle diameters including 0.4mm.
View on ZboticFrequently Asked Questions
Q: Can I print-in-place with TPU flexible filament?
Yes! TPU is excellent for PIP springs, flex joints, and compliant mechanisms. The challenge is that TPU is very difficult to print fast and retraction must be near-zero. Use a direct drive extruder and print at 20–25 mm/s.
Q: Do I need a special printer for print-in-place?
No. PIP prints work on any well-tuned FDM printer. Even an Ender 3 or CR-10 can produce excellent PIP results once you calibrate the clearance. A well-calibrated ₹10,000 printer will outperform a poorly calibrated ₹80,000 printer on PIP models.
Q: Where can I find free print-in-place designs?
Printables.com (by Prusa) has an excellent collection of PIP models, many of them free. Thingiverse also has classic PIP designs. Search for “print in place” and filter by “functional” category. Cults3D has more premium/paid PIP designs.
Q: Is print-in-place possible with resin (SLA/MSLA) printers?
Yes but it requires much larger clearances (0.4–0.6 mm) because resin tends to seep into gaps before curing, and parts need washing/curing which can cause adhesion. PIP is significantly more reliable on FDM printers.
Q: Can I design my own PIP models without professional CAD skills?
Absolutely. Tinkercad is free, browser-based, and capable enough for basic PIP designs like hinged boxes and chain links. For more advanced joints, Fusion 360 (free for hobbyists) or FreeCAD (100% free) are excellent options. Start with modifying an existing PIP design before building from scratch.
Ready to Start Your First Print-in-Place Project?
The best way to learn PIP is to print a clearance calibration model, find your magic number, and then dive into one of the beginner projects listed above. Stock up on quality PLA from Zbotic’s filament collection and dial in your settings — your first functional, assembly-free print is closer than you think.
Shop 3D Printing Supplies at Zbotic


Add comment