
Want to capture real-world objects and bring them into your 3D printer? 3D scanning at home in India is now genuinely affordable — you don’t need a ₹2 lakh professional scanner to get started. With a smartphone, free software, and some patience, you can digitise anything from spare parts to art pieces and print accurate reproductions.
This guide covers every practical budget method available to Indian makers in 2026, from completely free photogrammetry apps to entry-level structured-light devices that fit a hobbyist budget.
Why 3D Scan Objects at Home?
3D scanning bridges the physical and digital worlds. Here are the top reasons Indian makers are picking it up:
- Reverse engineering: Copy discontinued spare parts for appliances, vehicles, or industrial equipment.
- Customisation: Scan a shoe sole and design a custom orthotic insert around it.
- Art and heritage preservation: Digitise handmade clay idols, vintage coins, or jewellery for archival or reproduction.
- Product prototyping: Scan a clay mock-up, clean it in CAD, and print a refined version.
- Cosplay and props: Scan body armour pieces to replicate accurately at scale.
The key challenge in India is cost. Dedicated scanners like the Revopoint RANGE 2 cost ₹80,000+. But with the methods below, you can get decent results for ₹0–₹15,000.
The 4 Main Budget Methods
| Method | Cost | Accuracy | Best For |
|---|---|---|---|
| Photogrammetry (phone) | ₹0 | Medium | Large objects, exteriors |
| iPhone LiDAR | ₹0 (if you own iPhone 12 Pro+) | Medium-High | Room-scale, furniture |
| Structured-light (entry) | ₹8,000–₹20,000 | High | Small-medium objects |
| Xbox Kinect hack | ₹2,000–₹5,000 (secondhand) | Low-Medium | Large objects, bodies |
Method 1: Photogrammetry (Completely Free)
Photogrammetry is the process of reconstructing a 3D model from dozens (or hundreds) of photographs taken from different angles. Software analyses overlapping images to calculate depth and geometry.
What You Need
- Any smartphone with a 12MP+ camera (even a mid-range Android works)
- A turntable (optional but helpful — a lazy Susan from the kitchen works perfectly)
- Diffused lighting (avoid harsh shadows; a cloudy day near a window is ideal)
- Matte spray or powder for shiny objects
Best Free Software
- Meshroom (Windows/Linux, free, offline): The gold standard open-source photogrammetry tool. Uses AliceVision pipeline. Requires a decent GPU (Nvidia preferred).
- COLMAP (Windows/Mac/Linux, free): More technical but very capable. Often used alongside OpenMVS for mesh generation.
- 3DF Zephyr Free (Windows): Limited to 50 photos in free tier but very beginner-friendly.
- Polycam / Scaniverse (iOS/Android): Uses phone’s camera + AI. Great for quick scans; exports STL or OBJ.
Step-by-Step Photogrammetry Workflow
- Prepare the object: If it’s shiny or transparent, spray it with matte chalk spray or dust with talcum powder. Shiny surfaces confuse the algorithm.
- Set up lighting: Use two 5000K LED panels or sit near a large north-facing window. Avoid a single overhead light.
- Take photos: Shoot 80–150 photos in 3 rings — one at 0°, one at 30° elevation, one at 60° elevation. Overlap each shot by ~70%.
- Import into Meshroom: Drag all photos into the node graph, click Start. Processing takes 20–90 minutes depending on your GPU.
- Clean in Blender or Meshmixer: Remove floating geometry, fill holes, decimate the mesh.
- Export as STL or OBJ and slice in Bambu Studio, Cura, or PrusaSlicer.
Expected Results
A well-lit, matte-surfaced object photographed with 120 images will produce a mesh with 0.5–2mm accuracy — more than enough for most prints. Tiny features (under 2mm) and holes may not capture well.
Method 2: LiDAR on iPhone or iPad
iPhones 12 Pro and later (as well as iPad Pro 2020+) have a Time-of-Flight LiDAR sensor on the rear. This gives faster, more accurate scans than pure photogrammetry — especially in low light and for room-scale objects.
Recommended Apps
- Scaniverse (free): Excellent for furniture, rooms, torsos. Exports OBJ/STL/USDZ.
- Polycam (freemium): Best interface; paid tier adds better mesh processing.
- RealityKit Object Capture (Mac): Combine LiDAR + photos on iPhone, process on M1/M2 Mac for very high resolution output.
Tips for Better LiDAR Scans
- Move the phone at 10–15 cm/s — too fast causes alignment gaps.
- Overlap your passes: scan each surface from two different angles.
- Keep the object under 1 metre — beyond that, LiDAR point clouds become noisy.
- Export at medium resolution first; increase if the model looks clean.
Method 3: Structured-Light Scanners (Budget Picks)
Structured-light scanners project a pattern (usually stripes or dots) onto the object and use the deformation of that pattern to calculate depth. They are more accurate than photogrammetry for small objects.
Budget Options Available in India (2026)
- Creality Raptor (~₹14,000): A newer entry-level option. 0.05mm accuracy on small objects. Comes with Creality Scan software.
- Revopoint MINI 2 (~₹45,000): Premium but genuinely impressive on jewellery and mechanical parts.
- DIY Structured Light: Build your own using an Arduino, a projector, and OpenCV. Plans exist on Instructables for under ₹5,000 in components.
Method 4: Xbox Kinect Hack
The original Xbox Kinect (2010) and Kinect v2 (2013) use infrared depth cameras. On the secondhand market in India, you can find them for ₹1,500–₹4,000. With a USB adapter (₹600) and free software, they become decent body/room scanners.
Software
- KScan3D (Windows): Real-time scanning with Kinect. Turntable mode available.
- Skanect (freemium): Export up to 5,000 faces for free; very beginner-friendly.
- ReconstructMe: Another free option with real-time preview.
Accuracy is around 2–5mm — fine for large prop pieces but not for mechanical parts.
Tips Specific to India
- Power fluctuations: Use a UPS or voltage stabiliser when running long photogrammetry processes — a power cut mid-processing wastes hours.
- Heat: GPU-heavy photogrammetry makes laptops thermal-throttle. Run Meshroom at night or use a cooling pad.
- Talcum powder scanning spray: Available at any chemist for under ₹50. Far cheaper than commercial matte scanning spray.
- Turntable options: A 30cm lazy Susan from a houseware shop costs ₹150–₹300. Far better than rotating by hand.
- Lighting: Two 15W LED bulbs in reflector hoods from an electrical shop cost under ₹500 total and give studio-quality diffused light.
Post-Scan Workflow: From Mesh to Print
A raw scan mesh is rarely print-ready. Here is the standard cleanup pipeline:
- Import into Meshmixer (free) or Blender. Use the Remesh tool to create uniform triangles.
- Fill holes: Meshmixer’s Analysis → Inspector tool finds and fills holes automatically.
- Decimate: Reduce poly count to under 500k faces for manageable file sizes without losing visible detail.
- Make watertight: Slicers need a closed manifold mesh. Use Meshmixer’s Make Solid or Blender’s 3D Print Toolbox.
- Scale and orient in slicer: Import STL into PrusaSlicer or Bambu Studio, set scale from known dimensions, orient flat face down.
- Print: Use a 0.2mm layer height and 20% infill for most scan reproductions.
Recommended Products from Zbotic
Bambu Lab PLA Filament Grey – 1.75mm
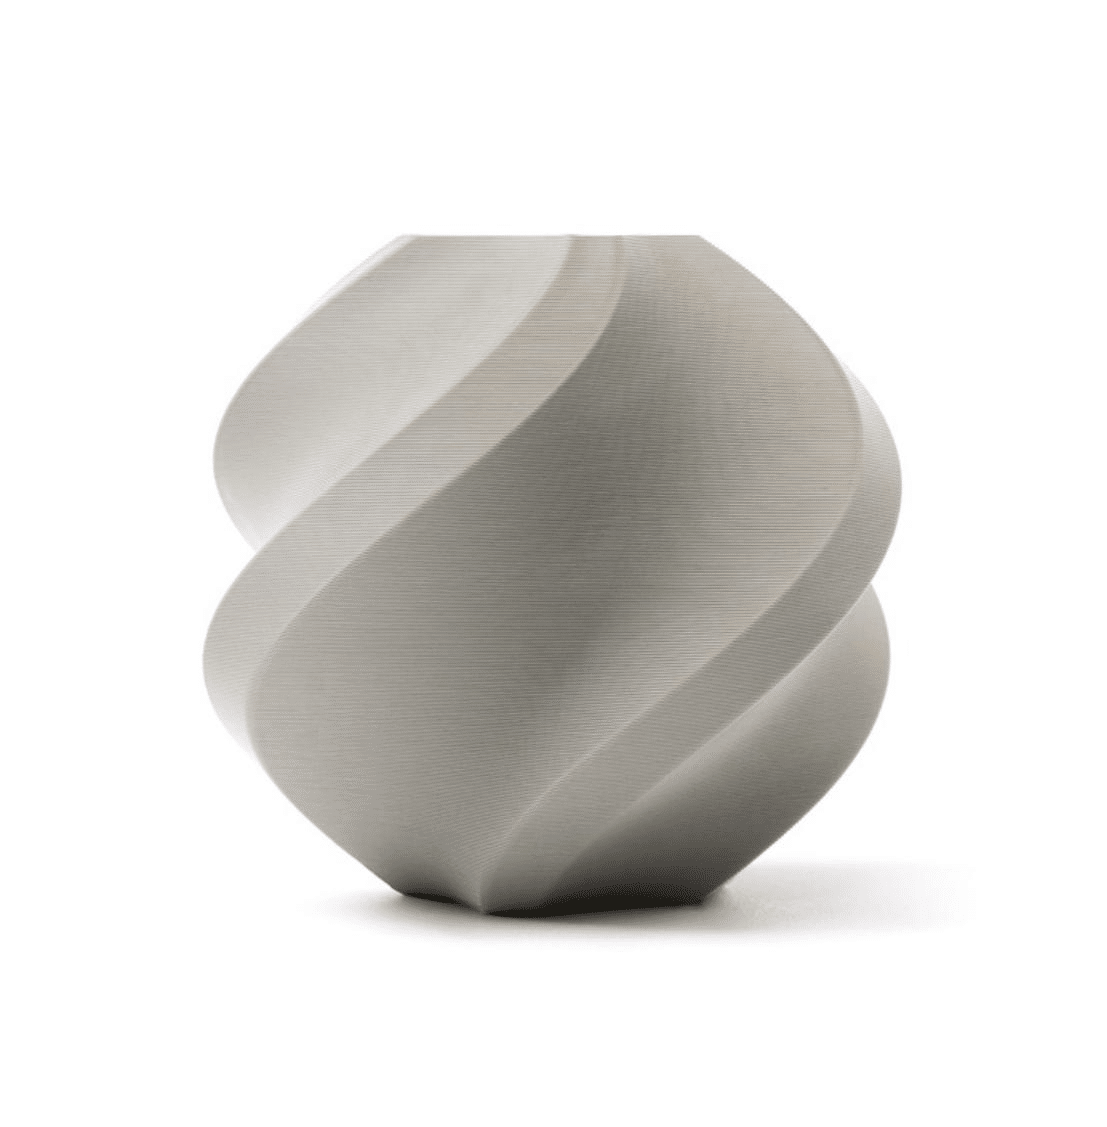
Perfect for printing scan reproductions — Bambu PLA offers excellent dimensional accuracy, making it ideal for functional parts copied from 3D scans.
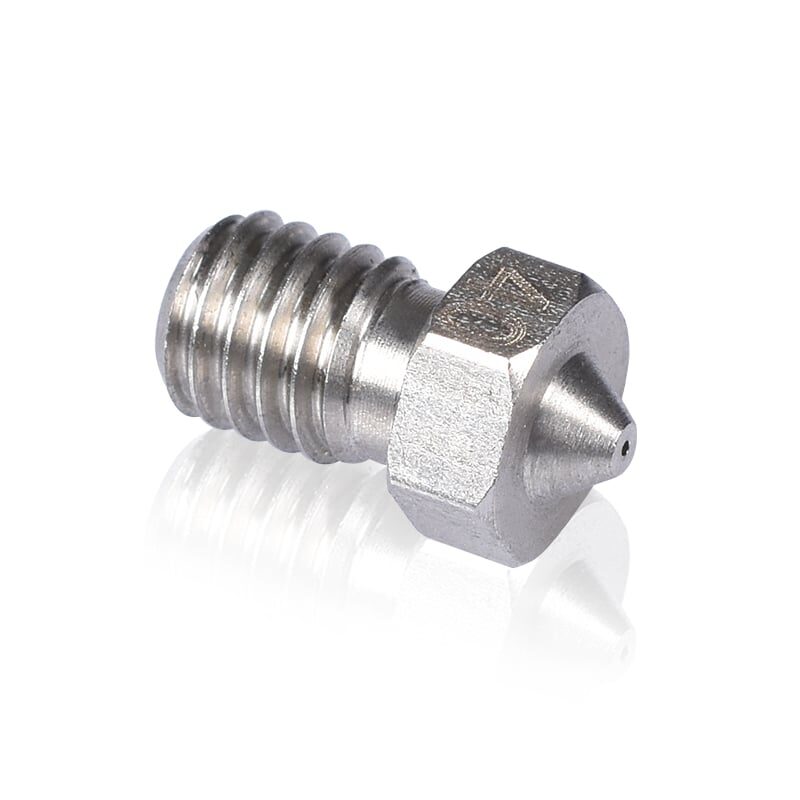
3D Printers Stainless Steel Nozzle 0.4mm
When printing scan reproductions with fine surface details, a quality 0.4mm stainless steel nozzle delivers clean, consistent extrusion for high-fidelity results.
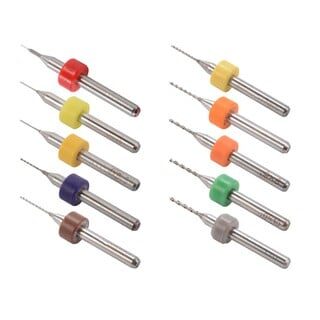
0.1–1.0mm Nozzle Cleaning Drill Bit Kit (10 Pcs)
Keep your nozzle clog-free when printing detailed scan replicas — this kit covers all common nozzle sizes for regular maintenance.
Frequently Asked Questions
Can I 3D scan with a normal Android phone in India?
Yes. Any Android phone with a 12MP+ camera can do photogrammetry using Meshroom (process on PC) or Scaniverse/Polycam apps. Depth sensors (ToF) on phones like the OnePlus 8 Pro help but aren’t required.
What is the cheapest 3D scanner available in India?
Technically, photogrammetry is free if you already own a smartphone and a PC. For hardware scanners, the Creality Raptor is the most affordable option available in India at around ₹14,000.
How accurate does a scan need to be for 3D printing?
For decorative items, 1–2mm accuracy is fine. For functional parts (snap fits, mechanical components), you want under 0.5mm — achievable with structured-light scanners or very good photogrammetry.
Can I scan shiny or transparent objects?
Not directly. You must coat them first. Use matte scanning spray, talcum powder, or chalk spray. After scanning, clean the object or print the reproduction and finish it as desired.
Do I need a powerful PC for photogrammetry?
Meshroom benefits greatly from an Nvidia GPU (CUDA). On a mid-range laptop with an Nvidia GTX 1650, 100 photos process in 30–45 minutes. Without a GPU, it will use CPU only and take 4–8 hours.
What software should I use to clean up scan meshes in India?
Blender (free, powerful), Meshmixer (free, easiest for mesh repair), and MeshLab (free, very technical). All are freely available and work on Windows, Mac, and Linux.
Ready to Print Your First 3D Scan?
Zbotic stocks genuine Bambu Lab filaments, quality nozzles, and 3D printing accessories — everything you need to turn your scans into real objects.


Add comment