
Drone PID Tuning with Betaflight Blackbox: Full Tutorial
If your FPV drone feels twitchy, oscillates on fast moves, or feels sluggish in tight turns, the solution lies in PID tuning. Betaflight’s Blackbox logging system is the most powerful tool available for diagnosing exactly what your drone is doing in flight and making precise, data-backed adjustments. This tutorial takes you through the full process — from enabling Blackbox logging to reading the data and making specific PID changes — in a way that any Indian hobbyist can follow.
What Are PIDs and Why Do They Matter?
PID stands for Proportional, Integral, and Derivative. These are three mathematical terms that describe how a control system (your flight controller) responds to error — the difference between where you want the drone to be and where it actually is.
- Proportional (P): How strongly the FC corrects for current error. Too high = oscillations. Too low = mushy, unresponsive feel.
- Integral (I): How the FC corrects for accumulated error over time. Too high = slow, wobbly oscillations. Too low = propwash and drift.
- Derivative (D): How the FC responds to the rate of change of error. Too high = high-frequency oscillations and hot motors. Too low = overshooting.
In Betaflight 4.3 and later, you also have Feedforward (F), which directly responds to stick input rather than error. High feedforward makes the drone feel extremely responsive and is popular in racing builds.
The default PIDs in Betaflight are reasonable starting points, but every drone is different — different frame stiffness, motor quality, prop choice, and battery voltage all affect how the drone responds. A well-tuned drone feels locked-in, precise, and smooth. A poorly tuned one feels like it’s fighting you.
What Is Betaflight Blackbox?
Betaflight Blackbox is a flight data recorder built into your flight controller. It logs hundreds of data points every second: gyroscope readings, PID outputs, motor commands, RC inputs, battery voltage, and more. By analysing these logs after a flight, you can see exactly what was happening inside your FC and identify the root cause of any handling issue.
Without Blackbox, PID tuning is guesswork. With Blackbox, it becomes an engineering process where every change you make is validated by data.
Setting Up Blackbox Logging
Step 1: Choose Your Logging Device
Blackbox data can be stored in two ways:
- On-board flash memory: Some flight controllers have built-in flash (typically 8MB–16MB). Faster, no extra hardware needed, but limited storage.
- MicroSD card: Requires an FC with an SD card slot. Unlimited storage, very easy to access logs. Recommended if your FC supports it.
Step 2: Enable Blackbox in Betaflight Configurator
Open Betaflight Configurator and navigate to the Configuration tab. Under the Blackbox section, set:
- Blackbox logging device: SPIFLASH (for built-in flash) or SDCARD (for SD card)
- Blackbox logging rate: Start with 1/4 (250Hz) or 1/8 (125Hz). Higher rates give more detail but fill up storage faster.
Step 3: Configure What to Log
In the Blackbox tab, enable:
- Gyro data (mandatory for PID analysis)
- RC command data
- PID data
- Motor output data
- Battery voltage (useful for sag analysis)
Disable GPS, compass, and barometer data if you are not using them — it reduces file size and keeps log rates manageable.
Step 4: Set Up a Blackbox Switch
Map a switch on your radio transmitter to enable/disable Blackbox recording. This lets you start logging only when you are actively flying a test run, keeping your storage from filling with idle time. In Betaflight, go to Modes tab and assign BLACKBOX mode to a switch channel.
Taking Your First Logging Flight
For useful PID analysis data, you need a specific type of test flight. Random freestyle flying produces data that is hard to interpret. Instead, fly step inputs:
- Roll test: Fly level, then make sharp, quick roll inputs — hard left, hard right, pause, repeat.
- Pitch test: Fly in a straight line at steady throttle, then make sharp up/down pitch inputs.
- Yaw test: At hover or low speed, make sharp left/right yaw inputs.
- Propwash test: Dive with full throttle, then quickly cut throttle. This stresses the I term and reveals propwash susceptibility.
Keep the test flight short — 30 to 60 seconds of quality step inputs gives more useful data than 5 minutes of uncontrolled freestyle.

35A V2.1 2-5S 4-in-1 Brushless ESC for RC Drone FPV Racing
BLHeli_S ESC supporting DSHOT600 — essential for clean RPM telemetry data in Blackbox logs and for enabling Betaflight’s RPM-based notch filters.
View on ZboticDownloading and Opening Logs
For SD Card Logs
Power off the drone. Remove the MicroSD card and insert it into your computer. The log files are typically named LOG00001.BFL or similar. Copy them to your computer.
For On-Board Flash Logs
Connect your FC to Betaflight Configurator. Navigate to the Blackbox tab and click Download Flash Contents. This can take 2–5 minutes for a full 16MB flash dump. Once downloaded, click Erase Flash to clear for the next session.
Blackbox Explorer
Download Betaflight Blackbox Explorer from the official Betaflight GitHub. Open your .BFL or .BFL.gz file. You will see a timeline with multiple data traces. The key traces to focus on:
- gyroADC[0/1/2]: Raw gyroscope data (roll/pitch/yaw)
- axisP[0/1/2]: P-term output
- axisI[0/1/2]: I-term output
- axisD[0/1/2]: D-term output
- rcCommand[0/1/2]: Your stick inputs
- motor[0/1/2/3]: Motor output values
Reading Blackbox Data: What to Look For
Checking for P-Term Oscillations
Zoom into a sharp roll input in Blackbox Explorer. After the initial roll, the gyro trace should settle back to zero cleanly and quickly. If you see a back-and-forth oscillation after the input (like a sine wave dying out), your P-term is too high on that axis. The frequency of the oscillation helps you understand which P term is the culprit.
Checking the D-Term
The D-term should dampen the P oscillations. If your D is too low, P oscillations persist for many cycles. If D is too high, you will see high-frequency noise in the motor traces (the motor lines become fuzzy/jagged). Hot motors after a flight often indicate D is too high.
Checking the I-Term
I-term issues show up as slow, rolling oscillations on straight flight or after throttle chops. In the blackbox trace, look at your gyro data during a throttle chop-to-full sequence. If the gyro slowly hunts back and forth over 0.5–2 seconds, your I-term is too high. If the drone drifts or one side sags during straight flight, I is too low.
Propwash Analysis
Propwash appears as high-frequency noise in the gyro traces during the throttle chop phase. It is caused by turbulent air from the props interacting with previous downwash. Blackbox shows it clearly as chaotic gyro movement during low-throttle moments after high-throttle flight.
Making PID Adjustments Based on Data
Always change one variable at a time and re-fly after each change. The golden rule of PID tuning: never adjust more than one axis or more than one term per flight.
Systematic Approach
- Start by lowering all D terms by 20% if motors are hot.
- Check P term for oscillations on roll (most visible axis). Adjust in 5-unit steps.
- Re-fly and log. Compare traces.
- Once P is clean, adjust D upward by 2-unit steps until motor noise appears in logs, then back down slightly.
- Finally, address I term for propwash and drift.
PID Change Reference Table
| Symptom | Likely Cause | Fix |
|---|---|---|
| High-freq oscillations on inputs | P too high | Reduce P by 5–10% |
| Drone overshoots inputs | D too low / F too high | Increase D by 2–3 units |
| Hot motors after flight | D too high or filter issues | Reduce D by 10%, check filters |
| Slow wobble on straight flight | I too high | Reduce I by 5–10% |
| Bad propwash on throttle chop | I too low or filters mistuned | Increase I, enable RPM filter |
| Mushy, unresponsive feel | P too low | Increase P by 5 units |
Common Problems and Their PID Fixes
Toilet Bowl Effect
The drone slowly circles or spirals instead of holding position. In Acro mode this shows as a gradual yaw drift combined with pitch/roll imbalance. Check for physical issues first (bent prop, bent motor shaft, loose motor screw). If hardware is clean, increase I-term on yaw axis by 5–10 units.
Bounce-Back After Rolls
After a fast flip or roll, the drone snaps back to wings-level then overshoots slightly. This is typically a Feedforward (F) term issue combined with low D. Try reducing F on roll axis by 10, then re-fly. If it persists, increase D slightly.
Motor Desync
One motor briefly cuts out during aggressive manoeuvres. This shows in Blackbox as one motor trace dropping to the minimum while others remain high. Causes include a damaged ESC FET, bad solder joint on a motor phase, or BLHeli demagnetisation issues. Check your ESC configuration and solder joints before blaming PIDs.
RPM Filters and Notch Filters Explained
Filters remove noise from the gyro signal before the PID loop processes it. Noisy gyro data = noisy PID outputs = hot motors and instability.
RPM Filters (Dynamic Notch Filters)
Betaflight 4.1+ supports RPM-based dynamic notch filtering, which removes motor noise at the exact frequencies generated by each motor at any given RPM. This requires:
- Bidirectional DSHOT protocol (DSHOT300 or DSHOT600) enabled on ESC
- BLHeli_32, BLHeli_S with BlueJay firmware, or AM32 ESC
- RPM filter enabled in Betaflight Filtering tab
RPM filtering is the single biggest improvement in Betaflight performance in recent years. It allows you to reduce other filters (PT1, Biquad) which reduces latency and improves feel dramatically.
Gyro Lowpass Filters
Set in the Filtering tab. PT1 is a single-pole lowpass filter — gentle filtering with less latency. Biquad is two-pole — more aggressive filtering but adds latency. The default settings in Betaflight 4.4+ are well-optimised for most builds. Only change these if Blackbox shows you need more or less filtering.
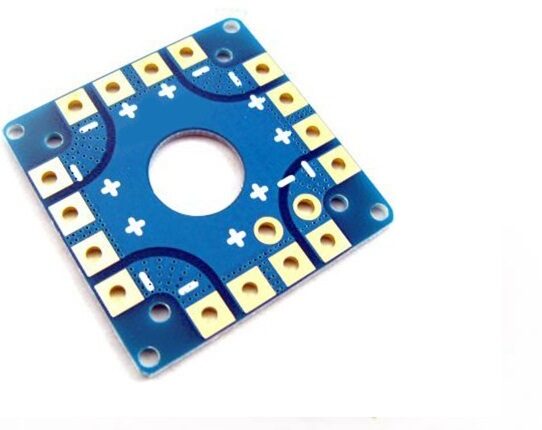
100A Multirotor ESC Power Distribution Battery Board For Quadcopter
High-current PDB that reduces electrical noise in your power system — cleaner power means cleaner gyro data and better Blackbox traces for PID tuning.
View on ZboticRecommended Hardware for Better Blackbox Results
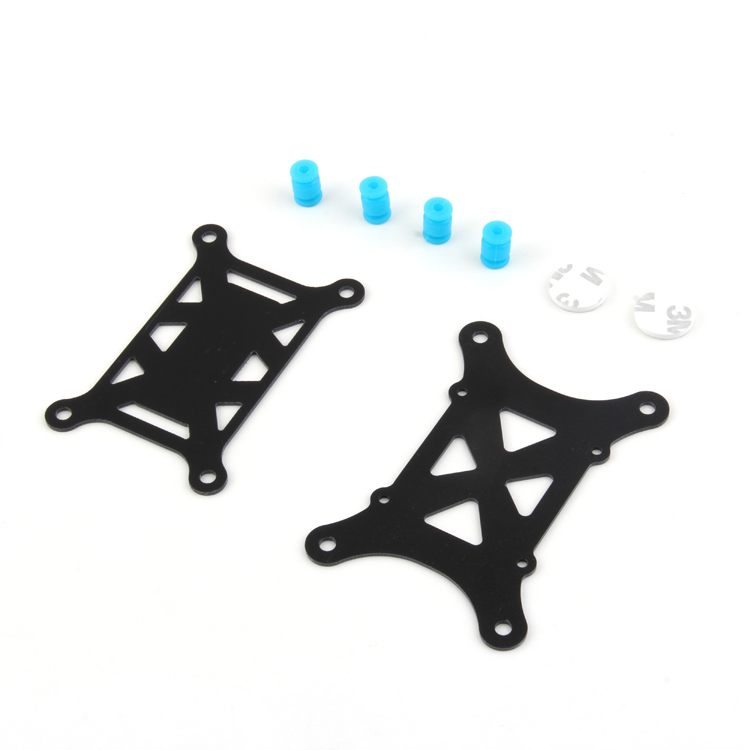
Anti-Vibration Shock Absorber for APM/KK/MWC/PixHawk
Reduces mechanical vibration reaching your flight controller. Cleaner gyro data in Blackbox means easier PID interpretation and less filter requirement.
View on Zbotic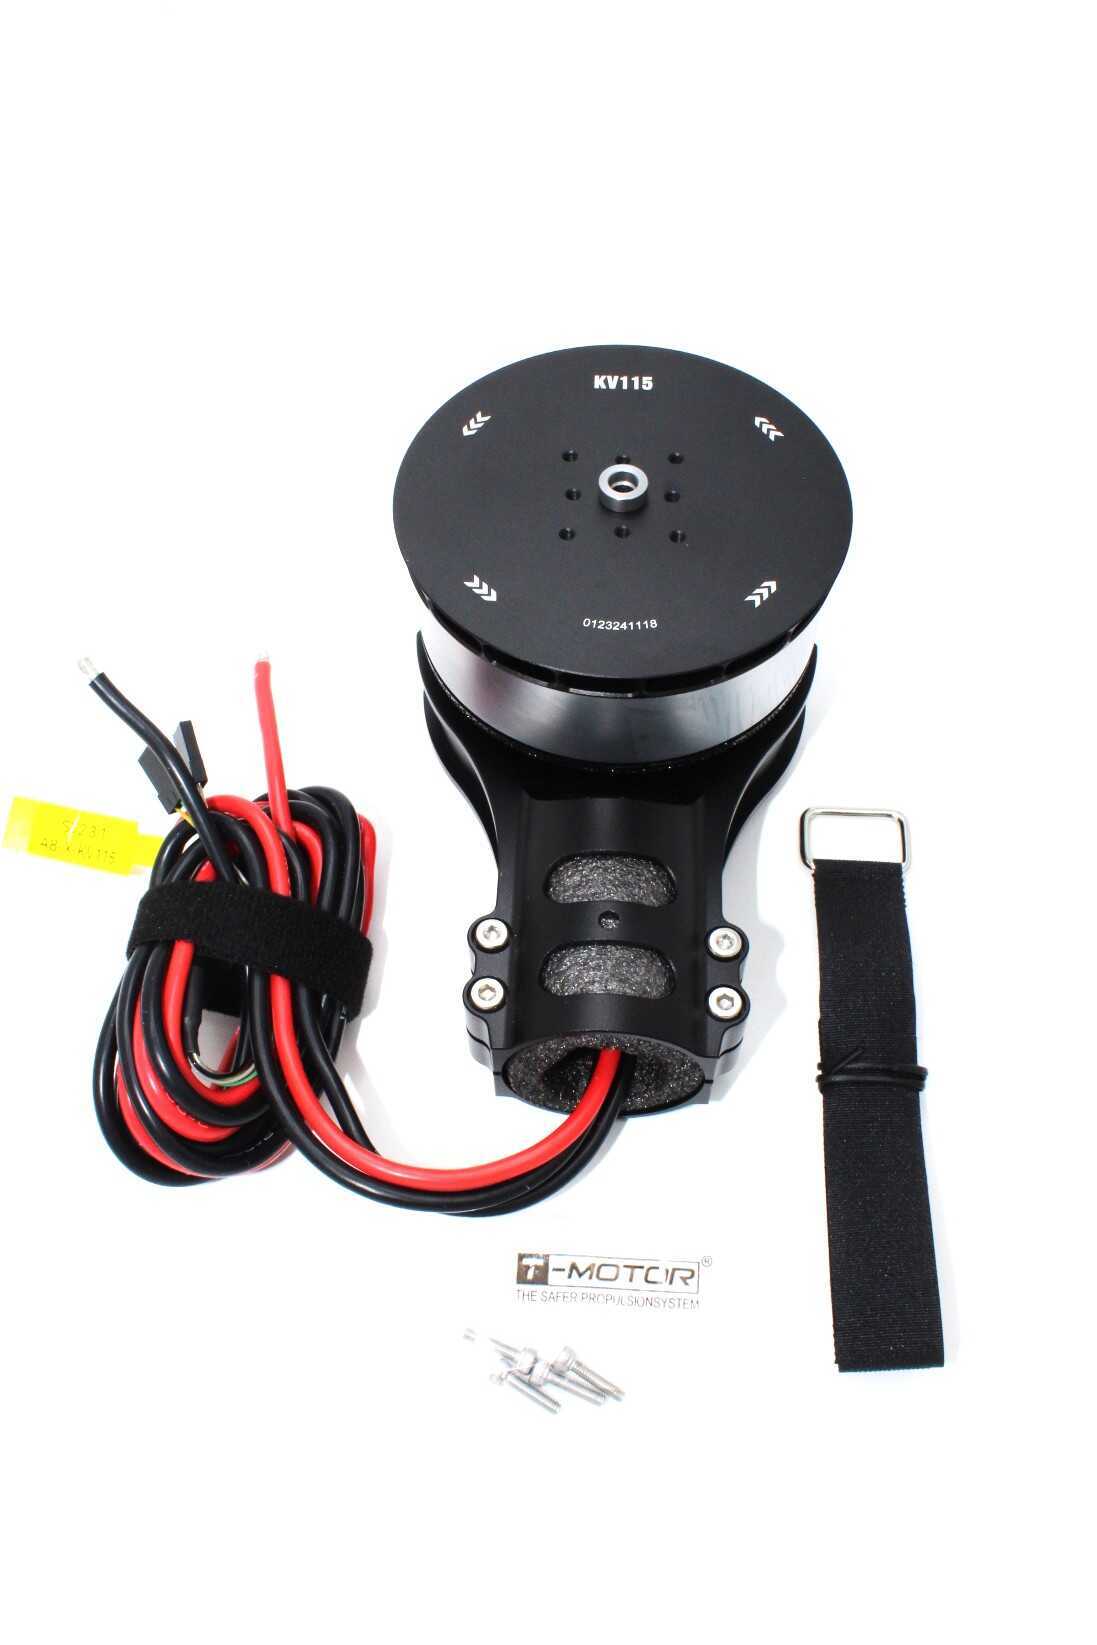
T-Motor A8-X-KV115-CCW Modular Propulsion System
Premium motors with precisely balanced rotors produce cleaner gyro traces in Blackbox — making PID tuning faster and more predictable.
View on ZboticFrequently Asked Questions
Q: Do I need Blackbox to tune a drone? Can I just use feel?
You can use feel for rough tuning, but Blackbox gives you objective data that tells you exactly what is happening. Many subtle issues — like D noise that causes gradual motor heating, or I-term windup at specific throttle ranges — are invisible to feel alone. Blackbox makes you a significantly better tuner.
Q: My Betaflight FC does not have Blackbox flash. What can I do?
Add a MicroSD card module via SPI if your FC has the pads exposed. Alternatively, use the Betaflight data logging feature over USB (available in newer firmware versions) to log short sessions directly to your laptop. This is less convenient but functional.
Q: How do I know when my tune is good?
In Blackbox, a good tune shows: gyro traces that follow RC commands cleanly with minimal bounce-back, motor traces that are smooth (not noisy), and I-term that stays near zero during steady flight. On the field, a well-tuned drone feels locked-in, motors are cool after a full pack, and propwash is minimal or absent.
Q: What Betaflight version should I use for PID tuning in 2026?
Betaflight 4.5.x is the current stable release and recommended for all new builds. It includes the Simplified Tuning slider (good for initial setup) alongside full manual PID control. If you are running older firmware, upgrade to 4.5.x for best Blackbox integration.
Q: How long does a full PID tune take?
Expect 3–6 flight sessions for a solid initial tune. Each session involves 1–2 flights, Blackbox analysis, one adjustment, and another flight to verify. An experienced tuner can get a solid tune in one session; beginners should allow a weekend of flight time.
Conclusion
Betaflight Blackbox PID tuning transforms drone building from trial-and-error into data-driven engineering. By logging your flights, opening them in Blackbox Explorer, and making systematic PID adjustments based on what the data shows, you will consistently produce drones that fly better, with cooler motors and more predictable handling. The process takes patience but pays off enormously in flight quality and component longevity.
At Zbotic, we supply the ESCs, motors, and flight hardware you need for a well-performing FPV build that responds predictably to Blackbox-guided tuning. Use quality components, log your data, and refine your tune one variable at a time.
Get the Right Hardware for a Tunable Build
Shop Zbotic for ESCs, motors, and FPV components that make Blackbox tuning easier and more effective.
Shop Drone Parts


Add comment