
If you have ever built a project where your ESP32 NVS flash storage preferences were wiped every time the board lost power, you know how frustrating that can be. Whether it is a Wi-Fi password, a sensor calibration offset, or a user-configured alarm threshold — losing settings on reboot breaks real-world IoT products. In this comprehensive tutorial, we will explore the Non-Volatile Storage (NVS) system on the ESP32, how to use the Arduino Preferences library, and best practices for building reliable IoT devices that remember their state across power cycles.
What Is NVS (Non-Volatile Storage) on ESP32?
Non-Volatile Storage (NVS) is a dedicated partition in the ESP32’s internal flash memory designed to store key-value pairs that survive power-offs, resets, and deep sleep cycles. Unlike regular RAM (which loses data the moment power is cut), NVS data persists indefinitely — or until you explicitly erase it.
Espressif designed the NVS system with several goals in mind:
- Reliability: Data is written atomically, so partial writes caused by sudden power loss do not corrupt the storage.
- Wear leveling: NVS distributes writes across multiple flash pages to extend the lifespan of the storage medium.
- Multiple namespaces: You can logically separate settings for different modules of your firmware (e.g., “wifi”, “sensors”, “ota”) without conflicts.
- Security: NVS supports encryption using the ESP32’s eFuse-based key infrastructure.
The NVS library is part of the ESP-IDF (Espressif IoT Development Framework), but when using the Arduino core for ESP32, you access it through the convenient Preferences wrapper class.

Ai Thinker NodeMCU-32S-ESP32 Development Board – IPEX Version
A reliable ESP32 development board perfect for experimenting with NVS flash storage. Features 4MB flash, dual-core processor, and Arduino IDE support out of the box.
NVS vs EEPROM: Why NVS Wins
Many makers coming from the Arduino Uno or Mega world are familiar with EEPROM.h. While ESP32 also offers an EEPROM emulation layer, it is simply a thin wrapper over NVS under the hood — and a less capable one. Here is a direct comparison:
| Feature | NVS (Preferences) | EEPROM Emulation |
|---|---|---|
| Data Types | Int8, Int16, Int32, Int64, UInt variants, Float, Double, String, Blob | Byte only (manual type casting) |
| Namespaces | Yes (logical separation) | No |
| Wear Leveling | Built-in | No |
| Atomicity | Yes (crash-safe) | No |
| Encryption | Supported | No |
| Max Size | Up to partition size (~16KB default) | 512 bytes (emulated) |
The conclusion is clear: for any real-world ESP32 project, NVS via the Preferences library is the correct approach. EEPROM emulation exists only for quick Arduino portability and should be avoided for new projects.
Using the Arduino Preferences Library
The Preferences library is included with the ESP32 Arduino core. No additional installation is needed. Here is the basic workflow:
Opening a Namespace
Every NVS operation starts by opening a namespace — a named container for your key-value pairs. Think of it like a folder.
#include <Preferences.h>

Preferences preferences;

void setup() {
  Serial.begin(115200);

  // Open namespace "myapp" in read-write mode
  // Second param: false = read-write, true = read-only
  preferences.begin("myapp", false);

  // ... do your operations ...

  preferences.end(); // Always close when done
}
Writing Values
preferences.putInt("counter", 42);
preferences.putString("ssid", "MyHomeWiFi");
preferences.putFloat("threshold", 23.5);
preferences.putBool("enabled", true);
preferences.putULong("timestamp", 1710000000UL);
Reading Values
// Second argument is the default value if key doesn't exist
int counter = preferences.getInt("counter", 0);
String ssid = preferences.getString("ssid", "");
float threshold = preferences.getFloat("threshold", 25.0);
bool enabled = preferences.getBool("enabled", false);
unsigned long ts = preferences.getULong("timestamp", 0);
The default value parameter is crucial — it handles the case of a fresh device that has never written to NVS, preventing your code from behaving unpredictably on first boot.
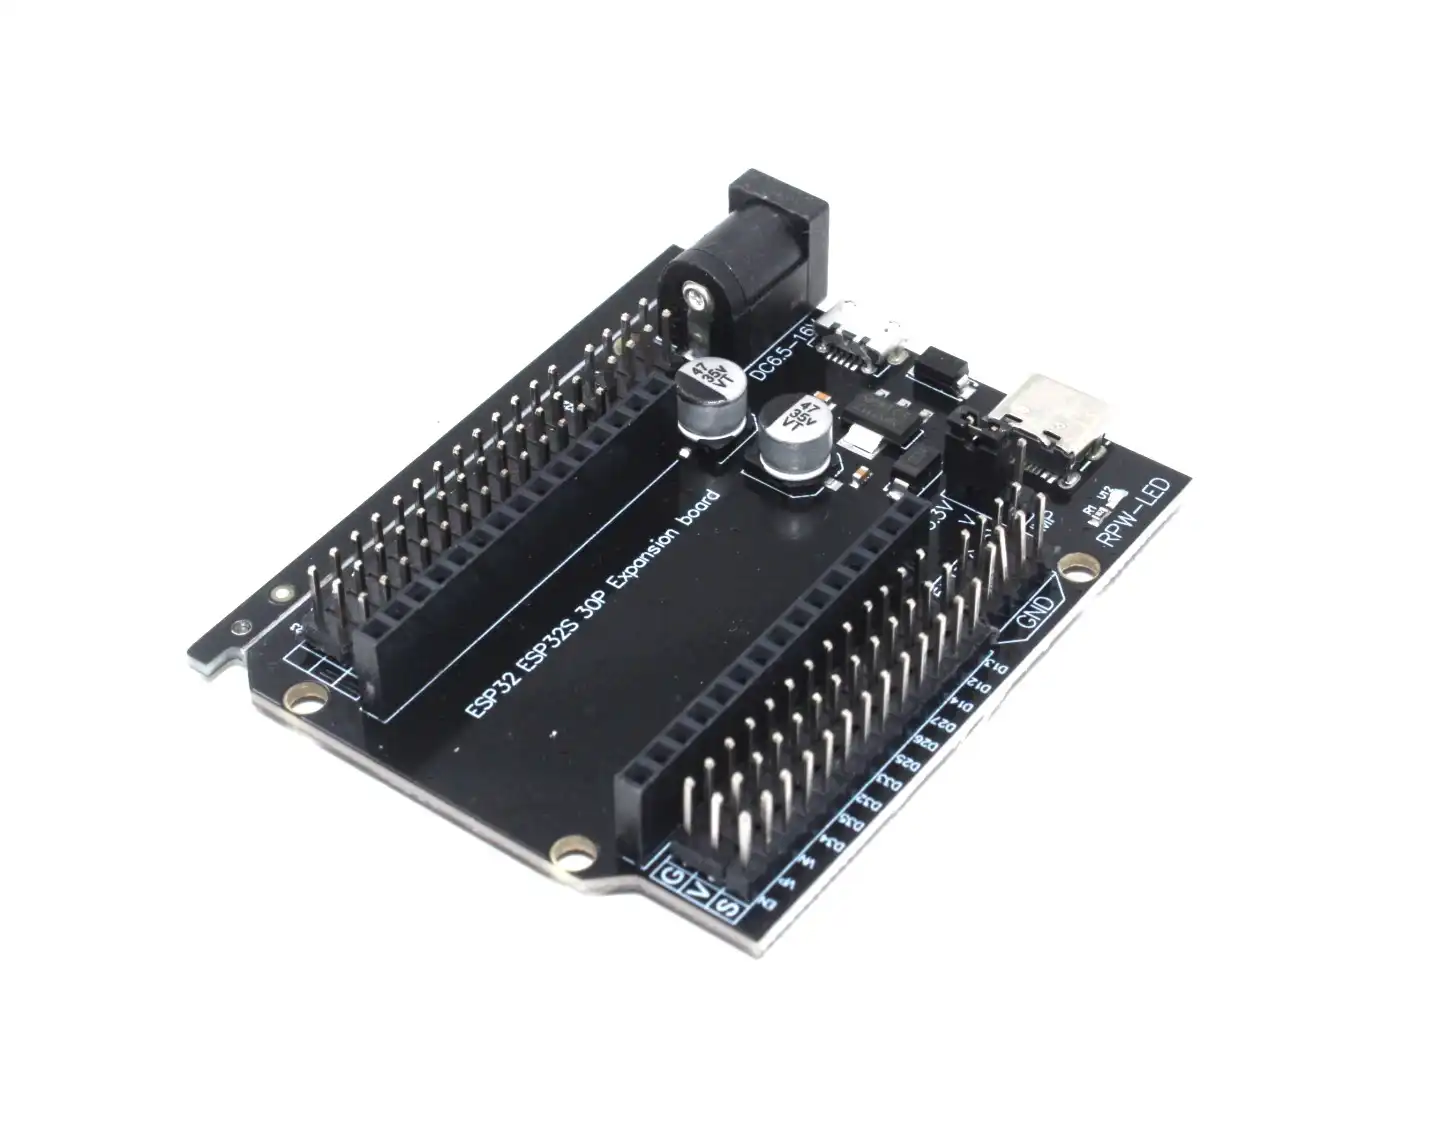
30Pin ESP32 Expansion Board with Type-C USB and Micro USB
Convenient expansion board for ESP32 that makes prototyping easier. Add sensors, buttons, and displays while your firmware persistently stores user preferences in NVS.
Storing Different Data Types
One of NVS’s greatest strengths over EEPROM is native support for multiple data types. Here is a complete reference with examples relevant to IoT projects:
Storing Structs as Blobs
For complex configuration objects, use the blob API to store arbitrary binary data:
struct DeviceConfig {
  float tempThresholdHigh;
  float tempThresholdLow;
  uint16_t reportIntervalSec;
  bool alertEnabled;
};

DeviceConfig config = {35.0, 10.0, 300, true};

// Write struct
preferences.putBytes("config", &config, sizeof(config));

// Read struct
DeviceConfig loadedConfig;
size_t bytesRead = preferences.getBytes("config", &loadedConfig, sizeof(loadedConfig));
if (bytesRead == sizeof(loadedConfig)) {
  Serial.println("Config loaded successfully");
} else {
  Serial.println("Config not found, using defaults");
}
Checking If a Key Exists
if (preferences.isKey("ssid")) {
  String ssid = preferences.getString("ssid");
  Serial.println("Found saved SSID: " + ssid);
} else {
  Serial.println("No saved SSID, starting AP mode");
}
Deleting Keys and Clearing Namespaces
preferences.remove("ssid");   // Delete a specific key
preferences.clear();           // Delete ALL keys in the namespace
Clearing a namespace is useful for implementing a “factory reset” button in your IoT product — a must-have for any device you deploy in Indian homes or businesses where end-users may need support.
Practical Example: Wi-Fi Config Persistence
Here is a complete, production-ready sketch that demonstrates ESP32 NVS flash storage for saving Wi-Fi credentials. The device starts in Access Point (AP) mode if no credentials are saved, and connects automatically if they exist:
#include <Arduino.h>
#include <WiFi.h>
#include <Preferences.h>

Preferences prefs;

const char* AP_SSID = "ESP32-Setup";
const char* AP_PASS = "12345678";

void saveWiFiCredentials(const String& ssid, const String& password) {
  prefs.begin("wifi", false);
  prefs.putString("ssid", ssid);
  prefs.putString("password", password);
  prefs.end();
  Serial.println("Credentials saved to NVS");
}

bool loadAndConnect() {
  prefs.begin("wifi", true); // read-only
  String ssid = prefs.getString("ssid", "");
  String password = prefs.getString("password", "");
  prefs.end();

  if (ssid.isEmpty()) {
    return false;
  }

  Serial.printf("Connecting to saved SSID: %sn", ssid.c_str());
  WiFi.begin(ssid.c_str(), password.c_str());

  unsigned long startTime = millis();
  while (WiFi.status() != WL_CONNECTED) {
    delay(500);
    Serial.print(".");
    if (millis() - startTime > 10000) {
      Serial.println("nConnection timeout!");
      return false;
    }
  }

  Serial.printf("nConnected! IP: %sn", WiFi.localIP().toString().c_str());
  return true;
}

void setup() {
  Serial.begin(115200);
  delay(1000);

  if (!loadAndConnect()) {
    Serial.println("Starting AP mode for configuration");
    WiFi.softAP(AP_SSID, AP_PASS);
    // Here you would start a web server for credential entry
    // After user submits credentials:
    // saveWiFiCredentials("UserSSID", "UserPassword");
    // ESP.restart();
  }
}

void loop() {
  // Your main application code
}
This pattern is used in thousands of commercial ESP32-based products worldwide. Indian startups building smart home devices, industrial monitors, and agricultural sensors rely on exactly this architecture.

Ai Thinker ESP32-C3-01M Wi-Fi + BLE Module
Compact ESP32-C3 module with NVS support, perfect for space-constrained IoT products that need reliable settings persistence at an affordable price point.
Wear Leveling and Flash Endurance
A common concern among engineers is flash wear. The ESP32’s internal flash is rated for approximately 100,000 write cycles per sector. Without wear leveling, writing to the same location repeatedly would burn out that sector in weeks for a frequently-updating IoT device.
NVS implements its own wear leveling algorithm:
- The NVS partition is divided into pages (typically 4KB each).
- A new entry is always written to the current active page sequentially.
- When a page is full, old entries are compacted and a new page becomes active.
- This spreads writes across all available pages, dramatically extending flash life.
Best Practices to Minimize Flash Wear
- Don’t write on every loop iteration. Only write when a value actually changes. Compare the new value to the stored value first.
- Batch writes. Open the namespace once, write multiple keys, then close — rather than opening/closing for each key.
- Use counters sparingly. If you need to track a frequently-incrementing counter, consider only saving it every 100 increments and tracking the rest in RAM.
- Use read-only mode when reading. Pass
trueas the second argument topreferences.begin()when you only need to read. This avoids unnecessary internal state changes.
For most hobby and professional IoT projects in India — even those sending sensor data every minute — flash wear is not a practical concern over the product’s lifetime. The NVS system handles it gracefully.

2 x 18650 Lithium Battery Shield for Arduino, ESP32, ESP8266
Add battery backup to your ESP32 project so NVS-stored settings are never lost. Ideal for field-deployed IoT sensors that need to survive power interruptions.
Frequently Asked Questions
Does NVS survive a firmware OTA update?
Yes! NVS data is stored in its own dedicated flash partition, completely separate from the firmware partition. An OTA update only overwrites the firmware partition, leaving NVS untouched. This is one of the biggest advantages of ESP32 NVS — your users’ settings survive firmware upgrades seamlessly.
How much storage does NVS have on ESP32?
By default, the NVS partition is 16KB (4 flash pages of 4KB each) in the standard partition table. This can store hundreds of key-value pairs. If your application needs more, you can create a custom partition table with a larger NVS partition. The practical limit per key name is 15 characters, and per string value is 4000 bytes.
Can I use NVS with ESP32 deep sleep?
Absolutely, and this is one of the most common use cases. Before entering deep sleep, write your critical state (timestamp, measurement count, accumulated sensor data) to NVS. On wakeup, read it back. This allows ultra-low-power IoT devices to maintain continuity across hundreds of deep sleep cycles.
Is there a risk of data corruption if power is cut during an NVS write?
NVS uses an atomic write mechanism. Each entry is written with a CRC checksum. If power is lost mid-write, the incomplete entry’s checksum will fail on the next boot, and NVS will discard it automatically, reverting to the previous valid value. Your data is safe.
Can multiple tasks in FreeRTOS access NVS simultaneously?
The NVS library in ESP-IDF is thread-safe. However, the Arduino Preferences wrapper’s thread safety depends on the underlying implementation. As a best practice, use a mutex to synchronize NVS access across FreeRTOS tasks to avoid any potential race conditions in multi-threaded Arduino sketches.
Ready to Build Persistent ESP32 Projects?
Zbotic.in stocks the complete range of ESP32 development boards, modules, and accessories you need to build reliable IoT products that remember their settings. From the compact ESP32-C3 to the feature-rich NodeMCU-32S, we have the right board for your project.


Add comment