
3D Printing Layer Adhesion: How to Improve Part Strength in the Vertical Direction
There’s a well-known weakness in FDM 3D printing: parts are significantly weaker in the Z direction — the direction perpendicular to the build plate — than they are in the X or Y directions. This is because each layer of filament is only as strong as its bond to the layer below it. When that bond is weak, parts split apart along layer lines under stress.
This guide explains the science behind layer adhesion, the settings and techniques that have the biggest impact, material choices, and design strategies to help you produce parts that are as strong as possible in the vertical direction. Whether you’re printing functional mechanical parts, structural enclosures, or load-bearing brackets, understanding layer adhesion will fundamentally improve your results.
The Science of Layer Adhesion in FDM
When a new layer of filament is extruded onto the previous layer, several things happen simultaneously:
- Heat transfer: The hot new filament reheats the top surface of the previous layer.
- Polymer diffusion: When both surfaces are above the glass transition temperature (Tg), polymer chains from adjacent layers intermingle — this is called reptation. The more interdiffusion occurs, the stronger the bond.
- Crystallisation (for semi-crystalline polymers like Nylon): Slower cooling allows better crystal formation at the interface, improving bond strength.
- Cooling: As the layers cool, the bond solidifies. If cooling is too fast, the previous layer solidifies before sufficient interdiffusion can occur.
The result is that Z-strength (layer adhesion) is a competition between heat and time. You need the interface to stay above Tg long enough for good polymer diffusion, but you also need to cool fast enough to maintain dimensional accuracy and overhang performance.
Typical Z-strength as a percentage of XY-strength ranges from 20–60% depending on material and settings. With optimised settings, you can push this to 60–80%+ for most materials.
Key Factors That Affect Layer Bonding
In order of impact:
- Printing temperature
- Layer height relative to nozzle diameter
- Print speed
- Cooling fan speed
- Filament material and quality
- Bed temperature (via radiant heat effect on lower layers)
- Enclosure / ambient temperature
The good news is that the top factors are all easily adjustable in your slicer. Let’s go through each.
Temperature: The #1 Variable
Temperature is the single most important factor for layer adhesion. Higher nozzle temperature means the extruded plastic is hotter, stays above Tg longer after deposition, and allows more polymer diffusion across the layer interface.
How Much Does Temperature Matter?
Studies on PLA show that increasing temperature from 190°C to 220°C can improve layer adhesion by 40–60%. This is a massive improvement for a single setting change.
Finding the Right Temperature
- PLA: For best layer adhesion, print at the high end of the range — 215–225°C. Many PLA filaments rated “190–220°C” perform significantly better for strength at 215°C+.
- PETG: 235–250°C for good adhesion. PETG is forgiving on temperature and bonds well across a wide range.
- ABS: 240–255°C. ABS particularly benefits from higher temps for layer adhesion.
- Nylon: 250–280°C depending on grade. Nylon’s inherent hygroscopy means wet filament bonds poorly — drying is critical.
Note for India: In summer, room temperatures above 35°C mean your filament is partially warmed before entering the hotend. This slightly improves melt quality. Conversely, in winter (especially North India), cold ambient air can cool parts faster — slightly increasing temperature helps compensate.
Temperature Tower Test
Print a temperature tower calibration model (free on Printables/Thingiverse) to find the optimal temperature for your specific filament brand. Different brands of “PLA” can have optimal temperatures varying by 15–20°C.
Layer Height and Line Width
Layer height has a complex but important relationship with adhesion:
Layer Height
Thinner layers increase adhesion because:
- More layers per unit height means more interface area (more bonding surfaces)
- The ratio of hot new filament to cooled previous filament is higher — more heat per bond
- Each layer is pressed harder against the previous one (higher squish ratio)
However, thinner layers also mean more time on the part, which can cool lower layers more before the print finishes. The sweet spot for most materials is 0.2mm layer height (50% of a 0.4mm nozzle diameter). Going to 0.15mm further improves adhesion. Below 0.1mm, diminishing returns and possible extrusion inconsistency.
Line Width (Extrusion Width)
Increasing line width beyond nozzle diameter (from 0.4mm to 0.45–0.5mm) improves adhesion by:
- Providing more contact area between adjacent lines on the same layer
- Slightly increasing the squish of each line onto the previous layer
Try setting extrusion width to 110–125% of nozzle diameter. This is one of the most underrated settings for part strength.
Print Speed Effects
Slower print speeds improve layer adhesion. Here’s why:
- At slower speeds, the nozzle spends more time near each section of the print, providing more radiant heat to the layer below
- Slower speeds allow better pressure build-up in the hotend (fewer under-extrusion moments)
- Slower speeds give more time for the deposited material to spread and bond before it cools
For maximum strength parts, print at 40–60% of your normal speed. For typical functional prints, 60–80mm/s is a good balance. Printing at 150mm/s+ noticeably degrades layer adhesion, especially for PLA.
Cooling: The Tradeoff
Part cooling is a direct tradeoff with layer adhesion. More cooling = better overhang performance, less warping, better dimensional accuracy. But more cooling also means the previous layer solidifies faster before the new layer can bond to it.
Recommended Cooling Settings for Strength
- PLA (strength priority): Reduce fan to 30–50% for interior solid layers. Full fan on overhangs and bridges only.
- ABS: No or minimal fan. ABS bonds best with slow, even cooling in an enclosed printer.
- PETG: 30–50% fan. PETG doesn’t need much cooling and over-cooling hurts adhesion.
- Nylon: No fan, enclosed printer preferred. Nylon is very sensitive to cooling for both warping and adhesion.
Key insight: Many beginners run their fan at 100% for all materials. This is counterproductive for strength. Learn to tune fan speed per material.
Material Selection for Layer Strength
Not all materials are equal for Z-strength:
- Standard PLA: Moderate layer adhesion. Good for display parts and low-stress applications.
- PETG: Better layer adhesion than PLA due to semi-crystalline structure and higher print temp. Good for functional parts.
- ABS: Good layer adhesion when printed in an enclosure. The acetone treatment further fuses layers post-print.
- ASA: Similar to ABS but UV-resistant. Requires enclosure for good adhesion.
- Nylon (PA6, PA12): Excellent layer adhesion when dry. Nylon’s inter-chain hydrogen bonding creates very strong interfaces. The catch: it must be bone-dry before printing. Even slightly damp Nylon prints with terrible layer adhesion and visible moisture bubbling.
- PC (Polycarbonate): Highest layer adhesion of common FDM materials. Needs 260–300°C and enclosure.
Bambu Lab ABS 3D Printer Filament – 1.75mm with Reusable Spool
Bambu ABS with consistent formulation for reliable layer bonding. Ideal for functional parts needing good Z-axis strength in an enclosed printer.
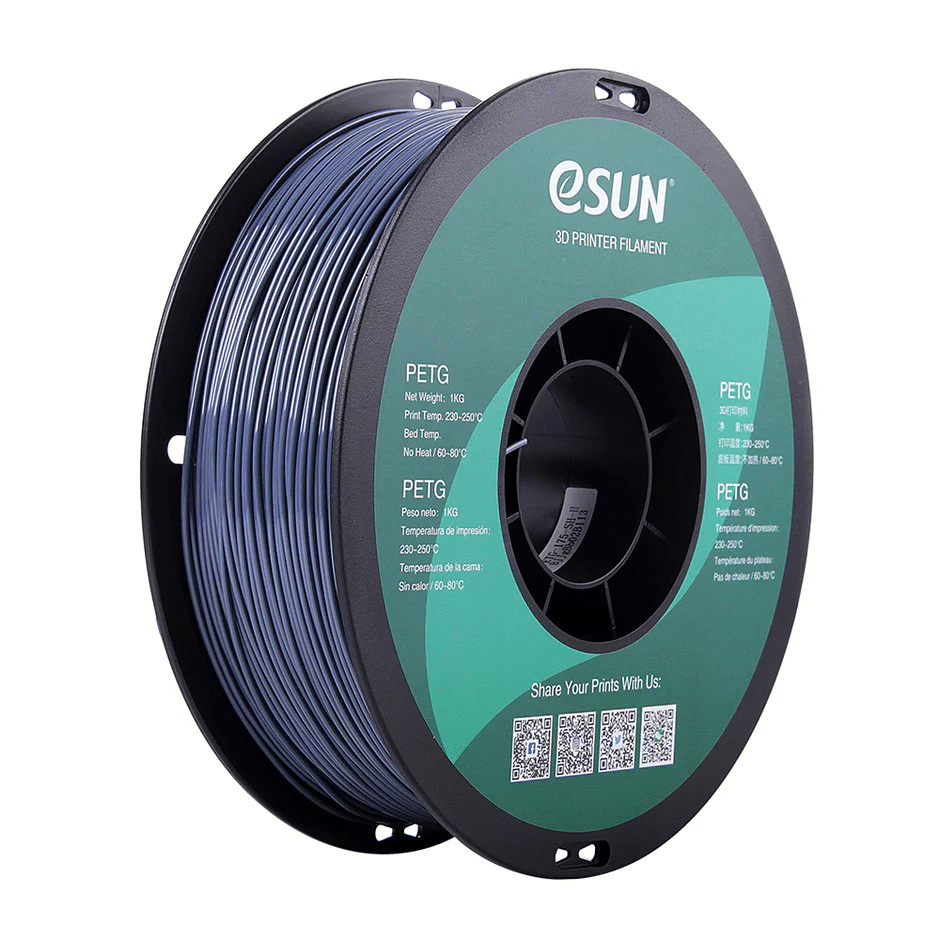
eSUN PETG 1.75mm 3D Printing Filament 1Kg – Grey
PETG for strong functional parts with better layer adhesion than PLA. eSUN’s consistent quality ensures reliable bonding between layers.
Design Strategies for Vertical Strength
When the application allows, design choices can dramatically reduce or eliminate Z-direction weakness:
Reorient the Part
The most straightforward fix: if load is applied in the Z direction, reorient the part so the load is applied in the XY plane instead. A bracket printed flat (so the arm extends in X) is much stronger in the arm direction than if printed standing up (so the arm extends in Z).
Increase Perimeter Count
More perimeters (walls) create more surface area for layer bonding and give more material for the layers to bond through. For structural parts, use 4–6 perimeters instead of the typical 2–3.
Increase Infill
Higher infill percentage increases layer bonding in the infill region. Gyroid and 3D honeycomb infill patterns are better for Z-strength than rectilinear because they create bonding in multiple axes. For critical parts, use 40–60% gyroid infill.
Use Continuous Fibre (Advanced)
If you have access to a dual-extrusion printer or a dedicated composite printer (like Markforged), continuous carbon fibre or Kevlar reinforcement in the XY plane can address Z-weakness by distributing loads across the XY structure. This is beyond typical hobby use but worth knowing about.
Annealing PLA for Improved Bonding
Annealing is a post-processing heat treatment that improves both layer adhesion and heat deflection temperature in PLA and PETG parts:
- Preheat your oven to 65°C (PLA) or 80°C (PETG). Do not use microwave — use a regular oven.
- Place the print on a flat, heat-resistant surface (aluminium tray is ideal).
- Bake for 1–3 hours depending on part size.
- Let cool slowly inside the oven with the door slightly ajar — don’t rush cooling.
Annealing allows residual stresses to relax and additional polymer crystallisation to occur, which can improve Z-strength by 10–20%. The downside: parts can warp slightly during annealing, especially if they have thin unsupported sections.
How to Test Layer Adhesion
Before trusting a setting change improved adhesion, test it:
- Simple break test: Print a flat 10x80x4mm beam with the long axis in Z (printed standing up). Try to break it between your hands. Compare how easily it breaks vs before your change.
- Notch test: Score the beam with a knife on one layer boundary and apply force. Better adhesion = cleaner, harder break.
- Tensile test: For quantitative results, print ASTM D638 Type I or V dogbone specimens (free on Printables) oriented vertically, and use a luggage scale or similar weight to measure break force.
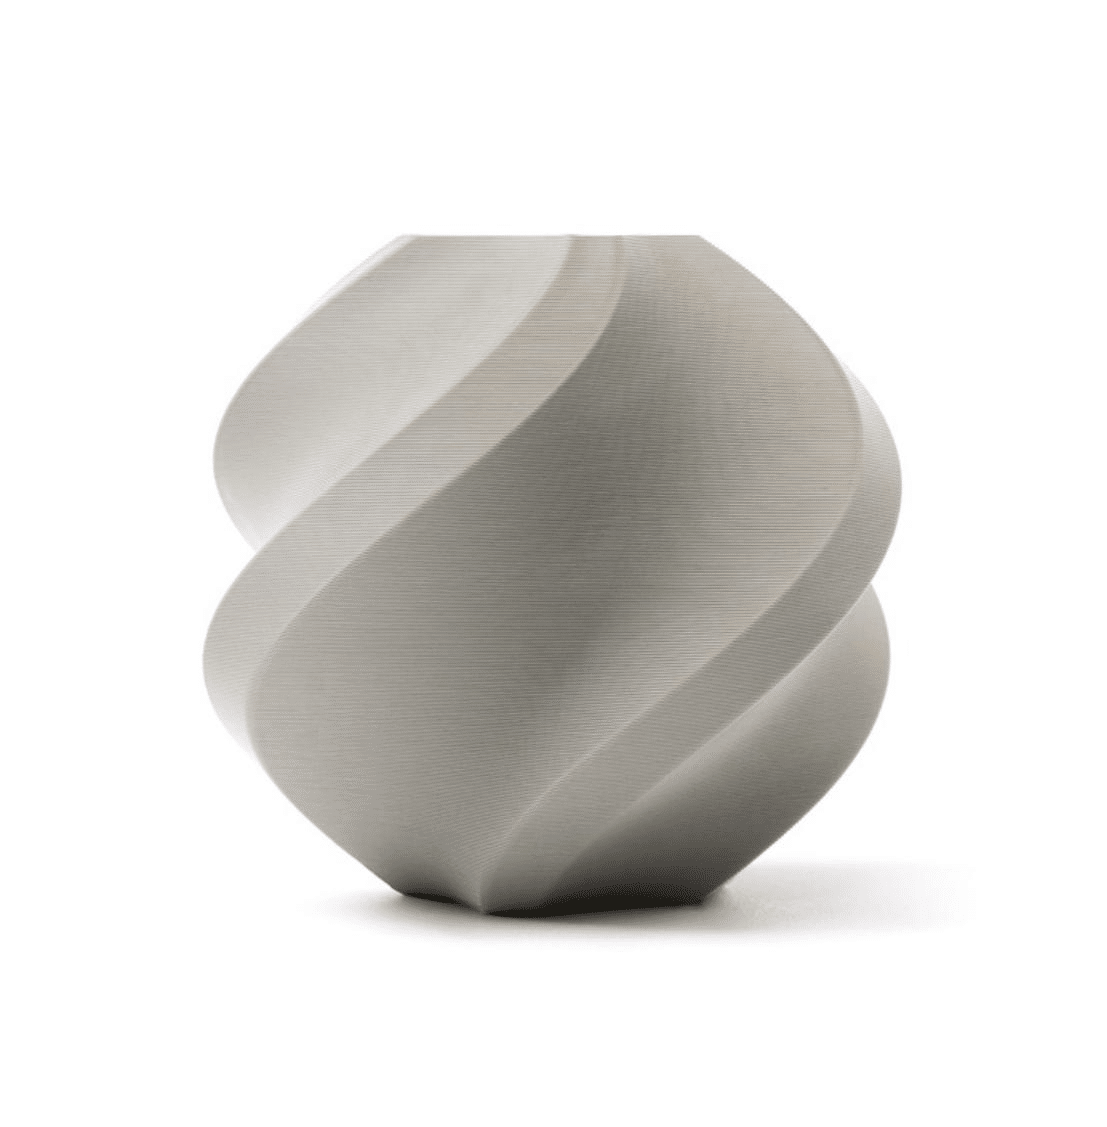
Bambu Lab PLA 3D Printer Filament – Grey 1.75mm
Premium quality PLA with consistent diameter for predictable layer adhesion. Ideal for parts where strength repeatability matters.
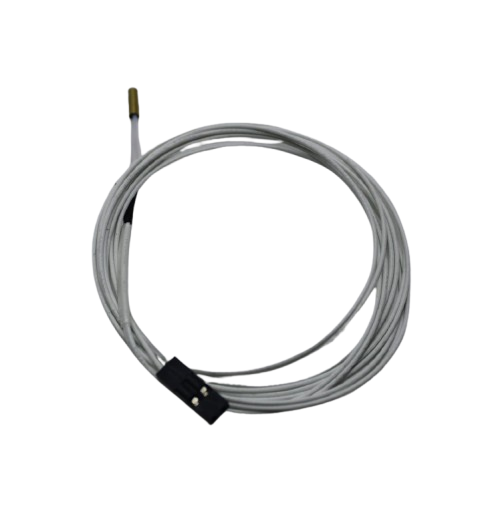
100k NTC Thermistor with Copper Tip for MK8 Extruder
A failing thermistor causes inaccurate temperature readings — leading to poor layer adhesion. Replace yours for accurate hotend temperature control.
Frequently Asked Questions
Why do my 3D printed parts break along layer lines?
Delamination along layer lines is a layer adhesion failure. The most common causes are: printing temperature too low, cooling too aggressive, print speed too high, or wet filament (especially for Nylon). Start by increasing temperature by 5–10°C and reducing cooling fan speed to 50%.
Is PETG stronger than PLA in the Z direction?
Generally yes. PETG prints at higher temperatures and has slightly better polymer diffusion at the layer interface. PETG parts typically show 10–20% better Z-strength than PLA parts at equivalent settings. PETG is the recommended step up if you need stronger functional parts.
Does infill percentage affect Z-strength?
Yes, but less than you might think. Infill primarily affects XY-plane strength and compression resistance. For Z-strength (layer delamination resistance), perimeter count and print settings matter more. Increasing from 20% to 40% infill provides modest Z-strength gains, but increasing temperature and reducing fan speed provides much larger gains.
Does filament diameter affect layer adhesion?
Inconsistent filament diameter (tolerance wider than ±0.05mm) directly causes inconsistent extrusion, which creates weak spots at layer boundaries. Buy filaments with tight diameter tolerance — quality brands like Bambu Lab and eSUN maintain ±0.02–0.03mm tolerance. Cheap filaments with ±0.1mm+ tolerance can have significantly weaker layer adhesion.
Can I improve layer adhesion after printing?
Somewhat. Annealing PLA in an oven at 65°C for 1–3 hours can improve layer bonding. For ABS, acetone vapour smoothing fuses layers at the surface, dramatically improving surface adhesion. Chemical bonding with solvents works for some polymers but isn’t practical for all materials.
Get high-quality PETG, ABS, and PLA filaments from Zbotic for better layer adhesion and stronger functional parts. Trusted by makers across India.
Conclusion
Z-direction weakness is a fundamental characteristic of FDM printing — but it doesn’t have to limit your parts. The combination of higher print temperature, reduced cooling for non-overhang regions, slower print speeds, increased line width, and good filament quality can push layer adhesion performance dramatically higher than default slicer profiles achieve.
Start with temperature and cooling — these two settings have the biggest impact and cost nothing to change. Then move on to design optimisation: reorient the part so critical loads are in the XY plane, and use more perimeters for structural sections.
With the right approach, FDM parts can be strong enough for genuine mechanical applications — not just display pieces. The material and the machine are capable; it’s the settings and design choices that make the difference.


Add comment