
3D Printing Electronics Housings: Water and Dustproof Cases
One of the most practical applications of desktop 3D printing is creating custom electronics enclosures — precisely sized for your specific circuit board, with exactly the mounting holes, cable glands, and ventilation slots you need. But for outdoor applications, industrial settings, or even a bathroom humidity sensor, you need more than just a box that holds your electronics. You need an enclosure that keeps water and dust out reliably.
India’s climate makes this especially important: monsoon rain, coastal salt spray, workshop dust, and agricultural dust are all real-world threats to exposed electronics. This comprehensive guide explains how to design and print IP-rated (Ingress Protection) waterproof and dustproof enclosures using standard FDM 3D printers — no specialised equipment required.
Understanding IP Ratings for 3D Printed Enclosures
The IP (Ingress Protection) rating system, defined by IEC standard 60529, uses two digits to describe protection levels. The first digit (0–6) indicates solid particle protection; the second digit (0–9K) indicates liquid protection.
Common target ratings for Indian makers:
| IP Rating | Protection | Indian Use Case |
|---|---|---|
| IP54 | Dust limited, splashproof | Under-eave sensors, workshop controllers |
| IP65 | Dust-tight, water jet resistant | Outdoor garden sensors, irrigation controllers |
| IP67 | Dust-tight, 1m immersion 30 min | Agricultural field sensors, flood monitoring |
| IP68 | Dust-tight, prolonged immersion | Underwater sensors, aquaculture monitoring |
Achieving IP65 or IP67 with a 3D printed enclosure is entirely realistic with the right design and materials. IP68 is possible with additional sealing but requires more careful execution. For most Indian outdoor IoT projects, IP65 is the practical target — it handles heavy monsoon rain without issue.
Choosing the Right Filament
The filament choice fundamentally determines the durability and environmental resistance of your enclosure. Here’s how common filaments perform in India’s climate:
PLA (Polylactic Acid)
- Easy to print, dimensional accuracy is excellent
- Glass transition temperature: ~60°C — this is a serious problem in India
- A PLA enclosure left in direct sunlight or inside a car will deform
- Suitable only for indoor, climate-controlled environments
- Not recommended for outdoor applications in India
PETG (Polyethylene Terephthalate Glycol)
- Glass transition: ~80°C — handles Indian ambient temperatures safely
- Excellent chemical resistance, good UV resistance with UV-stabilised variants
- Naturally somewhat water-resistant layer bonding
- Moderate hygroscopic — store properly during monsoon
- Recommended for most Indian outdoor enclosure projects at IP54–IP65
ABS (Acrylonitrile Butadiene Styrene)
- Glass transition: ~105°C — excellent thermal resistance
- Good chemical resistance
- UV-degradable without additives (adds brittleness over 1–2 years outdoors)
- Requires enclosure during printing to prevent warping
- Good for industrial indoor applications; add UV-resistant coating for outdoors
ASA (Acrylonitrile Styrene Acrylate)
- ABS-like strength but with UV stability built in
- The best outdoor filament for Indian conditions
- More expensive but worth it for permanently outdoor installations
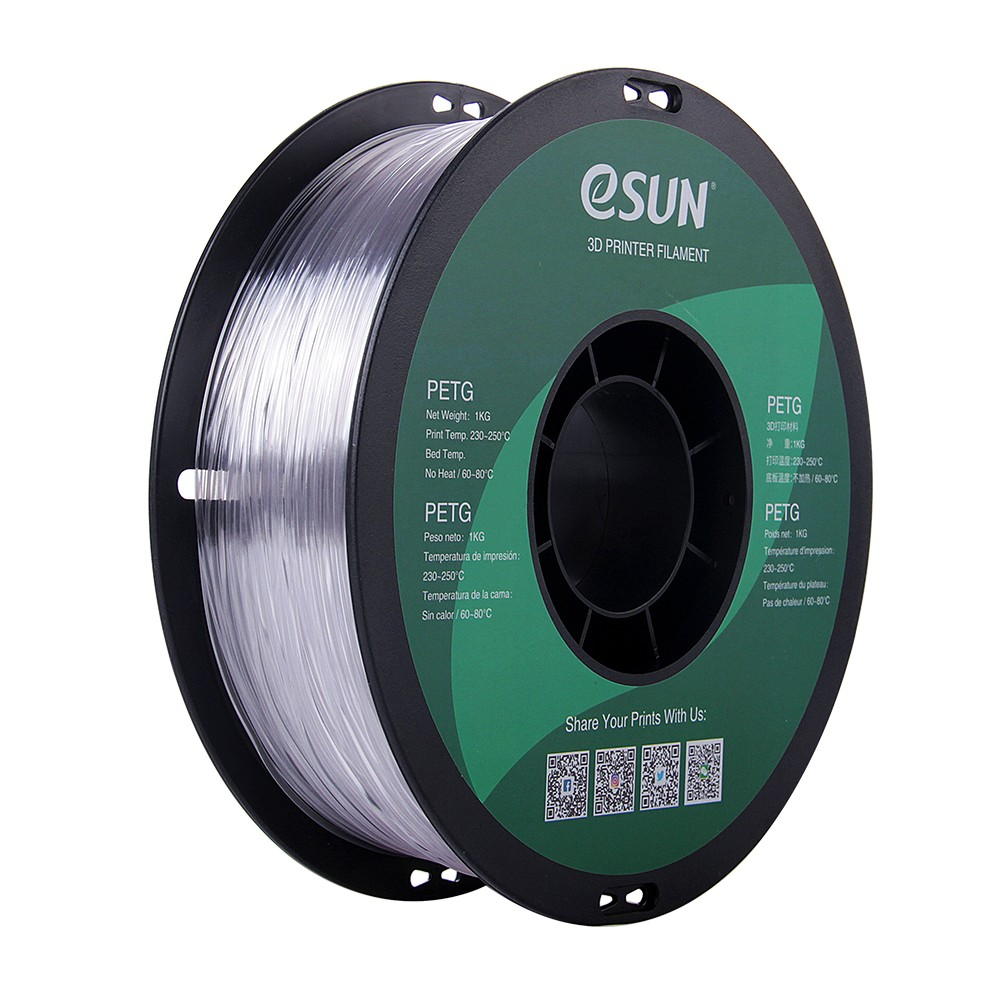
eSUN PETG 1.75mm 3D Printing Filament 1kg – Clear
eSUN’s PETG is the preferred filament for outdoor electronics enclosures in India. Excellent layer adhesion, 80°C thermal resistance, and chemical durability. Tight ±0.02mm diameter for reliable extrusion.
Bambu Lab ABS 3D Printer Filament – Bambu Green 1.75mm
Premium Bambu Lab ABS with consistent diameter and excellent layer bonding. Ideal for electronics enclosures that will be exposed to high temperatures — like power electronics in Indian summer heat.
Design Principles for Watertight Enclosures
Good waterproof enclosure design starts in CAD, not after printing. Here are the key principles:
1. Avoid horizontal seam lines at or below the waterline
FDM prints are weakest at layer interfaces perpendicular to the Z axis. If water can pool against a horizontal seam line (like the box lid-to-base joint), it will eventually find a path through micro-gaps. Design the mating face to shed water away from the seam, or orient so the seam is vertical.
2. Use compression gasket joints rather than flat face-to-face joints
A flat lid placed on a flat box body relies on both surfaces being perfectly flat — which they often aren’t after 3D printing. A labyrinth seal (tongue-and-groove) or a groove for an O-ring gasket provides sealing through compression, which forgives surface irregularities.
3. Minimise number of penetrations
Every hole is a potential water entry point. Consolidate cable entries and use proper cable glands. For sensors that must be directly exposed, design a separate sensor mounting section that can be sealed independently from the electronics bay.
4. Allow for drainage
Even a well-sealed enclosure can accumulate condensation. Add a 2–3mm weep hole at the lowest point of outdoor enclosures. This sounds counter-intuitive but is standard practice in industrial enclosure design — it prevents condensation from accumulating to the level of your circuit board.
5. Avoid internal flat horizontal surfaces where water can pool
If water does enter, sloping internal surfaces guide it to the weep hole rather than puddling on your PCB.
Wall Thickness and Infill Strategy
For watertight FDM prints, wall thickness and perimeter count are more important than infill percentage:
- Minimum 3 perimeters (walls) — 1.2mm total wall with a 0.4mm nozzle. This ensures no single micro-gap runs all the way through
- 4–5 perimeters recommended — for IP65+ targets, 1.6–2.0mm wall provides reliable sealing
- Top and bottom layers: minimum 5 — the horizontal surfaces (top/bottom of the box) need enough solid layers to avoid any infill showing through
- Infill: 30–50% rectilinear or gyroid — for mechanical strength and thermal management. Beyond 50%, you’re adding weight without significant benefit for enclosures
The most critical insight: walls printed from the outside in (rather than inside out) have better sealing properties because the outermost perimeter is always printed as a continuous extrusion. Check your slicer settings to ensure outer walls are printed first.
Sealing Methods: Gaskets, O-Rings, and Sealants
The joint between your enclosure lid and base is the most vulnerable point. Three methods work well for 3D printed enclosures:
Method 1: TPU/Silicone Gasket Groove
Design a channel (2mm wide × 1.5mm deep) around the mating face of the box. Print a matching TPU gasket strip that compresses into this channel when the lid is fastened. When the screws are tightened, the TPU gasket compresses and seals the joint. This is the most reliable DIY method and achieves IP65 consistently.
Method 2: O-Ring Groove
Standard O-ring sizes are available from hardware suppliers across India. Design a groove dimensioned for a standard BS (British Standard) or AS (American Standard) O-ring. Common sizes like the BS108 (8mm ID, 1.5mm cross-section) work well for medium enclosures. Silicone O-rings are preferred for temperature stability in Indian conditions.
Method 3: Silicone Sealant Bedding
The simplest approach: apply a thin bead of RTV (Room Temperature Vulcanising) silicone sealant around the mating face before assembly. Close the enclosure and allow 24 hours for the silicone to cure before exposing to water. This permanently bonds the two halves — suitable when you don’t need to open the enclosure regularly.
For all methods, use stainless steel or nylon screws — standard iron screws rust in 1–2 monsoons. M3 stainless hex socket screws and matching steel heat-set inserts are the professional solution.
Cable Entry Points
Cable entries are where most enclosure sealing failures occur. Options from best to worst:
- Commercial plastic cable glands (PG7, PG9 sizes) — available at electrical suppliers nationwide. Print a boss (raised mount) on your enclosure with a hole tapped or sized for the gland’s thread. This is the gold standard.
- 3D printed cable gland — design a compression fitting in TPU or PETG. Print the body in PETG and the compression insert in TPU. Works well for permanent installations.
- Silicone sealant around cable — last resort, not recommended for repeatedly opened enclosures.
Always route cables with a drip loop — the cable should go down from the enclosure, curve below, and come back up to the power source. This prevents water from wicking along the cable surface into the enclosure.
Ventilation and Condensation Management
Electronics generate heat. A completely sealed enclosure traps that heat, raising the internal temperature. This is doubly problematic in India during summer. Two approaches:
Passive thermal management: Size your enclosure with enough thermal mass. Use PETG or ABS (both decent thermal conductors compared to air) with 40–50% infill. Orient heat-generating components toward the enclosure walls so heat can conduct outward.
Vented design with IP filter: For electronics that generate significant heat (power supplies, motor controllers, battery chargers), design a ventilation duct lined with a hydrophobic membrane (Gore-Tex-style filter material) or use labyrinth vents — a series of baffles that air can navigate but water cannot. This achieves IP54 protection with good airflow.
Silica gel desiccant packet: Include a small silica gel packet inside any sealed enclosure. This absorbs residual moisture trapped during assembly and ongoing condensation. Replace annually for permanently installed enclosures. Easily available from any Indian electronic component shop.
Post-Processing for Water Resistance
Even well-designed PETG prints have microscopic inter-layer voids. Post-processing can dramatically improve water resistance:
XTC-3D Coating: A two-part epoxy specifically formulated for 3D prints. Brush on two thin coats, allow to cure 4 hours between coats. Creates a fully waterproof, mechanically strong coating. Available from specialty Indian resin suppliers.
Spray Lacquer / Polyurethane Varnish: Multiple thin coats of clear polyurethane varnish (available at any Indian paint shop) seal surface pores and provide UV protection for outdoor use. Apply 3–4 thin coats sanding lightly between coats.
Epoxy Resin Pour: For maximum waterproofing, pour a thin layer of clear epoxy resin inside the enclosure base (not over component mounts) and allow to cure. This seals the interior surface completely.
Acetone vapour smoothing (ABS only): ABS can be smoothed with acetone vapour, which partially melts and fuses the surface layers. This nearly eliminates inter-layer voids and creates an almost injection-moulded surface finish. Requires careful safety precautions — acetone is highly flammable.
Slicer Settings for Watertight Prints
These specific Cura/Orca Slicer settings improve water resistance:
- Wall Line Count: 4–5 (never less than 3 for waterproof applications)
- Wall Ordering: Outside to Inside
- Top/Bottom Layers: 5–6 layers minimum
- Ironing: Enable for top surfaces — creates a near-smooth, fused top layer
- Layer Height: 0.15–0.2mm (thinner layers = better adhesion between layers)
- Print Temperature: 5°C higher than standard (improves layer fusion)
- Print Speed: 60–80% of normal (slower = better inter-layer adhesion)
- Fan Speed: 30–50% for PETG (aggressive cooling reduces layer bonding in enclosures)
- Seam Position: Set to a non-critical corner that will be hidden or sealed
Critical setting: Disable “Combing” (travel move avoidance) — combing can leave tiny gaps at transition points. With combing off, travel moves that cross over your part may leave very minor surface marks but the walls will be more uniformly solid.
Indian Maker Project Ideas
Here are practical project ideas that Indian makers and engineers are already building:
Agricultural IoT sensor housing: Soil moisture, temperature, and humidity sensors for precision farming in Maharashtra, Punjab, and Karnataka. PETG enclosure with IP65 rating, solar panel charging port, and LoRaWAN antenna entry. Designed to survive monsoon and harvest dust season.
Rooftop weather station: ESP32 + BME280 sensor + rain gauge in a double-walled PETG enclosure with Stevenson screen-style ventilation. Many Indian weather enthusiasts contribute to Citizen Weather Observer Program (CWOP) data networks.
Electric vehicle charging controller enclosure: E-bike and e-scooter DIY enthusiasts need custom enclosures for BMS (Battery Management System) boards. ABS with UV coating handles roadside dust and monsoon splash reliably.
Street light smart controller: Municipalities and industrial campuses across India are adopting smart lighting. Custom enclosures for ESP32-based lighting controllers, printed in ASA for indefinite UV resistance.
Aquaculture water quality monitor: Prawn and fish farmers in coastal India (Andhra Pradesh, West Bengal, Kerala) need reliable water quality sensors. IP68-rated enclosures with underwater cable glands enable continuous monitoring without corrosion.
Security camera housing add-on: Commercial IP cameras often lack mounting options for specific angles. Custom PETG mounts and protective hoods extend camera coverage without expensive commercial brackets.
Testing Your Enclosure
Before trusting an enclosure with real electronics, test it with water or a light:
Simple water test: Fill the assembled enclosure with crumpled tissue paper or a light. Submerge in a bucket of water (or hold under running shower water for IP65 test). After 30 minutes, open and check for any moisture on the tissue / light visibility from outside.
Pressure test: Seal the enclosure except for a small pin-hole, attach a bicycle pump adapter, and pressurise to ~0.5 psi. Watch for bubbles in a water bath or use soapy water on all seams. Any leak will show as bubbles immediately.
Thermal cycling test: For enclosures that will face Indian seasonal temperature swings (10°C winter to 45°C summer), thermal cycle the empty enclosure 5–10 times between fridge temperature and oven temperature (set below your filament’s glass transition). This reveals any sealing failures caused by thermal expansion mismatch.
Recommended Products from Zbotic
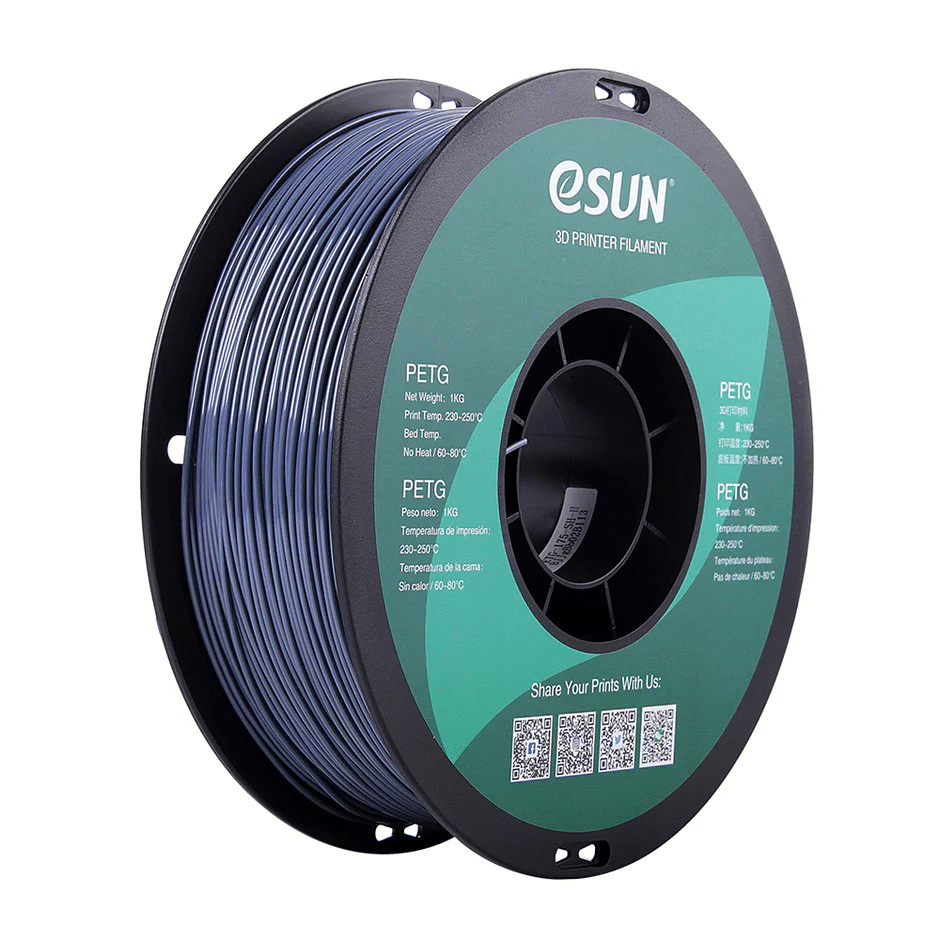
eSUN PETG 1.75mm Filament 1kg – Grey
Grey PETG is ideal for electronics enclosures — neutral appearance, UV stability, and 80°C heat resistance. eSUN’s consistent quality ensures reliable prints with minimal warping.

Bambu Lab ABS Filament Black – 1.75mm
Black ABS from Bambu Lab with superior layer adhesion and 105°C heat resistance. Perfect for industrial electronics housings, motor controller boxes, and power supply enclosures.
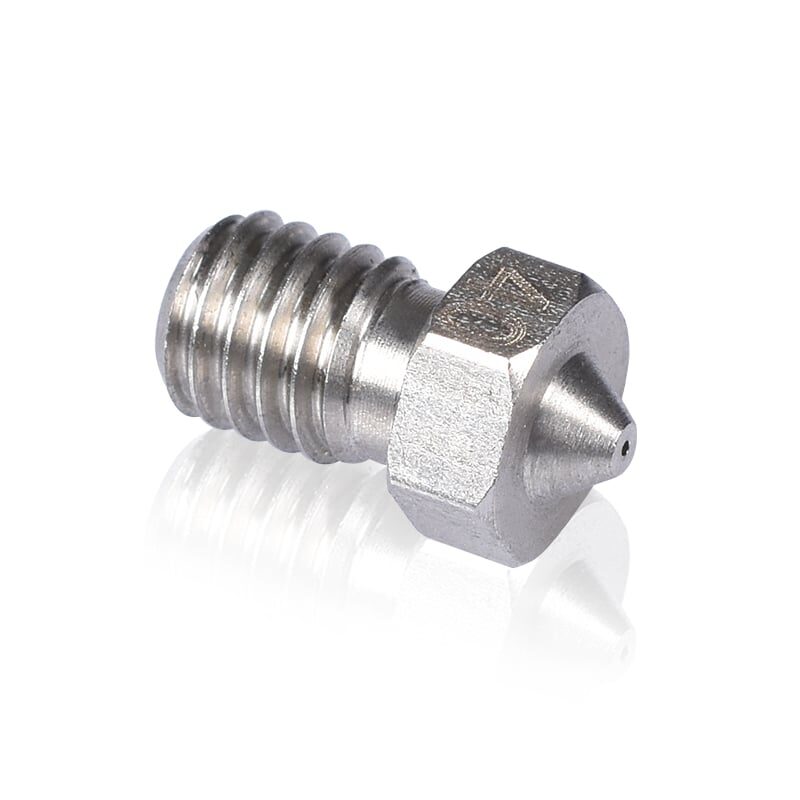
Stainless Steel Nozzle 0.4mm for 3D Printers
A stainless steel nozzle handles PETG and ABS without the partial clogging brass nozzles can develop over time. Essential for consistent enclosure printing where surface quality matters.
Frequently Asked Questions
Can I achieve IP67 with a standard FDM 3D printer?
Yes, but it requires careful design (labyrinth seal + O-ring), proper PETG printing settings (4+ walls, slow speed), and a silicone sealant backup. IP67 (30 minutes at 1m depth) is achievable and has been demonstrated by many makers. IP68 (extended submersion) requires additional epoxy coating of the interior surfaces.
Is PLA safe for outdoor use in India?
No. PLA’s glass transition temperature of ~60°C means it can deform inside a car parked in Indian summer sun (which can reach 70–80°C inside). Use PETG or ABS for any outdoor or vehicle-mounted application.
How long will a PETG enclosure last outdoors?
With UV-stabilised PETG or a UV-protective coating, 3–5 years is typical before significant UV degradation. Black PETG lasts longer than clear or light colours due to carbon black UV absorption. For permanent outdoor installations, ASA is a better choice for 5+ year life.
Do I need an enclosure to print ABS for electronics housings?
Highly recommended. ABS warps significantly during printing without a controlled temperature environment. A DIY cardboard enclosure or commercial printer tent is sufficient. In Indian winter (15–20°C ambient), warping is even more pronounced as the ambient temperature difference is larger.
Can I print waterproof threads directly?
3D printed threads can be made waterproof by adding PTFE thread tape (plumber’s tape) before assembly. Design threads with 10–20% more clearance than standard thread tables, as FDM tolerances are larger than machined threads. For critical applications, use heat-set inserts with metal threads.
What software is best for designing custom enclosures?
Fusion 360 (free for personal use) and FreeCAD (fully free) are the most used in the Indian maker community. For quick parametric enclosures without full CAD skills, OpenSCAD (script-based) or the online Tinkercad platform are excellent starting points. Makercase.com generates basic box designs with configurable finger joints.
Start Your Enclosure Project Today
Get the filaments, nozzles, and printer parts you need for professional-grade waterproof electronics enclosures. Zbotic ships quality 3D printing supplies across India.


Add comment