
3D Printed Robot Parts: Structural Design Considerations for Strength and Durability
3D printing has become the go-to prototyping and manufacturing method for robot builders across India — from college students building competition bots to professional engineers developing autonomous systems. The speed, cost-effectiveness, and design freedom of FDM printing are unmatched for rapid iteration.
However, 3D printed parts behave very differently from machined metal or injection-moulded plastic. Understanding the structural principles unique to FDM printing is essential to building robots that do not fail at critical moments. This guide covers everything you need to know about designing robot parts that are strong, durable, and fit for purpose.
Understanding Anisotropy: The Core Challenge of FDM
The most important concept for any robot designer using FDM printing is anisotropy — the property of having different mechanical strengths in different directions. Unlike a piece of steel that is equally strong in all directions, a 3D printed part is significantly weaker along the Z-axis (layer stacking direction) than along X or Y.
Why? Because each layer bonds to the next through partial melting. The interface between layers is never as strong as the solid filament within a layer. In practice, FDM parts typically have:
- X/Y tensile strength: 40–60 MPa (for PLA)
- Z tensile strength: 15–30 MPa (30–50% weaker)
- Z-axis is the critical weak point for impact and bending loads
For robot designers, this means you must design with layer orientation in mind from the very beginning, not as an afterthought.
Layer Orientation and Loading Direction
The golden rule: never let primary tensile loads run perpendicular to layer lines. If a part will be pulled apart or bent in a specific direction, orient it on the print bed so that the layers are parallel to that load.
Practical Examples
Robot arm links: An arm link under bending load should be printed with layers running along the length of the arm, not stacked upward from the base. This way, bending stress is carried within layers rather than across them.
Motor mounts: Motor mounts experience shear forces from motor torque. Print them so the thickest walls resist torque loads, and the layer stack direction is not the primary shear plane.
Wheel hubs: Wheel hubs experience radial loads from the wheel weight and axial loads from lateral forces. Print vertically (hub axis parallel to Z) so radial layers are intact, and add extra perimeters for axial strength.
Gears: For 3D printed gears, print flat on the bed (tooth profile parallel to Z) so gear teeth are solid single layers rather than layer interfaces. This gives maximum tooth strength.
When You Cannot Avoid Weak Orientation
Sometimes part geometry forces an unfavourable orientation. In these cases, use these compensating strategies:
- Increase layer count (more bonding area)
- Use higher print temperatures for better inter-layer fusion
- Apply annealing post-processing (baking PLA at 70–80°C improves crystallinity and Z-strength by 20–40%)
- Redesign the part to be printed in multiple pieces, each in optimal orientation, then joined with fasteners or adhesive
Infill Patterns and Percentages for Robotics
Infill dramatically affects both weight and strength. Here is a practical guide for robot applications:
Infill Percentage
- 10–15%: Lightweight cosmetic parts, non-structural covers and panels
- 20–30%: General structural parts with moderate loads — brackets, standoffs, sensor mounts
- 40–60%: High-load structural components — wheel mounts, drive train components
- 80–100%: Maximum-strength applications — gear teeth, pivot points, parts under impact
Infill Patterns
- Gyroid: Excellent isotropic strength in all directions. Best all-around pattern for robotics. Uses slightly more filament than grid but provides dramatically better strength.
- Honeycomb/Grid: Good for flat panels carrying planar loads. Weak along diagonal axes.
- Triangles: Rigid in-plane, good for flat brackets.
- Lines: Fast but directional — good only for very low-load parts.
- Cubic subdivision: Strong 3D structure, good for isotropic load cases where gyroid is too slow.
For most robot structural parts, use gyroid at 30–50% as a starting point, with increased wall count for surface-loaded areas.
Wall Count and Shell Thickness
For robotics, increase your wall count significantly compared to standard print settings. Here are the guidelines:
- Hobby prints: 2–3 walls (standard)
- Structural robot parts: 4–6 walls minimum
- High-stress joints and mounts: 6–8 walls or 100% infill for thin sections
The reason: most structural stress in robot parts is concentrated at the surface and at attachment points (holes, slots, edges). Extra walls ensure there is solid material precisely where stress concentrates.
A practical tip: in Cura or PrusaSlicer, if your wall count × line width is greater than half the wall thickness, the slicer will print solid walls throughout. For small, thin structural tabs and mounting bosses, this is desirable — set a higher wall count and let the slicer handle solid infill automatically.
Filament Selection for Structural Robot Parts
PLA
PLA is the easiest to print and fine for indoor, temperature-controlled robots. Tensile strength is actually higher than ABS (~60 MPa vs ~40 MPa), but PLA is brittle — it shatters under impact rather than deforming. In India’s hot climate, PLA softens above 60°C, making it unsuitable for any robot near heat sources or used outdoors.
PETG
PETG is the ideal all-rounder for most Indian robotics applications. It combines decent strength (~50 MPa), good impact resistance, heat resistance up to ~80°C, and is not brittle like PLA. It is also moisture-resistant. Print at 230–240°C with a bed at 70–85°C.
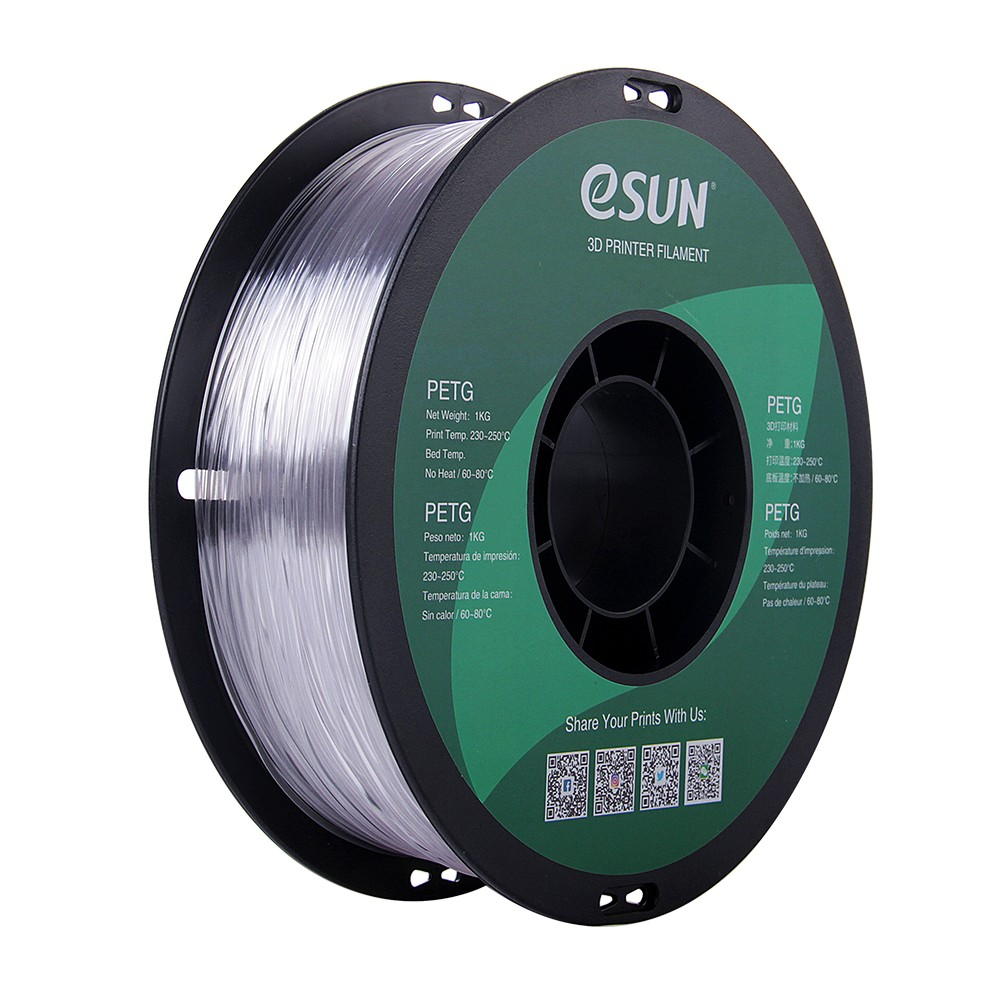
eSUN PETG 1.75mm 3D Printing Filament 1kg – Clear
eSUN’s PETG in clear offers excellent transparency for display robot parts and covers, combined with strong structural performance. Heat-resistant to ~80°C. Perfect for Indian workshops.
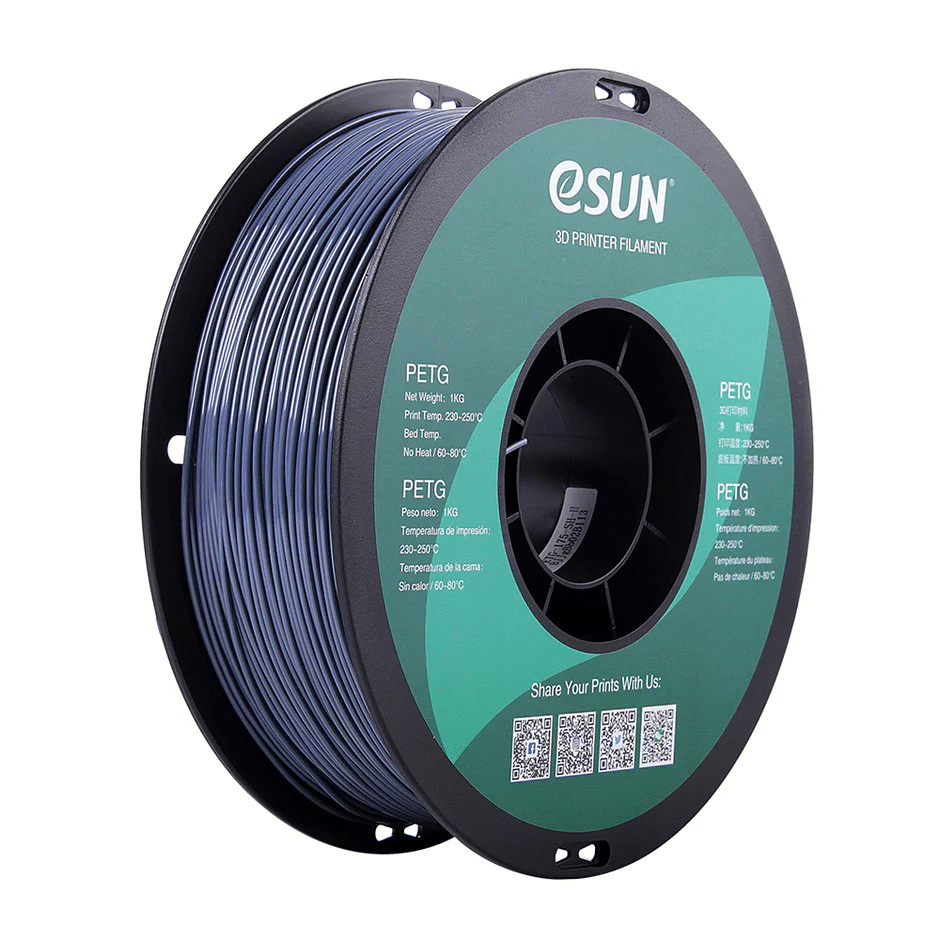
eSUN PETG 1.75mm 3D Printing Filament 1kg – Grey
Professional grey PETG for structural robot frames, brackets, and motor mounts. Excellent inter-layer adhesion and low warping. Great for Ender 3 and most FDM printers.
ABS
ABS offers better impact resistance and heat resistance (~100°C) than PLA or PETG, and it can be chemically smoothed with acetone for improved surface quality. However, it requires an enclosure and elevated ambient temperature to print without warping — challenging but not impossible in India if you print in a closed room during winter or use an enclosure.
ASA
ASA (Acrylonitrile Styrene Acrylate) is ABS with UV resistance added. For outdoor robots — solar-powered rovers, agricultural bots, or drones — ASA is the best FDM choice. Similar print requirements to ABS.
PA (Nylon)
Nylon offers exceptional toughness, fatigue resistance, and chemical resistance. It is the material of choice for gears, living hinges, and parts under cyclic loads. Downsides: very hygroscopic (must be printed bone-dry) and requires 250–280°C hotend temperatures. Reserve nylon for high-performance applications.
Joint and Fastener Design Best Practices
Joints are the most common failure points in 3D printed robots. Here is how to design them correctly:
Screw Holes
- Never thread directly into PLA or PETG for frequent disassembly — threads strip after a few cycles
- Use heat-set brass inserts (M3, M4, M5) for threaded holes. These are pushed in with a soldering iron and provide metal threads that outlast the print
- For one-time assembly, undersized holes tapped with a metal tap work well
- Self-tapping screws into holes slightly smaller than screw diameter work for single-use assemblies
Snap Fits and Press Fits
- Design snap fit arms perpendicular to layer lines for maximum flex without delamination
- For press fits (bearings into printed housings), leave 0.1–0.2mm interference and sand to fit
- Print bearing seats at 100% infill for consistent inner diameter
Glued Joints
- Cyanoacrylate (super glue) bonds PLA parts well but creates brittle joints
- Epoxy creates flexible, strong bonds — preferred for structural joints
- ABS parts can be bonded with acetone slurry (ABS dissolved in acetone) — extremely strong bonds
Avoiding Stress Concentrations
Stress concentrations are geometric features that multiply local stress — sharp corners, abrupt thickness changes, notches, and poorly designed holes. In 3D printed parts, stress concentrations often initiate cracks at layer boundaries.
Design Rules to Reduce Stress Concentration
- Fillet all internal corners with a radius of at least 1mm, preferably 2–3mm for high-stress areas
- Taper cross-sections gradually rather than abrupt steps
- Add gussets to bracket joints — diagonal support ribs distribute bending loads over a larger area
- Design holes with reinforcing bosses — raised cylindrical pads around holes increase bearing area and reduce stress concentration
- Avoid sharp notches in any structural part — a semicircular notch is better than a V-notch when material removal is needed
Hybrid Metal-Plastic Construction
The most reliable approach for critical robot structures is hybrid construction: 3D printed parts for complex geometry combined with metal fasteners, rods, and reinforcements where high stress occurs.
Techniques include:
- Embedded threaded rods: Pause the print and insert M3/M4 rods or nuts, then resume printing to encapsulate them
- Metal shaft inserts: Use steel shafts through printed wheel hubs rather than printing the axle integral
- Carbon fibre rods: Available in India from hobby shops, carbon rods can be embedded in channels printed in the robot frame for exceptional stiffness-to-weight ratio
- Aluminium extrusions: Use printed connectors to join aluminium extrusion sections for robot frames — combines metal stiffness with printed flexibility
Post-Processing to Improve Strength
Annealing
Heating PLA prints to 70–80°C for 1–2 hours (in an oven or dehydrator) dramatically improves crystallinity and inter-layer bonding. Strength improvements of 20–40% are reported. Be aware: prints may slightly warp during annealing, so support them on a flat surface.
Acetone Vapour Smoothing (ABS)
ABS parts smoothed with acetone vapour have improved surface quality and slightly better strength due to surface layer reflow. More importantly, cracks cannot initiate as easily on smooth surfaces. See our companion guide on acetone smoothing for full details.
Coating with Epoxy
Brushing a thin layer of thin epoxy resin onto the outside of a printed part seals it, improves surface hardness, and adds some surface compressive pre-stress that resists crack initiation. Particularly effective for parts exposed to weathering.
Testing Your Printed Parts Before Deployment
Before integrating a printed part into your robot, validate it:
- Static load test: Apply 2–3× expected working load with weights or a vice and inspect for cracks or deformation
- Impact test: Drop the part from 1m height onto a hard floor. If it survives, it has adequate impact resistance for most applications
- Fatigue test: Cycle the joint through its motion range 100–1000 times to check for progressive cracking
- Thermal soak: In India, leave the part in direct sunlight or a 50°C environment for 2 hours and recheck dimensions if thermal stability matters
Recommended Products from Zbotic
Bambu Lab PLA Filament – Grey 1.75mm
Premium Bambu Lab PLA for prototyping robot frames and non-structural parts. Consistent diameter and excellent layer adhesion. On a reusable eco spool.
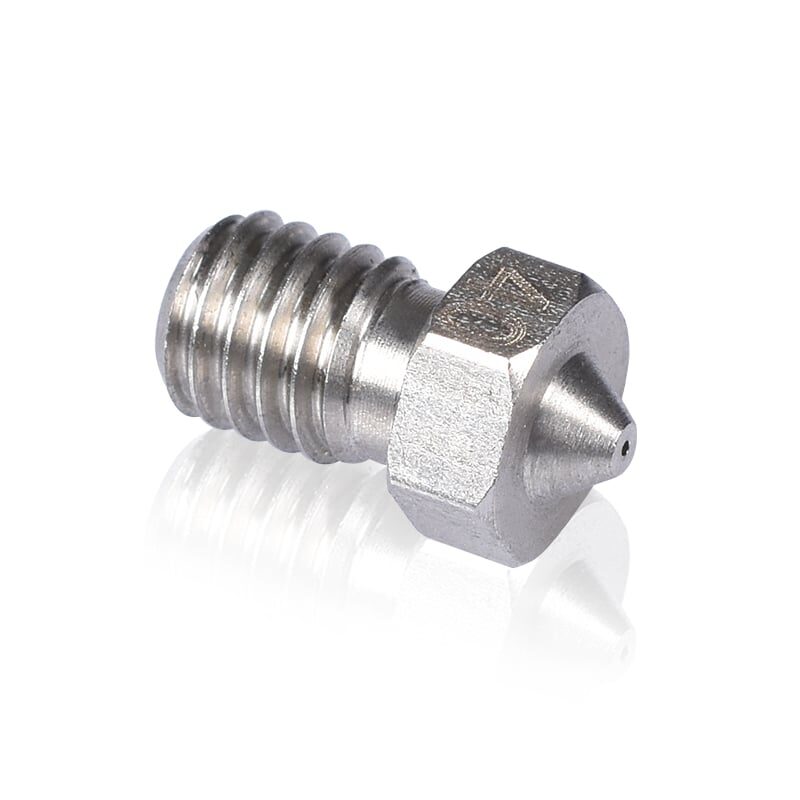
3D Printers Stainless Steel Nozzle 0.4mm
Durable stainless steel nozzle for printing robot parts with PETG, ABS, and carbon-filled structural filaments without premature wear.

3D Printer Pen with Filament and USB Cable
Ideal for spot-welding 3D printed robot parts together or filling gaps between printed sections. A useful tool for robot builders to join and reinforce printed assemblies in the field.
Frequently Asked Questions
What is the best infill percentage for robot chassis parts?
For most robot chassis, 30–50% gyroid infill with 4–5 walls strikes a good balance between weight and strength. For highly loaded areas like motor mounts, go to 60–80% or use solid fills for thin walls.
Is PLA strong enough for robot parts?
PLA is strong in tension but brittle under impact and softens above 60°C. For indoor robots in controlled environments, PLA with adequate infill and orientation is fine. For outdoor robots in India or anything near motors and heat, use PETG or ABS.
How do I prevent layer delamination in structural parts?
Increase print temperature by 5–10°C, reduce cooling (especially for ABS and PETG), slow down print speed, and ensure the filament is completely dry. Wet filament causes steam bubbles that become delamination sites.
Can printed gears survive in a robot drive train?
Yes, with the right material and design. Use nylon or PETG for gears, print flat on the bed (teeth parallel to Z), use 100% infill, and limit pitch load to moderate levels. Planetary gears distribute load best for printed drive trains.
What layer height should I use for robot structural parts?
0.15–0.2mm is optimal for structural parts — finer than 0.2mm for better inter-layer bonding while not being as slow as 0.1mm. Reserve 0.1mm for precision features like gear tooth profiles and bearing seats.
Conclusion
Designing strong 3D printed robot parts is a discipline in itself — it combines mechanical engineering principles with a thorough understanding of how FDM printing creates material anisotropy. The key principles are: respect layer orientation, choose your filament to match your thermal and mechanical environment, increase walls and infill beyond default settings for structural parts, fillet all stress-concentration points, and validate with physical testing before deployment.
Indian robot builders have an advantage: lower cost filaments, access to a growing maker community, and a competitive robotics ecosystem through college competitions like Robocon and BITS Robothon that drives rapid skill development. Apply these structural design principles and your robots will survive the competition floor.
Stock up on quality filaments, nozzles, and printer maintenance supplies at Zbotic.in — India’s one-stop electronics and maker store.


Add comment