
One of the biggest challenges in deploying production IoT devices at scale is WiFi provisioning AP mode production IoT device setup — getting each device connected to the end customer’s Wi-Fi network without hardcoding credentials. Whether you’re shipping 10 smart plugs or 1,000 industrial sensors across India, you need a reliable, user-friendly provisioning workflow. This guide covers everything from understanding AP mode to implementing a complete Wi-Fi provisioning system on ESP32, including best practices used by commercial IoT products.
What is Wi-Fi Provisioning and Why It Matters
Wi-Fi provisioning is the process of securely transferring Wi-Fi network credentials (SSID and password) to an IoT device so it can connect to a local network. This is distinct from the device’s main application firmware — provisioning is specifically about the onboarding step.
In hobbyist projects, it’s common to simply hardcode the Wi-Fi SSID and password directly into the firmware. This works fine for personal projects but is completely impractical for production:
- Every customer has a different Wi-Fi network
- Customers may change their Wi-Fi password
- Hardcoded credentials mean reflashing every device individually
- Security teams will reject products with hardcoded network credentials
Production devices need a way for end users — who may have no technical knowledge — to connect the device to their network. This process should be intuitive, fast (under 2 minutes), reliable, and work across Android and iOS without requiring a separate app (or at most, a simple lightweight app).

Ai Thinker NodeMCU-32S-ESP32 Development Board – IPEX Version
The ideal ESP32 board for building production IoT devices with Wi-Fi provisioning. Dual-core processing handles AP mode web server and main application simultaneously.
Provisioning Methods: AP Mode, BLE, SmartConfig, and More
Several methods exist for Wi-Fi provisioning. Each has trade-offs in terms of implementation complexity, user experience, and hardware requirements:
| Method | How It Works | Pros | Cons |
|---|---|---|---|
| AP Mode | Device creates a hotspot; user connects and visits a web page | No app needed, works on all devices | User must switch Wi-Fi manually |
| BLE Provisioning | Companion app sends credentials over BLE | Seamless UX, no Wi-Fi switching | Requires Bluetooth + companion app |
| SmartConfig | Phone broadcasts SSID/pass via UDP; device sniffs it | Fast, no connection switching | Unreliable with modern routers/phones |
| QR Code | Device has camera or QR code encodes credentials | Very fast scanning | Requires camera module |
| WPS | Push button on router and device | Extremely simple | WPS often disabled, security concerns |
For most production IoT products targeting Indian consumers — where smartphone apps may not always be available and technical literacy varies widely — AP Mode (also called Captive Portal provisioning) remains the most universally reliable approach. It requires only a web browser, which every smartphone has.
AP Mode Deep Dive: How It Works
In AP mode, the ESP32 acts as both a Wi-Fi access point and a web server simultaneously. Here’s the step-by-step flow from the user’s perspective:
- Device boots without saved credentials — it starts in AP mode, broadcasting an SSID like “Zbotic-Device-Setup”
- User connects phone to that SSID — the device’s hotspot is open (no password) or has a simple default password printed on the device
- Captive portal triggers automatically — many phones detect a captive portal and automatically open the configuration page (IP: 192.168.4.1)
- User sees a setup page — they select their home Wi-Fi from a scan list and enter the password
- Device saves credentials to NVS (Non-Volatile Storage) — reboots and connects to the user’s network as a station (STA)
- User reconnects their phone to home Wi-Fi — setup complete
On the ESP32, this is implemented using the dual mode (APSTA) feature, where the chip operates simultaneously as both AP and Station during the credential submission phase.
Implementing AP Mode Provisioning on ESP32
Here’s a complete implementation using the Arduino framework. This example handles Wi-Fi scanning, credential submission, NVS storage, and reconnection:
#include <WiFi.h>
#include <WebServer.h>
#include <Preferences.h>
#include <DNSServer.h>

Preferences prefs;
WebServer server(80);
DNSServer dns;

const char* AP_SSID = "ZboticDevice-Setup";
const byte DNS_PORT = 53;

String savedSSID, savedPass;

bool loadCredentials() {
  prefs.begin("wifi", true);
  savedSSID = prefs.getString("ssid", "");
  savedPass = prefs.getString("pass", "");
  prefs.end();
  return savedSSID.length() > 0;
}

void saveCredentials(String ssid, String pass) {
  prefs.begin("wifi", false);
  prefs.putString("ssid", ssid);
  prefs.putString("pass", pass);
  prefs.end();
}

String buildScanHTML() {
  int n = WiFi.scanNetworks();
  String options = "";
  for (int i = 0; i < n; i++) {
    options += "<option value='" + WiFi.SSID(i) + "'>" + WiFi.SSID(i) + " (" + WiFi.RSSI(i) + "dBm)</option>";
  }
  return R"(
<!DOCTYPE html><html><head><meta charset='UTF-8'>
<meta name='viewport' content='width=device-width,initial-scale=1'>
<title>Device Setup</title>
<style>body{font-family:sans-serif;max-width:400px;margin:40px auto;padding:20px}
input,select{width:100%;padding:10px;margin:8px 0;box-sizing:border-box}
button{background:#ff6b00;color:#fff;padding:12px;width:100%;border:none;border-radius:4px}</style>
</head><body>
<h2>Wi-Fi Setup</h2>
<form action='/connect' method='POST'>
<label>Select Network:</label>
<select name='ssid'>)" + options + R"(</select>
<label>Password:</label>
<input type='password' name='pass' placeholder='Enter Wi-Fi password'>
<button type='submit'>Connect</button>
</form></body></html>)";
}

void startAPMode() {
  WiFi.mode(WIFI_AP);
  WiFi.softAP(AP_SSID);
  dns.start(DNS_PORT, "*", WiFi.softAPIP()); // Captive portal DNS

  server.on("/", []() { server.send(200, "text/html", buildScanHTML()); });
  server.on("/connect", HTTP_POST, []() {
    String ssid = server.arg("ssid");
    String pass = server.arg("pass");
    saveCredentials(ssid, pass);
    server.send(200, "text/html", "<h2>Connecting... Please reconnect to your home Wi-Fi.</h2>");
    delay(2000);
    ESP.restart();
  });
  server.onNotFound([]() {
    server.sendHeader("Location", "http://192.168.4.1/", true);
    server.send(302, "text/plain", "");
  });
  server.begin();
}

void setup() {
  Serial.begin(115200);
  if (loadCredentials()) {
    WiFi.begin(savedSSID.c_str(), savedPass.c_str());
    int attempts = 0;
    while (WiFi.status() != WL_CONNECTED && attempts < 20) {
      delay(500); attempts++;
    }
    if (WiFi.status() == WL_CONNECTED) {
      Serial.println("Connected! IP: " + WiFi.localIP().toString());
      return;
    }
  }
  startAPMode(); // Fall back to AP mode
}

void loop() {
  if (WiFi.getMode() == WIFI_AP) {
    dns.processNextRequest();
    server.handleClient();
  }
}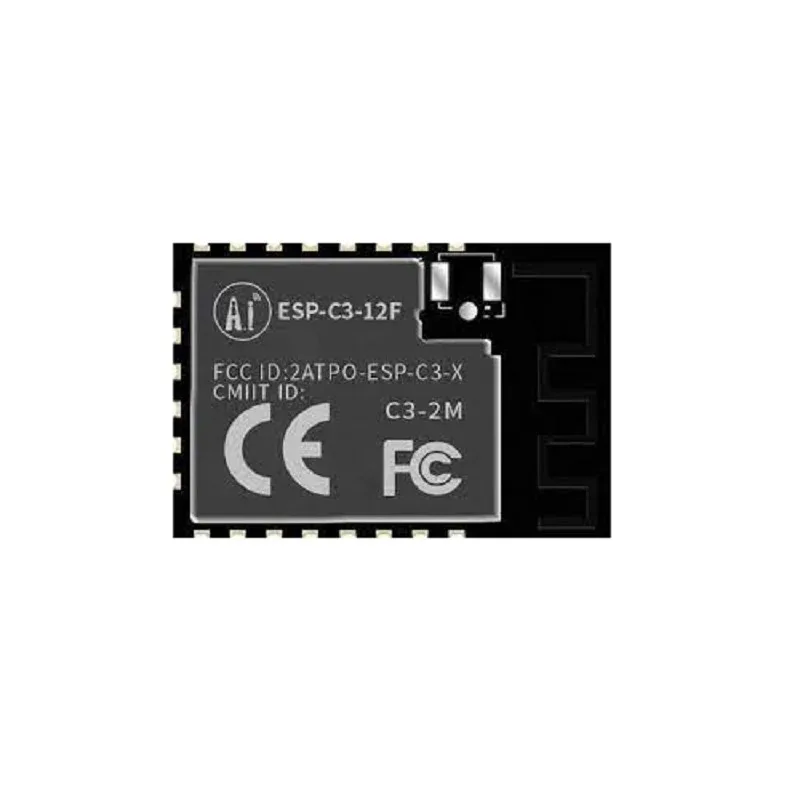
Ai-Thinker ESP32-C3-12F Wi-Fi + BLE Module
With both Wi-Fi and BLE, the ESP32-C3-12F supports AP mode provisioning today and BLE provisioning for future product iterations without hardware changes.
Production Considerations: Security, UX, and Reliability
Moving from a prototype to a production-grade provisioning system requires addressing several additional concerns:
Security
- Encrypt the AP: Use WPA2 with a per-device password (often the last 6 digits of the MAC address, printed on the device label). Never use an open AP for provisioning in commercial products.
- HTTPS for the portal: Implement a self-signed certificate on the ESP32 web server. While browsers will warn about the cert, it prevents credential sniffing on the AP.
- Erase on factory reset: Implement a long-press button that calls
prefs.clear()to wipe saved credentials and reenter provisioning mode.
User Experience
- LED feedback: Use an LED to indicate provisioning mode (fast blink), connecting (slow blink), and connected (solid). This is critical for headless devices.
- Timeout: Auto-reboot into station mode after 5 minutes in AP mode if no credentials submitted, to avoid leaving AP mode running indefinitely in production.
- Responsive design: The captive portal HTML must be mobile-friendly. Most users will be on smartphones.
Reliability
- Connection retry logic: If STA connection fails after provisioning (wrong password), re-enter AP mode instead of hanging forever.
- NVS wear leveling: ESP32’s NVS (Non-Volatile Storage) handles write wear automatically. It’s reliable for credentials that change rarely.
- WiFiManager library: For quicker implementation, the WiFiManager library by tzapu wraps all of this in a single function call and is widely used in the Arduino community.
ESP-IDF Wi-Fi Provisioning Manager
Espressif’s official ESP-IDF framework includes a fully-featured wifi_provisioning component that supports AP mode and BLE provisioning with a unified API. It includes:
- Proof of Possession (PoP) — a per-device secret that prevents unauthorized provisioning
- Encrypted transport for credentials
- Companion apps for Android and iOS (open source, customizable)
- Automatic provisioning state machine
For commercial products where you’re building a companion app anyway, the ESP-IDF provisioning manager with BLE is often the best choice. For simpler products or web-only provisioning, the Arduino AP mode implementation above is entirely sufficient.

Waveshare ESP32-C3 0.71inch Round Display Development Board
Show provisioning status (QR code, connection progress, IP address) directly on this compact round display. Great for consumer products with a premium feel.
Frequently Asked Questions
What is the default IP address of the ESP32 in AP mode?
By default, the ESP32’s AP interface is assigned 192.168.4.1. You can change this using WiFi.softAPConfig(local_ip, gateway, subnet) before calling WiFi.softAP(). Clients connecting to the AP receive addresses in the 192.168.4.x range from the ESP32’s built-in DHCP server.
Why doesn’t the captive portal auto-open on some Android phones?
Android uses a “captive portal detection” mechanism by pinging Google’s servers. If your AP doesn’t block internet traffic, Android won’t detect a captive portal. The DNSServer trick (redirecting all DNS to 192.168.4.1) helps trigger the auto-open. Additionally, on some Samsung or Xiaomi phones with strict network checking, users may need to manually open a browser and navigate to 192.168.4.1.
Can the ESP32 run AP mode and STA mode simultaneously?
Yes. The ESP32 supports WIFI_MODE_APSTA (concurrent AP and STA mode). This is useful during provisioning: the device stays in AP mode to maintain the user’s connection while simultaneously attempting to connect to the home Wi-Fi in STA mode. Once the STA connection succeeds, the AP can be stopped.
How do I reset Wi-Fi credentials on a deployed device?
Implement a factory reset mechanism — typically a GPIO button that, when held for 5 seconds, calls nvs_flash_erase() or prefs.clear() and restarts the device. This re-enters provisioning mode. Document this clearly in your product’s user manual.
What Wi-Fi security modes does ESP32 AP support?
ESP32 AP supports WIFI_AUTH_OPEN, WIFI_AUTH_WPA_PSK, WIFI_AUTH_WPA2_PSK, and WIFI_AUTH_WPA_WPA2_PSK. For production, always use WPA2_PSK with a unique per-device password.
Ready to Build Your Production IoT Device?
Get the ESP32 and ESP8266 boards, sensors, and accessories you need for your next production deployment. Fast shipping across India from Zbotic.


Add comment