
A robotic welding arm servo DIY India project sits at the intersection of two challenging disciplines: precision mechanical engineering and high-power electrical safety. Industrial robotic welders from brands like FANUC and ABB cost lakhs of rupees, but a capable DIY version built for demonstration, education, or light-duty tasks can be assembled for a fraction of that cost using locally sourced servo motors, acrylic or aluminium frames, and an Arduino or Raspberry Pi controller. This guide takes you through the full build — from arm design to arc welding integration — with honest notes on safety.
Safety First: Arc Welding Hazards
Before discussing mechanics, safety cannot be overstated. Arc welding — whether MIG, TIG, or stick — involves temperatures exceeding 6,000°C at the arc, intense UV radiation that causes arc eye (photokeratitis) in seconds of unprotected exposure, metal spatter that can cause burns and fire, and fumes that are toxic in enclosed spaces. A DIY robotic welding arm does not reduce these hazards — it introduces a new one: unexpected arm movement near the weld zone.
Mandatory safety measures for this project:
- Auto-darkening welding helmet rated for your process (minimum shade 10 for MIG/TIG)
- Full leather welding gloves and welding jacket
- Fire-resistant welding curtains enclosing the work area
- Emergency stop button wired to cut both the welder power and arm servo power simultaneously
- Carbon dioxide fire extinguisher within arm’s reach
- Never operate the arm in automatic mode with humans inside the work envelope
The e-stop is non-negotiable. Wire it as a normally-closed series contact in the main power line — pressing it should cut power mechanically, not rely on software.
Arm Design & Degrees of Freedom
A practical robotic welding arm needs at minimum 5 degrees of freedom (DOF) to trace straight weld beads on flat and curved surfaces:
- DOF 1 – Base rotation (Z axis): Rotates the entire arm around the base. Range: 180–360°.
- DOF 2 – Shoulder pitch: Lifts the upper arm. Range: 0–180°.
- DOF 3 – Elbow pitch: Bends the forearm. Range: 0–160°.
- DOF 4 – Wrist pitch: Tilts the welding torch toward or away from the joint. Range: 0–180°.
- DOF 5 – Wrist roll: Rotates the torch around its axis for corner welds. Range: 0–360° (continuous).
A 6-DOF arm adds wrist yaw, allowing torch angle adjustment without changing position. For a first DIY build, 5 DOF with the wrist roll implemented as a continuous rotation servo (or a small stepper motor) is sufficient for most weld geometries.
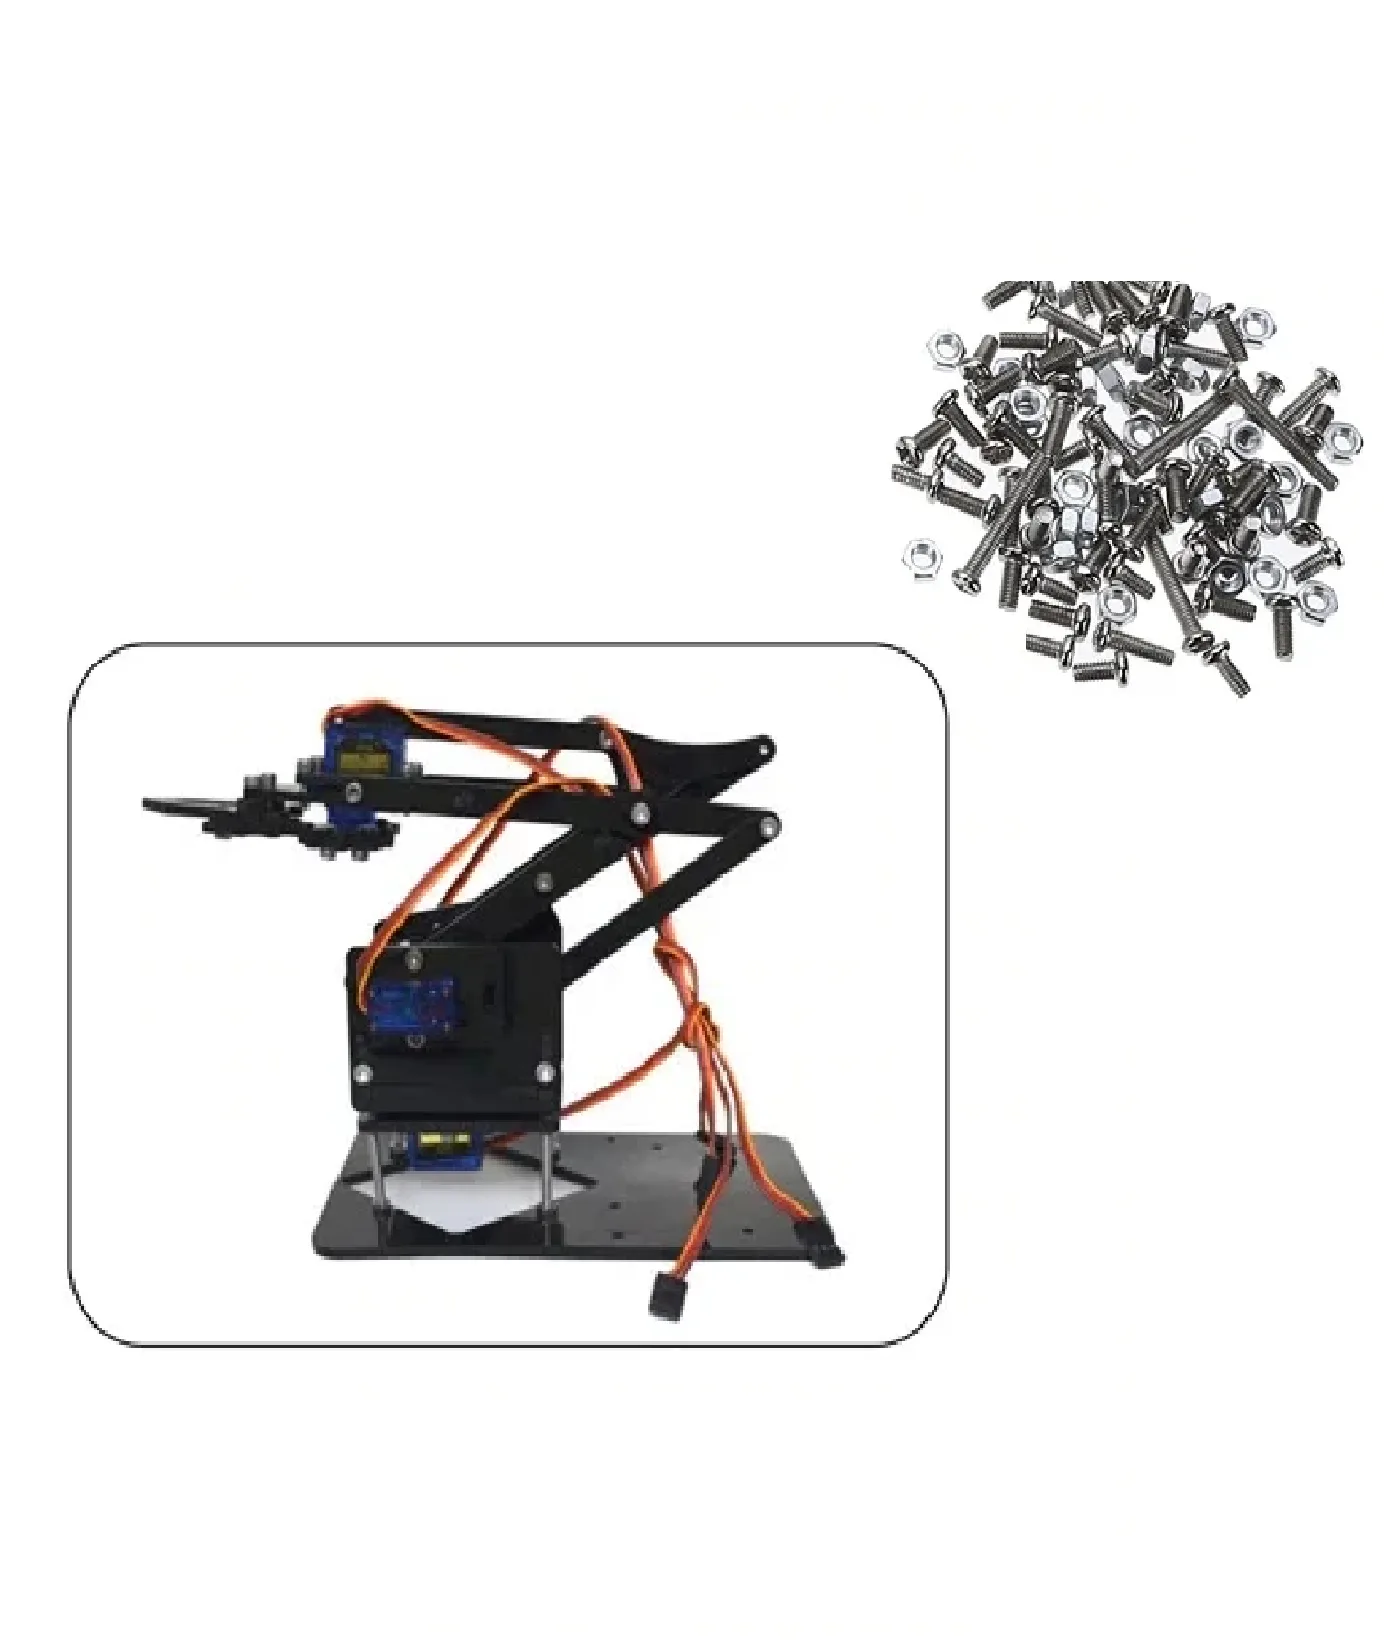
DIY Acrylic Robot Manipulator Mechanical Arm Kit
A complete acrylic robot arm frame kit providing the mechanical structure for your servo-controlled welding arm project.
Servo Selection for Welding Load
The biggest design challenge of a robotic welding arm is torque. A welding torch (MIG gun or TIG torch) weighs 400–800 grams. At a 300 mm arm radius, holding the torch stationary requires at least 2.4 N·m of continuous torque at the elbow joint. Servo torque is specified in kg·cm; converting: 2.4 N·m = 24.5 kg·cm at the joint.
Standard SG90 servos (1.8 kg·cm) are entirely unsuitable for joint loads. For a welding arm, use:
- Base rotation: Large MG996R (10 kg·cm) or a stepper motor + gear reduction for better holding torque under vibration
- Shoulder: Two MG996R servos in a parallel arrangement, or DS3225 (25 kg·cm) metal gear servo
- Elbow: DS3225 or better; this joint carries full forearm + torch weight
- Wrist pitch: MG996R (10 kg·cm) is sufficient as only torch weight acts here
- Wrist roll: SG90 or 28BYJ-48 stepper for continuous rotation
For Indian buyers: DS3225 servos are available from robotics stores at ₹450–₹600 each. Budget for at least 2 × DS3225 (shoulder/elbow) and 3 × MG996R for the other joints. Total servo cost: approximately ₹2,500–₹3,500 for the 5-DOF arm.

ACEBOTT ESP32 Programmable Robot Arm Kit – QD022
An ESP32-based programmable robot arm kit — ideal for learning arm kinematics and control before adapting to a welding application.
Frame Construction in India
The frame must withstand both the weight of the arm and the reaction forces from welding (torch kickback from contact-start or short-circuit transfer in MIG welding applies transient 100–300 g forces on the wrist). Options available in India:
Acrylic laser-cut panels: Available from local makerspaces or online at ₹200–₹800 per sheet. Easy to cut, light, but flexes under load. Suitable for a demonstration arm or one carrying a TIG torch (lighter than MIG gun).
Aluminium extrusions (20×20 V-slot or T-slot): Available from CNC and 3D printer suppliers. Strong, lightweight, and easily assembles with T-nuts. Best choice for a functional welding arm — rigid enough to maintain torch position accuracy within ±1 mm.
Steel angle and flat bar: Available at any steel merchant for ₹50–₹100/kg. Weldable, extremely strong, but significantly heavier — increases torque requirements at every joint. Only use steel framing if you have a metal lathe/mill to machine precise pivot holes.
Electronics & Controller Setup
An Arduino Mega is the recommended controller for a 5-DOF welding arm. It provides 15 PWM channels (more than enough for 5 servos + torch trigger relay), 4 hardware UARTs for serial communication with a PC GUI or Bluetooth module, and enough SRAM to store a 100-point weld path in memory.
The PCA9685 servo driver board is highly recommended even though the Mega has enough PWM channels directly — it isolates the servo electronics from the microcontroller and allows software-safe position limits to be enforced in hardware. Connect the PCA9685 to the Mega via I2C. Add a dedicated 5V/10A switching power supply for servo power, separate from the Mega’s USB/barrel jack power.
For the torch trigger (starts and stops the arc), use a relay module with a solid-state relay or a 5V relay. The relay coil is driven by a Arduino digital output; the relay contacts switch the torch trigger circuit (typically a 24V signal loop on MIG welders). Never use the relay to switch mains voltage directly from a 5V Arduino output — use an optocoupler isolated relay module.
Integrating the Arc Welder
For a DIY project in India, a small MIG welder (120A–160A range, available for ₹8,000–₹15,000) is the most practical choice. MIG welding produces a consistent arc that the robot can reliably maintain, unlike stick (SMAW) which is more variable and requires rod change.
Mount the MIG gun to the arm’s wrist flange using a quick-release torch mount. This allows you to remove the torch safely when making adjustments to the arm. Run the welding cable and gas hose along the arm’s back side, secured with cable clips at each joint to prevent the cables from catching on moving parts.
The welder’s trigger is a 2-wire circuit. When the wires are shorted, the welder starts feeding wire and gas and strikes an arc. Connect these two wires to your relay module’s normally-open contacts. When the Arduino commands the relay closed, welding begins. Build in a mandatory 0.3–0.5 second gas pre-flow delay (energise relay on gas solenoid before arc trigger) and a 1–2 second post-flow to protect the weld pool.
Programming Weld Paths
Two approaches to programming the weld path:
Teach-and-playback (simplest): Manually guide the arm through the desired weld path while recording servo positions at 20–50 Hz. Store the position array in the microcontroller’s EEPROM or on an SD card. On playback, the arm retraces the exact recorded path, triggering the torch at the programmed start and stop points. This is how most industrial robots are originally programmed and is well-suited to repetitive production welds.
G-code / coordinate-based (advanced): Define the weld path as a series of 3D coordinates (X, Y, Z in workspace coordinates). The microcontroller solves the inverse kinematics — converting workspace coordinates to joint angles — using precalculated trigonometry for each step along the path. This allows you to specify weld paths parametrically (circles, straight lines at specific heights) without manually teaching every point.
For most DIY applications in India, teach-and-playback is the practical choice. A 50-point teach array stored in Arduino EEPROM is sufficient for straight seam welds up to 150 mm long with ±0.5 mm repeatability.
Applications & Limitations
Realistic applications for a DIY robotic welding arm in India:
- Repeatable short straight seam welds on identical parts (production jigs, brackets)
- Circular welds (pipe flanges) with base rotation axis aligned with the pipe axis
- Educational demonstrations in engineering colleges and polytechnics
- Proof-of-concept development for custom automation integrators
Honest limitations: A DIY servo arm has positional repeatability of ±0.5–2 mm, far short of industrial robot specifications (±0.05 mm). Servo backlash and frame flex introduce errors that accumulate over long weld paths. For structural welding (bridges, pressure vessels, automotive chassis), only certified industrial equipment with proper quality management is appropriate. This DIY arm is for light-duty, non-critical welds or education only.

ACEBOTT ESP32 5-DOF Robot Arm Kit Expansion Pack
A complete 5-DOF robot arm expansion kit with ESP32 — a great starting point for understanding multi-joint robot arm mechanics before adding welding capability.
Frequently Asked Questions
Can I use SG90 servos for a robotic welding arm?
No. SG90 servos have a maximum torque of 1.8 kg·cm — far too weak to hold any welding torch at arm extension. You need at minimum DS3225 (25 kg·cm) servos at the shoulder and elbow joints. Even MG996R (10 kg·cm) servos are marginal for the shoulder unless you add gear reduction or a counterbalance weight to offset the torch weight.
Is it legal to build a DIY robotic welder in India?
There are no specific legal restrictions on DIY robotic welders for personal educational or experimental use in India. However, if used in a commercial setting for structural or pressure-containing welds, the work must comply with IS:9595, IS:2825, and relevant industry standards, which require certified welders and qualified procedures — a DIY arm would not meet these standards for such applications.
What type of welding is best for a DIY robotic arm?
MIG (GMAW) welding is by far the best choice for robotic automation. The arc starts reliably on command (no scratch-start variability), wire feed is consistent, and the process has a wide process window tolerant of small torch angle variations. TIG is more precise but requires a foot pedal or automatic amperage control, making robotic integration harder. Stick welding is impractical to automate due to rod stub changes.
How do I prevent spatter from damaging the servo arm?
Mount a ceramic or aluminium heat shield between the wrist flange and the torch nozzle. Cover all servo motor vents facing the weld zone with high-temperature tape. Keep servo cables well away from the arc zone — welding spatter at 1,500°C will melt standard silicone wire insulation. Route cables on the inside of the arm, shielded by the arm’s structural members.
What is the typical cost of building a DIY robotic welding arm in India?
A functional 5-DOF servo arm with Arduino Mega controller, PCA9685 driver, and mounting hardware: approximately ₹6,000–₹10,000 for the arm. Add a small MIG welder (₹8,000–₹15,000), safety equipment (₹2,000–₹4,000), and structural materials (₹1,500–₹3,000). Total project budget: ₹18,000–₹32,000 for a complete working system — a fraction of any commercial robotic welder.
Conclusion
Building a robotic welding arm servo DIY India project is an advanced but achievable goal for serious makers and engineering students. The key success factors are: choosing servos with adequate torque for the actual welding loads, using a rigid aluminium frame rather than flexible acrylic, implementing a proper hardware emergency stop, and starting with the simplest teach-and-playback programming before attempting coordinate-based path control.
The project teaches mechanical design, kinematics, electronics integration, and process automation simultaneously — making it one of the most comprehensive DIY robotics challenges available. Browse robot arm kits, servo motors, and structural components at Zbotic’s Robotics & DIY store to start your build today.


Add comment