
The Micro:bit robot car for school students is one of the best ways to introduce coding and electronics to young learners. The BBC Micro:bit’s beginner-friendly MakeCode block editor combined with a simple motor chassis makes it possible for students as young as 10 to build a working robot car — and then progressively add sensors, radio control, and autonomous behaviour. This guide covers everything from assembly to advanced coding challenges.
Why Choose Micro:bit for School Robotics?
The BBC Micro:bit was designed specifically for education, and it shows in every aspect of its design:
- Accessible coding: MakeCode drag-and-drop blocks are intuitive for complete beginners. Advanced students can switch to Python or JavaScript in the same editor.
- Built-in hardware: Onboard 5×5 LED matrix, accelerometer, magnetometer, temperature sensor, light sensor, and 2.4GHz radio — no extra modules needed for many beginner projects.
- Safe voltage levels: 3.3V I/O pins mean no danger of burning things out, unlike mains-powered projects.
- Community resources: Thousands of free lesson plans, tutorials, and project ideas from BBC, Microsoft, and the maker community.
- Affordable ecosystem: The Micro:bit itself is inexpensive, and chassis kits that work with it are widely available.
In Indian schools, Micro:bit robot cars are increasingly popular for science fairs, inter-school robotics competitions, and STEM enrichment programmes. They satisfy CBSE competency-based learning outcomes in classes 6-10 covering computational thinking and design.
What You Need: Parts List
| Item | Notes |
|---|---|
| BBC Micro:bit v2 | V2 preferred (more RAM, speaker, microphone) |
| Motor Driver Board / Breakout | Elecfreaks Maqueen, Kitronik Motor Driver, or generic L298N breakout with edge connector |
| 2WD Robot Car Chassis | Mini round or rectangular acrylic — fits most Micro:bit breakouts |
| DC Gear Motors | Usually included with chassis (TT motors) |
| Wheels | Included with chassis |
| AA Battery Holder | 4×AA (6V) for motors; Micro:bit powered via USB or 2×AA onboard |
| USB Cable | For programming (micro-USB for v1, USB-C for v2) |
| Optional: Ultrasonic Sensor | HC-SR04 for obstacle avoidance |
| Optional: IR Line Sensor | For line-following challenges |

2WD Mini Round Double-Deck Smart Robot Car Chassis DIY Kit
Compact two-wheel drive chassis with double-deck acrylic — ideal for mounting a Micro:bit breakout board. Great for school robotics projects.
Step-by-Step Assembly
- Assemble the chassis: Follow the kit instructions to bolt the motor mounts, install the TT gear motors, attach wheels, and mount the castor ball at the front.
- Mount the breakout board: Slot the Micro:bit into the edge connector on the motor driver board. Make sure the LED matrix faces forward (it’s your “face”).
- Wire motors: Connect Left Motor to M1 terminals and Right Motor to M2 terminals. Polarity determines forward/reverse — you can swap wires if the motor spins the wrong way.
- Battery pack: Connect 4×AA battery pack to the motor driver VIN and GND. Most breakout boards power the Micro:bit from the same supply via an onboard regulator.
- Test with no code: Before programming, manually push the car and check the wheels spin freely. Check the battery voltage (should be ≥5.5V with fresh AAs).
MakeCode Basics: Your First Program
Go to makecode.microbit.org in any browser — no install needed. The interface has:
- Simulator: Left panel shows a virtual Micro:bit that runs your code instantly.
- Block categories: Centre — drag blocks from here.
- Workspace: Right panel — assemble your program here.
Your very first program: make the LED matrix show a smiley face on start, and display the letter ‘A’ when button A is pressed.
# In MakeCode Python (click the Python tab):
basic.show_icon(IconNames.HAPPY)    # on start

def on_button_pressed_a():
    basic.show_string("A")
input.on_button_pressed(Button.A, on_button_pressed_a)
This confirms your Micro:bit is working before you wire it to the motors.
Motor Control and Movement Code
The exact motor control blocks depend on your breakout board. For a generic L298N-style motor driver connected to Micro:bit pins P0-P3:
# Motor control functions (MicroPython)
from microbit import *

def motor_left(speed):   # speed: -1023 to 1023
    if speed >= 0:
        pin0.write_analog(speed); pin1.write_analog(0)
    else:
        pin0.write_analog(0);     pin1.write_analog(-speed)

def motor_right(speed):
    if speed >= 0:
        pin2.write_analog(speed); pin3.write_analog(0)
    else:
        pin2.write_analog(0);     pin3.write_analog(-speed)

def forward(speed=700):  motor_left(speed);  motor_right(speed)
def backward(speed=700): motor_left(-speed); motor_right(-speed)
def turn_left(speed=700):  motor_left(-speed); motor_right(speed)
def turn_right(speed=700): motor_left(speed);  motor_right(-speed)
def stop():               motor_left(0);      motor_right(0)

# Simple timed sequence
forward();  sleep(1000)
turn_left(); sleep(500)
forward();  sleep(1000)
stop()
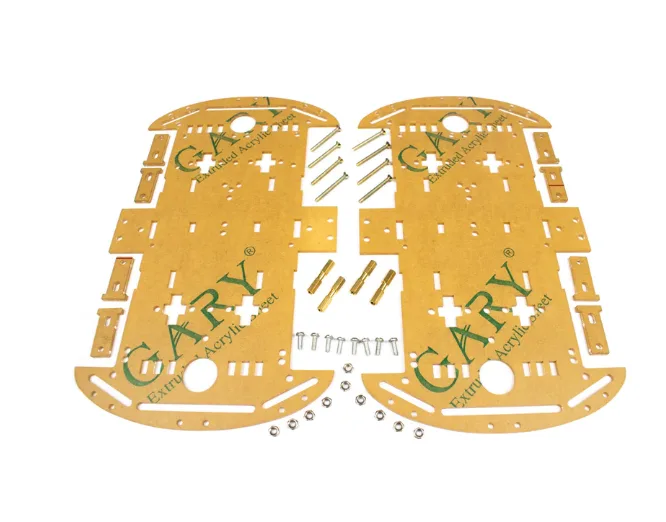
4 Wheels Car Chassis Acrylic Frame
Four-wheel acrylic chassis for building a more stable Micro:bit robot car — better weight distribution for heavier sensor payloads.
Adding Sensors: Ultrasonic, Line Follower
Obstacle Avoidance with HC-SR04
Connect: VCC→3V, GND→GND, TRIG→P8, ECHO→P9 (use a voltage divider on ECHO to step 5V→3.3V).
def read_distance():  # Returns cm
    pin8.write_digital(0); sleep(2)
    pin8.write_digital(1); sleep(0.01)
    pin8.write_digital(0)
    duration = time_pulse_us(pin9, 1, 30000)
    return duration * 0.034 / 2

while True:
    dist = read_distance()
    if dist < 15:      # obstacle closer than 15 cm
        stop()
        backward(); sleep(500)
        turn_right(); sleep(400)
    else:
        forward()
    sleep(50)
Line Following with IR Sensors
Mount two IR modules under the chassis, left (P12) and right (P13). Black line = digital 1 (more reflection absorbed):
while True:
    L = pin12.read_digital()   # 1 = on line
    R = pin13.read_digital()
    if L == 1 and R == 1:   forward()         # both on line
    elif L == 1 and R == 0:  turn_left()      # drift right
    elif L == 0 and R == 1:  turn_right()     # drift left
    else:                    stop()            # lost line
    sleep(20)
Radio Control Between Two Micro:bits
Micro:bit’s built-in 2.4GHz radio lets you build a wireless controller in minutes — no extra hardware needed.
# CONTROLLER (remote) Micro:bit
from microbit import *
import radio
radio.on(); radio.config(group=42)

while True:
    tilt = accelerometer.get_x()   # -1024 to 1024
    if tilt < -200:   radio.send("L")
    elif tilt > 200:  radio.send("R")
    elif button_a.is_pressed(): radio.send("F")
    elif button_b.is_pressed(): radio.send("B")
    else:             radio.send("S")
    sleep(50)

# ROBOT Micro:bit
from microbit import *
import radio
radio.on(); radio.config(group=42)

while True:
    msg = radio.receive()
    if msg == "F": forward()
    elif msg == "B": backward()
    elif msg == "L": turn_left()
    elif msg == "R": turn_right()
    elif msg == "S": stop()
    sleep(20)
Classroom Project Ideas
Here are structured project challenges suitable for different class levels:
- Class 6-7 (Beginners): Button-controlled robot — press A to go forward, B to stop, A+B together to turn. Great for understanding input/output relationships.
- Class 8-9 (Intermediate): Maze solver — program the robot to navigate a simple maze using time-based turns. Introduces algorithmic thinking and debugging.
- Class 10-11 (Advanced): Line-following robot racing competition. Teams tune their PID parameters (or proportional control) to achieve the fastest lap time on a black-tape track.
- Class 12 / STEM Club: Swarm robotics — two Micro:bit cars communicate via radio to coordinate; one acts as scout, other as follower. Introduces distributed systems concepts.
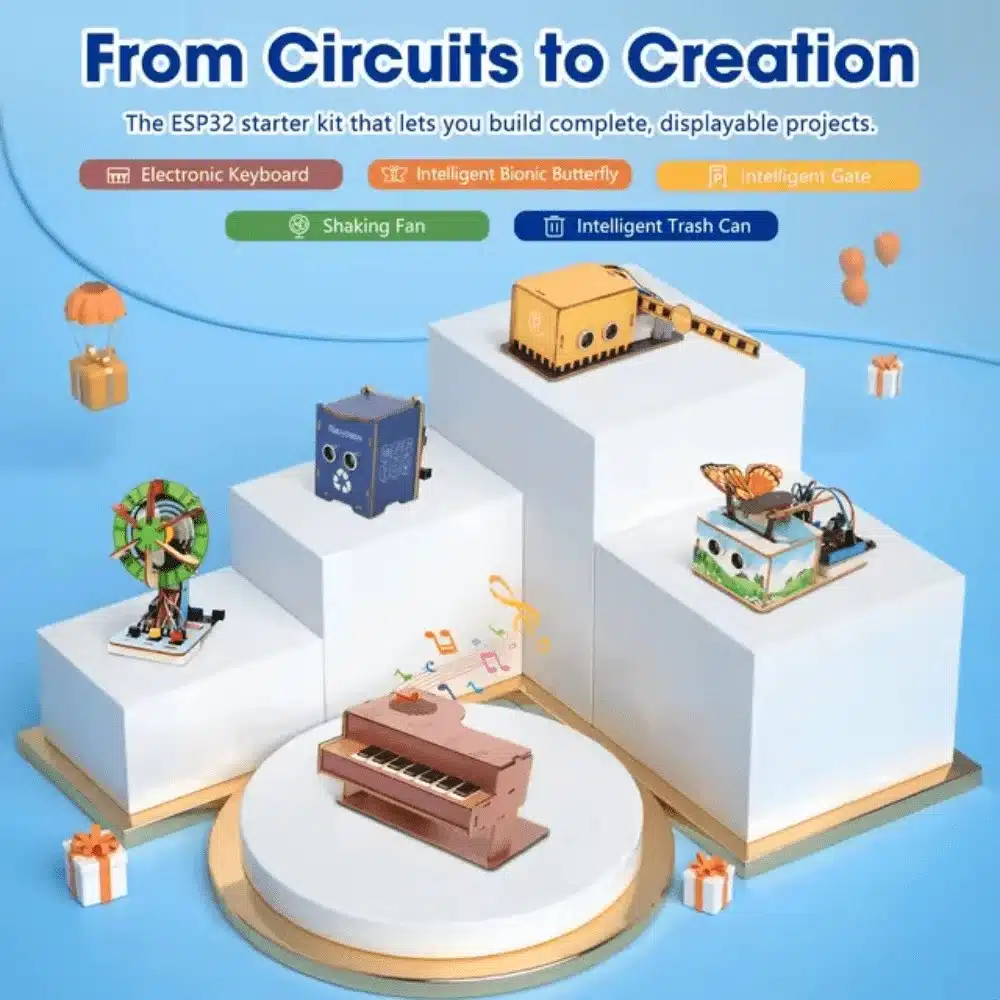
ACEBOTT ESP32 Basic Starter Kit – QE201
ESP32-based starter kit that complements Micro:bit learning — students can graduate to this for WiFi-enabled robot projects and advanced IoT.

ACEBOTT Biped Robot Kit – QD021
Next-level robotics challenge for advanced school students — build a walking biped robot with programmable servo movements.
FAQs for Teachers and Students
What age is Micro:bit robot suitable for?
Typically ages 10-16 (Class 5 to 11). Younger children (8-10) can enjoy it with adult support using only block coding. Older students (16+) often prefer Arduino or Raspberry Pi for more advanced projects.
Do I need internet to program Micro:bit?
No. You can download the MakeCode offline editor or use the Python editor offline. Schools with unreliable internet can install the offline version once and use it freely.
Can Micro:bit power the motors directly?
No. The Micro:bit’s GPIO pins can only supply about 5mA — far too little for DC motors. You always need a separate motor driver (L298N, DRV8833, or a dedicated Micro:bit breakout board).
How many Micro:bits can communicate by radio?
Theoretically unlimited, but practically 3-5 in close proximity works well. They communicate by radio group number (0-255). All devices on the same group number hear each other’s messages.
What is the range of the Micro:bit radio?
Approximately 20-30 metres in open space, shorter through walls. More than enough for classroom robot control competitions.
Can I use Micro:bit with a Raspberry Pi?
Yes! Connect via USB serial for data exchange, or use the radio module on the Pi side. Many advanced projects combine Micro:bit (for sensors/motors) with Raspberry Pi (for image processing or web control).
Equip Your School Robotics Lab
Zbotic.in supplies robot chassis kits, ESP32 boards, servo motors, and electronics components to schools and robotics clubs across India. We offer bulk pricing for educational institutions. Browse our robotics collection and start your school STEM journey today.


Add comment