
Infill is the internal structure of a 3D print — the lattice of plastic that fills the space between the outer walls and top/bottom surfaces. Most beginners leave infill settings at defaults (15–20% grid) and never think about it again. But infill pattern and density are arguably the most powerful tools in your slicer for controlling print strength, weight, speed, and material usage.
The right infill choice can make a part twice as strong, cut print time by 30%, or reduce weight significantly — all while using the same amount of outer walls and the same filament. This guide covers every major infill pattern in Cura and PrusaSlicer, explains exactly when to use each, and gives you specific settings for common use cases.
What Is Infill and Why Does It Matter?
In FDM 3D printing, a solid-looking part is almost never actually solid — that would waste enormous amounts of filament and time. Instead, slicers fill the interior with a repeating geometric pattern, then cap it with solid top and bottom layers. The walls (perimeters) form the sides. The combination of walls, infill, and top/bottom layers determines the overall part strength.
Infill contributes to three things:
- Compressive strength: How much the part resists being crushed from above
- Top surface quality: Infill supports the top solid layers, preventing sagging
- Material and time: Denser infill uses more filament and takes longer
The key insight most beginners miss: perimeter/wall count has a greater effect on tensile and shear strength than infill density. Adding a fourth perimeter gives you more strength than going from 20% to 40% infill, at a lower material cost. Infill mainly drives compressive strength and top surface support.
Understanding Infill Density
Infill density is the percentage of the interior volume filled with plastic. Here is a practical guide:
| Density | Best For | Notes |
|---|---|---|
| 5–10% | Decoration only, vases, display models | No structural value. Just supports top layers. |
| 15–20% | General purpose, light-duty use | Default in most slicers. Fine for most everyday prints. |
| 25–35% | Moderate load-bearing, snap fits, clips | Good balance of strength and time. |
| 40–60% | Structural parts, robot frames, brackets | Noticeably heavier and slower. Use strong patterns. |
| 70–100% | Maximum strength, near-solid parts | Diminishing returns above 70%. Use for critical load paths only. |
Important: above 60–70% infill, most patterns start touching each other and the interior becomes nearly solid anyway. The strength difference between 70% and 100% is small, but the time and material difference is large. Very few applications genuinely need above 60% infill — more perimeters is almost always more efficient.
Grid-Based Patterns: Lines, Grid, Triangles
Lines
The simplest pattern: straight parallel lines in a single direction. Lines infill is extremely fast to print because the nozzle travels in straight paths without changing direction at every layer. However, it is very weak in directions perpendicular to the lines and provides no structural support in the Z direction between layers.
Use when: Maximum print speed is the goal, structural strength in one direction is acceptable (e.g., flat panels that are mostly loaded in the direction of the lines).
Grid
Grid is two overlapping lines patterns at 90°, creating a square grid pattern. Each layer is identical, making it very fast. It is stronger than Lines in two directions but still has no diagonal strength. Grid is probably the most common default infill pattern and works well for general-purpose parts.
Use when: General-purpose prints, everyday items, enclosures, and parts without critical load requirements. Grid at 20% is a reliable all-rounder.
Triangles
Triangles infill creates a triangular lattice that has good strength in multiple directions and is stiffer than a grid pattern (triangles are geometrically rigid in a way that squares are not). It also provides better support for top layers than grid, reducing pitting in top surfaces at low densities.
Use when: You want better isotropic (multi-directional) strength than grid without the print time cost of gyroid or cubic.
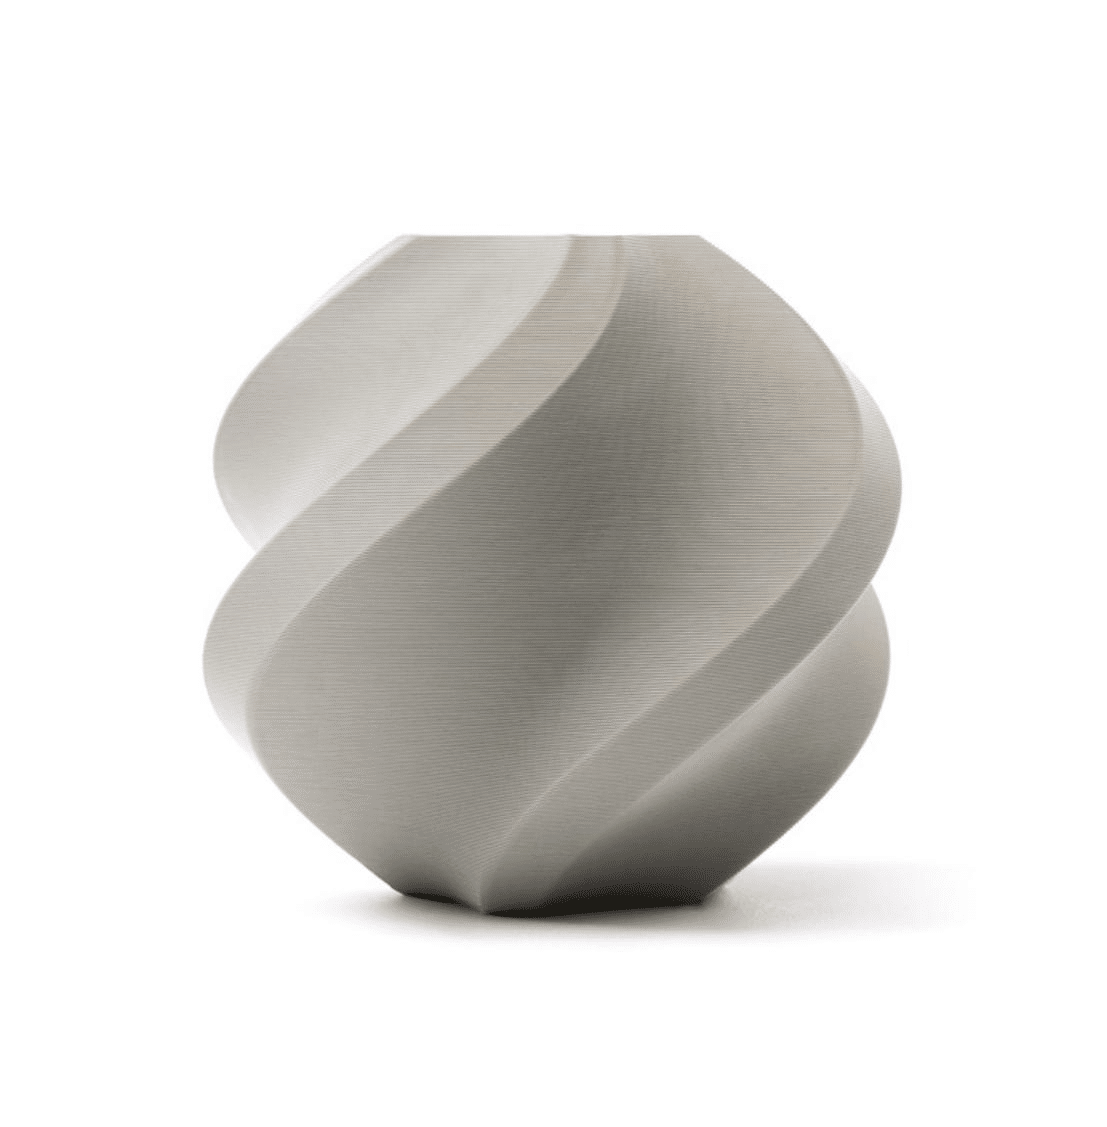
Bambu Lab PLA 3D Printer Filament – Grey 1.75mm with Reusable Spool
When testing infill patterns for strength vs speed, consistent filament diameter matters. Bambu Lab PLA delivers uniform extrusion so your infill pattern comparison is meaningful.
Gyroid Infill: The All-Rounder
Gyroid is a mathematically defined minimal surface — it curves continuously in three dimensions, creating a wavy, interlocking structure. It was originally identified in biological systems (the wings of certain butterflies use gyroid micro-structures for light refraction). In 3D printing, it has become the go-to infill for parts that need to be both strong and relatively light.
Why Gyroid Is Special
- Isotropic strength: The 3D curving structure provides nearly equal strength in all three axes (X, Y, Z). Most infill patterns are strong in XY but weak in Z. Gyroid is the best available pattern for uniform 3D strength.
- No seam accumulation: Because every layer is a different cross-section of the same 3D surface, the gyroid pattern never repeats exactly the same travel path. This means there is no weak seam that accumulates in one location through the height of the print.
- Good surface support: The continuous curvature provides excellent support for top layers, reducing pillowing even at lower densities.
- Slightly flexible: The open cell structure allows minor elastic deformation before failure, making parts somewhat tougher than grid infill at the same density.
Gyroid Disadvantages
- Slower to slice than grid patterns (computationally heavy in older slicers)
- Slightly slower to print than grid at the same density due to the continuous curved toolpath
- Cannot be easily visualized — you cannot tell the density from looking at cross-sections as easily as grid
Recommended gyroid settings for maximum strength: 30–40% density, 3–4 perimeters, 0.15–0.20 mm layer height.
Recommended gyroid settings for lightweight strong parts: 15–20% density, 4 perimeters, 0.20 mm layer height. The perimeters carry most of the load; the gyroid ensures any compressive forces on the interior are distributed three-dimensionally.
Honeycomb and Cubic Patterns
Honeycomb
Honeycomb infill (hexagonal cells) is inspired by natural bee hive construction — nature’s own optimised structure for strength-to-material-ratio. Honeycomb provides good omnidirectional strength in the XY plane and is stiffer than grid for a given density. However, it is still 2D (same pattern on every layer) so Z-direction strength is similar to grid.
In Cura, traditional 2D honeycomb was replaced by stronger 3D patterns. In PrusaSlicer, the 2D honeycomb is available as a legacy option. If you want hexagonal cells, look for “3D Honeycomb” in Cura, which stacks layers in alternating orientations for better Z-strength.
Cubic (Cura) / 3D Honeycomb
Cubic infill creates interlocking cubes at 45° to the print axes, distributing load in three dimensions. It is excellent for parts that are compressed from above — the diagonal cube structure converts compressive force into tensile forces within the struts, which PLA and PETG handle better than pure compression.
Use when: Parts under compressive loads (bases, feet, handles, brackets) where gyroid’s flexibility is not desired and you want a stiffer structure.
Lightning Infill: Speed Champion
Lightning infill (introduced in Cura 4.14) takes a completely different approach. Instead of a repeating geometric pattern throughout the volume, lightning infill generates a minimal branching tree structure that only targets the underside of the top solid layers. The interior away from the top surface may have very little or no infill at all.
Lightning Infill Strengths
- Dramatically reduced print time — typically 50–70% less infill material than grid at the same nominal density
- Excellent top surface support despite minimal material use
- Great for display models and miniatures where internal strength is irrelevant
Lightning Infill Weaknesses
- Nearly zero compressive strength — do not use on load-bearing parts
- Cannot support holes, snap fits, or any interior features properly
- Not available in PrusaSlicer (Cura exclusive as of 2026)
Use when: Decorative prints, display models, busts, and figurines where speed matters more than strength. A bust that would take 8 hours at 15% grid might take 5 hours with lightning at the same top surface quality.
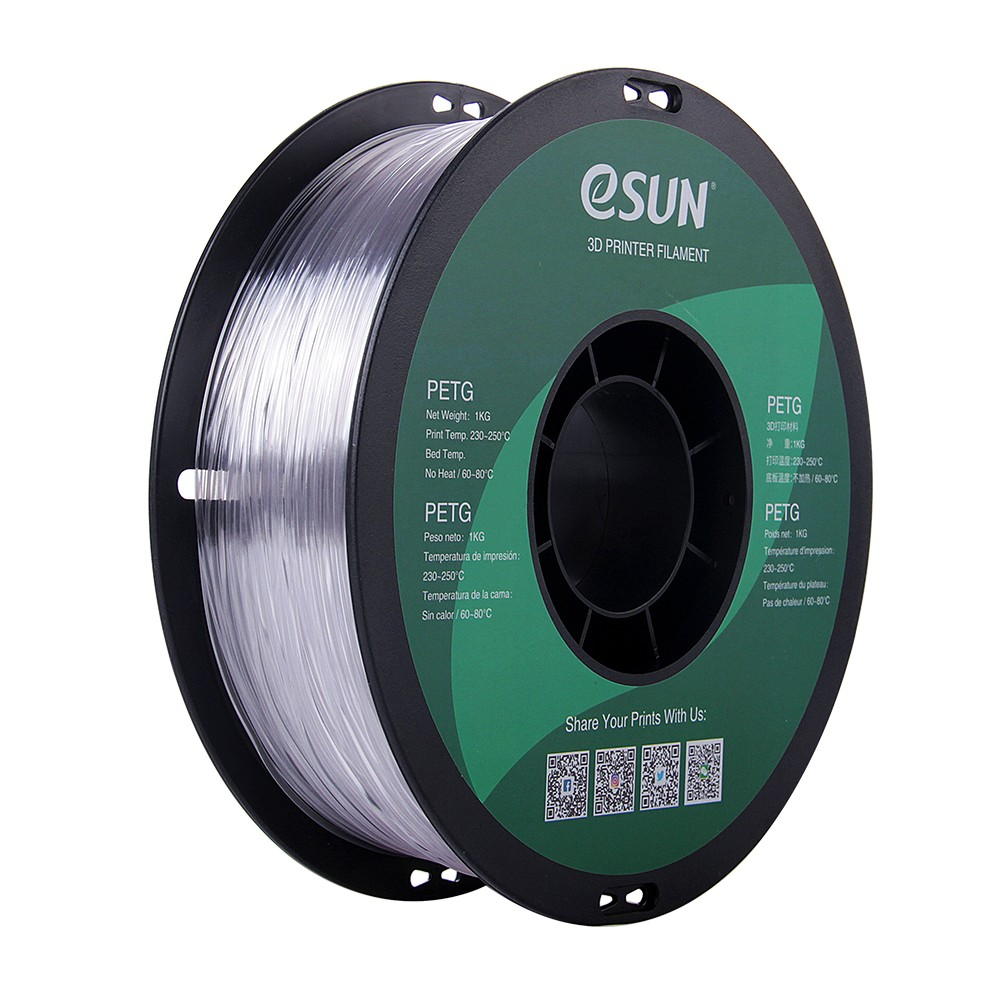
eSUN PETG 1.75mm 3D Printing Filament 1kg – Clear
For functional parts where infill strength actually matters, eSUN PETG provides excellent inter-layer bonding and toughness compared to standard PLA — available in clear for infill visibility.
Concentric and Zigzag
Concentric
Concentric infill follows the shape of the perimeter inward in progressively smaller copies. It is most useful for flexible prints (TPU) where you want the inside to flex without the grid-like stiffness of standard patterns. It also produces the cleanest top surfaces for transparent filaments because the infill lines are parallel to the perimeters.
Use when: Flexible (TPU) parts, transparent prints where you can see the interior, or any print where the infill orientation matching the part outline matters aesthetically.
Zigzag
Zigzag is similar to Lines but the nozzle reverses direction at each end without lifting, making a connected zigzag path across the layer. This slightly reduces travel time versus pure Lines infill. It is fast but directionally weak — essentially the same structural properties as Lines.
Infill Patterns for Maximum Strength
For parts under real mechanical loads, here is the hierarchy from strongest to weakest:
- Gyroid at 40%+ density: Best isotropic (3D) strength. Excellent for parts loaded in multiple directions.
- Cubic at 40%+ density: Best for pure compressive loads from above. Stiffer than gyroid under compression.
- Triangles at 40%+ density: Good 2D strength, fast to print, better than grid for horizontal shear.
- 3D Honeycomb at 40%: Good compressive strength, better than standard grid.
- Grid at 40%+ density: Adequate for most functional prints, most familiar to slicers and predictable.
Key reminder: For tensile strength (pulling or bending), increase perimeter count before increasing infill. A part with 6 perimeters and 20% gyroid will typically outlast a part with 3 perimeters and 60% grid under bending loads.
Infill Patterns for Maximum Speed
When print time is more important than strength:
- Lightning infill (Cura only): Fastest option. 50–70% less infill material. Display models only.
- Lines at low density: Fast toolpath, minimal direction changes.
- Zigzag: Marginally faster than Lines due to connected path.
- Grid at low density: Slightly slower than Lines but much better top surface support.
Infill for Flexible and Lightweight Prints
- Concentric (TPU): Best for flexible prints — the concentric rings compress and expand with the part rather than resisting deformation like a rigid grid.
- Gyroid at low density (10–15%): Excellent for prints where you want lightweight but still decent handling strength. Better than grid at the same density.
- Lightning (display only): Absolute minimum weight for non-functional prints.
Quick Reference: Use Case Table
| Use Case | Pattern | Density |
|---|---|---|
| Display model / figurine | Lightning or Grid | 10–15% |
| Everyday functional part | Grid or Gyroid | 20–25% |
| Snap fits and clips | Gyroid or Cubic | 30–40% |
| Structural bracket / mount | Gyroid or Cubic | 40–60% |
| Impact-resistant part | Gyroid | 35–50% |
| Flexible TPU part | Concentric | 20–40% |
| Speed priority (any part) | Lightning / Lines | 10–15% |
| Robot structural frame | Gyroid | 40–50% |
| Transparent filament (visible interior) | Concentric | 20–30% |
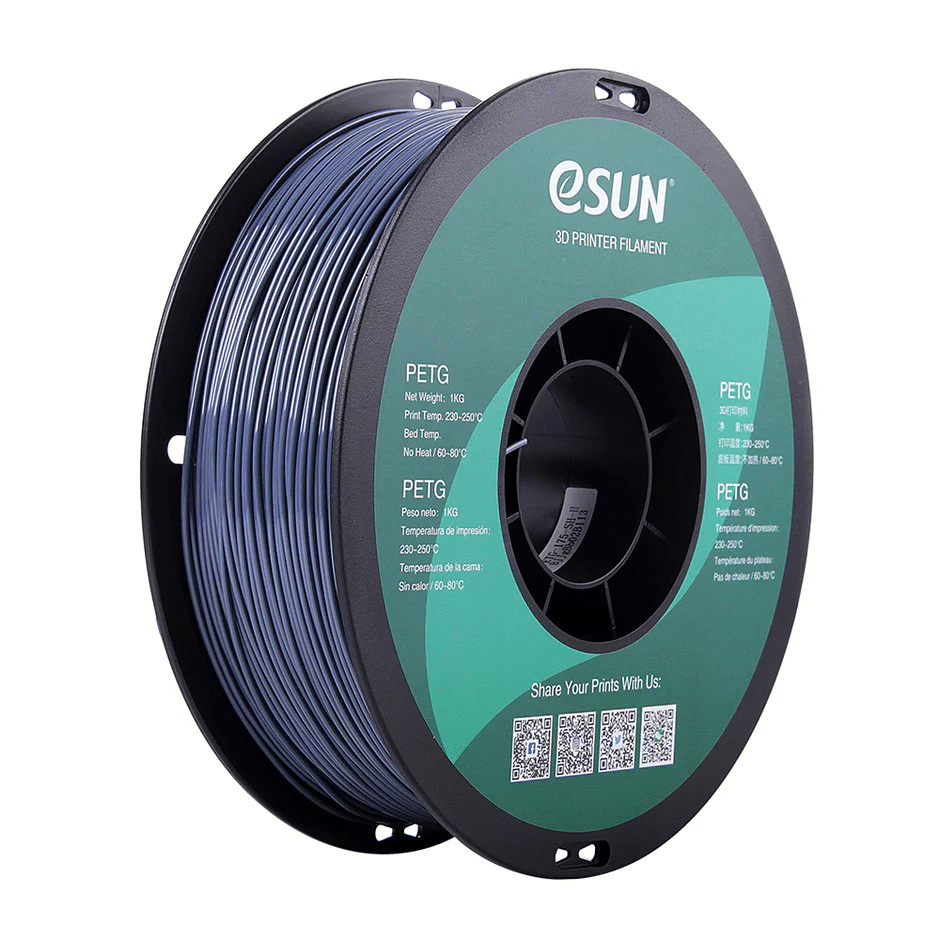
eSUN PETG 1.75mm 3D Printing Filament 1kg – Grey
For structural parts where you are optimising infill for real load bearing, eSUN PETG gives significantly better toughness and layer adhesion than PLA at the same settings.
Frequently Asked Questions
Does infill pattern matter more than infill density?
For most use cases, yes. Moving from Grid to Gyroid at the same density can improve multi-directional strength by 15–30%. However, the biggest strength gains come from increasing wall/perimeter count. As a practical rule: first increase walls (aim for 4+ perimeters for functional parts), then choose the right infill pattern, then adjust density. Optimising infill density without addressing wall count is often a waste of filament.
What is the best infill pattern for Ender 3?
Grid or Gyroid are both excellent on Ender 3. Grid at 20% is a reliable default for most prints. Use Gyroid at 25–30% for functional parts that need strength. Avoid lightning infill settings above 30% on Ender 3 class printers as the Bowden setup can struggle with the frequent direction reversals at high speeds. Slow your infill speed to 50–60 mm/s for best results.
Is gyroid infill slower to print than grid?
At the same density setting, gyroid takes approximately 10–20% longer to print than grid. This is because the curved path requires constant acceleration and deceleration, while grid’s straight lines allow the printer to reach higher speeds. However, gyroid at 20% often provides better strength than grid at 30%, so you can achieve the same strength faster by using gyroid at lower density.
Can I change infill patterns mid-print?
Yes, in both Cura and PrusaSlicer. In Cura, use the “Change at Z” post-processing script. In PrusaSlicer, insert a modifier mesh (3MF) at the height where you want the infill to change. A common technique is lightning infill for the lower 70% of a display model (pure speed) switching to grid for the top 30% to support top surfaces properly.
Does gyroid infill work well with flexible filaments (TPU)?
Not as well as concentric. Gyroid’s interlocking 3D structure can create zones of stress concentration in flexible materials when stretched or compressed. Concentric infill allows TPU to flex more naturally as the concentric rings act like coiled springs. For TPU and other flexible filaments, always prefer concentric over gyroid.
Print Stronger Parts With Better Filament
Infill patterns only reach their full potential with quality filament. Shop Bambu Lab PLA, eSUN PETG, and more at Zbotic — with fast delivery across India and expert support for your maker projects.


Add comment