
Marlin is the open-source firmware that powers the vast majority of consumer FDM 3D printers worldwide — from the Ender 3 on your desk to industrial machines in factories. Understanding how to compile and flash your own custom Marlin build is one of the most powerful skills a 3D printing enthusiast can develop. It lets you unlock features locked in factory firmware, tune hardware precisely to your machine, and install critical bug fixes the moment they are available.
This tutorial covers the complete Marlin workflow — setting up the development environment, configuring Marlin for your specific printer, compiling the firmware, and flashing it safely. No prior programming experience is required.
1. Why Compile Your Own Marlin?
Most printers ship with pre-compiled factory firmware that is conservative, generic, and often months or years behind the current Marlin release. Here is what compiling your own firmware unlocks:
- BLTouch / CR Touch / inductive probe support: Auto bed levelling is often disabled in factory firmware or configured for a specific probe not included in your kit.
- Linear advance / Pressure advance: Marlin’s Linear Advance dramatically reduces corner blobbing and improves print quality at higher speeds. Most factory Enders ship without it enabled.
- Input Shaping (Marlin 2.1+): Reduces ringing/ghosting artifacts by compensating for printer resonance.
- Thermal runaway protection: Critical safety feature. Never run a printer without it.
- Correct steps/mm from birth: Factory configs use generic values. Your specific extruder, lead screw, or belt drive may need calibrated values baked in.
- Bug fixes: Marlin 2.x receives regular updates fixing edge-case bugs that may affect print quality or reliability on your specific hardware.
2. Before You Start: Check Your Board
Your printer’s main board determines the compilation target. This is the most important thing to get right — flashing the wrong firmware can brick the board (though it can usually be recovered).
Common Indian Market Boards
| Printer | Board | Marlin Target |
|---|---|---|
| Ender 3 (original) | Creality v1.1.x (8-bit) | melzi_optiboot / sanguino |
| Ender 3 v2 | Creality v4.2.2 or v4.2.7 | STM32F103RET6_creality |
| Ender 3 S1 | Creality v4.2.7 / HC32 | STM32F103RET6_creality |
| CR-10 S | Creality v2.2 (8-bit) | megaatmega2560 |
| SKR Mini E3 v2 | BTT SKR Mini E3 v2.0 | STM32G0B1RE_btt |
| SKR 1.3 / 1.4 | BTT SKR v1.3/1.4 | LPC1768 / LPC1769 |
To identify your board: open the printer’s control box (with power off and disconnected). The board model is usually printed on the PCB. Photograph it before closing the case for future reference.
3. Installing the Development Environment
Step 1: Install Visual Studio Code
Download VS Code from code.visualstudio.com and install it. VS Code is Microsoft’s open-source code editor — the same tool used by professional software developers worldwide.
Step 2: Install PlatformIO Extension
- Open VS Code
- Click the Extensions icon in the left sidebar (or press Ctrl+Shift+X)
- Search for PlatformIO IDE
- Click Install on the PlatformIO IDE extension
- Wait for installation and click Reload Now when prompted
PlatformIO will download its toolchain components the first time you open a project or build — this can take 5-15 minutes on the first run and requires a working internet connection.
Step 3: Install Python (if needed)
PlatformIO requires Python 3.6+. On Windows, download from python.org. On Ubuntu/Debian Linux: sudo apt install python3. Verify with python3 –version in terminal.
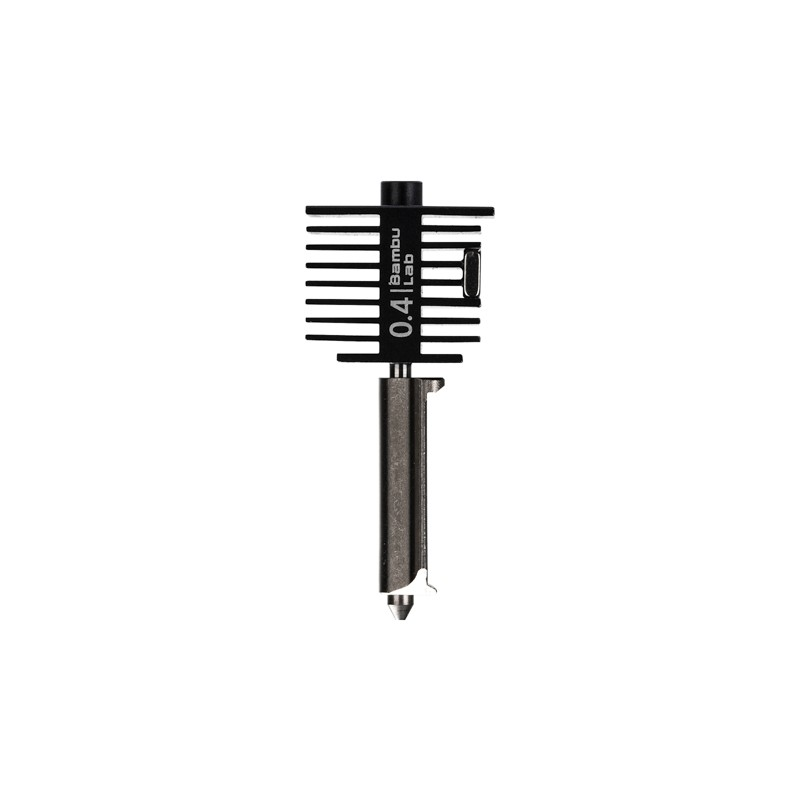
Bambu Lab Hotend with Hardened Steel Nozzle 0.4mm
Upgrading your hotend often goes hand-in-hand with flashing custom Marlin firmware. A hardened steel nozzle with matching Marlin temperature settings opens up abrasive filament printing — configure TEMP_SENSOR and PID values in your custom build.
4. Downloading Marlin and Example Configs
Step 1: Download Marlin Source Code
Go to github.com/MarlinFirmware/Marlin. Click the green Code button and Download ZIP. Choose either the bugfix-2.1.x branch (latest fixes, may have new bugs) or 2.1.x (stable release). For most users, bugfix-2.1.x is recommended as it contains important fixes not yet in the stable release.
Extract the ZIP to a folder — for example C:MarlinMarlin-bugfix-2.1.x on Windows or ~/Marlin/ on Linux/Mac.
Step 2: Download Example Configurations
Go to github.com/MarlinFirmware/Configurations. Download the ZIP for the same branch as your Marlin source. Extract and navigate to config/examples/ — find your printer manufacturer and model. For example: config/examples/Creality/Ender-3 V2/
Step 3: Copy Configuration Files
Copy the following files from your printer’s example config folder into the Marlin/ subfolder of your Marlin source (overwriting the default files):
- Configuration.h
- Configuration_adv.h
- If present: _Bootscreen.h, _Statusscreen.h
5. Key Configuration Settings Explained
Open Configuration.h in VS Code. The file is approximately 3,000 lines but you typically only need to modify 10-20 lines for a standard configuration. Here are the most important settings:
MOTHERBOARD
The most critical setting. Must exactly match your board. Search Marlin’s boards.h file for your exact board definition if you are unsure of the correct name.
TEMP_SENSOR_0 and TEMP_SENSOR_BED
Thermistor type for your hotend and heated bed. The default (1) is the standard 100k NTC thermistor used by most Creality printers. If you have changed your thermistor, update this value. Wrong thermistor code means inaccurate temperature readings which means potential thermal runaway or under-heated prints.
Steps Per MM
Physical calibration values for your axes. The example configs include typical values but you should calibrate these for your specific machine. Order: X, Y, Z, Extruder. The extruder value needs calibration for your specific extruder.
Enabling BLTouch
Three defines to enable: BLTOUCH, AUTO_BED_LEVELING_BILINEAR, and Z_SAFE_HOMING. Also configure Z_PROBE_OFFSET_FROM_EXTRUDER with your measured probe-to-nozzle offset.
Enabling Linear Advance
In Configuration_adv.h, enable LIN_ADVANCE and set LIN_ADVANCE_K to 0 initially — you will tune it later with the Marlin LA calibration pattern. Note: Linear Advance may not work with Creality’s generic 8-bit boards due to timing limitations — it requires 32-bit hardware or a board with TMC2208/2209 drivers.
6. Compiling the Firmware
- Open the Marlin project in VS Code: File — Open Folder — Select the root Marlin folder (the one containing platformio.ini). VS Code will detect PlatformIO automatically.
- Select your environment: At the bottom of VS Code, click the environment selector. Choose your board’s environment — for example, STM32F103RET6_creality for Ender 3 v2.
- Build the firmware: Click the checkmark icon in the PlatformIO toolbar at the bottom of VS Code. The build output appears in the Terminal panel. First build takes 5-10 minutes as PlatformIO downloads toolchain components. Subsequent builds take 1-3 minutes.
- Locate the compiled firmware: If the build succeeds (look for SUCCESS in green), find the output file in .pio/build/[your-environment]/. The file is typically named firmware.bin (for 32-bit boards) or Marlin.hex (for 8-bit boards).
If you see errors: read the error message carefully. Common causes are wrong board environment selected; typo in Configuration.h (missing semicolon, wrong define); trying to enable features your board does not have enough flash memory to fit.
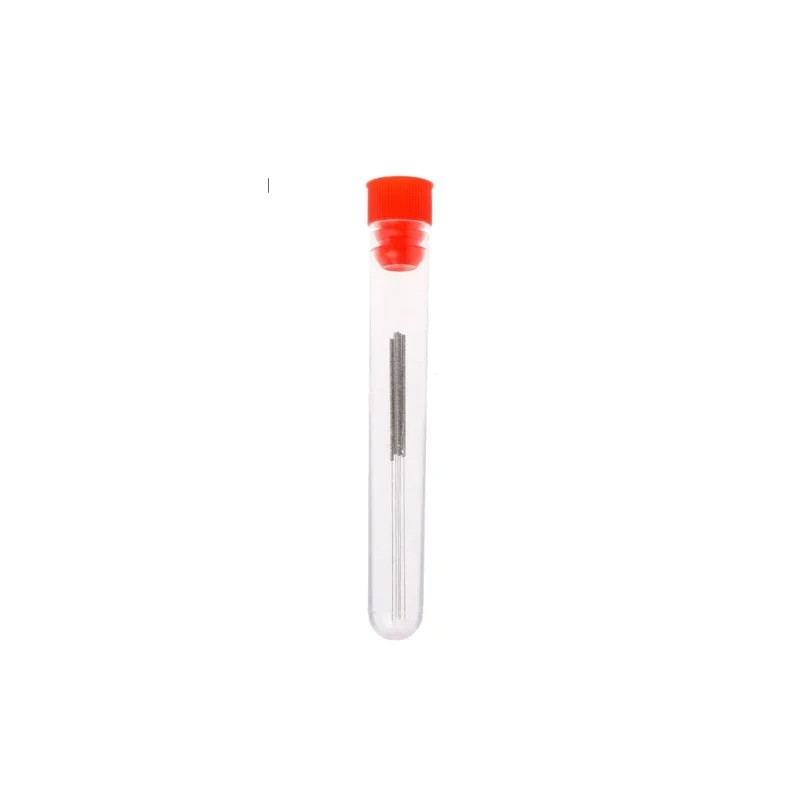
0.4mm Stainless Steel Nozzle Cleaning Needle (Pack of 10)
After flashing custom Marlin firmware and recalibrating your printer, a thorough cold pull and nozzle cleaning ensures your first post-flash print starts clean. These stainless needles clear clogged nozzles quickly.
7. Flashing the Firmware
32-bit Boards (Ender 3 v2, SKR, etc.) — SD Card Method
- Format a microSD card as FAT32 (not exFAT — many bootloaders do not recognise exFAT).
- Copy only the firmware.bin file to the root of the SD card. No other files on the card.
- Power off the printer completely. Insert the SD card into the printer’s SD slot (on the mainboard, not the screen slot).
- Power on the printer. The display will blank for 5-15 seconds while flashing, then reboot. Do NOT power off during this window.
- Eject the SD card. On the board, the firmware.bin file will have been renamed to firmware.cur — this confirms successful flashing.
8-bit Boards (Original Ender 3) — Arduino/AVRDude Method
Original 8-bit boards do not have a bootloader by default and require an ISP programmer or Arduino Uno acting as ISP to flash. Alternatively: upgrade to an SKR Mini E3 v3 (a 32-bit board that is pin-compatible with Ender 3) — this bypasses 8-bit limitations entirely and is often a better long-term investment.
STLink / DFU Mode — Advanced Recovery
If a bad flash bricks your board, most STM32-based boards can be recovered via USB DFU mode (hold boot button during power-on) or via ST-Link V2 programmer (available in India for ₹500-₹1,000).
8. Post-Flash: Steps After Flashing
- Factory reset EEPROM: Go to LCD menu — Configuration — Advanced Settings — Initialize EEPROM. This wipes old settings that may conflict with your new firmware. Do this EVERY time you flash new firmware.
- Re-enter your settings: Steps/mm for all axes and extruder, PID values for hotend and bed, BLTouch probe offset (if applicable).
- Re-run bed levelling: Auto-level or manually level the bed — firmware changes sometimes shift Z offset slightly.
- PID autotune: From terminal or LCD: run PID autotune for hotend and bed. Save results with M500.
- Verify thermal runaway: Heat the hotend to 200 degrees C, then unplug the thermistor for 15 seconds. The printer should report a thermal runaway error and shut down. If it does not, thermal runaway protection is not working correctly — do not use the printer until resolved.
- First print: Run a calibration print (XYZ calibration cube or similar) to verify all axes are working correctly before a long production print.
9. Popular Marlin Modifications
S-Curve Acceleration
Smoother acceleration profile that reduces ringing at corners. Enable in Configuration_adv.h with the S_CURVE_ACCELERATION define. Works best combined with proper jerk/acceleration settings tuned to your machine.
Unified Bed Levelling (UBL)
Marlin’s most advanced bed levelling system. Creates a detailed mesh of your entire bed, supports tilt correction, and persists the mesh across power cycles. Superior to basic bilinear levelling for beds with complex warping patterns — common on cheaper beds after extended use in variable-temperature environments like Indian workshops.
Input Shaping (Marlin 2.1.1+)
Marlin’s implementation of resonance compensation (similar to Klipper’s well-known feature). Requires an ADXL345 accelerometer for measurement but significantly reduces ghosting/ringing at higher print speeds. Available on 32-bit boards with sufficient processing power.
Filament Runout Sensor
Enable with the FILAMENT_RUNOUT_SENSOR define. Many Ender 3 variants have a physical sensor but it is disabled in factory firmware. Custom Marlin lets you enable it and configure the detection delay.
10. Troubleshooting
Build Fails: region flash overflowed
You have enabled more features than your board’s flash memory can hold. Disable some features (LCD menus, extra functionality you do not need) until the build fits. 8-bit boards are very memory-constrained. Solution: switch to a 32-bit board like SKR Mini E3.
Printer Does Not Respond After Flashing
The firmware.bin may not have flashed correctly. Check: SD card formatted as FAT32 (not exFAT); firmware.bin is in the root directory (not in a subfolder); the file has not been renamed already. On Creality boards, renaming the old firmware.cur to firmware.bin and reflashing sometimes resolves.
Temperatures Read Incorrectly
Wrong TEMP_SENSOR value in Configuration.h. Check the thermistor table in the Marlin temperature.h file and match your thermistor’s resistance curve to the correct code. The standard Creality thermistor is type 1 (100k EPCOS NTC).
Frequently Asked Questions
Will flashing custom Marlin void my printer’s warranty?
Technically yes — most manufacturers’ warranties are voided by firmware modification. In practice, Indian consumer protection law gives you certain rights regardless of warranty terms, and most reputable sellers will still service hardware defects even on modified machines. The bigger risk is that a bad flash can cause software issues that you will need to resolve yourself. Always keep a backup of your original firmware.
How do I back up my current firmware before flashing Marlin?
For 32-bit STM32-based boards, you can read back the current firmware using an ST-Link V2 programmer and the STM32CubeProgrammer software. For 8-bit AVR boards, use avrdude with a programmer. Alternatively, Creality and other manufacturers often post official firmware downloads on their websites — download and save these before modifying anything.
What is the difference between Marlin and Klipper firmware?
Marlin runs directly on the printer’s main board — it is self-contained. Klipper runs the motion planning on a separate Raspberry Pi (or similar SBC) and sends commands to a simplified firmware on the printer’s board. Klipper offers superior performance, easier configuration (text files rather than C++ code), and faster feature updates, but requires an extra computer. Marlin is simpler to set up (no Raspberry Pi needed) and works excellently for most users.
Can I compile Marlin on a low-spec laptop?
Yes. A laptop with 4GB RAM and any Intel Core i3/i5 from the last 10 years will compile Marlin successfully — it will just take longer (5-15 minutes vs 1-3 minutes on a modern machine). Ensure you have at least 5GB free disk space for the toolchain and build cache. Compiling on battery is fine for occasional builds but the toolchain download on first run needs a stable internet connection.
What is the best Marlin version to use in 2024?
Marlin 2.1.x (bugfix-2.1.x branch) is the recommended version for all new builds. It supports modern 32-bit boards, includes Input Shaping, Unified Bed Levelling, and all recent bug fixes. Avoid Marlin 1.x (only for very old 8-bit boards where 2.x does not fit in flash) and the older bugfix-2.0.x branch. Always use the example configurations that match your Marlin source version — mixing versions causes compilation errors.
Upgrade Your Printer Alongside Your Firmware
Custom Marlin firmware unlocks the full potential of upgraded hardware. Zbotic stocks hotend upgrades, nozzles, thermistors, and 3D printer parts that pair perfectly with a custom Marlin build. Explore our 3D printing accessories and take your printer’s performance to the next level.


Add comment