
If you have ever wondered how a simple two-terminal component can hold a voltage rock-steady even when the load or input changes wildly, the answer is a zener diode. Used in everything from bench power supplies to automotive ECUs, the zener diode is one of the most practical and elegant components in analog electronics. This guide walks you through the zener diode working principle, its characteristics, and step-by-step circuit examples you can build today.
What Is a Zener Diode?
A zener diode is a specially doped p-n junction diode designed to operate reliably in the reverse-breakdown region. Unlike a regular rectifier diode that would be destroyed if reverse-biased beyond its rating, a zener diode is engineered to sustain a precise, stable reverse voltage — called the zener voltage (VZ) — indefinitely, as long as the current is limited within safe bounds.
Invented by Clarence Melvin Zener and first commercialised in the 1950s, the zener diode is now a staple in every electronics lab. It comes in glass or plastic packages (DO-35, DO-41, SOT-23 for SMD) and is identifiable by the angled bar at one end of the diode symbol — its polarity indicator.
Key parameters on a zener datasheet:
- VZ — Nominal zener voltage (e.g., 3.3 V, 5.1 V, 12 V)
- IZT — Test current at which VZ is specified
- IZM — Maximum continuous zener current
- PD — Maximum power dissipation (common: 0.5 W, 1 W, 5 W)
- ZZ — Dynamic impedance (lower is better for regulation)
How a Zener Diode Works
In a normal p-n junction, forward bias lowers the depletion barrier so current flows. In reverse bias, the barrier grows and almost no current flows — until the reverse voltage becomes large enough to trigger breakdown.
In a zener diode, the p-side is heavily doped. Heavy doping creates an extremely narrow depletion region. When reverse voltage reaches VZ, the electric field across this thin region becomes intense enough to rip covalent bond electrons free through quantum tunnelling (for VZ < 5 V) or through the avalanche multiplication mechanism (for VZ > 7 V). Between 5 V and 7 V, both mechanisms coexist.
The critical point is that once breakdown begins, the voltage across the zener clamps at VZ. Even as the reverse current varies from a few milliamps to the maximum rated value, the terminal voltage stays nearly constant. This clamping behaviour is what makes the zener diode a voltage reference and regulator.
To use a zener as a regulator you always:
- Connect it in reverse bias (cathode to the higher potential).
- Add a series current-limiting resistor between the supply and the zener.
- Take the regulated output across the zener (cathode to anode).
V-I Characteristics Explained
The V-I curve of a zener diode has three distinct regions:
1. Forward Region (Right Side of Origin)
Like any silicon diode, current begins to flow at about 0.6–0.7 V forward bias. The zener is rarely used in this direction.
2. Reverse Leakage Region (Left Side, Before Breakdown)
A very small reverse leakage current (nanoamps to microamps) flows. The voltage can increase toward VZ without significant current.
3. Breakdown Region (Sharp Knee on the Left)
At VZ, the curve bends sharply downward (current increases rapidly while voltage stays nearly constant). The near-vertical slope of this region represents low dynamic impedance — an ideal zener would have a perfectly vertical line here.
The dynamic impedance ZZ = ΔVZ / ΔIZ. A low ZZ (5–15 Ω typical) means the output voltage barely changes even with large current swings — ideal for regulation.
Zener Breakdown vs Avalanche Breakdown
| Property | Zener Breakdown (<5 V) | Avalanche Breakdown (>7 V) |
|---|---|---|
| Mechanism | Quantum tunnelling | Impact ionisation |
| Temperature coefficient | Negative (VZ decreases with heat) | Positive (VZ increases with heat) |
| Noise | Lower | Higher |
| Most stable VZ | ~5–6 V (coefficients cancel) | ~5–6 V (same range) |
The 5.1 V zener is often called the most temperature-stable because zener and avalanche temperature coefficients cancel each other near this voltage. For precision references, a 5.1 V or 6.2 V zener is preferred.
Zener Diode Voltage Regulator Circuit
The simplest and most widely taught application of a zener diode is the shunt voltage regulator. Here is how to build a 5 V regulated output from a 9 V supply:
Components Needed
- 9 V DC supply (battery or SMPS)
- 1N4733A zener diode (5.1 V, 1 W)
- 270 Ω, 0.5 W resistor
- Load resistor (optional, e.g., 1 kΩ)
- Multimeter for verification
Circuit Description
Connect the 9 V supply positive terminal through the 270 Ω resistor to the zener cathode. Connect the zener anode to ground. The regulated 5.1 V output is measured from the zener cathode to ground. Any load is connected in parallel with the zener.
When no load is connected, all excess current flows through the zener (shunt current). When a load is connected and draws current, the zener current decreases by the same amount, keeping the total current — and therefore voltage — nearly constant.
0 Ohm 0.25W Carbon Film Resistor (Pack of 100)
Keep a resistor assortment stocked — series resistors are essential in every zener regulator circuit to limit current and protect the diode.
Calculating the Series Resistor
The series resistor RS is the most critical design element. Use these formulas:
Step 1 — Voltage across the resistor
V_R = V_in – V_Z
Example: 9 V – 5.1 V = 3.9 V
Step 2 — Maximum current through RS
I_total = I_Z(max) + I_L(max)
Choose IZ(max) = 20 mA (safe for a 1 W zener at 5.1 V = 196 mA max), IL(max) = 10 mA.
I_total = 30 mA
Step 3 — Resistor value
R_S = V_R / I_total = 3.9 / 0.030 = 130 Ω
Pick the nearest standard value above (150 Ω or 180 Ω) to ensure zener current does not drop to zero under heavy load.
Step 4 — Resistor power rating
P_R = V_R × I_total = 3.9 × 0.030 = 0.117 W
A 0.25 W resistor is sufficient with good margin.
Always verify that the worst-case power in the zener (VZ × IZ_max) does not exceed PD on the datasheet.
1.5 Ohm 0.25W Metal Film Resistor MFR (Pack of 100)
Metal film resistors offer tighter 1% tolerance than carbon film — ideal for precise zener regulator designs where resistor accuracy matters.
Common Zener Diode Voltages and Part Numbers
| Part Number | VZ | PD | Typical Use |
|---|---|---|---|
| 1N4728A | 3.3 V | 1 W | 3.3 V logic reference |
| 1N4733A | 5.1 V | 1 W | 5 V logic, TTL reference |
| 1N4742A | 12 V | 1 W | 12 V rail clamping |
| BZX55C4V7 | 4.7 V | 0.5 W | Low-power signal clamping |
| 1N5338B | 5.1 V | 5 W | High-current regulation |
Practical Applications
1. Voltage Reference
In ADC circuits and comparators, a stable voltage reference is critical. A 5.1 V zener powered from a 12 V rail through a 1 kΩ resistor gives a simple, cheap reference without needing a dedicated reference IC.
2. Over-voltage Protection (Clamping)
Place a zener across a sensitive IC’s power pins with cathode to VCC. If the supply spikes above VZ, the zener clamps it — protecting the IC. Commonly used with TVS (transient voltage suppressor) diodes for ESD protection.
3. Waveform Clipping
Two zener diodes placed back-to-back (anode-to-anode or cathode-to-cathode) clip an AC signal symmetrically to ±VZ. Used in audio limiters and signal conditioning.
4. Regulated Bias for Transistors
A zener can provide a stable base or gate bias voltage in amplifier circuits, ensuring a transistor operates at a consistent Q-point across temperature and supply variation.
5. Crowbar Protection Circuit
Combining a zener with an SCR creates a crowbar circuit: if the supply exceeds VZ, the zener fires the SCR, shorting the supply and blowing a fuse — protecting downstream electronics from a runaway PSU.
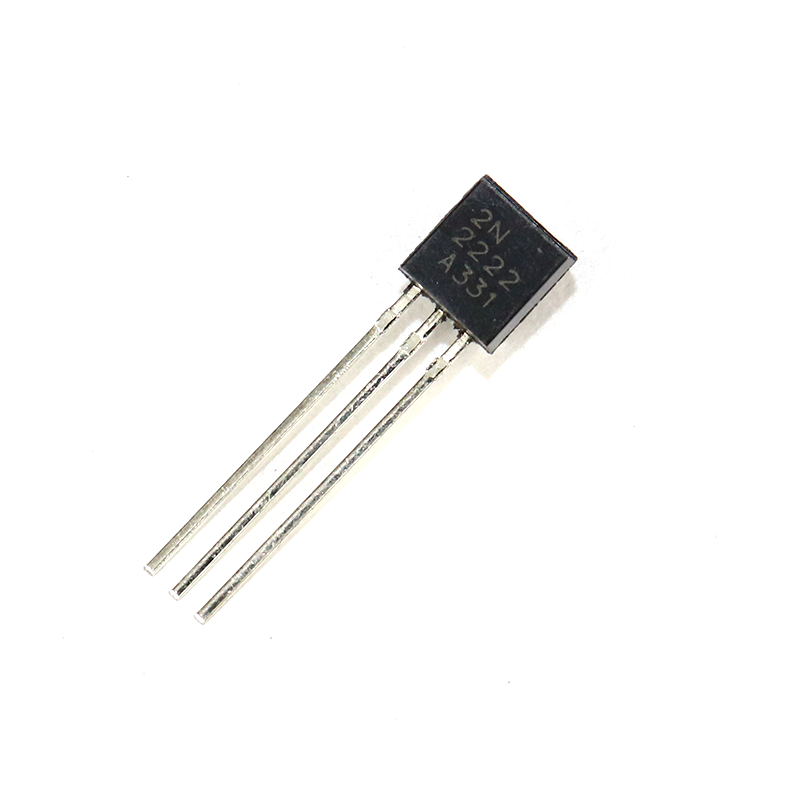
2N2222 NPN Transistor (Pack of 20)
Pair a zener voltage reference with a 2N2222 transistor to build a simple series pass regulator — a great hands-on electronics project.
How to Test a Zener Diode
Quick Forward Bias Test (Multimeter)
- Set multimeter to diode test mode.
- Place red probe on anode, black on cathode.
- A reading of 0.5–0.7 V indicates a good silicon zener.
- Reverse the probes — you should see OL (open), not continuity.
Zener Voltage Test (Power Supply)
- Connect a current-limiting resistor (e.g., 470 Ω) in series with the zener (reverse biased) to a variable DC supply.
- Slowly increase the supply voltage until the current starts flowing (watch an ammeter in series).
- Measure voltage across the zener with a multimeter — it should clamp near the rated VZ.
You can also use an LCR/component tester (like the LCR-T4) which auto-identifies diodes and reads VF, though it typically cannot test the reverse breakdown without an external supply.
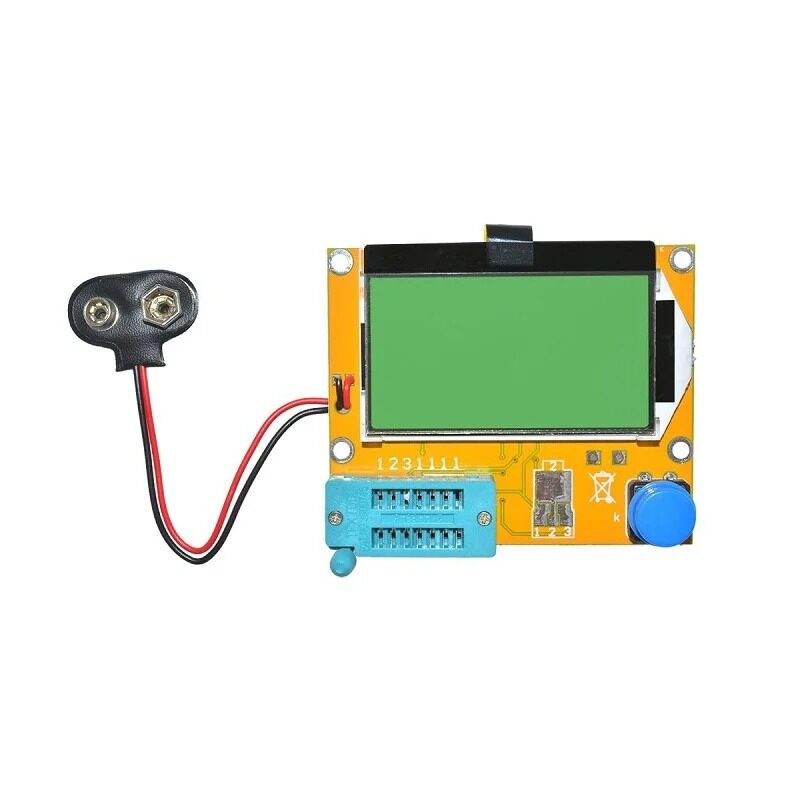
LCR-T4 LCD Graphical Transistor Tester
Auto-identify diodes, transistors, capacitors and resistors in seconds — an indispensable tool for anyone building zener regulator circuits.
Frequently Asked Questions
What is the difference between a zener diode and a normal diode?
A normal rectifier diode is designed to block reverse current and will be destroyed if the reverse voltage exceeds its PIV rating. A zener diode is specifically designed to operate in the reverse-breakdown region at a controlled, predictable voltage (VZ), making it useful as a voltage clamp or reference without damaging the component.
Can I use a zener diode as a 5 V regulator for Arduino?
Yes, a simple shunt zener regulator (5.1 V zener + series resistor) can supply light loads like an Arduino Pro Mini drawing 5–15 mA from a 9 V source. For loads above 30–50 mA, the series resistor dissipates significant heat and efficiency drops — use an LM7805 or buck converter instead for higher currents.
Why does a zener diode get hot?
The zener dissipates power equal to VZ × IZ. If IZ is high (e.g., no load, all current through zener) and VZ is large, the package heats up. Always ensure PD = VZ × IZ_max is within the rated wattage, and add heat sinking for 5 W+ zeners.
What is the temperature coefficient of a zener diode?
Below ~5 V, the coefficient is negative (VZ falls with rising temperature). Above ~7 V, it is positive. Near 5.1–6.2 V, both mechanisms coexist and largely cancel, giving near-zero temperature coefficient — ideal for precision references.
Can I connect two zener diodes in series?
Yes. Two 6.2 V zeners in series give approximately 12.4 V breakdown. Series connection also adds their wattage ratings and can reduce noise compared to a single high-voltage zener. Ensure total IZ_max is within each individual zener’s rating.
What is the minimum current a zener needs to regulate?
A zener diode needs to stay above the knee of the breakdown curve, typically a minimum of 5–10 mA (IZK, the knee current from the datasheet). Below this, regulation degrades and VZ drops significantly.
Ready to Build Your First Voltage Regulator?
Get all the components you need — resistors, capacitors, transistors and more — delivered fast across India from Zbotic.


Add comment