
Vibration sensing is a core capability in modern electronics — from earthquake detection and industrial machine health monitoring to simple tap-triggered alarms and vehicle security systems. The SW-420 vibration sensor and piezoelectric sensor are two of the most popular choices for vibration detection in Arduino projects. In this complete tutorial, we cover how both sensors work, how to wire them to Arduino, the code to read and respond to vibration, and the best real-world applications for each type.
SW-420 vs Piezo: Quick Overview
Before diving into the details, let’s understand the fundamental difference between these two vibration sensing technologies:
- SW-420 Vibration Sensor Module: Uses a spring-loaded contact that closes when vibration shakes the sensor. Outputs a simple digital HIGH/LOW signal. Best for detecting presence or absence of vibration — is something vibrating or not?
- Piezoelectric Sensor (Piezo Disc): Generates a small voltage when physically deformed. Outputs an analog voltage proportional to the strength of vibration. Best for measuring vibration intensity, detecting sharp impacts, or analyzing vibration patterns.
Both can be used with Arduino, and both have their ideal use cases. This tutorial covers both in detail so you can choose the right sensor for your project.
How the SW-420 Vibration Sensor Works
The SW-420 is a non-directional vibration sensor. Inside the module is a spring-based vibration switch. When the sensor is at rest, the spring sits in a fixed position and the switch contact is open. When vibration occurs, the spring oscillates and momentarily closes the contact, producing a digital output.
The module includes an LM393 comparator IC and a sensitivity-adjustment potentiometer. This lets you set the sensitivity threshold — how strong the vibration needs to be before the digital output triggers. The module provides:
- VCC pin: 3.3V–5V power supply
- GND pin: Ground
- DO pin: Digital output (HIGH = no vibration, LOW = vibration detected)
- AO pin: Analog output (raw voltage from the sensing element)
The onboard LED indicator lights up when vibration is detected, making it easy to test during setup without even writing any code.
How Piezoelectric Sensors Work
A piezoelectric sensor (often called a piezo disc or piezo buzzer used in reverse) works on the piezoelectric effect: certain materials (like PZT ceramic) generate an electric charge when mechanically deformed. When a vibration, knock, or impact deforms the disc, it produces a voltage spike that can be read by Arduino’s analog input.
Key characteristics of piezo sensors:
- Output voltage can exceed 5V for strong impacts (need a voltage divider or protection resistor)
- Very sensitive to sharp impacts and high-frequency vibrations
- Can be used as both a sensor (input) and actuator (buzzer output)
- Frequency response up to several kHz — useful for detecting specific vibration frequencies
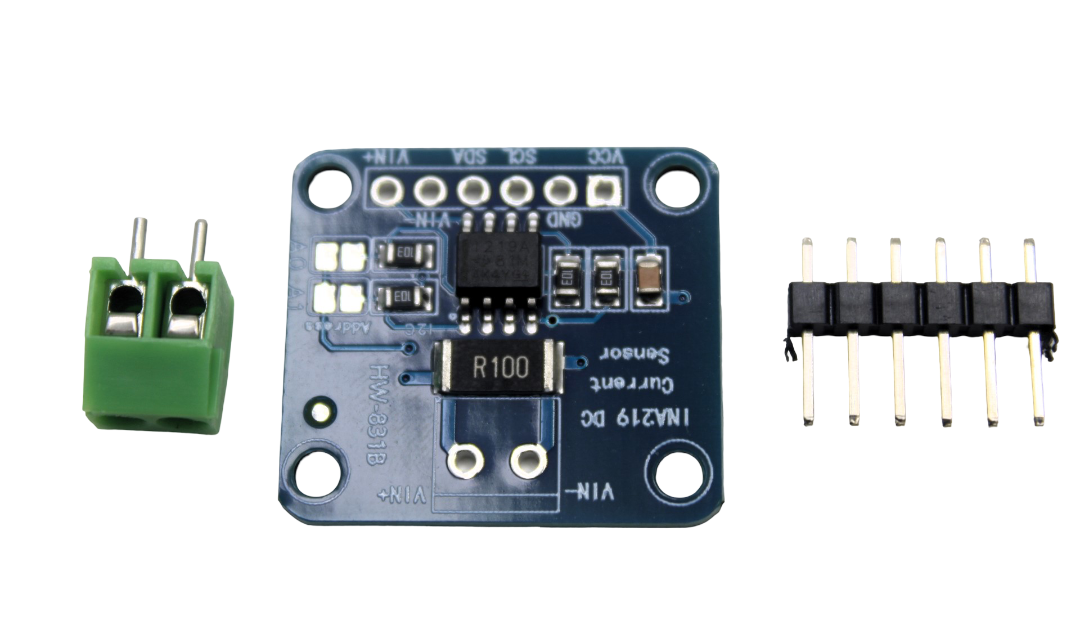
INA219 Bi-directional Current/Power Monitoring Module
Monitor the power consumption of your vibration alarm circuit in real-time. Ideal for battery-powered vibration detection systems where efficiency matters.
Wiring SW-420 to Arduino
The SW-420 module is extremely easy to wire to Arduino:
- VCC → Arduino 5V
- GND → Arduino GND
- DO → Arduino digital pin D2 (for interrupt-based detection)
- AO → Arduino A0 (optional, for analog reading)
Using the digital output on pin D2 allows you to use Arduino’s external interrupt (attachInterrupt) for instant response to vibration without polling in a loop.
Wiring Piezo Sensor to Arduino
Piezo sensors require a protection resistor to prevent the generated voltage from damaging Arduino’s analog input:
- Connect one terminal of the piezo disc to A0 on Arduino
- Connect the other terminal to GND
- Place a 1MΩ resistor between A0 and GND (bleed resistor to prevent charge buildup)
- Optionally add a 5.1V Zener diode from A0 to GND to clamp voltage spikes
The high value of the bleed resistor (1MΩ) is important — too low and you’ll dampen the piezo’s signal before Arduino can read it.
Arduino Code for SW-420
Basic Polling Method
// SW-420 Vibration Sensor - Basic Detection
// Digital output to D7, LED to D13

const int vibPin = 7;
const int ledPin = 13;
const int buzzerPin = 8;

void setup() {
  pinMode(vibPin, INPUT);
  pinMode(ledPin, OUTPUT);
  pinMode(buzzerPin, OUTPUT);
  Serial.begin(9600);
  Serial.println("SW-420 Vibration Detector Ready");
}

void loop() {
  int vibState = digitalRead(vibPin);

  if (vibState == LOW) { // LOW = vibration detected (active LOW)
    digitalWrite(ledPin, HIGH);
    digitalWrite(buzzerPin, HIGH);
    Serial.println("VIBRATION DETECTED!");
    delay(500); // Keep alarm on briefly
  } else {
    digitalWrite(ledPin, LOW);
    digitalWrite(buzzerPin, LOW);
  }

  delay(50);
}
Interrupt-Based Detection (Better Response)
// SW-420 with External Interrupt for instant response
// Connect DO to pin D2 (INT0)

const int vibPin = 2;   // Must be D2 or D3 for interrupt on Uno
const int ledPin = 13;
volatile bool vibrationDetected = false;
unsigned long lastVibTime = 0;
const unsigned long alarmDuration = 3000; // 3 seconds

void vibrationISR() {
  vibrationDetected = true;
  lastVibTime = millis();
}

void setup() {
  pinMode(vibPin, INPUT);
  pinMode(ledPin, OUTPUT);
  attachInterrupt(digitalPinToInterrupt(vibPin), vibrationISR, FALLING);
  Serial.begin(9600);
}

void loop() {
  if (vibrationDetected) {
    digitalWrite(ledPin, HIGH);
    Serial.println("Vibration! Alarm active.");
    vibrationDetected = false;
  }

  // Auto-reset after alarm duration
  if (millis() - lastVibTime > alarmDuration) {
    digitalWrite(ledPin, LOW);
  }
}
Arduino Code for Piezo Sensor
Reading Piezo Impact Strength
// Piezo Sensor - Knock/Impact Detection
// Piezo disc connected to A0 with 1MΩ bleed resistor

const int piezoPin = A0;
const int ledPin = 13;
const int knockThreshold = 100; // Adjust 0-1023
const int coolDownTime = 500;   // ms between readings

unsigned long lastKnockTime = 0;

void setup() {
  pinMode(ledPin, OUTPUT);
  Serial.begin(9600);
  Serial.println("Piezo Knock Detector Ready");
}

void loop() {
  int piezoValue = analogRead(piezoPin);

  if (piezoValue > knockThreshold &&
      (millis() - lastKnockTime > coolDownTime)) {

    lastKnockTime = millis();
    Serial.print("Knock detected! Strength: ");
    Serial.println(piezoValue);

    // Flash LED based on knock strength
    int flashes = map(piezoValue, knockThreshold, 1023, 1, 5);
    for (int i = 0; i < flashes; i++) {
      digitalWrite(ledPin, HIGH);
      delay(100);
      digitalWrite(ledPin, LOW);
      delay(100);
    }
  }
}
SW-420 vs Piezo: Detailed Comparison
| Feature | SW-420 Module | Piezo Sensor |
|---|---|---|
| Output type | Digital (HIGH/LOW) | Analog (voltage spike) |
| Sensitivity adjust | Onboard potentiometer | In code (threshold) |
| Vibration type | Continuous / sustained | Impact / sharp knock |
| Measures intensity? | No | Yes |
| Protection needed | None (module handles it) | 1MΩ + Zener recommended |
| Ease of use | Very easy (plug-and-play) | Moderate |
| Cost (India) | ₹30–80 | ₹20–60 |
| Best for | Burglar alarms, motor vibration | Knock detection, music, seismic |
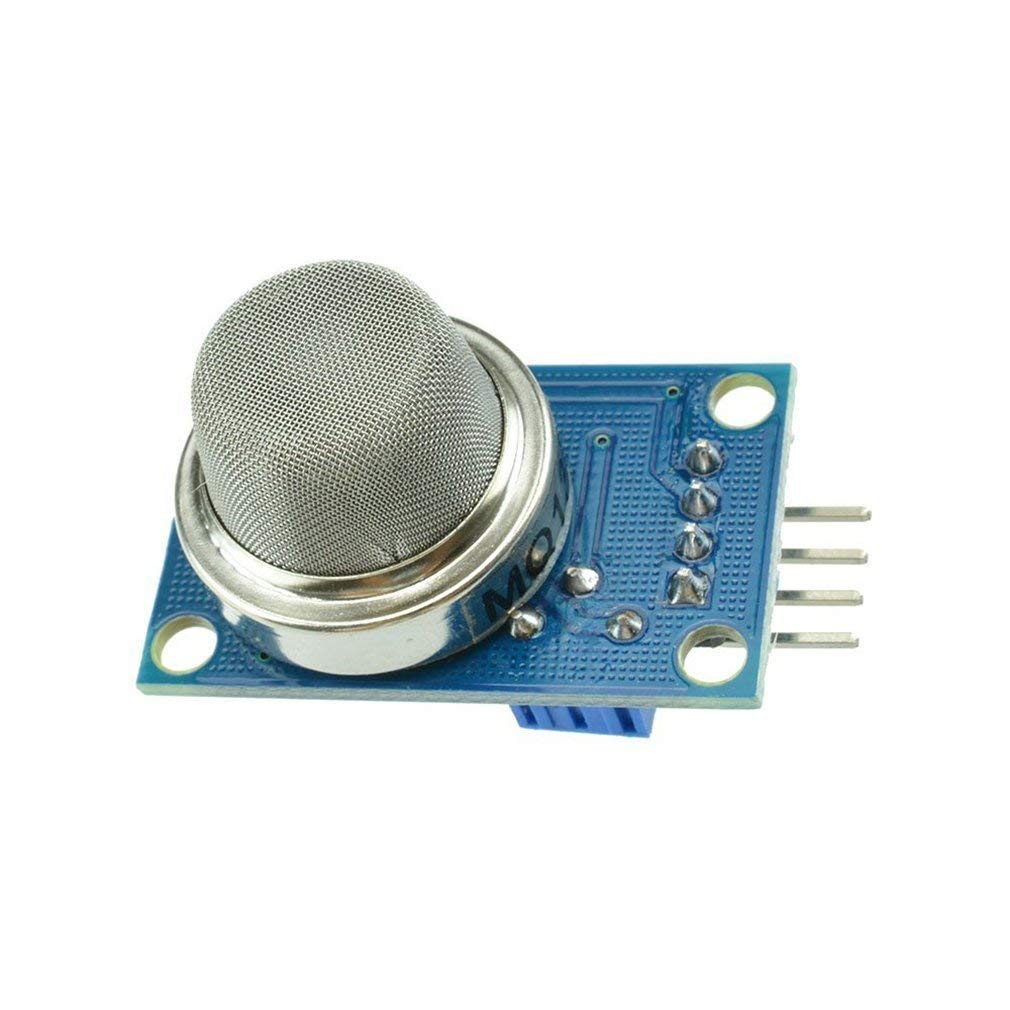
MQ-135 Air Quality / Gas Detector Sensor Module
Build a comprehensive safety system combining vibration detection (SW-420) with gas/smoke detection (MQ-135) for industrial or home monitoring.
Project Ideas
1. Vehicle Theft Alarm (SW-420)
Mount an SW-420 on a motorcycle or car. Any vibration from bumping, towing, or tampering triggers the interrupt and sounds a buzzer alarm. Add a GSM module like SIM800L to send an SMS alert to your phone when vibration is detected beyond a threshold count.
2. Smart Letterbox Notification (Piezo)
Attach a piezo disc inside the letterbox lid. When a letter is dropped in, the impact generates a voltage spike. This triggers an ESP8266 (NodeMCU) to send a Wi-Fi notification to your phone — no more checking an empty letterbox.
3. Earthquake Early Warning (SW-420 + Piezo)
Combine both sensors for redundancy. SW-420 detects sustained low-frequency seismic waves while the piezo catches sharp initial P-waves. Log data to an SD card with timestamp and magnitude estimate for a DIY seismograph.
4. Drum Pad / Electronic Percussion (Piezo)
Attach piezo discs to practice pads. Read the analog output to detect strike velocity and map it to MIDI notes. Use an Arduino Uno with the MIDIUSB library to create a velocity-sensitive electronic drum pad.
5. Machine Condition Monitoring (SW-420)
Mount SW-420 sensors on industrial motors, pumps, or bearings. Track vibration frequency and intensity over time. A sudden change in vibration pattern indicates wear, imbalance, or impending failure — enabling predictive maintenance.
Troubleshooting
SW-420 triggers constantly even without vibration
The sensitivity is set too high. Turn the onboard potentiometer counter-clockwise to reduce sensitivity. Also check that the sensor is mounted securely — a loose mounting will cause it to pick up environmental vibration from floors, fans, and HVAC systems.
SW-420 never triggers even with strong vibration
Turn the potentiometer clockwise to increase sensitivity. Verify you are reading the correct pin (DO = digital) and that your code checks for LOW (not HIGH) as the active state. Also check the orientation — the SW-420 has maximum sensitivity perpendicular to the sensing axis.
Piezo gives no reading on A0
Verify the bleed resistor is 1MΩ (brown-black-green bands). A lower value resistor will significantly reduce the voltage seen at A0. Also try tapping the piezo harder — lightweight contacts may not generate enough charge to exceed the ADC noise floor.
Piezo triggers from electrical noise
Add a 100nF capacitor between A0 and GND to filter high-frequency noise. Keep piezo wiring short and away from high-current lines. Add shielding if operating in an electrically noisy environment (near motors or power supplies).
Frequently Asked Questions
Which is better for a burglar alarm — SW-420 or piezo?
The SW-420 is generally better for burglar alarms because it detects sustained vibration reliably without requiring careful threshold calibration for each installation. Its digital output and onboard comparator make the setup consistent across different environments. Piezo sensors are more suitable when you need to measure the intensity or pattern of vibration.
Can I use the SW-420 outdoors?
The bare SW-420 module is not weatherproof. For outdoor use, enclose it in a waterproof project box with the sensor oriented correctly. Alternatively, use a weatherproof vibration switch module that is designed for outdoor installation.
How do I set the sensitivity on the SW-420 module?
Use a small flathead screwdriver to adjust the blue potentiometer on the module. Clockwise increases sensitivity (triggers with lighter vibration), counter-clockwise decreases it (requires stronger vibration). Watch the onboard LED as you make adjustments — it will light up when the threshold is met.
Can I use a piezo disc as a buzzer and a sensor at the same time?
Not simultaneously with the same piezo element, as it can only be driven or read at one time. However, you can multiplex its use — drive it as a buzzer for feedback, then switch to reading mode to listen for knocks. This is used in some advanced projects where the same element plays tones and listens for taps.
What is the maximum range of vibration the SW-420 can detect?
The SW-420 spring switch has a mechanical sensitivity range. It detects vibrations from approximately 50mg to several g (gravity units) depending on the potentiometer setting. It is not suitable for very precise vibration measurements — for that, use an ADXL345 or MPU6050 accelerometer which gives precise g-force readings on three axes.
Does the interrupt method use more battery power?
No — the interrupt method actually uses less power because Arduino can sleep between events and wake instantly on interrupt. The polling method requires Arduino to run continuously. For battery-powered vibration alarms, use the interrupt method combined with the LowPower library to put Arduino in deep sleep between triggers.
Build Your Vibration Detection Project Today
Find SW-420 modules, piezo sensors, relay boards, buzzers, and everything else for your Arduino alarm or monitoring system at Zbotic.in. Fast shipping across India with expert support.
Conclusion
Both the SW-420 vibration sensor and piezoelectric sensor are excellent choices for vibration detection in Arduino projects — they just serve different purposes. The SW-420 excels at simple presence/absence detection with its plug-and-play digital output, making it the go-to sensor for burglar alarms, machine monitoring, and tamper detection. The piezo sensor shines when you need to measure the strength of impact, create musical instruments, or build seismic detection systems.
Mastering both sensors gives you a powerful toolkit for a wide range of projects. Start with the basic SW-420 circuit to understand interrupt-based detection, then experiment with the piezo for knock-pattern recognition. The combination of both, as shown in the earthquake detection project, demonstrates how complementary sensors can create more robust and reliable systems than either can alone.


Add comment