
GRBL is the open-source firmware that powers the vast majority of desktop CNC routers, laser engravers, and mills in India and worldwide. Written in C for the AVR platform, GRBL turns a standard Arduino Uno or Nano into a capable 3-axis CNC motion controller that interprets G-code and drives stepper motors with precise timing. If you have just bought a 3018 CNC router, laser engraver, or built your own CNC machine, this GRBL setup tutorial will walk you through every step of configuration.
1. What Is GRBL and What Does It Do?
GRBL (pronounced “gerbil”) is a high-performance, open-source firmware for CNC motion control. It was designed for Arduino Uno (ATmega328P) but has since been ported to other platforms. GRBL:
- Reads G-code commands over USB serial (from your laptop running gSender/Candle)
- Executes precise stepper motor step pulses at up to 30 kHz
- Controls spindle speed via PWM output
- Handles limit/homing switches for safe machine operation
- Manages coolant and probe inputs
- Implements look-ahead buffering for smooth motion curves
The current stable version is GRBL 1.1h, which introduced improved arc generation and better status reporting. GRBL-HAL is a newer fork targeting 32-bit boards (STM32, ESP32). For Arduino Uno-based CNC shields, GRBL 1.1h is the standard choice.
2. Hardware: Arduino and CNC Shield
Arduino Uno
GRBL runs on the Arduino Uno (ATmega328P at 16MHz). The Uno’s 16MHz clock is the limiting factor for step frequency — it handles up to about 30kHz step pulses, suitable for most stepper motors with microstepping. An Arduino Nano can also run GRBL for very compact builds.
CNC Shield V3
The CNC Shield V3 is the most common GRBL expansion board in India. It plugs directly onto the Arduino Uno headers and provides:
- Sockets for 4 stepper driver modules (X, Y, Z, and A/clone axis)
- Microstepping selection jumpers (MS1, MS2, MS3) per axis
- Limit switch inputs (X+, X−, Y+, Y−, Z+, Z−)
- Spindle PWM output
- Spindle enable (DIR) output
- Coolant output
- Emergency stop pin
- 24V terminal for stepper power (motor supply)
GRBL Boards (All-in-One)
Dedicated GRBL boards like the Woodpecker CNC board, Blackbox (OpenBuilds), and various Chinese integrated boards combine the Arduino and CNC shield into one PCB. These are simpler to wire and are often pre-flashed with GRBL. Most 3018 Pro kits sold in India use one of these integrated boards.

B-Type Aluminium Heat Sink for MK7/MK8 – Stepper Driver Cooling
GRBL CNC stepper drivers (A4988/DRV8825) get very hot during long jobs. Stick these aluminium heatsinks directly on the driver ICs to prevent thermal shutdown and missed steps during multi-hour cuts.
3. Flashing GRBL to Arduino
If your machine did not come pre-flashed with GRBL, or you want to update to the latest version, follow these steps:
- Download GRBL. Get the latest release from
github.com/gnea/grbl/releases— download the source zip (grbl-1.1h.20190825.zip). - Install Arduino IDE. Download Arduino IDE 1.8.x from arduino.cc (v2.x also works). Install on Windows, Mac, or Linux.
- Import GRBL library. In Arduino IDE: Sketch → Include Library → Add .ZIP Library → select the downloaded GRBL zip file.
- Open the GRBL example sketch. File → Examples → grbl → grblUpload
- Select correct board and port. Tools → Board → Arduino Uno. Tools → Port → select your Arduino’s COM port (Windows: Device Manager will show it; Linux: /dev/ttyUSB0 or /dev/ttyACM0).
- Upload. Click the Upload arrow. The process takes about 30 seconds. The IDE will show “Done uploading” when complete.
- Verify. Open Serial Monitor at 115200 baud. You should see:
Grbl 1.1h ['$' for help]. Type$$and press Enter to see all current settings.
4. Wiring the CNC Shield
Power Supply
The CNC shield requires two power supplies:
- Arduino power: 5V via USB from laptop (during setup) or 7–12V via DC barrel jack (during operation to avoid PC current draw issues).
- Stepper motor power: 12–24V DC at adequate current (typically 10–20A for a 3-axis machine). This connects to the VMotor terminals on the shield. Do NOT connect this to the Arduino’s voltage regulator — it will damage the board. The CNC shield routes motor power directly to the stepper driver modules.
Stepper Motor Wiring
Each stepper motor connects to one driver socket on the CNC shield via a 4-pin connector (or screw terminals). The important thing is to identify your motor’s two coil pairs (A1/A2 and B1/B2). You can identify coil pairs with a multimeter — connected wires in the same coil will have resistance (typically 1–5 ohms), while wires from different coils show open circuit (infinite resistance).
If a motor runs in the wrong direction, simply swap the A1 and A2 wires (or flip the connector). Do not try to reverse direction in software until you have verified physical wiring is correct.
Spindle Wiring
The CNC shield’s spindle output is a PWM signal (GRBL pin D11, mapped to the SpnEn header). For a DC spindle with a PWM-capable speed controller (ESC), connect the PWM signal to the controller’s signal wire. For simple on/off spindles, connect SpnEn to a relay module controlled from the shield.
5. Configuring Stepper Drivers (A4988/DRV8825)
A4988 vs DRV8825
- A4988: Maximum 2A per coil, 1/16 microstepping, well-proven, widely available in India at ₹80–₹150 each. Good for NEMA17 motors up to 1.7A.
- DRV8825: Maximum 2.5A per coil, 1/32 microstepping, lower noise, better for NEMA23 motors. Slightly more expensive at ₹150–₹250 each.
Microstepping Jumpers
Under each stepper driver socket on the CNC Shield V3 are three jumper pairs (MS1, MS2, MS3). These set the microstepping mode:
| MS1 | MS2 | MS3 | Microstepping (A4988) |
|---|---|---|---|
| OFF | OFF | OFF | Full step |
| ON | OFF | OFF | 1/2 step |
| OFF | ON | OFF | 1/4 step |
| ON | ON | OFF | 1/8 step |
| ON | ON | ON | 1/16 step |
Most 3018 CNC routers use 1/8 or 1/16 microstepping. Higher microstepping = smoother motion but lower maximum speed (due to GRBL’s step frequency limit). 1/8 stepping is a good balance.
Setting Current Limit (VREF)
The most critical stepper driver adjustment is current limit. Over-current burns motors and drivers; under-current causes missed steps. Use a multimeter in DC voltage mode:
- Measure VREF between the driver’s trimpot (center of the small adjustable potentiometer) and GND.
- For A4988:
Imax = VREF / 0.625(with 0.1Ω sense resistors). Set VREF = (rated motor current × 0.625). - For DRV8825:
Imax = VREF / 0.5. Set VREF = (rated motor current / 2). - Start at 70–80% of motor rated current. For a 1.7A NEMA17: VREF ≈ 0.85V on A4988.
6. GRBL Settings ($ Parameters) Explained
Type $$ in your GRBL sender to see all current settings. Here are the most important ones:
| Parameter | Description | Typical Value (3018) |
|---|---|---|
| $0 | Step pulse time (µs) | 10 |
| $1 | Step idle delay (ms) | 25 (255 = always on) |
| $2 | Step port invert (bitmask) | 0 |
| $3 | Direction port invert (bitmask) | 0 (adjust if axes move wrong direction) |
| $4 | Step enable invert | 0 |
| $5 | Limit pin invert (NC vs NO switches) | 0 (NC=1) |
| $10 | Status report mask | 1 |
| $20 | Soft limits enable | 0 (1 if homing enabled) |
| $21 | Hard limits enable | 0 (1 with limit switches) |
| $22 | Homing cycle enable | 0 (1 with limit switches) |
| $100 | X steps/mm | 800 (varies by machine) |
| $101 | Y steps/mm | 800 |
| $102 | Z steps/mm | 800 |
| $110 | X max rate (mm/min) | 800 |
| $111 | Y max rate (mm/min) | 800 |
| $112 | Z max rate (mm/min) | 400 (Z is slower) |
| $120 | X acceleration (mm/s²) | 40 |
| $130 | X max travel (mm) | 300 (your machine’s X range) |
Change any setting by typing the parameter and value, e.g.: $100=800 followed by Enter. Changes are saved to Arduino EEPROM immediately.
7. Calibrating Steps Per mm
Getting steps/mm right is fundamental — incorrect values mean your G-code dimensions do not match reality. Here is the calculation and calibration process:
Theoretical Calculation
Steps/mm = (Motor steps per revolution × Microstepping) / (Lead screw pitch mm)

Example: NEMA17 (200 steps/rev) × 1/8 microstepping / 2mm lead pitch
= 200 × 8 / 2 = 800 steps/mm

For belt drive: replace pitch with (belt pitch × pulley teeth)
Example: GT2 belt, 20-tooth pulley → pitch distance = 2mm × 20 = 40mm/rev
Steps/mm = (200 × 16) / 40 = 80 steps/mm
Practical Calibration
- Set your calculated theoretical value first:
$100=800 - Mark a reference point on your machine (a piece of tape on the axis).
- Send a 100mm move command:
G91 G1 X100 F200 - Measure the actual distance moved with a ruler or digital calipers.
- Calculate corrected steps/mm:
New steps/mm = Old steps/mm × (100 / actual mm moved) - Example: moved 97mm instead of 100mm →
800 × (100/97) = 824.7. Set$100=824.7 - Repeat until measured movement matches commanded movement within 0.1mm.
8. Homing Switches and Limit Switches
Homing switches allow GRBL to find a consistent machine origin (machine zero) at power-on. Limit switches prevent the machine from crashing into its mechanical ends. These can be the same switches — GRBL supports both modes.
Switch Types
- Normally Closed (NC): Switch is closed (circuit active) when not triggered. Opens when the axis reaches the switch. Safer — a broken wire triggers a fault rather than being invisible.
- Normally Open (NO): Switch is open until triggered. Simpler wiring but a broken wire is invisible to GRBL.
NC switches are recommended. Set $5=1 to invert limit pin logic for NC switches.
Wiring Limit Switches
Each axis minimum switch connects to the Xmin, Ymin, Zmin headers on the CNC shield. Connect one switch terminal to the signal pin and the other to GND. No pull-up resistors are needed — the CNC shield or Arduino provides internal pull-ups on limit inputs.
Enabling Homing
$22=1   ; Enable homing cycle
$23=0   ; Homing direction mask (0 = home to -X, -Y, +Z)
$24=25  ; Homing feed rate (mm/min) - slow speed for switch contact
$25=500 ; Homing seek rate (mm/min) - fast approach speed
$26=250 ; Homing debounce delay (ms)
$27=1   ; Homing pull-off distance (mm) - backs off switch after homing
$21=1   ; Enable hard limits (optional - halts machine if limit hit)
$20=1   ; Enable soft limits (requires homing to be done first)
After enabling homing, type $H to run the homing cycle. The machine will seek each axis minimum (or maximum for Z) at the seek rate, back off, and re-approach slowly for accurate repeatability.
9. Sender Software: gSender and Candle
gSender (Recommended for Beginners)
gSender by Sienci Labs is the most polished and beginner-friendly GRBL sender available. Key features:
- Visual 3D toolpath preview
- Built-in GRBL settings editor with descriptions for every parameter
- Probing wizard (touch plate support)
- Macros for common operations
- Job time estimation
- Spindle/laser control panel
- Available for Windows, Mac, and Linux. Free.
Candle (Lightweight Alternative)
Candle is a simpler GRBL sender popular for its low resource usage. It shows a basic 3D toolpath view, has manual jogging controls, and supports GRBL 1.1 status reporting. Good choice for older laptops or when you need a minimal interface. Free, open-source.
Universal G-Code Sender (UGS)
UGS is a Java-based sender with a long track record of reliability. Good for production environments. Requires Java runtime. The UGS Platform version has a more modern interface with plugin support.
Basic Workflow in gSender
- Connect: Select COM port and click Connect. gSender will identify your GRBL version.
- Home machine: Click the Home button (runs
$H). - Load G-code: File → Open. Navigate to your .nc or .gcode file.
- Set work zero: Jog to your intended start position (usually bottom-left corner of material), then click Zero → Zero All Axes.
- Verify Z height: Jog Z to material surface, use paper or touch plate to set Z zero.
- Preview: Use the 3D preview to confirm the toolpath looks correct.
- Run: Click Start. Monitor the cut — have an E-stop ready.
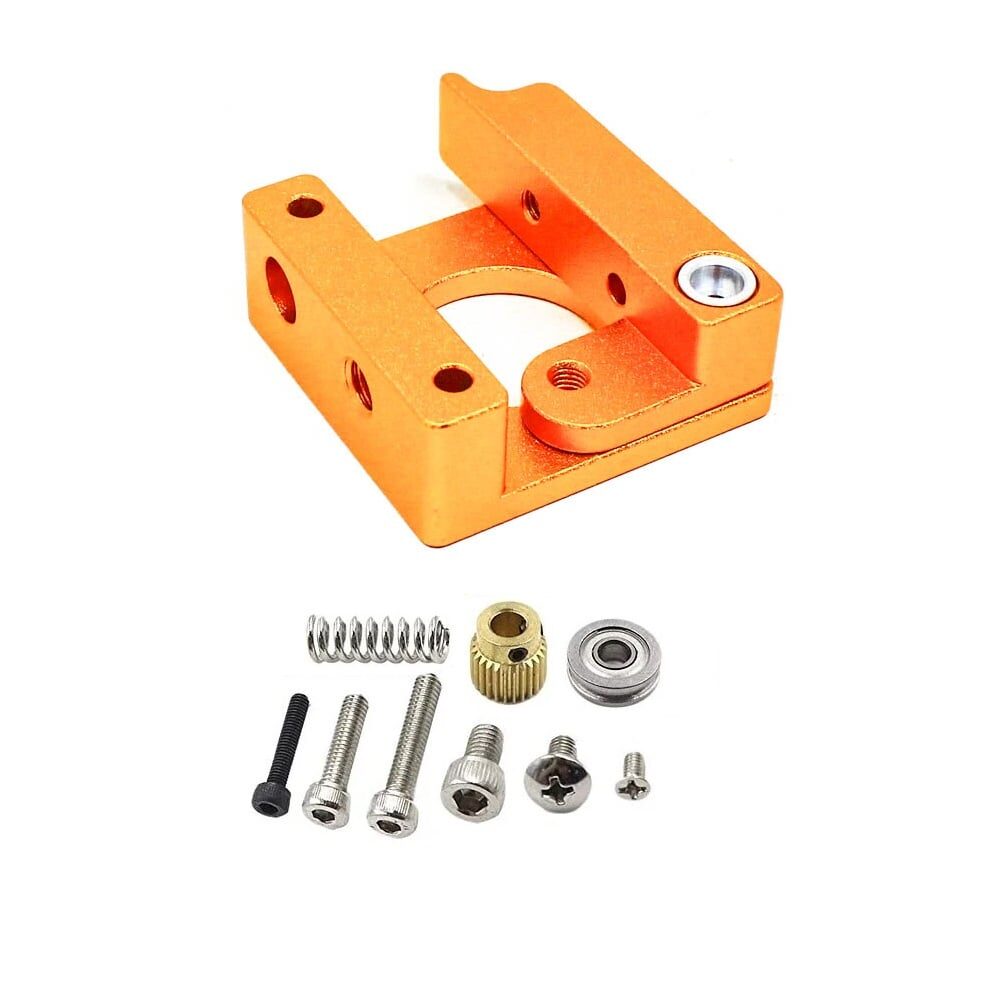
Left Side MK8 Extruder Aluminum 3D Printer Block
Building a CNC machine that also handles filament-based material deposition? A quality aluminium extruder block ensures reliable operation for hybrid CNC/3D printer builds.
10. Running Your First Cut
Before cutting real material, follow these steps to reduce the chance of an expensive mistake:
Air Cut Test
Raise the Z-axis 20mm above the material and run your G-code. With the spindle off, watch the machine trace the entire toolpath in air. Verify:
- The toolpath matches your expected design
- The machine does not travel to unexpected positions
- No axis reaches its travel limit
- The cut origin (zero position) is correct
First Layer Test Cut
Modify your G-code to cut only the first pass (reduce total Z depth to one pass depth). This verifies feed rates, spindle speed, and material response before committing to the full depth.
Key G-code Commands to Know
G28       ; Return to home (machine zero)
G0 X0 Y0  ; Rapid move to work zero (X=0, Y=0)
G1 Z-1 F100  ; Feed move: cut 1mm into material at 100mm/min
G91       ; Set incremental positioning mode
G90       ; Set absolute positioning mode (default)
M3 S1000  ; Spindle on clockwise at 1000 RPM (if spindle is PWM-controlled)
M5        ; Spindle off
11. Troubleshooting GRBL Issues
Alarm: Limit Switch Triggered
GRBL enters an Alarm state if a limit switch triggers unexpectedly. Type $X to clear the alarm and unlock the machine. Check that your limit switch wiring is correct and that $5 is set appropriately for your switch type (NC vs NO).
Axis Moves in Wrong Direction
Change the direction invert bitmask with $3. The bitmask is binary: bit 0 = X, bit 1 = Y, bit 2 = Z. To invert X only: $3=1. To invert X and Y: $3=3. Alternatively, swap the coil pair wires on the motor connector.
Stepper Motor Stalling / Missing Steps
Causes: current limit too low (raise VREF), acceleration too high (lower $120–$122), max rate too high (lower $110–$112), loose coupling, or mechanical binding. Reduce acceleration and speed first to diagnose.
Inaccurate Cutting (Dimensions Wrong)
Recalibrate steps/mm ($100–$102). Check for mechanical backlash in lead screws or belt stretch. Verify microstepping jumpers match your steps/mm calculation. Check that the workpiece is not shifting during cutting (workholding issue).
GRBL Not Responding / No Connection
Check COM port selection, ensure baud rate is 115200 in your sender software. Try a different USB cable (data cable, not charge-only). On Windows, check Device Manager for driver issues. On Linux, ensure user is in the dialout group: sudo usermod -a -G dialout $USER
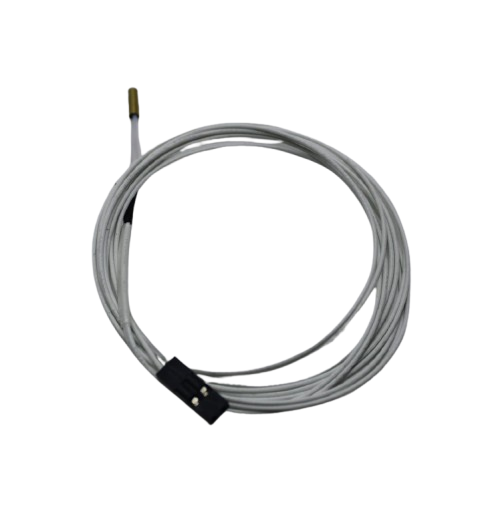
100k NTC Thermistor with Copper Tip
When building custom CNC spindle temperature monitoring or a hybrid CNC/printer system, reliable NTC thermistors provide accurate readings for your controller board.
Frequently Asked Questions
What is the latest version of GRBL and where do I download it?
GRBL 1.1h (released 2019) is the latest stable version for Arduino Uno. Download it from github.com/gnea/grbl/releases. GRBL-HAL is a more recent fork for 32-bit platforms (ESP32, STM32). For most Indian hobbyists with 3018-style CNC routers, GRBL 1.1h on Arduino Uno remains the standard and best-supported choice in 2026.
Can GRBL control a 4th axis?
GRBL 1.1 supports 3 axes plus an A-axis clone (the 4th driver on the CNC Shield can be configured to clone the Y or X axis for dual-motor gantry setups). True 4th-axis rotary (A-axis for rotation) requires GRBL-HAL or a different firmware like Marlin or LinuxCNC. Most hobbyist 3018 machines do not need a 4th axis, but if you plan rotary engraving, investigate GRBL-HAL on ESP32.
How do I reverse a motor direction in GRBL?
Use the $3 direction invert bitmask. It is a binary value where bit 0 = X, bit 1 = Y, bit 2 = Z. To invert X axis only, set $3=1. To invert Y only, set $3=2. To invert both X and Y, set $3=3 (binary 011). Alternatively, physically swap one coil pair wire on the motor connector — this is simpler if you have easy access to the wiring.
What is the difference between GRBL and Klipper for CNC?
GRBL runs directly on the Arduino microcontroller and handles all motion planning on-chip. Klipper offloads motion planning to a Raspberry Pi, leaving the microcontroller only to execute step pulses — this enables much higher step rates and more complex kinematics. Klipper is primarily designed for 3D printers. For CNC routing and milling, GRBL (or GRBL-HAL on 32-bit boards) is the standard choice. LinuxCNC on a dedicated PC is used for high-precision industrial CNC work.
Why does my CNC machine lose steps on long cuts?
Lost steps on long cuts are typically caused by: stepper driver overheating (add heatsinks and a small fan), current limit set too low (raise VREF), feed rate too high for the cutting force (reduce feed rate), mechanical binding (check that all axes move freely by hand), or USB communication interruptions (use a dedicated laptop not running other tasks, and try a different USB cable). Heatsinking the stepper drivers is the most common fix for Indian conditions where ambient temperatures are high.
Build and Upgrade Your CNC Machine
Zbotic stocks stepper motor components, heat sinks, thermistors, and maker electronics to help you build, configure, and upgrade your CNC router or 3D printer. Browse our full range of maker supplies.


Add comment