
Battery Monitor Display: Voltage and Current on OLED Screen
If you have ever wondered whether your battery is draining too fast or if your charger is delivering the right current, a battery monitor voltage current OLED display Arduino project is exactly what you need. By hooking up a simple INA219 current sensor and a 0.96-inch OLED to an Arduino Nano, you get a compact, real-time dashboard that shows you voltage, current, and power consumption at a glance. In this guide we walk through every step — from choosing the right components to writing the code — so that even a beginner hobbyist in India can build this in a weekend.
Why You Need a Battery Monitor
Batteries are the lifeblood of every portable electronics project — from RC cars and drones to DIY power banks and solar energy systems. Yet most hobbyists run their batteries blind, trusting a rough voltage check once in a while. This approach leads to over-discharge, reduced battery life, unexpected shutdowns, and in the worst case, dangerous lithium cell damage.
A dedicated battery monitor solves all these problems. It gives you:
- Real-time voltage — know exactly how much charge is left
- Current draw — understand what each sub-circuit is consuming
- Power (Watt) reading — spot inefficiencies in your design
- Energy tracking — log mAh consumed over a session
For Indian makers who work with 18650 Li-ion cells, LiPo packs, or lead-acid batteries, this information is invaluable. Electricity costs in India have risen sharply, and understanding your power budget helps optimise both your hobby projects and your wallet.
Components Required
Here is a straightforward bill of materials to build a complete battery monitor:
| Component | Specification | Qty |
|---|---|---|
| Arduino Nano / Uno | ATmega328P, 5V logic | 1 |
| INA219 Current Sensor Module | I2C, ±3.2A, 0–26V | 1 |
| 0.96″ OLED Display | 128×64 px, I2C (SSD1306) | 1 |
| 18650 Li-ion Battery | 3.7V nominal | 1–3 |
| 18650 Battery Holder | Single or multi-cell | 1 |
| Jumper Wires | Male-to-female, 20cm | 10 |
| Breadboard or PCB | 830 tie-point breadboard | 1 |
The total cost in India should be under ₹500 if you source components from a trusted online store like Zbotic. The INA219 module is the only specialised component; everything else is standard maker stock.
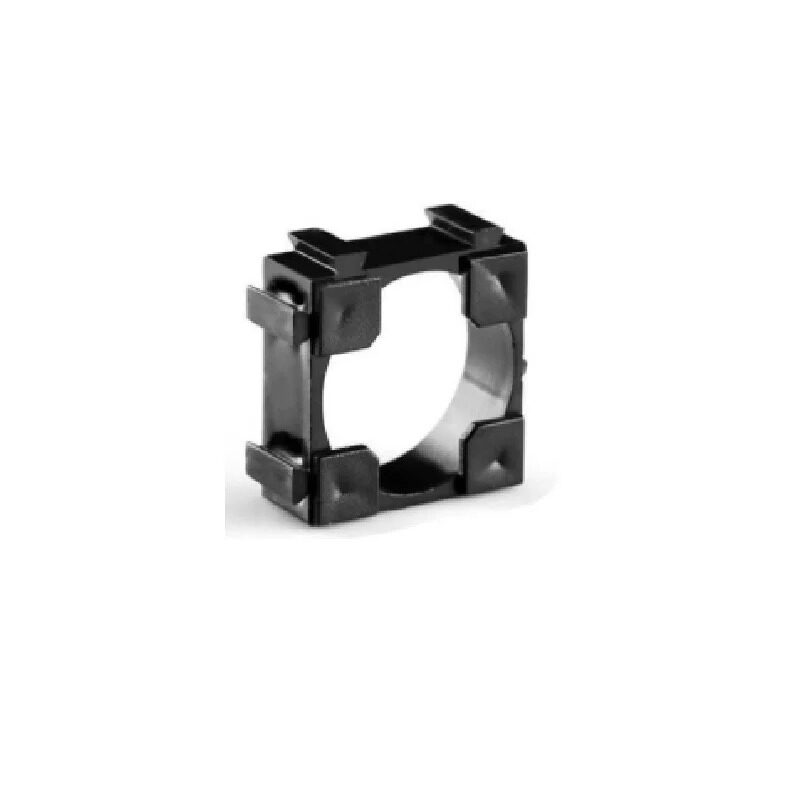
1 x 18650 Battery Holder with 18.4MM Bore Diameter – pack of 4
Sturdy single-cell 18650 holder with spring contacts. Perfect for your battery monitor project — holds cells securely and makes wiring neat.
Understanding the INA219 Current Sensor
The INA219 is a Texas Instruments high-side current and power monitor IC. It uses a small shunt resistor (typically 0.1Ω on the module) and measures the voltage drop across it using a precision 12-bit ADC. It then reports:
- Shunt voltage (mV across shunt)
- Bus voltage (voltage of the load side)
- Current (calculated from shunt voltage and shunt resistance)
- Power (bus voltage × current)
The module communicates over I2C, so it only uses two data lines (SDA and SCL) plus power and ground. You can daisy-chain up to four INA219 modules on the same bus by changing the address jumpers — very useful for monitoring multiple battery cells simultaneously.
Key specifications:
- Input voltage range: 0 to 26V
- Max measurable current: ±3.2A (stock 0.1Ω shunt; replace with 0.01Ω for up to 32A)
- Resolution: 0.8mA current, 4mV bus voltage
- ADC resolution: 12-bit
- I2C address: 0x40 (default), configurable to 0x41–0x44
For most hobbyist projects — powering an Arduino, a motor driver, or an ESP32 module — the default 3.2A range is more than enough.
Wiring the Circuit
The wiring is deliberately simple because both the INA219 and the OLED share the same I2C bus. Here is the connection map:
| Arduino Pin | Connects To |
|---|---|
| A4 (SDA) | OLED SDA + INA219 SDA |
| A5 (SCL) | OLED SCL + INA219 SCL |
| 5V | OLED VCC + INA219 VCC |
| GND | OLED GND + INA219 GND |
| — | INA219 VIN+ → Battery positive terminal |
| — | INA219 VIN− → Load positive terminal |
| — | Battery negative → Arduino GND → Load negative |
Important: The INA219 is a high-side sensor. It goes in series with the positive rail between the battery and your load. Never connect it in series with the negative rail — the bus voltage reading will be wrong.
If you are powering the Arduino from the same battery you are monitoring, feed the battery positive into the INA219 VIN+, then connect VIN− to the Arduino VIN pin (or 5V via a regulator). The GNDs are all tied together.
Arduino Code Walkthrough
You will need two libraries from the Arduino Library Manager:
- Adafruit_INA219 — for the current sensor
- Adafruit_SSD1306 and Adafruit_GFX — for the OLED
Install them via Sketch → Include Library → Manage Libraries. Here is a minimal but fully functional sketch:
#include <Wire.h>
#include <Adafruit_INA219.h>
#include <Adafruit_SSD1306.h>

#define SCREEN_WIDTH 128
#define SCREEN_HEIGHT 64
#define OLED_RESET -1

Adafruit_SSD1306 display(SCREEN_WIDTH, SCREEN_HEIGHT, &Wire, OLED_RESET);
Adafruit_INA219 ina219;

void setup() {
  Serial.begin(115200);
  ina219.begin();
  display.begin(SSD1306_SWITCHCAPVCC, 0x3C);
  display.clearDisplay();
}

void loop() {
  float busVoltage = ina219.getBusVoltage_V();
  float current_mA  = ina219.getCurrent_mA();
  float power_mW    = ina219.getPower_mW();

  display.clearDisplay();
  display.setTextSize(1);
  display.setTextColor(WHITE);

  display.setCursor(0, 0);
  display.print("Voltage: ");
  display.print(busVoltage, 2);
  display.println(" V");

  display.setCursor(0, 16);
  display.print("Current: ");
  display.print(current_mA, 1);
  display.println(" mA");

  display.setCursor(0, 32);
  display.print("Power:   ");
  display.print(power_mW, 1);
  display.println(" mW");

  display.display();
  delay(500);
}
This sketch updates the OLED every 500ms. The readings are accurate enough for most hobby use cases. You can reduce the delay for faster updates, but 250ms is the practical minimum before I2C bus congestion becomes noticeable.
Displaying Data on the OLED
The 0.96-inch SSD1306 OLED has 128×64 pixels and four distinct horizontal bands at text size 1 (each band is 8 pixels tall). With text size 2, each character is 16px tall, giving you more readable numbers but fewer lines of text.
A good layout strategy:
- Top row (y=0): Voltage in large font (setTextSize(2))
- Middle row (y=20): Current in large font
- Bottom row (y=40): Power or a simple bar graph showing battery state
You can draw a battery icon using display.drawRect() and display.fillRect() to show the fill level visually. Map the voltage range (e.g. 3.0V–4.2V for a single Li-ion cell) to a bar width of 0–60 pixels. This gives users an intuitive at-a-glance reading even from across the room.
For multi-cell packs, divide the measured voltage by the cell count before mapping to get per-cell voltage, which is the number that actually tells you the charge state.
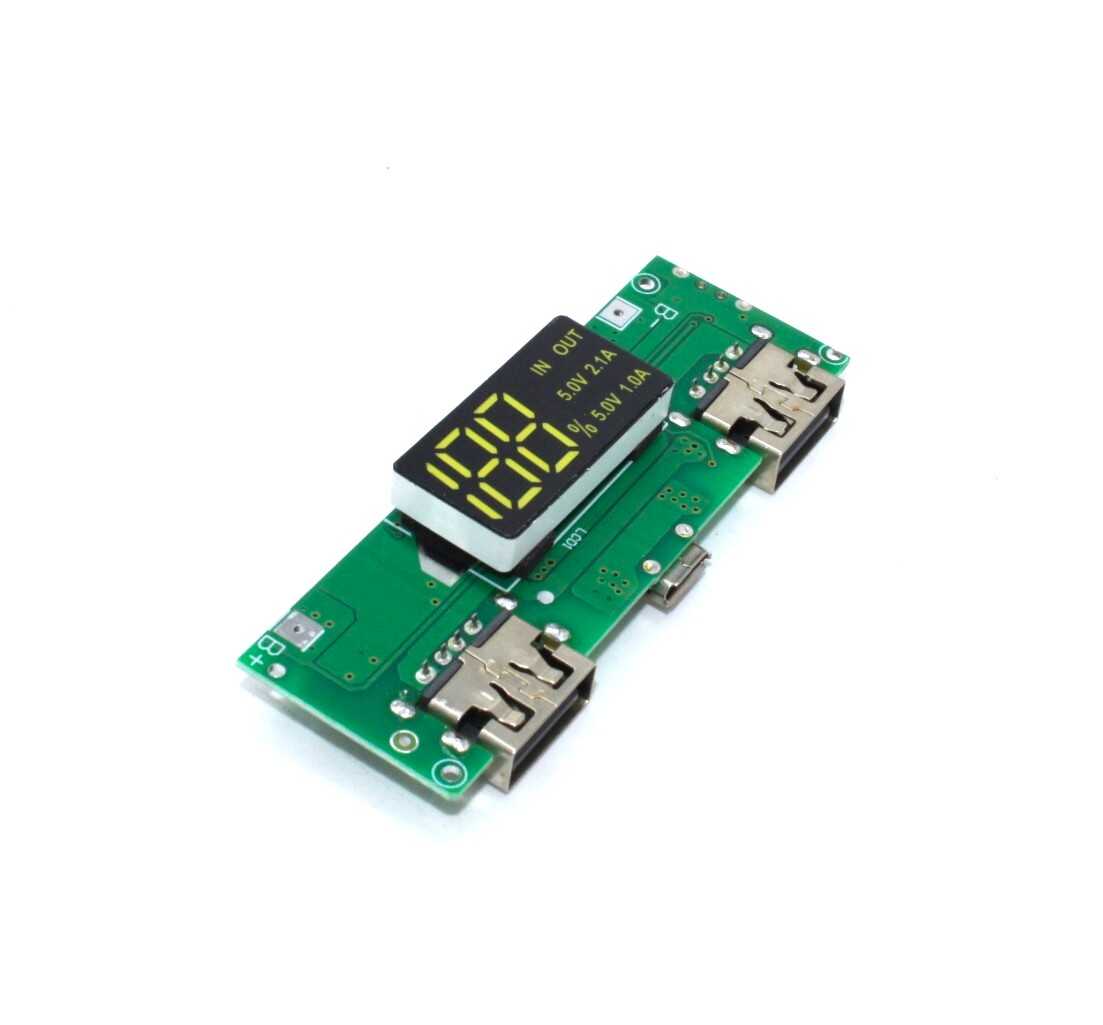
18650 5V 1A/2A Lithium Battery Digital Display & Charging Module
All-in-one charging and boost module with built-in digital display. Great as a reference design for understanding battery monitoring in a compact form factor.
Calibration and Accuracy Tips
Out of the box the INA219 is reasonably accurate, but a few tweaks will tighten your readings:
- Measure the actual shunt resistance. The module’s 0.1Ω resistor may be ±1%. Use a precision multimeter to measure it and pass the exact value to
ina219.setCalibration_32V_2A()or use the raw calibration register method. - Use averaging. Take 10 readings in rapid succession and average them to reduce noise, especially when measuring milliamp-level currents.
- Separate power for the Arduino. If the Arduino is drawing power from the same line you are monitoring, its own current draw (typically 20–50mA) will appear in your readings. Use a separate regulated 5V supply for the Arduino to isolate it.
- Check for thermal drift. The shunt resistor heats up at higher currents, changing its resistance slightly. For currents above 2A, add a small heatsink pad.
- Calibrate against a known load. Use a 10Ω 1W resistor with a known voltage and compare the calculated current to what the INA219 reports. Adjust the calibration factor in software if needed.
With these steps, you should achieve ±1% accuracy on voltage and ±2% on current — more than enough for hobby power budgeting.
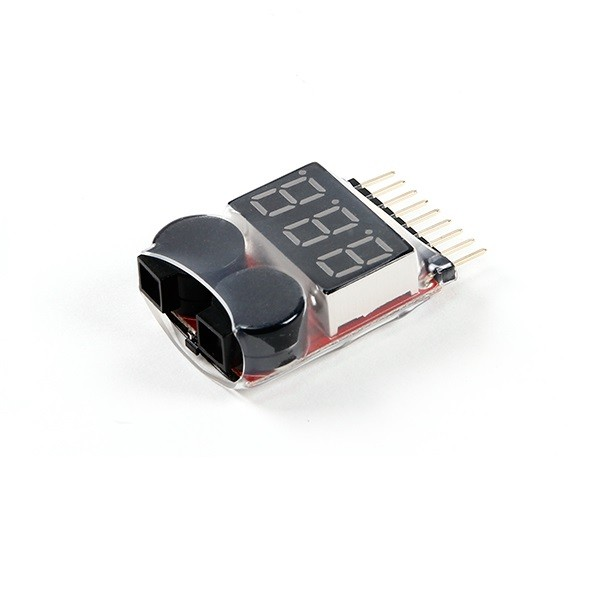
1-8S Lipo Battery Voltage Tester without alarm
Quick plug-and-play voltage checker for 1S to 8S LiPo packs. Use it to cross-verify your DIY OLED monitor readings during calibration.
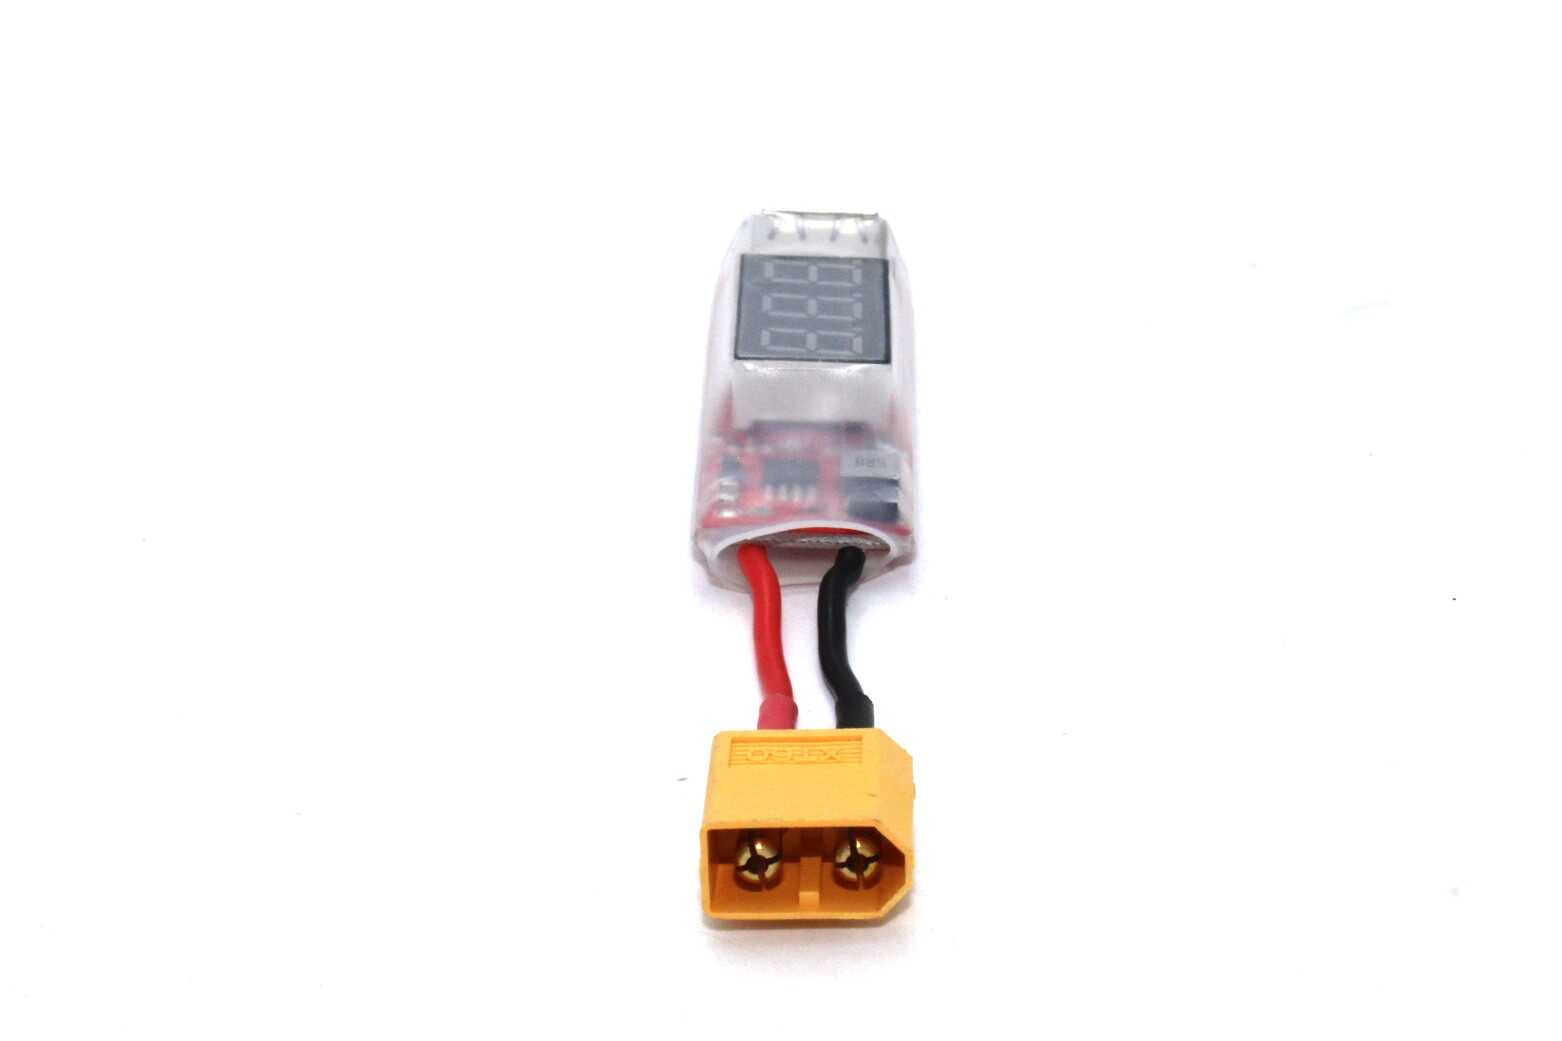
2S-6S Lipo Battery XT60 to USB Adapter with Voltage Display
Tap power from your LiPo pack via XT60 connector and charge USB devices while seeing real-time voltage — perfect companion to your custom battery monitor.
Frequently Asked Questions
Can I monitor a 12V lead-acid battery with the INA219?
Yes! The INA219 supports bus voltages up to 26V, so a 12V battery is well within range. Use the setCalibration_32V_2A() configuration and make sure your load current stays below 3.2A (or modify the shunt resistor for higher currents).
Can I use an ESP32 instead of Arduino?
Absolutely. The INA219 and SSD1306 OLED both use standard I2C, which works on any microcontroller with I2C support. With an ESP32 you can also push data to a Blynk dashboard or an MQTT broker over Wi-Fi, turning your battery monitor into an IoT device.
My current reading shows negative values. What is wrong?
The INA219 is measuring current in the opposite direction. Swap the VIN+ and VIN− connections on the module. The positive terminal of the battery must connect to VIN+ and the load must connect to VIN−.
How do I add mAh tracking to the sketch?
Use a timer to record how much time (in hours) passes between readings. Multiply the average current (in mA) by the elapsed time to get mAh. Accumulate this value in a variable. For accuracy, take readings every second rather than every 500ms.
Is the 0.96-inch OLED bright enough to read in sunlight?
Standard SSD1306 OLEDs struggle in direct sunlight. For outdoor use, consider a larger 1.3-inch OLED, an LCD with backlight, or a 7-segment display module, which has much higher contrast in bright ambient light.
All the components you need — 18650 holders, LiPo testers, charger modules, and more — are available at Zbotic.in, India’s go-to store for electronics components and maker supplies. Fast shipping across India, genuine components, and competitive prices make it the first stop for every hobbyist project.


Add comment