
If you are running Klipper firmware on your 3D printer and still seeing those frustrating bulges at corners, blobs mid-print, or inconsistent extrusion when the printhead changes direction, Pressure Advance is the single most impactful calibration you can do. This comprehensive guide walks you through exactly what pressure advance is, why it matters, and how to dial it in perfectly — including tips specific to Indian climates and locally available filaments.
What Is Pressure Advance in Klipper?
Pressure Advance (PA) is Klipper’s answer to a fundamental problem in FDM printing: the filament inside the hotend behaves like a spring. When the extruder motor pushes filament, the molten plastic in the nozzle builds up pressure before actually extruding. When the printhead decelerates or changes direction, that stored pressure continues pushing plastic out — causing blobs, ooze, and corner bulges.
Pressure Advance works by pre-pressurising the nozzle before acceleration and relieving pressure before deceleration. Instead of waiting for physics to catch up, Klipper’s firmware proactively adjusts extruder motor movement to keep extrusion perfectly in sync with head movement.
Unlike Marlin’s Linear Advance (LA), Klipper’s PA runs calculations on the host computer (Raspberry Pi) rather than the microcontroller, which means it can use more sophisticated math without impacting real-time performance. The result is dramatically cleaner corners, reduced stringing, and better dimensional accuracy — often improving print quality more than any slicer setting change.
Why Do Corners Bulge on FDM Prints?
Understanding the problem makes the solution clearer. Here’s what happens at a corner without pressure advance:
- The printhead approaches a corner and begins decelerating.
- The extruder motor slows proportionally.
- However, the molten plastic already pressurised in the nozzle chamber keeps flowing due to stored elastic energy.
- This excess plastic deposits at the corner, forming a blob or bulge.
- After the corner, the head accelerates, but the pressure in the nozzle has partially released — causing under-extrusion immediately after the turn.
This is compounded by Bowden extruder setups (common on Ender 3, CR-10 series) where the PTFE tube between the extruder and hotend acts as an additional spring, amplifying the pressure lag. Direct drive setups suffer less but still benefit from PA tuning.
Prerequisites Before Calibrating
Before tuning pressure advance, ensure your printer is mechanically sound and other calibrations are done:
- Extruder E-steps/rotation_distance calibrated — PA assumes accurate extrusion volume. If your extruder is off by 10%, PA cannot compensate.
- PID tuning complete for both hotend and heated bed. Temperature fluctuations change filament viscosity and affect PA behaviour.
- Correct retraction settings — PA and retraction interact. Many Klipper users find retraction distance can be reduced significantly (often to 0.5mm or less) after PA is tuned.
- Resonance compensation (input shaping) calibrated if available — do PA first, then input shaping, as they are somewhat independent.
- Clean nozzle — partial clogs create inconsistent pressure that makes PA calibration meaningless.
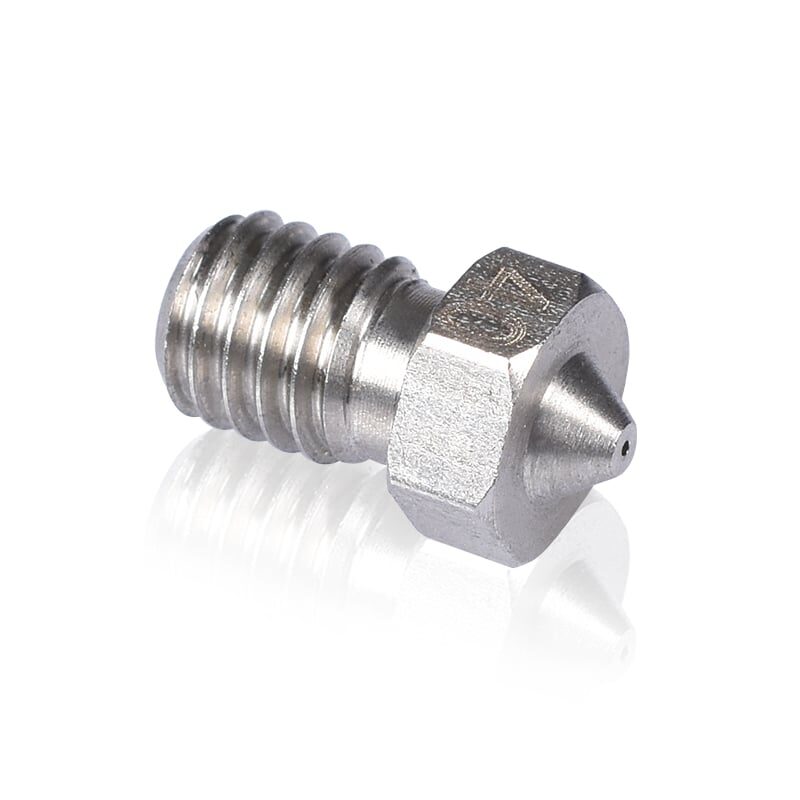
3D Printers Stainless Steel Nozzle 0.4mm
A clean, fresh 0.4mm nozzle is essential before pressure advance calibration. Partial clogs cause inconsistent readings and wasted calibration time.
View on Zbotic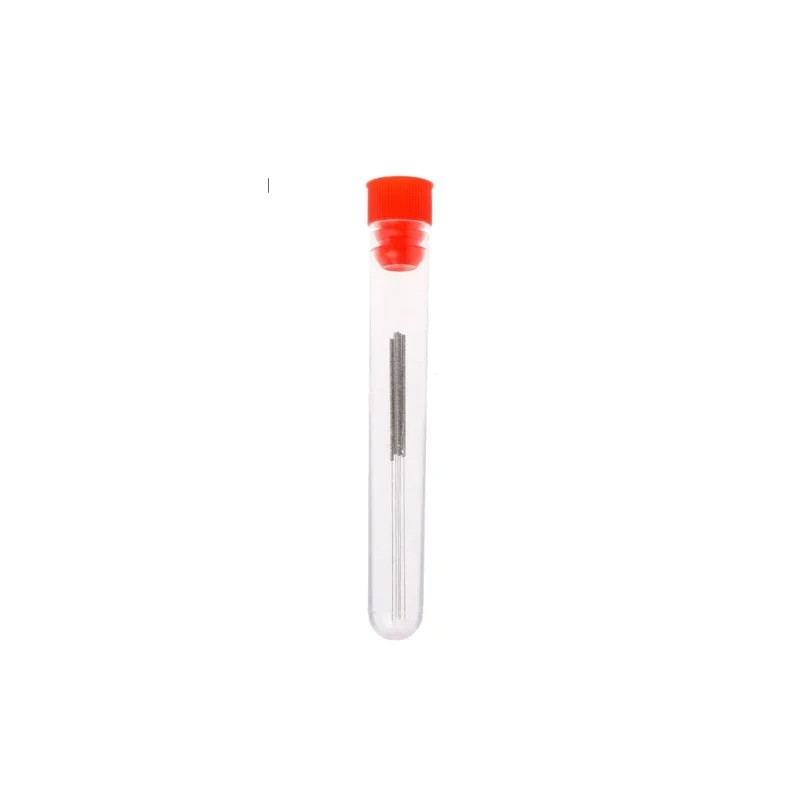
0.4mm Stainless Steel Nozzle Cleaning Needle (Pack of 10)
These precision cleaning needles help clear partial clogs before calibration, ensuring accurate and repeatable results.
View on ZboticMethod 1: Pressure Advance Tower
The PA Tower is the classic calibration method. You print a hollow square tower and visually inspect corners at different PA values.
Step 1: Generate the Tower GCode
Add the following to your printer’s Klipper config or run it as a macro. The key is using SET_PRESSURE_ADVANCE to step through values during the print. Many slicers (SuperSlicer, OrcaSlicer) have built-in PA tower generators.
In OrcaSlicer: Calibration → Pressure Advance → PA Tower. Set your starting value (0.0) and ending value (0.1 for direct drive, 0.5 for Bowden), with step size 0.005 or 0.01.
Step 2: Print and Inspect
Print the tower using your target filament at normal print settings. Do NOT change speed or temperature between layers — you want PA to be the only variable. After printing, examine each layer band under good lighting (angled light works best). Look for the layer height where:
- Corner bulges are minimised or eliminated
- The wall surface is most uniform
- There is no visible seam blob at layer start/end
Step 3: Record and Apply
Note the height at the best-looking section. Calculate the PA value: PA = start_value + (best_height / layer_height) * step_size. Enter this into your printer.cfg:
[extruder]
pressure_advance: 0.045
pressure_advance_smooth_time: 0.040
Method 2: PA Line Pattern (Recommended)
The PA Line Pattern method is faster, more accurate, and the currently preferred approach in the Klipper community. Instead of a tower (which takes 30-60 minutes), this prints a set of lines in about 5 minutes.
Using the Klipper PA Line Macro
Install the macro from the Klipper documentation or use the built-in calibration in OrcaSlicer or Bambu Studio. The pattern prints pairs of lines — a slow line and a fast line — at progressively increasing PA values.
[gcode_macro PRESSURE_ADVANCE_CALIBRATION]
gcode:
    {% set pa_start = params.PA_START|default(0.0)|float %}
    {% set pa_stop = params.PA_STOP|default(0.1)|float %}
    {% set pa_step = params.PA_STEP|default(0.005)|float %}
    # ... (full macro in Klipper docs)
Reading the Pattern
Print the pattern and examine it at the corner transitions. The correct PA value shows:
- No excess material at direction changes
- The gap between the fast and slow section lines is consistent
- No under-extrusion immediately after corners
Look for the section where the corner transitions most closely match the straight sections. Count up from zero to find your PA value.
Understanding Smooth Time
pressure_advance_smooth_time is a secondary parameter that controls how aggressively PA responds to speed changes. Default is 0.040 seconds (40ms).
A lower smooth time makes PA react faster — better for direct drive and high-speed printing, but can cause extruder skipping on weaker motors. A higher smooth time averages the response — better for Bowden setups and flexible filaments.
General starting points:
- Direct drive, standard speeds: 0.040 (default)
- Direct drive, high speed (200+ mm/s): 0.020–0.030
- Bowden (Ender 3, CR-10): 0.040–0.060
- Flexible filaments (TPU): 0.060–0.080
Only adjust smooth_time if your extruder skips steps during PA calibration prints, or if corners are slightly over-corrected (a small gap or dip at corners rather than a bulge).
Material-Specific PA Values
PA values vary significantly by material because different plastics have different melt viscosities. A lower-viscosity material flows more easily, requires less stored pressure, and typically needs a lower PA value.
| Material | Typical Temp (°C) | PA Range (Direct) | PA Range (Bowden) |
|---|---|---|---|
| PLA | 200–220 | 0.03–0.06 | 0.30–0.60 |
| PETG | 230–250 | 0.04–0.09 | 0.40–0.90 |
| ABS/ASA | 240–260 | 0.02–0.05 | 0.20–0.50 |
| TPU (soft) | 220–240 | 0.0–0.02 | Not recommended |
| Nylon PA12 | 260–280 | 0.04–0.08 | 0.40–0.80 |
Note that these are starting ranges — your specific printer, hotend, and filament brand will produce slightly different optimal values. Always calibrate per filament profile, not per material type alone.
Bambu Lab PLA Filament Grey – 1.75mm with Reusable Spool
Premium Bambu Lab PLA with consistent diameter tolerance — ideal for accurate pressure advance calibration and repeatable results.
View on Zbotic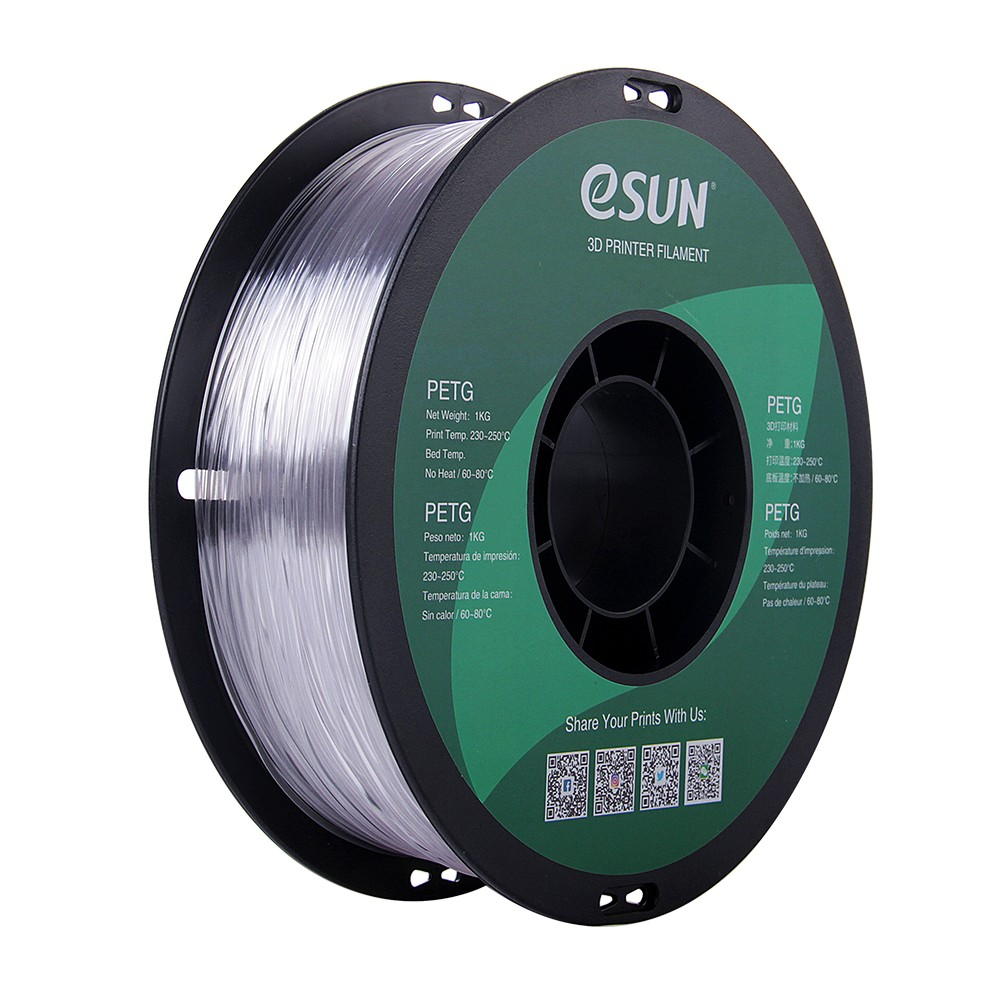
eSun PETG 1.75mm 3D Printing Filament 1kg – Clear
eSun PETG is widely used in India and requires careful PA tuning due to its stringing tendency. Perfect material for practising calibration.
View on ZboticTroubleshooting Common Issues
PA Too High (Over-correction)
Symptoms: Gaps or under-extrusion at the start of lines after a direction change, possible extruder skipping sounds, rough corner surfaces that look “starved” of filament.
Fix: Reduce PA value in steps of 0.005. Also check if smooth_time needs to be increased.
PA Too Low (Under-correction)
Symptoms: Blobs still present at corners, seams visible as raised dots, stringing between features.
Fix: Increase PA value. Also ensure retraction is not doing double duty — if you have very high retraction (3mm+ direct drive, 6mm+ Bowden), that may be masking the root PA issue.
Extruder Skipping During Calibration
PA causes very rapid extruder motor direction reversals. Weaker extruder motors (especially on Ender 3 stock extruder) may skip steps.
Fix: Increase extruder stepper current slightly (within safe limits), increase smooth_time, or replace with a better extruder like BMG clone or Orbiter.
Results Not Repeatable
If running the same PA test twice gives different results, suspect:
- Temperature fluctuations (failed PID tune or cooling issues)
- Inconsistent filament diameter (cheap filament)
- Loose Bowden coupler creating variable backlash
- Partial clog clearing and re-clogging
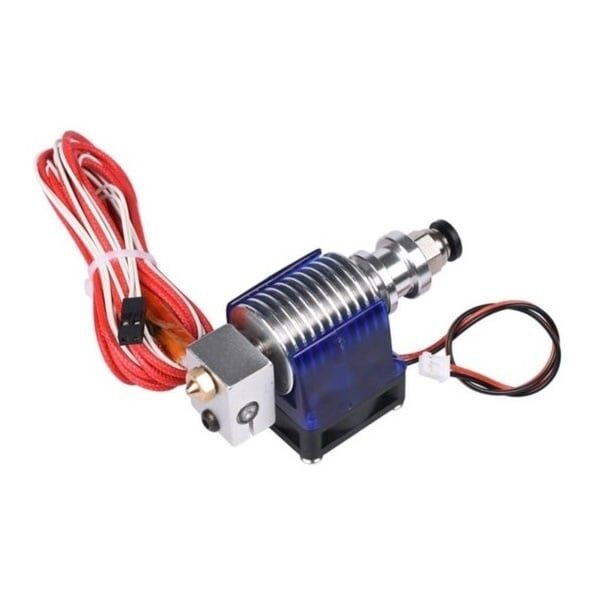
All Complete Bowden V6 with Fan Cable – 30cm for 1.75mm Filament
A complete V6 hotend kit for Bowden setups. A proper hotend reduces pressure inconsistency and makes PA calibration more accurate and stable.
View on ZboticTips for Indian Filaments & Climate
India’s climate presents unique challenges for 3D printing calibration that Western guides often overlook:
Humidity Effects
India’s humid climate (especially during monsoon — June to September in most states) significantly affects filament behaviour. Wet filament pops and crackles during printing, changing the effective melt viscosity and making PA calibration unreliable. Always print PA calibration tests with freshly dried filament. A food dehydrator set to 50°C for 4–6 hours works excellently for PLA and PETG.
Temperature Variation by City
If your printer is in an air-conditioned room in Chennai vs an open workshop in Mumbai during summer, ambient temperature will shift the optimal PA value slightly. Calibrate in the same conditions you normally print in.
Filament Diameter Consistency
Premium filaments like Bambu Lab PLA/ABS and eSun PETG available through Zbotic offer tight diameter tolerances (±0.02mm), which is crucial for repeatable PA results. Some locally repacked filaments have poor consistency, making calibration frustrating regardless of how carefully you tune.
Dust Filtration
Indian environments (especially in metro areas) have higher particulate matter. Dust contaminating filament before it enters the extruder causes inconsistent feeding, which mimics bad PA values.
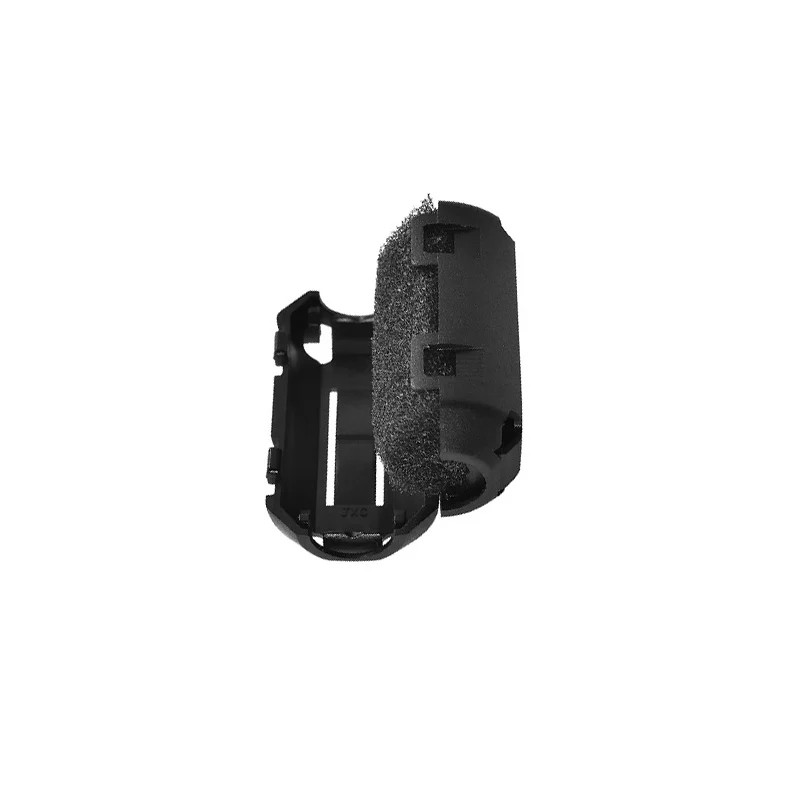
ABS/PLA/PETG Filament Filters Cleaner Blocks – Dust Removal for Ender 3, CR-10, Prusa i3
These filament dust filters keep your filament clean before entering the extruder, reducing feed inconsistencies that can throw off your PA calibration.
View on ZboticFrequently Asked Questions
Do I need Klipper to use pressure advance?
Klipper has pressure advance. Marlin firmware has an equivalent called Linear Advance (LA). Both solve the same problem, but Klipper’s implementation runs on the host computer, making it more computationally capable. This guide is Klipper-specific, but the concepts apply to LA too.
Should I calibrate PA before or after input shaping?
Do PA first. Pressure advance affects extrusion timing, while input shaping affects vibration/ringing. They are independent, but PA should be tuned at normal print speeds first, then input shaping can allow you to increase speeds — at which point PA may need a small re-tune.
My Bowden tube PA value seems very high (0.4–0.8). Is that normal?
Yes, completely normal. Bowden setups have much more filament spring effect due to the long PTFE tube. Bowden PA values of 0.4–0.8 are typical for Ender 3-class printers. Do not be alarmed by the seemingly large number.
Can I use the same PA value for all filaments?
No. Ideally, create separate Klipper profiles (or use the SAVE_CONFIG approach with per-filament macros) for each filament type. At minimum, calibrate separately for PLA, PETG, and ABS/ASA. The differences can be significant — PETG often needs 50–100% higher PA than PLA on the same printer.
After tuning PA, should I reduce retraction?
Almost certainly yes. PA handles pressure equalization during direction changes, which previously required high retraction to prevent ooze. With well-tuned PA, many direct drive users find 0.5–1mm retraction is sufficient (down from 3–5mm). Bowden users can typically reduce from 6–8mm down to 3–5mm. Re-tune retraction after PA calibration.
Ready to Print Perfect Corners?
Pressure advance calibration is one of the most rewarding Klipper tuning steps — the improvement in print quality is immediately visible. Start with the PA Line Pattern method, use quality filament with consistent diameter, and remember to recalibrate when you change filament types.
Find all your 3D printer calibration supplies, quality filaments, and spare parts at Zbotic.in — India’s trusted electronics and maker components store with fast shipping across the country.


Add comment