
Drone Gimbal Guide: 2-Axis vs 3-Axis for Aerial Photography
If you have ever watched buttery-smooth aerial footage from a drone and wondered how it stays so steady despite wind gusts, motor vibrations, and sudden manoeuvres, the answer is a gimbal. A gimbal is a motorised stabilisation system that keeps your camera perfectly level and smooth regardless of how the drone moves. For anyone serious about aerial photography or videography in India, understanding the difference between a 2-axis and a 3-axis gimbal is essential before spending money on your build.
This guide covers everything you need to know — from the basics of gimbal mechanics to a detailed comparison, use-case recommendations, and tips for integrating a gimbal into your custom drone build.
What Is a Drone Gimbal?
A gimbal is a pivoted support mechanism that allows the object mounted on it — in this case a camera — to rotate freely around one or more axes. In the context of drones, a camera gimbal uses brushless motors and an inertial measurement unit (IMU) to actively counteract the drone’s unwanted movements and keep the camera stable and level.
Without a gimbal, even the best drone frame will transmit vibrations from its propellers and motors directly to the camera, resulting in shaky, unusable footage. Wind gusts, aggressive manoeuvres, and uneven surfaces all add to this problem. A gimbal solves all of this by continuously measuring orientation and firing its motors to compensate in real time.
Gimbals are rated by the number of axes they stabilise:
- 1-axis: Compensates for tilt (pitch) only — rarely used in drones
- 2-axis: Compensates for pitch and roll
- 3-axis: Compensates for pitch, roll, and yaw
How Does a Gimbal Work?
Modern drone gimbals rely on three core components working together:
1. IMU (Inertial Measurement Unit)
The IMU contains accelerometers and gyroscopes that measure the gimbal’s orientation and angular velocity many times per second (typically 1,000–8,000 Hz). This data is fed into the controller board.
2. Controller Board (SimpleBGC / BaseCam)
The controller processes IMU data and calculates exactly how much correction each motor needs to apply. Popular open-source options like SimpleBGC (BaseCam Electronics) allow fine-tuning of PID parameters for different camera weights and flying conditions.
3. Brushless Motors
Unlike the main propulsion motors, gimbal motors are small, precise brushless motors that respond almost instantly to controller commands. They apply corrective torque to counteract detected motion.
The entire feedback loop happens hundreds of times per second, which is why the result feels seamlessly smooth when you watch the footage.
2-Axis Gimbal: Features, Pros & Cons
A 2-axis gimbal controls the camera on two axes: pitch (tilting up and down) and roll (banking left or right). It does not control yaw (rotation left and right).
Key Features
- Lighter and more compact than 3-axis systems
- Lower cost — typically 30–50% cheaper than equivalent 3-axis models
- Simpler tuning with fewer PID loops to configure
- Lower power draw — extends flight time slightly
- Adequate for slower, controlled flight where yaw movement is minimal
Pros
- Weight savings: Ideal for smaller frames like 450mm or 550mm quadcopters where payload capacity is limited
- Cost efficiency: Good choice for budget builds or beginners who are still learning to fly smoothly
- Simpler setup: Fewer motors to balance and tune
- Sufficient for photography: For still photography, 2-axis stabilisation is often more than enough
Cons
- No yaw stabilisation: When the drone yaws (turns), the camera follows, causing a visible panning motion in video
- Jello effect: High-frequency yaw vibrations can appear as a wobbling jello effect in footage
- Less cinematic: Dynamic flight manoeuvres reveal the lack of yaw compensation
3-Axis Gimbal: Features, Pros & Cons
A 3-axis gimbal adds yaw stabilisation on top of pitch and roll. This means the camera stays completely locked in space regardless of which direction the drone is pointing or how it manoeuvres.
Key Features
- Full stabilisation across all three rotational axes
- Enables truly cinematic, smooth video in all flight conditions
- Compatible with professional cameras up to 2–3 kg in heavy-lift configurations
- Usually includes follow mode, lock mode, and FPV mode
- Some models include remote tilt control via RC transmitter
Pros
- Superior video quality: Eliminates all three types of rotational movement from footage
- Dynamic flight friendly: Drone can make sharp turns while camera stays perfectly stable
- Professional results: Required for wedding videography, real estate, and film production
- Versatile shooting: Lock mode lets you point the camera at a fixed point while the drone moves freely
Cons
- Heavier: Adds 200–400g more than a 2-axis system, reducing flight time
- More expensive: Quality 3-axis gimbals are a significant investment
- Complex tuning: Three PID loops need careful calibration, especially with heavier cameras
- Larger frame required: Needs a 650mm or larger frame to carry the weight effectively
2-Axis vs 3-Axis: Head-to-Head Comparison
| Feature | 2-Axis Gimbal | 3-Axis Gimbal |
|---|---|---|
| Axes Stabilised | Pitch + Roll | Pitch + Roll + Yaw |
| Video Smoothness | Good | Excellent |
| Weight | Lighter | Heavier |
| Cost | Lower | Higher |
| Tuning Complexity | Simple | Moderate–Complex |
| Best For | Photography, Slow Video | Cinematic Video |
| Min Frame Size | 450mm | 650mm+ |
| Flight Time Impact | Minimal | Moderate Reduction |
Which Gimbal for Which Use Case?
Choose a 2-Axis Gimbal If:
- You are shooting aerial still photographs and not video
- Your drone frame is 450mm–550mm with limited payload capacity
- You are a beginner learning drone photography on a budget
- You mostly fly in calm, low-wind conditions (common in early mornings across Indian cities)
- Your flying style is slow and gentle — survey passes, slow pans
Choose a 3-Axis Gimbal If:
- You are shooting wedding videography, real estate, or film production footage
- You need to do dynamic fly-throughs, reveal shots, or orbit manoeuvres
- Your build is 650mm or larger (hexacopter or heavy-lift quadcopter)
- You are using a mirrorless camera or action cam that demands broadcast-quality stability
- You operate in coastal India, hills, or agricultural zones where wind is unpredictable
Mounting a Gimbal on Your Drone Build
Correct mounting is as important as choosing the right gimbal. Even the best 3-axis system will produce poor footage if not properly integrated with your frame.
Step 1: Check Payload Capacity
Calculate your drone’s total takeoff weight and subtract the frame, battery, flight controller, ESCs, and motors. The remaining margin is your payload capacity. Ensure the gimbal + camera combination fits within this margin with at least a 20% safety buffer.
Step 2: Centre of Gravity
The gimbal must be mounted so that the complete assembly (drone + battery + gimbal + camera) has its centre of gravity directly above the geometric centre of the frame. A misaligned CoG causes the flight controller to constantly fight the imbalance, wasting battery and degrading flight stability.
Step 3: Anti-Vibration Mounting
Always mount the gimbal on rubber or silicone vibration dampers. Motor vibration frequencies are much higher than a gimbal’s correction capability — even a perfectly tuned 3-axis gimbal cannot filter out 200Hz motor noise. Dampers handle the high-frequency component, and the gimbal handles the low-frequency attitude corrections.
Step 4: Power Isolation
Power the gimbal from its own dedicated BEC (Battery Eliminator Circuit) or directly from the main battery via a voltage regulator. Sharing power rails with motors can inject electrical noise that confuses the gimbal’s IMU.
Vibration Isolation: The Overlooked Factor
Most beginners blame gimbal tuning for jello effects and shaky footage, but the real culprit is often poor vibration isolation. Here is a systematic approach to eliminating vibration at its source:
- Propeller balance: Use a magnetic prop balancer and balance every prop before flight. Even a 0.1g imbalance at 6,000 RPM generates significant vibration.
- Motor balance: Check that all motor bells spin true. A bent shaft or a bent motor bell will create resonant vibration that no gimbal can compensate for.
- Frame stiffness: Carbon fibre frames are stiffer and transmit less vibration than plastic or aluminium. Loose screws and frame flex are common vibration sources.
- Damper hardness: Use softer dampers for lighter cameras and harder dampers for heavier payloads. Mismatched damper stiffness causes the gimbal plate to oscillate at its natural resonance frequency.
- FC vibration isolation: The flight controller itself should be mounted on dampers. An FC that is picking up vibration will issue noisy control signals that cause the drone to hover unevenly.
Aerial Photography in India: Specific Considerations
Flying for aerial photography in India comes with unique regulatory and environmental factors that affect your gimbal choice:
DGCA Regulations
As of 2025, the Directorate General of Civil Aviation (DGCA) requires all drones above 250g to be registered on the Digital Sky platform. Commercial aerial photography requires a Remote Pilot Certificate. A heavier 3-axis gimbal setup pushes your drone further into the medium or large category with stricter operating requirements. Verify your total takeoff weight before finalising your build.
Weather Conditions
India’s varied geography — coastal winds in Mumbai and Chennai, dust storms in Rajasthan, high altitude in Himachal Pradesh — demands robust stabilisation. For any location with regular wind above 15 km/h, a 3-axis gimbal is strongly recommended. The additional yaw stabilisation prevents the drone’s wind-induced yaw oscillations from ruining your shots.
Monsoon Considerations
Humidity during the monsoon season can affect gimbal motor performance and IMU calibration. Always calibrate your gimbal in the same temperature conditions you will fly in. Store gimbal systems with silica gel packets and consider conformal coating on the controller board if operating in high-humidity coastal areas.
Dust
Agricultural and construction site surveys in India encounter significant dust. Inspect gimbal motor bearings and clean them regularly if operating in dusty environments. Sealed brushless motors last considerably longer.
Recommended Products from Zbotic
Building a professional aerial photography drone in India? Zbotic stocks a wide range of components that pair perfectly with gimbal systems:
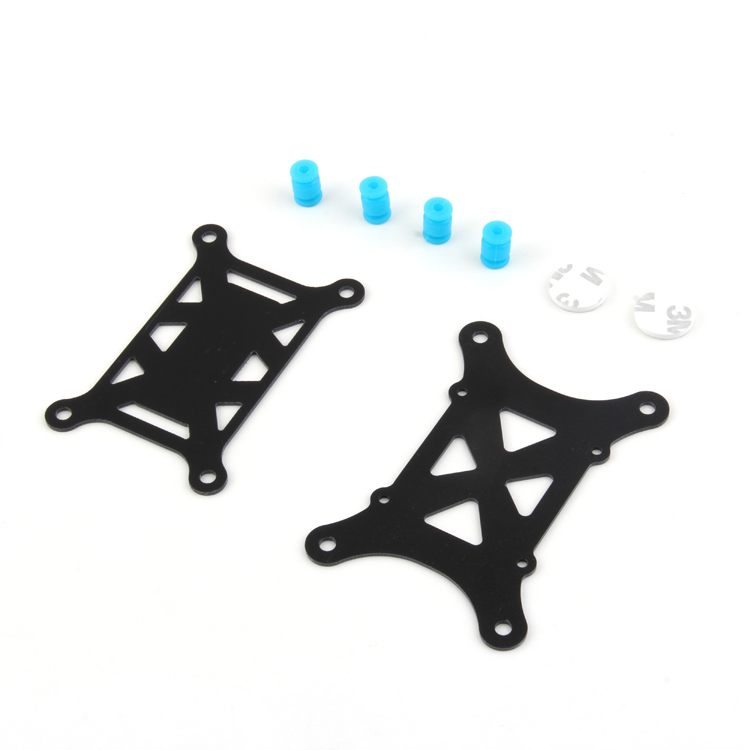
Anti-Vibration Shock Absorber for APM/KK/MWC/PixHawk
Essential rubber damping mount to isolate your flight controller and gimbal plate from motor vibrations. Prevents jello effect and improves gimbal performance significantly.
View on Zbotic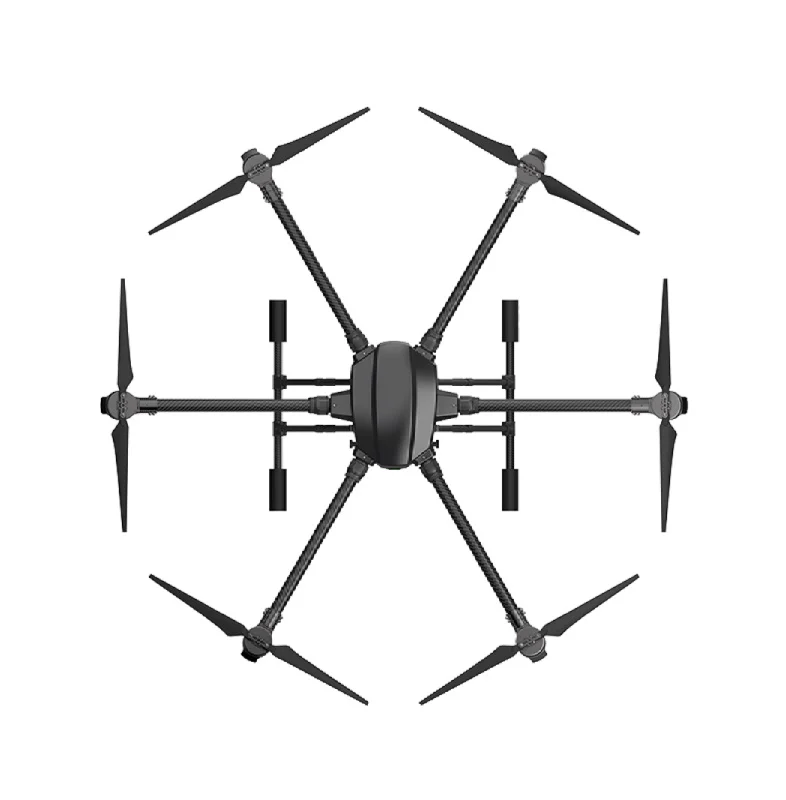
EFT 6120 Multifunction Surveillance Drone Frame
A large, professional hexacopter frame with ample centre space for mounting a 3-axis gimbal. High payload capacity makes it ideal for mirrorless camera aerial builds.
View on Zbotic
2-6S 5V 5A BEC For Quadcopter Drone
Dedicated power regulator to supply clean, stable voltage to your gimbal and electronics. Prevents voltage spikes from motors from corrupting gimbal IMU data.
View on Zbotic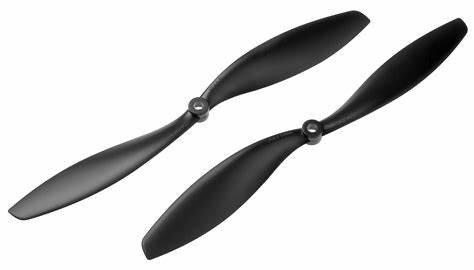
1045 Carbon Fiber Propeller CW&CCW
Balanced carbon fibre propellers reduce vibration at source — critical for clean gimbal footage. The 1045 size offers excellent efficiency for aerial photography builds.
View on Zbotic
3DR 100mW Radio Telemetry 915MHz for APM/PX4/Pixhawk
Real-time telemetry link to monitor drone attitude and position during aerial photography missions. Essential for professional builds where gimbal performance must be monitored remotely.
View on ZboticFrequently Asked Questions
Can I add a gimbal to any drone?
Not every drone can support a gimbal. Your drone needs sufficient payload capacity (at minimum, 1.5x the gimbal+camera weight for a safe hover), a large enough frame to physically accommodate the gimbal, and structural mounting points underneath the frame. Check your drone’s frame specifications before purchasing a gimbal.
Do I need a gimbal for FPV racing?
No. FPV racing drones use fixed camera mounts (usually at a 30–60° tilt angle) because gimbals add weight, slow response, and are vulnerable to crash damage. Gimbals are specifically for aerial photography and cinematic applications.
Can a 2-axis gimbal be upgraded to 3-axis later?
In most cases, no. The motor plates and controller board are fundamentally different between 2-axis and 3-axis systems. It is generally more economical to buy the 3-axis version you need from the start rather than trying to modify a 2-axis system.
What is the jello effect in drone footage?
Jello (or rolling shutter wobble) appears as a wavy, gelatinous distortion in video. It is caused by high-frequency vibration hitting a CMOS sensor that uses a rolling shutter (reads line by line instead of all at once). Proper vibration damping and balanced propellers are the cure, not gimbal tuning alone.
How do I calibrate a gimbal in India’s heat?
Calibrate the IMU at the ambient temperature where you will fly. In India’s summer where temperatures can exceed 40°C on an open field, do not calibrate in an air-conditioned room and then fly outdoors. Let the electronics stabilise at the outdoor temperature for 5–10 minutes before calibrating and flying.
Is a 3-axis gimbal worth the extra cost for a beginner?
If your goal is professional video output from day one, yes. If you are still learning to fly and focused on getting comfortable with controls before worrying about footage quality, start with a 2-axis or even a non-gimbal build, and upgrade when your piloting skills are ready to match the equipment.
Conclusion
The choice between a 2-axis and 3-axis gimbal ultimately comes down to your use case, budget, and frame size. For still aerial photography and budget builds, a 2-axis gimbal delivers excellent results. For professional cinematic video — especially in India’s varied wind and weather conditions — a 3-axis gimbal is the professional standard and worth every rupee.
Remember that the gimbal is only one piece of the stability puzzle. Balanced propellers, proper vibration isolation, a stiff frame, and smooth piloting all contribute equally to great aerial footage. Invest in the complete system, not just the gimbal.
Ready to Build Your Aerial Photography Drone?
Browse Zbotic’s full range of drone frames, motors, ESCs, and accessories — all available with fast delivery across India.
Shop Drone Components at Zbotic


Add comment