
Table of Contents
- Why Install Klipper on Your Ender 3?
- What You Need Before Starting
- Setting Up the Raspberry Pi
- Installing Klipper, Moonraker and Fluidd
- Compiling and Flashing Klipper to the Ender 3
- Configuring printer.cfg for the Ender 3
- First Boot and Basic Testing
- Tuning Pressure Advance and Input Shaping
- Troubleshooting Common Klipper Issues
- Frequently Asked Questions
Why Install Klipper on Your Ender 3?
If you have been using your Ender 3 with its stock Marlin firmware and are starting to hit its limitations — slow print speeds, visible ringing artefacts, lack of remote monitoring — Klipper is the upgrade that transforms the machine into something that performs well above its price class.
Klipper is an open-source 3D printer firmware that runs the complex motion calculations on a separate Raspberry Pi (or similar single-board computer) rather than on the printer’s own mainboard. Because a Raspberry Pi is far more powerful than the Ender 3’s ATmega328-based control board, Klipper can implement sophisticated algorithms — pressure advance, resonance compensation (input shaping), multi-stepper synchronisation — that are simply impossible on the stock microcontroller.
Here is what Klipper gives you over stock Marlin firmware:
- Pressure advance: Eliminates the bulging corners and oozing gaps caused by filament pressure lag in the hot-end. Print corners become sharper and consistent.
- Input shaping (resonance compensation): Actively cancels the vibration-induced ringing artefacts (ghosting/echoing) that appear on prints at higher speeds. This allows 2–4× higher print speeds with the same or better quality.
- Web interface: Control and monitor your printer from any device on your network — phone, tablet, computer. Start, pause, cancel, monitor temperature and webcam, all remotely.
- Real-time configuration: Change settings without recompiling firmware. Tune PID, steps per mm, acceleration, and hundreds of other parameters on the fly.
- G-code macros: Automate complex sequences (bed mesh levelling before every print, automatic park and resume on filament runout) with simple macro definitions in a config file.
What You Need Before Starting
Before you start, gather these components:
- Creality Ender 3 (any variant: original, V2, S1, Pro — all compatible with Klipper)
- Raspberry Pi — Pi 3B, Pi 3B+, Pi 4 (1GB or 2GB), or Pi Zero 2W all work. Pi 4 is the most comfortable experience due to faster processing. Pi Zero 2W is the budget option.
- MicroSD card for Raspberry Pi — 16 GB minimum, 32 GB recommended, Class 10 or faster
- USB-A to USB-B micro cable — to connect the Pi to the Ender 3’s mainboard USB port
- Power supply for Raspberry Pi — 5V 3A USB-C (Pi 4) or 5V 2.5A micro-USB (Pi 3/Zero)
- A computer — to flash the SD card and access the web interface initially
- Home network access — the Pi and your computer need to be on the same WiFi or Ethernet network
Optionally but highly recommended: a USB webcam for monitoring prints remotely via the Fluidd/Mainsail web interface. Any cheap USB webcam compatible with Linux (most are) works well.
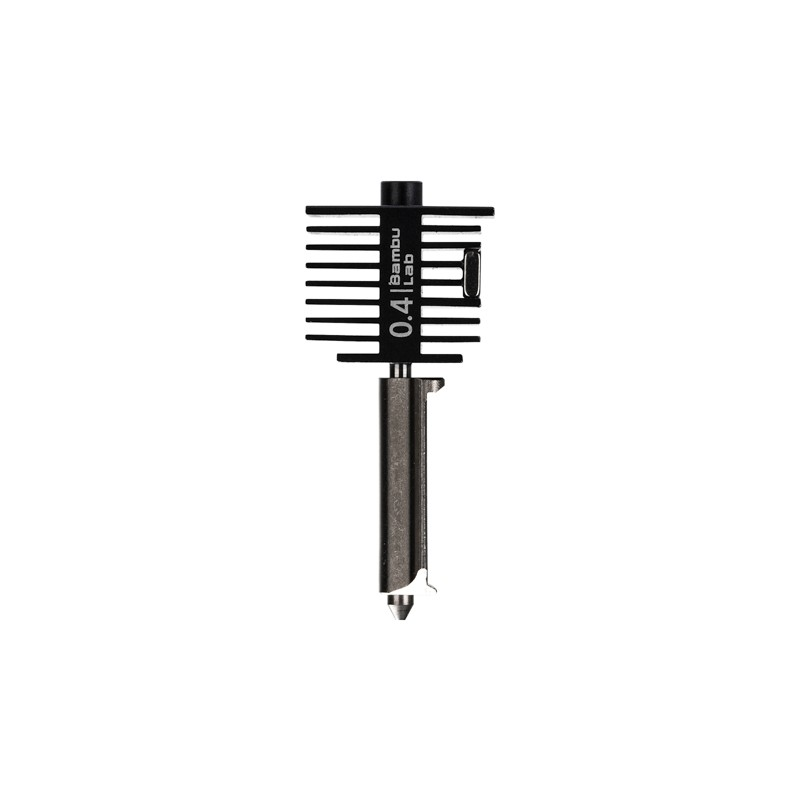
Bambu Lab Hotend with Hardened Steel Nozzle — 0.4mm
If you are upgrading to Klipper, consider upgrading your hotend too. A better hotend makes pressure advance tuning smoother and opens up high-temperature filaments.
Setting Up the Raspberry Pi
The fastest way to install Klipper with a web UI on a Raspberry Pi is to use KIAUH (Klipper Installation And Update Helper), a shell script that manages the entire installation. First, however, you need a working Raspberry Pi OS installation.
Step 1 — Flash Raspberry Pi OS Lite
Download the Raspberry Pi Imager from raspberrypi.com. Insert your MicroSD card into your computer. In the Imager, select Raspberry Pi OS Lite (64-bit) as the operating system. The Lite version has no desktop environment — it is command-line only and uses fewer resources, which is exactly what we want for a dedicated print server.
Before clicking Write, click the gear icon (Advanced Options) and configure:
- Enable SSH — check this box and set authentication to password (or key-based if you are familiar)
- Username and password — set a strong password
- Configure WiFi — enter your home WiFi SSID and password
- Set timezone — India Standard Time (Asia/Kolkata)
Write the image to the SD card, then insert it into the Raspberry Pi and power it on.
Step 2 — Connect via SSH
Wait 2–3 minutes for the Pi to boot and connect to WiFi. Find its IP address from your router’s DHCP client list, or use a network scanner app on your phone. Then SSH into it:
ssh [email protected]
(Replace with your Pi’s actual IP address. Use the username you set in the Imager.)
Installing Klipper, Moonraker and Fluidd
Once logged into the Raspberry Pi, update the system first:
sudo apt update && sudo apt upgrade -y
Then download and run KIAUH:
cd ~
git clone https://github.com/dw-0/kiauh.git
./kiauh/kiauh.sh
The KIAUH menu will appear. You need to install in this order:
- Klipper — the firmware host running on the Pi
- Moonraker — the API server that bridges Klipper and the web UI
- Fluidd or Mainsail — the web UI (choose one; Fluidd is slightly simpler, Mainsail is slightly more powerful)
Select option 1 (Install) from the KIAUH menu, then install each component in turn. The entire process takes 10–20 minutes depending on your internet speed and Pi model. KIAUH handles all dependencies automatically.
After installation, Moonraker will be running on port 7125 and your chosen web UI (Fluidd or Mainsail) will be served over HTTP on port 80. Open a browser and navigate to your Pi’s IP address to confirm the web UI loads.
Compiling and Flashing Klipper to the Ender 3
Klipper runs two parts: the host on the Raspberry Pi (already installed), and a small firmware that runs on the printer’s mainboard microcontroller. You need to compile this firmware and flash it to the Ender 3.
Step 1 — Configure the Build
On the Raspberry Pi, run:
cd ~/klipper
make menuconfig
For the original Ender 3 (stock board, 8-bit ATmega):
- Micro-controller architecture: Atmel AVR
- Processor model: atmega1284p
- Communication interface: UART on pins PD0/PD1
- Baud rate: 250000
For Ender 3 V2 (32-bit Creality v4.2.2 or v4.2.7 board):
- Micro-controller architecture: STMicroelectronics STM32
- Processor model: STM32F103
- Bootloader offset: 28KiB bootloader
- Communication interface: USB (on PA11/PA12)
Press Q then Y to save and exit.
Step 2 — Compile
make -j4
This creates a firmware file at ~/klipper/out/klipper.bin.
Step 3 — Flash to Ender 3
Copy klipper.bin to a MicroSD card (the one used by the printer, not the Pi), rename it to firmware.bin, and insert it into the Ender 3’s SD card slot with the printer powered off. Power on the Ender 3 and wait 30 seconds. The screen may appear blank or show an unfamiliar message — this is normal during flashing. The printer’s mainboard is now running Klipper firmware.
Connect the Raspberry Pi to the Ender 3’s USB port using the USB cable. On the Pi, check that the printer is detected:
ls /dev/serial/by-id/
You should see a serial device — something like usb-1a86_USB_Serial-if00-port0. Note the full path — you need it for printer.cfg.
Configuring printer.cfg for the Ender 3
The printer.cfg file is the heart of a Klipper installation — it defines every physical and electrical parameter of your printer. Klipper’s GitHub repository includes sample configs for many printers including the Ender 3.
In the Fluidd/Mainsail web UI, navigate to the configuration editor and paste in the sample Ender 3 config from config/printer-creality-ender3-2018.cfg in the Klipper GitHub. Make these critical changes for your installation:
[mcu]
serial: /dev/serial/by-id/usb-1a86_USB_Serial-if00-port0

[printer]
max_velocity: 300
max_accel: 3000

[stepper_x]
step_pin: PD7
dir_pin: !PC5
enable_pin: !PD6
microsteps: 16
rotation_distance: 40
endstop_pin: ^PC1
position_endstop: 0
position_max: 235
homing_speed: 50
Save the configuration file. Klipper will attempt to connect to the printer — watch the Fluidd/Mainsail interface for a connection status indicator. If it connects successfully, you will see temperature readouts from the hot-end and bed thermistors.
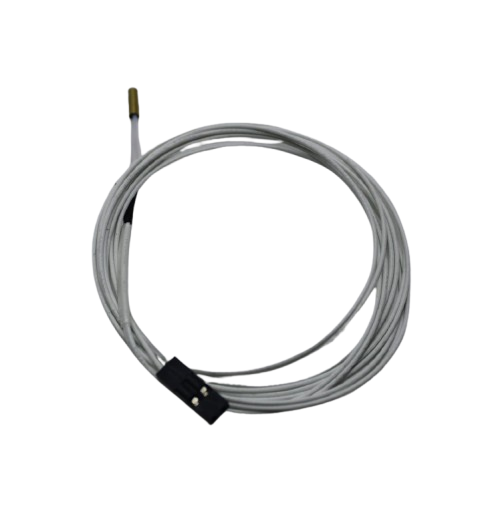
100k NTC Thermistor with Copper Tip for MK8 Extruder
When setting up Klipper, it is a good time to replace ageing thermistors. Accurate temperature readings are critical for pressure advance and PID tuning in Klipper.
First Boot and Basic Testing
Before attempting a print, perform these checks from the Fluidd/Mainsail console:
Home All Axes
Click the Home All button. The X, Y, and Z axes should move to their endstop positions. If an axis moves in the wrong direction, add or remove the ! (invert) flag from the corresponding dir_pin in printer.cfg.
Check Temperature Readings
The hot-end and bed temperatures should read near room temperature (25–35 °C in India). Values of 0 or -50 °C indicate a thermistor wiring problem.
PID Tune the Hot-End and Bed
Run PID autotune from the console to get accurate temperature control:
PID_CALIBRATE HEATER=extruder TARGET=200
PID_CALIBRATE HEATER=heater_bed TARGET=60
After each calibration completes, save the result with SAVE_CONFIG. These PID values are written to the bottom of printer.cfg automatically.
Calibrate E-Steps (Rotation Distance)
Mark 100 mm of filament above the extruder. Command the extruder to extrude 100 mm at a slow speed (5 mm/s). Measure how much was actually extruded. If it is not 100 mm, calculate the corrected rotation_distance value and update printer.cfg.
Tuning Pressure Advance and Input Shaping
Pressure Advance
Pressure advance compensates for the delay between extruder movement and pressure buildup in the hot-end. Without it, corners of prints are bulgy and bead-like on the outside, with gaps on the inside. With pressure advance tuned correctly, corners are sharp and consistent.
Print the Klipper pressure advance calibration tower: it prints a series of lines at different PA values and labels each section. Find the line that looks most uniform (corners not bulgy, no gaps), read the PA value from that section, and set it in printer.cfg:
[extruder]
pressure_advance: 0.05
Typical values for a stock Ender 3 Bowden setup: 0.4–0.8. After upgrading to direct drive: 0.01–0.05.
Input Shaping (Resonance Compensation)
Input shaping is the flagship Klipper feature for speed. It requires an accelerometer (ADXL345 or MPU-6050) attached to the print head to measure the printer’s resonance frequencies. Once measured, Klipper applies a digital filter that cancels vibration before it causes ringing artefacts on prints.
After tuning, many Ender 3 users can increase max_accel to 5,000–10,000 mm/s² and max_velocity to 200–300 mm/s while printing at better quality than stock firmware achieves at 50 mm/s. This is the most transformative Klipper feature for print throughput.
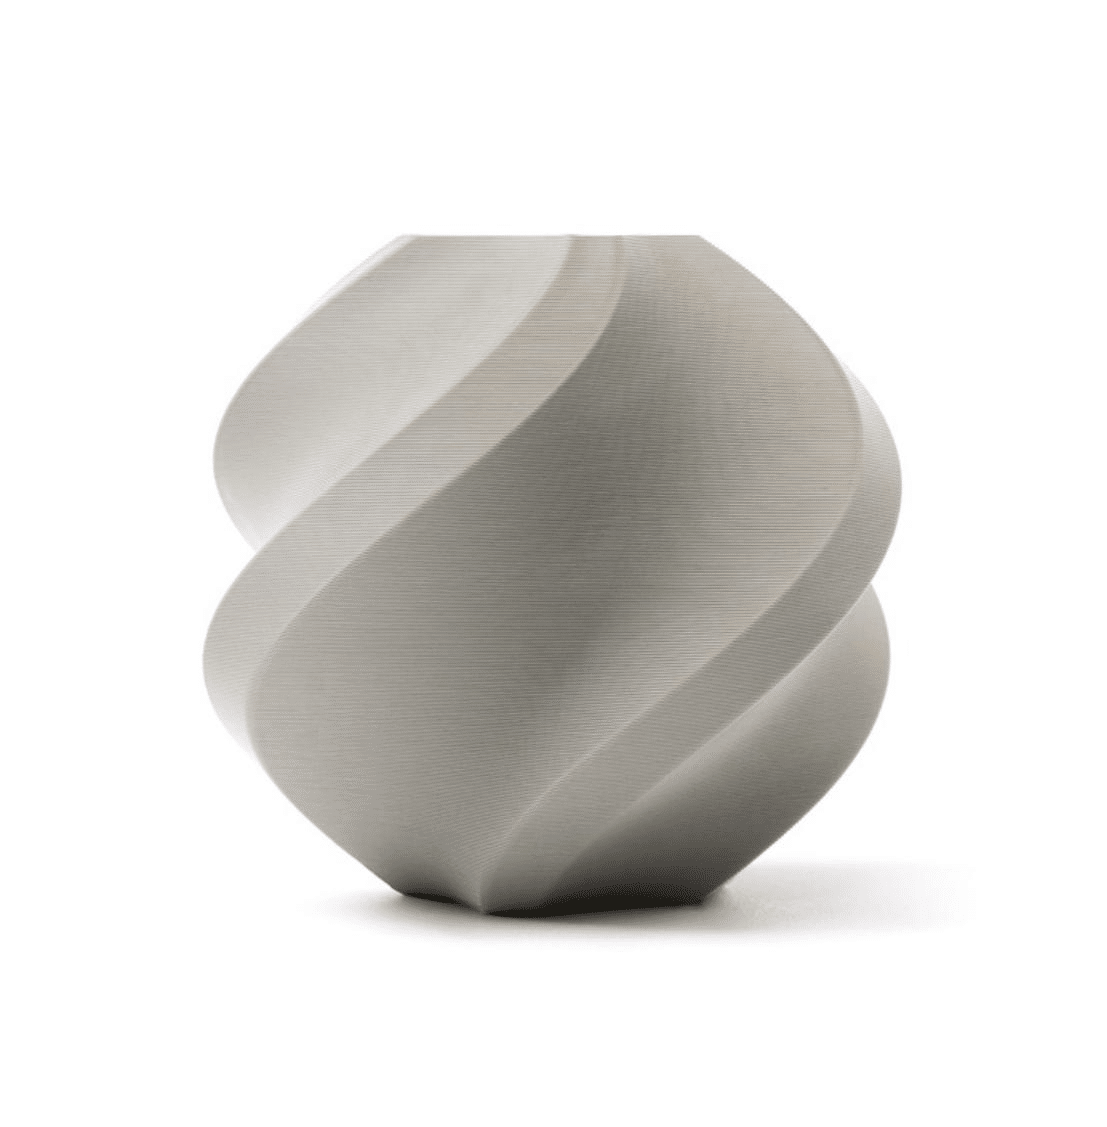
Bambu Lab PLA Filament Grey — 1.75mm with Reusable Spool
Use high-quality PLA when running pressure advance and input shaping calibration prints — consistent filament diameter eliminates one variable from your tuning process.
Troubleshooting Common Klipper Issues
“Unable to connect to MCU” Error
The most common error after flashing. Check: Is the USB cable connected? Is the serial path in printer.cfg correct? Run ls /dev/serial/by-id/ and confirm the path matches. Some Ender 3 boards use /dev/ttyUSB0 instead of the by-id path — try both.
Printer Moves in Wrong Direction
Add or remove the ! character on the dir_pin for the affected axis in printer.cfg. One change inverts the direction completely.
Temperature Readings Show 0 or Crazy Values
Check the thermistor type in printer.cfg. The Ender 3 uses a 100k NTC thermistor — in Klipper config this is sensor_type: EPCOS 100K B57560G104F. Using the wrong thermistor type causes wildly incorrect temperature readings.
Web UI Not Loading
Check that Moonraker and Fluidd/Mainsail services are running: sudo systemctl status moonraker and sudo systemctl status fluidd on the Raspberry Pi. If either shows failed, check the logs for error messages.
Klipper Crashes After Config Change
A syntax error in printer.cfg will prevent Klipper from starting. The error message in the Fluidd/Mainsail web UI will show you the exact line with the problem. Common issues: missing colons, wrong indentation (YAML-like syntax), incorrect pin names.
Frequently Asked Questions
Can Klipper be reversed back to stock Marlin firmware?
Yes. Flash the original Marlin firmware bin file to the Ender 3’s MicroSD card the same way you flashed Klipper. The Raspberry Pi can be repurposed or left running Klipper for another printer. Nothing is permanently changed — Klipper stores no data on the printer’s mainboard beyond the firmware binary.
Do I need a Raspberry Pi specifically, or can I use another SBC?
Klipper runs on any Linux system. Common alternatives in India include the Orange Pi Zero 2 and Orange Pi 3 LTS, which are cheaper than Pi 4 and widely available. The KIAUH installer works on these boards with standard Debian-based operating systems.
Will Klipper work with the Ender 3’s stock display?
Partially. The stock 4-line LCD display is supported in Klipper via the display section in printer.cfg, but with limited functionality. Most Klipper users rely on the web UI for all control and use the display only for basic temperature monitoring. An alternative is to add a Raspberry Pi touchscreen for a more integrated experience.
Is Klipper stable enough for long prints?
Yes. Klipper is used in production environments and by thousands of users for multi-hour prints routinely. The Raspberry Pi running Klipper should be on a reliable power supply — consider a small UPS, especially in areas of India with unstable mains power.
Does Klipper support multi-extruder setups?
Yes. Klipper has excellent multi-extruder support and is widely used with dual-extruder setups, tool-changer printers, and multi-material units. The configuration is more complex than the single-extruder setup described in this guide but is well-documented in Klipper’s official documentation.
Can I use OctoPrint instead of Fluidd or Mainsail?
OctoPrint works with Klipper via a plugin (moonraker-octoprint-compat), but Fluidd and Mainsail are purpose-built for Klipper and expose Klipper-specific features like pressure advance graphs, exclude objects, and the console far more elegantly. OctoPrint is a better fit if you are used to its ecosystem and plugin library.
Upgrade your Ender 3 further. From replacement nozzles and hotends to premium filaments for Klipper’s faster print speeds, find everything you need at Zbotic’s 3D Printing store — shipping across India.


Add comment