
Building a Raspberry Pi Kubernetes cluster is one of the most ambitious and educational homelab projects you can undertake. Kubernetes (K8s) is the industry-standard container orchestration platform used by companies like Google, Amazon, and Netflix — and now you can run it on a cluster of credit-card-sized Raspberry Pi boards on your desk. This step-by-step guide walks you through building a multi-node Kubernetes cluster using Raspberry Pi 4 or Pi 5 boards, from hardware selection and OS preparation through to deploying your first applications on the cluster.
Table of Contents
- Why Build a Kubernetes Cluster on Raspberry Pi?
- Hardware Requirements and Shopping List
- Preparing the Operating System on Each Node
- Installing K3s — Lightweight Kubernetes
- Configuring the Cluster and Adding Worker Nodes
- Deploying Your First Applications
- Storage and Networking Configuration
- Frequently Asked Questions
Why Build a Kubernetes Cluster on Raspberry Pi?
The obvious question is: why run Kubernetes on a Raspberry Pi when it is designed for large-scale production deployments? The answer is learning and cost. Kubernetes skills are among the most in-demand in the Indian IT job market right now. DevOps, cloud, and SRE roles regularly require K8s experience. Cloud Kubernetes clusters (EKS, GKE, AKS) cost ₹5,000-₹50,000 per month depending on node count. A Raspberry Pi cluster is a one-time investment of ₹15,000-₹40,000 for 3-5 nodes.
Beyond learning, a Pi Kubernetes cluster is genuinely useful for:
- Practising CI/CD pipelines with ArgoCD or Jenkins
- Testing microservices architectures at home
- Running production-level homelab services with automatic failover
- Preparing for Kubernetes certifications (CKA, CKAD, CKS)
- Showcasing real K8s experience in technical interviews
The Raspberry Pi is particularly well-suited because its ARM64 architecture mirrors the architecture of AWS Graviton (ARM-based EC2 instances), making your Pi cluster skills directly transferable to real cloud deployments.

Raspberry Pi 5 Model 16GB RAM
Use the Pi 5 16GB as your Kubernetes control plane node — plenty of RAM for the K8s API server, etcd, and scheduler running concurrently.
Hardware Requirements and Shopping List
Here is what you need for a 3-node cluster (1 control plane + 2 workers). You can scale up by adding more worker nodes later:
| Item | Quantity | Notes |
|---|---|---|
| Raspberry Pi 4 (4GB) or Pi 5 (4GB) | 3 | 1 control plane + 2 workers; 8GB recommended for control plane |
| MicroSD card (32GB, Class 10) | 3 | For OS; USB SSD for storage volumes is recommended |
| USB 3.0 SSD (250GB+) | 1-3 | Recommended for persistent volume storage; minimum 1 on control plane |
| Network switch (Gigabit, 4-8 port) | 1 | Gigabit switch for fast inter-node communication |
| Short Ethernet cables (0.3m) | 3 | Cat 6 for Gigabit speeds |
| USB power hub or individual PSUs | 1 | Pi 5 needs official 27W PSU or USB-C hub delivering 5A per port |
| Cluster case / stack mount | 1 | Optional but highly recommended for clean organisation |
Minimum vs Recommended: A bare-minimum cluster can be built with 3x Pi 4 4GB for around ₹15,000-₹18,000. A more capable setup with 3x Pi 5 8GB runs around ₹25,000-₹30,000. For home learning purposes, the minimum setup is completely sufficient for running Kubernetes workloads.

Raspberry Pi 5 Model 4GB RAM
Perfect worker nodes for your Kubernetes cluster — the Pi 5 4GB delivers 2-3x the performance of Pi 4 for CPU-bound container workloads.
Preparing the Operating System on Each Node
Flash Raspberry Pi OS Lite 64-bit onto each microSD card using the Raspberry Pi Imager. During flashing, use the advanced settings to:
- Set unique hostnames:
k8s-master,k8s-worker1,k8s-worker2 - Enable SSH with your public key or a strong password
- Set timezone to
Asia/Kolkata
After first boot, perform these steps on all nodes:
# Update the system
sudo apt update && sudo apt upgrade -y

# Disable swap (Kubernetes requires this)
sudo dphys-swapfile swapoff
sudo dphys-swapfile uninstall
sudo systemctl disable dphys-swapfile

# Enable cgroups for Kubernetes
# Edit /boot/firmware/cmdline.txt (Pi 5) or /boot/cmdline.txt (Pi 4)
# Add to end of existing line (do NOT start a new line):
cgroup_enable=cpuset cgroup_memory=1 cgroup_enable=memory
After editing cmdline.txt, reboot all nodes:
sudo rebootAssign static IP addresses to each node either through your router’s DHCP reservation or by editing /etc/dhcpcd.conf. A typical setup:
- k8s-master:
192.168.1.101 - k8s-worker1:
192.168.1.102 - k8s-worker2:
192.168.1.103
Also add entries to /etc/hosts on each node for hostname resolution:
192.168.1.101 k8s-master
192.168.1.102 k8s-worker1
192.168.1.103 k8s-worker2
Installing K3s — Lightweight Kubernetes
We recommend K3s (by Rancher/SUSE) rather than full Kubernetes (kubeadm) for Raspberry Pi clusters. K3s is a certified, production-grade Kubernetes distribution that has been stripped of unnecessary components and compressed into a single binary of under 70MB. It uses SQLite as the default datastore (instead of etcd, which is RAM-hungry) making it ideal for Pi’s constrained resources.
Why K3s over kubeadm?
- 50-75% less RAM usage than standard Kubernetes
- Single binary — much simpler installation
- Built-in Traefik ingress controller, Flannel CNI, and local-path provisioner
- Still fully Kubernetes API-compatible — all kubectl commands work the same
- Excellent ARM64 support officially maintained by Rancher
Installing K3s on the control plane (master) node:
curl -sfL https://get.k3s.io | sh -Wait 30-60 seconds for K3s to fully start. Retrieve the node token you will need for worker nodes:
sudo cat /var/lib/rancher/k3s/server/node-tokenVerify the master is running:
sudo kubectl get nodesYou should see k8s-master with status Ready.
Configuring the Cluster and Adding Worker Nodes
On each worker node, run the K3s agent installation command using the master’s IP and the token from the previous step:
curl -sfL https://get.k3s.io | K3S_URL=https://192.168.1.101:6443 K3S_TOKEN=YOUR_TOKEN_HERE sh -Replace YOUR_TOKEN_HERE with the actual token from the master. Repeat this on all worker nodes. After 30-60 seconds, verify on the master that all nodes have joined:
sudo kubectl get nodes -o wideYou should see all three nodes with status Ready and their internal IP addresses.
Setting up kubectl on your laptop/desktop: Copy the kubeconfig from the master to your local machine for remote cluster management:
# On master node, get the kubeconfig:
sudo cat /etc/rancher/k3s/k3s.yaml

# Copy to your laptop:
mkdir -p ~/.kube
scp [email protected]:/etc/rancher/k3s/k3s.yaml ~/.kube/config

# Edit the server address in ~/.kube/config:
# Change: server: https://127.0.0.1:6443
# To:     server: https://192.168.1.101:6443
Now you can run kubectl commands from your laptop to manage the Pi cluster.
Useful cluster status commands:
# View all nodes
kubectl get nodes

# View all pods across all namespaces
kubectl get pods --all-namespaces

# View cluster component health
kubectl get componentstatuses

# View resource usage per node (requires metrics-server)
kubectl top nodes
Deploying Your First Applications
Now the fun begins. Let us deploy a few applications to test your cluster.
Deploy Nginx as a test:
kubectl create deployment nginx --image=nginx:latest --replicas=3
kubectl expose deployment nginx --port=80 --type=NodePort
kubectl get services nginx
Note the NodePort assigned (e.g., 30124). Access it via http://192.168.1.101:30124 from your browser. Kubernetes will load-balance requests across all 3 Nginx pods running on your cluster nodes.
Deploy using a YAML manifest (recommended approach):
cat <<EOF | kubectl apply -f -
apiVersion: apps/v1
kind: Deployment
metadata:
  name: hello-pi
spec:
  replicas: 3
  selector:
    matchLabels:
      app: hello-pi
  template:
    metadata:
      labels:
        app: hello-pi
    spec:
      containers:
      - name: hello
        image: nginxdemos/hello:latest
        ports:
        - containerPort: 80
---
apiVersion: v1
kind: Service
metadata:
  name: hello-pi
spec:
  selector:
    app: hello-pi
  ports:
  - port: 80
    targetPort: 80
    nodePort: 30080
  type: NodePort
EOF
Install Helm — the Kubernetes package manager — for deploying complex applications:
curl https://raw.githubusercontent.com/helm/helm/main/scripts/get-helm-3 | bash
helm repo add stable https://charts.helm.sh/stable
helm repo update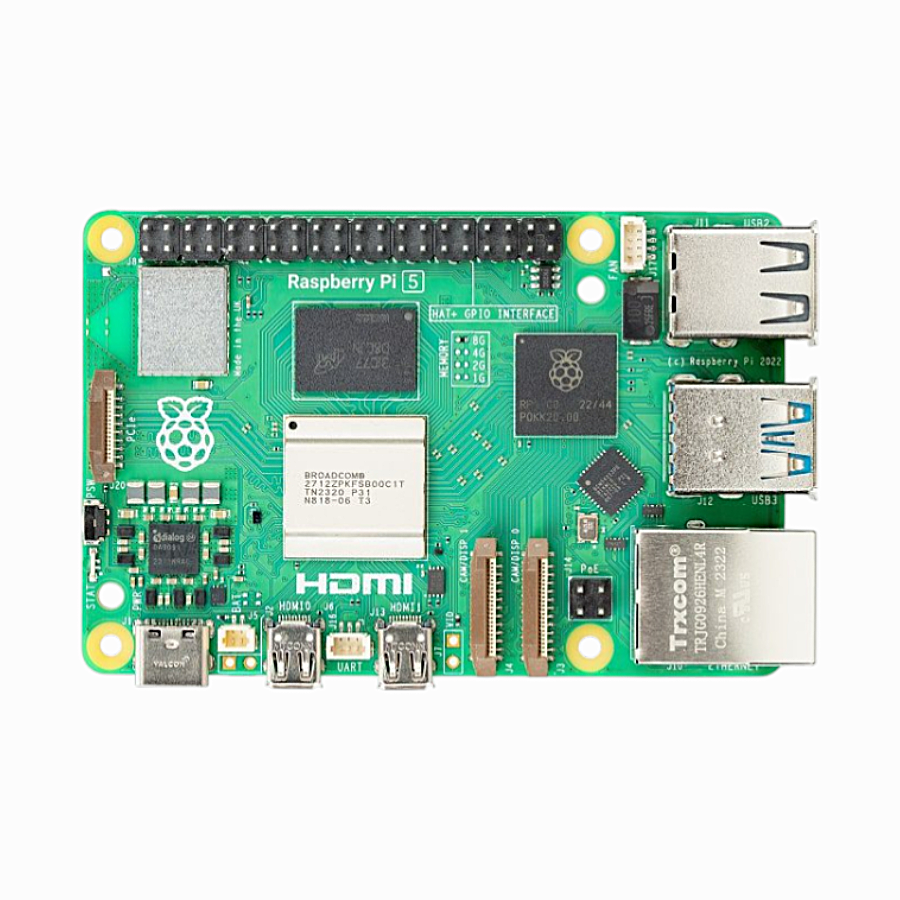
Raspberry Pi 5 Model 2GB RAM
On a budget? The Pi 5 2GB works as a K3s worker node for lightweight microservice workloads, keeping your cluster cost down.
Storage and Networking Configuration
Persistent Storage with Longhorn: By default, K3s includes a local-path provisioner for persistent volumes, but volumes are tied to a single node. For truly distributed storage that survives node failures, install Longhorn:
kubectl apply -f https://raw.githubusercontent.com/longhorn/longhorn/v1.6.0/deploy/longhorn.yamlLonghorn replicates data across nodes automatically. Access the Longhorn dashboard to monitor your distributed storage cluster. For a 3-node Pi cluster, Longhorn with 2 replicas ensures your data survives a single node failure.
Ingress with Traefik: K3s includes Traefik as the default ingress controller. Create an Ingress resource to route external traffic to your services:
apiVersion: networking.k8s.io/v1
kind: Ingress
metadata:
  name: my-app
  annotations:
    traefik.ingress.kubernetes.io/router.entrypoints: web
spec:
  rules:
  - host: myapp.local
    http:
      paths:
      - path: /
        pathType: Prefix
        backend:
          service:
            name: my-service
            port:
              number: 80
MetalLB for LoadBalancer Services: In cloud K8s clusters, LoadBalancer service type provisions a cloud load balancer automatically. In a bare-metal Pi cluster, you need MetalLB to provide this functionality:
kubectl apply -f https://raw.githubusercontent.com/metallb/metallb/v0.13.12/config/manifests/metallb-native.yamlConfigure MetalLB with an IP pool from your home network (e.g., 192.168.1.200-192.168.1.220) and your services of type LoadBalancer will receive real IPs from this pool.
Recommended next projects for your Pi K8s cluster:
- Deploy ArgoCD for GitOps-based application deployment
- Set up Prometheus + Grafana for cluster monitoring
- Configure cert-manager for automatic TLS certificate management
- Deploy a simple microservices app (frontend + API + database) across the cluster
- Practice rolling updates and rollbacks
- Simulate node failure by unplugging a worker and observe pod rescheduling
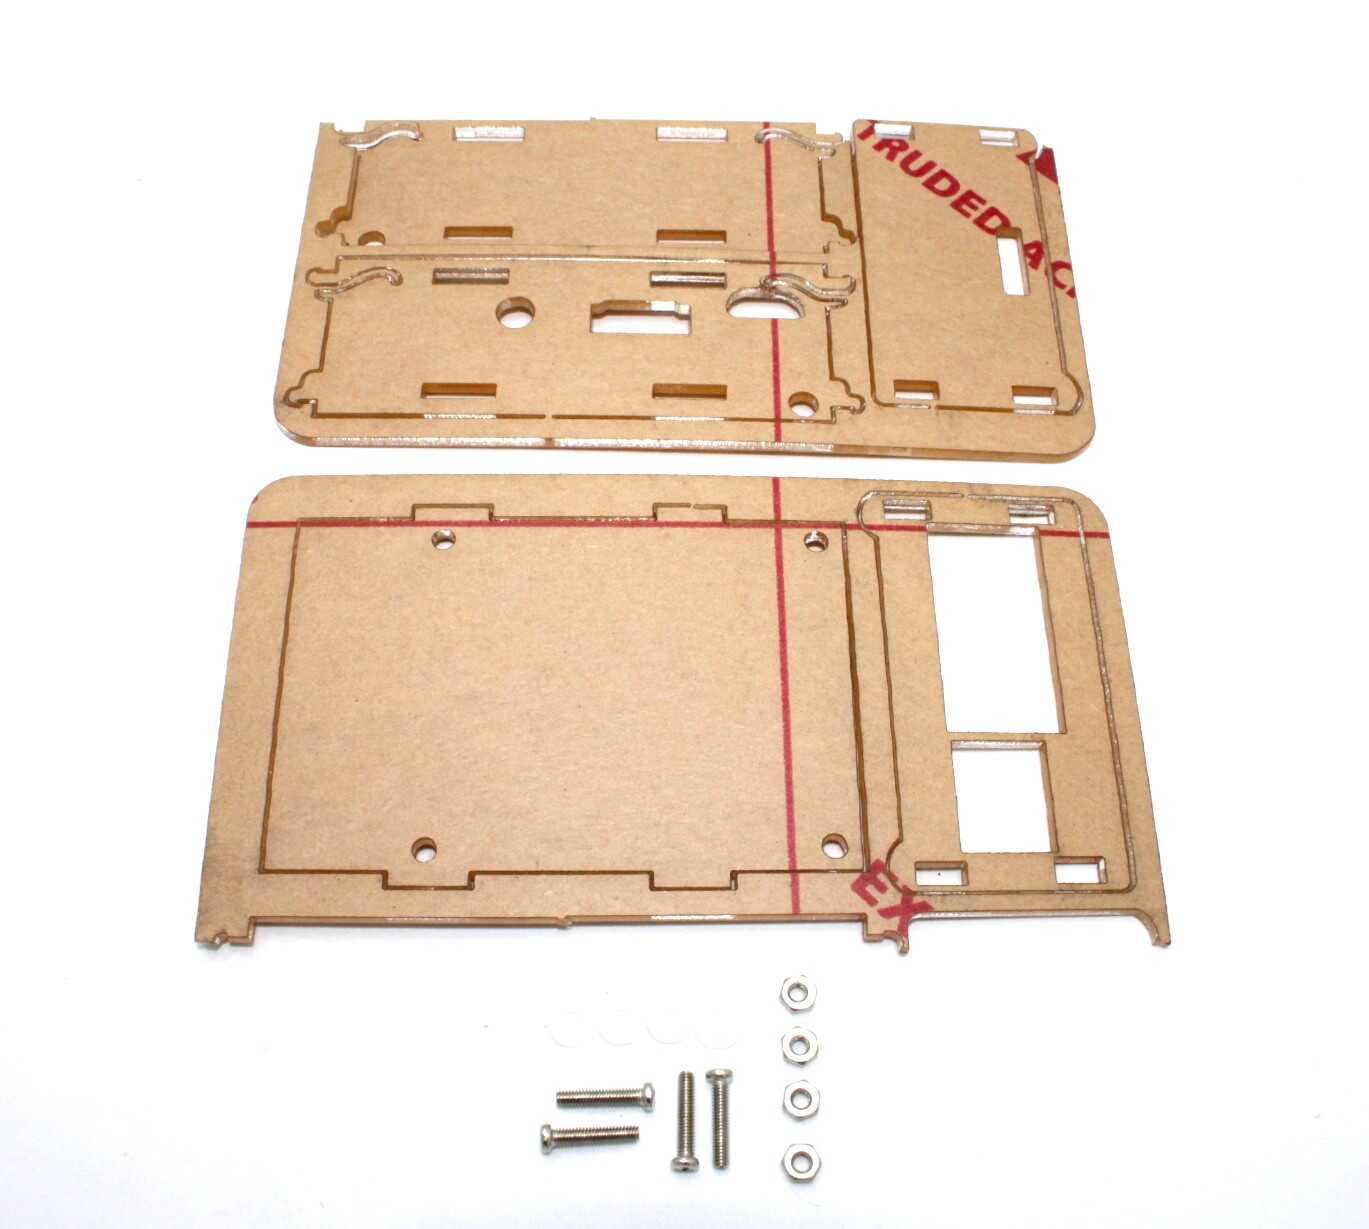
Acrylic Case for Raspberry Pi 4
Protect your cluster nodes with this acrylic case — ideal for 24/7 Kubernetes cluster operation with good airflow and dust protection.
Frequently Asked Questions
What is the difference between K3s, K0s, and MicroK8s for Raspberry Pi?
All three are lightweight Kubernetes distributions designed for edge and IoT deployments. K3s (by Rancher) is the most mature and widely documented for Pi — it has the best ARM64 support and largest community. K0s (by Mirantis) is similar in weight but less Pi-specific documentation. MicroK8s (by Canonical) is excellent on Ubuntu but adds snap overhead. For Raspberry Pi OS, K3s is the recommended choice.
How many Raspberry Pi nodes do I need for a Kubernetes cluster?
The minimum for a learning cluster is 2 nodes (1 control plane + 1 worker). For realistic high-availability practice, 3 nodes is ideal (1 control plane + 2 workers). For a truly HA control plane (surviving a master node failure), you need at least 3 control plane nodes. For a home learning cluster, 3 nodes total is the sweet spot for cost vs functionality.
Can I use Raspberry Pi Zero for Kubernetes worker nodes?
No, Pi Zero is completely unsuitable for Kubernetes. K3s itself requires at least 512MB RAM just for the agent, leaving nothing for actual workloads. The single-core ARM11 CPU cannot handle container scheduling overhead. Kubernetes on Pi requires at minimum a Pi 3 (1GB RAM) for worker nodes, though Pi 4 or Pi 5 is strongly recommended.
Will my Kubernetes cluster work if one Pi node fails?
With a standard 3-node K3s cluster (1 master, 2 workers), if a worker node fails, Kubernetes will automatically reschedule the pods that were running on it to the remaining healthy worker. If the master node fails, the existing workloads continue running but you cannot make changes to the cluster (no new deployments, no scaling) until the master is restored. For a HA master, use 3 control plane nodes with etcd.
How do Kubernetes skills on Raspberry Pi translate to cloud K8s (EKS/GKE/AKS)?
Almost 1:1. The Kubernetes API is the same regardless of where the cluster runs. All kubectl commands, YAML manifests, Helm charts, ingress controllers, and concepts like Deployments, Services, ConfigMaps, Secrets, and PersistentVolumes work identically. Cloud K8s adds managed control planes, cloud-specific load balancers, and cloud storage integrations, but the fundamental skills are directly transferable. Many Indian IT professionals use Pi clusters specifically to prepare for cloud K8s certifications.
Start Building Your Pi Kubernetes Cluster
Get the Raspberry Pi hardware for your K3s cluster from Zbotic — India’s trusted electronics components store with fast delivery nationwide.


Add comment