
Imagine saying “Hey Google, move robot forward” and watching your DIY robot obey in real time. With the ESP32 and Google Assistant, this is entirely achievable using IFTTT Webhooks as the integration layer — no custom cloud backend required. This project guide walks you through every step: setting up Google Assistant applets, configuring the ESP32 as an HTTP server, wiring the motor driver, and writing the Arduino/ESP32 firmware for a fully functional voice-controlled robot.
System Architecture
The voice command pipeline has three hops:
- You → Google Assistant: You speak a command like “move robot forward” to your phone or Google Home speaker.
- Google Assistant → IFTTT: A Google Assistant applet triggers an IFTTT Webhook, making an HTTP GET or POST request to a URL you define — specifically, a public URL pointing to your ESP32.
- IFTTT → ESP32 → Motors: The ESP32 is exposed to the internet (via port forwarding on your router, or a tunnelling service like ngrok), receives the HTTP request, parses the command path, and drives the motor controller accordingly.
Latency is typically 1–3 seconds from voice command to robot motion — fast enough for casual control, limited by IFTTT’s cloud round-trip. For lower latency, the ESP32 can also serve a local webpage for direct browser control as a fallback.
An alternative to IFTTT that avoids port-forwarding is using the Sinric Pro platform or a custom MQTT broker on the ESP32 — covered briefly in the FAQ section.
Components Required
- 1× ESP32 development board (ESP32-WROOM-32 or ESP32 DevKit V1)
- 1× L298N dual H-bridge motor driver
- 1× 2WD or 4WD robot chassis with DC motors
- 1× 7.4V LiPo battery or 2× 18650 cells
- 1× Google account with Google Assistant-enabled device (phone or Home speaker)
- 1× IFTTT account (free tier works for basic commands)
- Jumper wires, micro-USB cable for programming, optional 5V regulator for ESP32 power
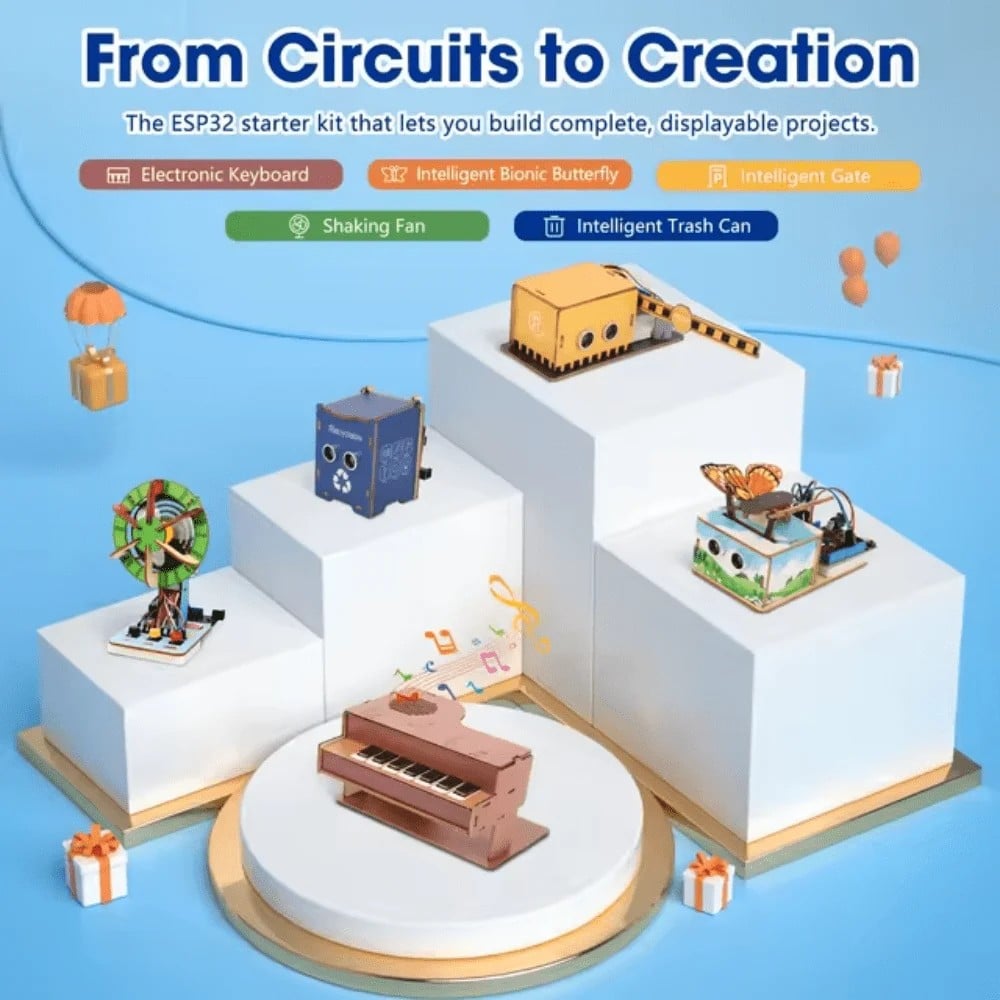
ACEBOTT ESP32 Basic Starter Kit (QE201)
Complete ESP32 starter kit — includes the board plus essential components to get your voice-controlled robot project running fast.
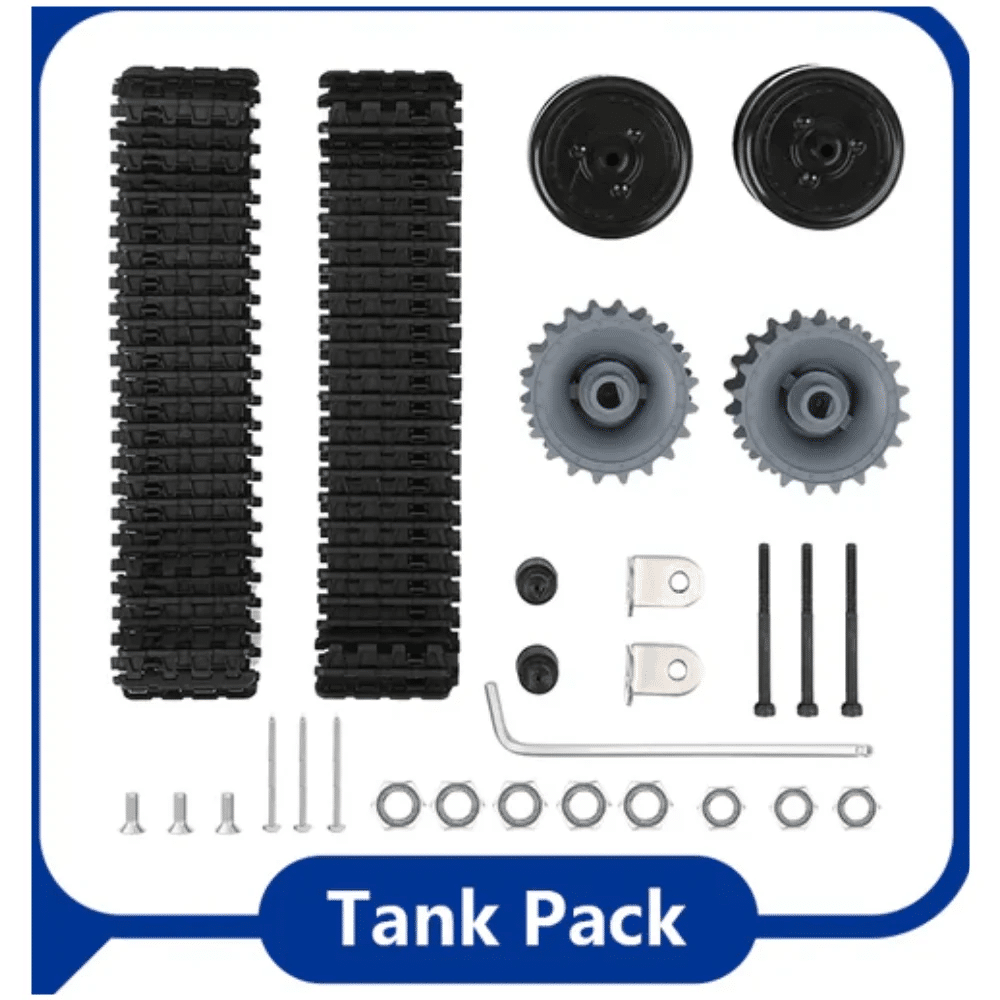
ACEBOTT ESP32 Tank Robot Car Expansion Pack
ESP32 tank robot kit — purpose-built for IoT and voice control experiments with a robust chassis and built-in motor driver.
Setting Up IFTTT + Google Assistant
Follow these steps to create the IFTTT applets for robot control commands:
- Go to ifttt.com and create a free account (or log in).
- Click Create → If This → search for Google Assistant → select Say a simple phrase.
- Enter the trigger phrase: “move robot forward”. Add variations like “robot forward”, “go forward”.
- Click Then That → search for Webhooks → select Make a web request.
- Enter the URL:
http://YOUR_PUBLIC_IP/forward, Method: GET, Content Type: application/json. - Save the applet.
- Repeat for each command:
/backward,/left,/right,/stop.
To get your public IP: search “what is my IP” in a browser. For a dynamic IP, use a free dynamic DNS service like DuckDNS to get a fixed hostname. Set up port forwarding on your router to forward port 80 → ESP32’s local IP (e.g., 192.168.1.105).
Security note: Exposing port 80 publicly is acceptable for hobby projects but add a simple token in the URL (e.g., /forward?token=abc123) and validate it in the ESP32 sketch to prevent unwanted commands from the internet.
ESP32 Web Server Setup
The ESP32 runs a simple HTTP server using the built-in WiFi.h and WebServer.h libraries (included with the ESP32 Arduino core). The server listens on port 80 and handles route paths corresponding to robot commands.
Key server setup in setup():
#include <WiFi.h>
#include <WebServer.h>

const char* ssid     = "YOUR_WIFI_SSID";
const char* password = "YOUR_WIFI_PASSWORD";
WebServer server(80);

void setup() {
  WiFi.begin(ssid, password);
  while (WiFi.status() != WL_CONNECTED) delay(500);
  Serial.println(WiFi.localIP()); // note this IP for port forwarding

  server.on("/forward",  handleForward);
  server.on("/backward", handleBackward);
  server.on("/left",     handleLeft);
  server.on("/right",    handleRight);
  server.on("/stop",     handleStop);
  server.begin();
}

void loop() {
  server.handleClient();
}
Motor Driver Wiring
Connect the L298N motor driver to the ESP32 as follows (ESP32 uses 3.3V logic — L298N IN pins accept 3.3V signals fine):
| L298N Pin | ESP32 GPIO | Function |
|---|---|---|
| IN1 | GPIO 14 | Left motor direction A |
| IN2 | GPIO 27 | Left motor direction B |
| IN3 | GPIO 26 | Right motor direction A |
| IN4 | GPIO 25 | Right motor direction B |
| ENA | GPIO 12 (PWM) | Left motor speed (LEDC) |
| ENB | GPIO 13 (PWM) | Right motor speed (LEDC) |
ESP32 PWM note: Unlike Arduino’s analogWrite(), the ESP32 uses the LEDC peripheral. Use ledcSetup(channel, freq, resolution) and ledcWrite(channel, duty) in your sketch. Set frequency to 5000 Hz and 8-bit resolution for smooth motor control.
ESP32 Firmware
Each route handler calls a motor control function. Example for the forward command:
void handleForward() {
  server.send(200, "text/plain", "Moving forward");
  // Left motor forward
  digitalWrite(IN1, HIGH); digitalWrite(IN2, LOW);
  // Right motor forward
  digitalWrite(IN3, HIGH); digitalWrite(IN4, LOW);
  ledcWrite(0, 200); // left speed
  ledcWrite(1, 200); // right speed
  delay(1000); // move for 1 second
  handleStop(); // stop after timed movement
}

void handleStop() {
  server.send(200, "text/plain", "Stopped");
  ledcWrite(0, 0);
  ledcWrite(1, 0);
}
For continuous motion (no auto-stop), remove the delay and only stop when the “/stop” command arrives. This suits remote supervision scenarios where you watch the robot live via a camera and issue stop manually.
Add a simple HTML dashboard by serving a webpage from the ESP32 on the root path (“/”) with forward/backward/left/right/stop buttons — useful for testing from your phone browser without Google Assistant.
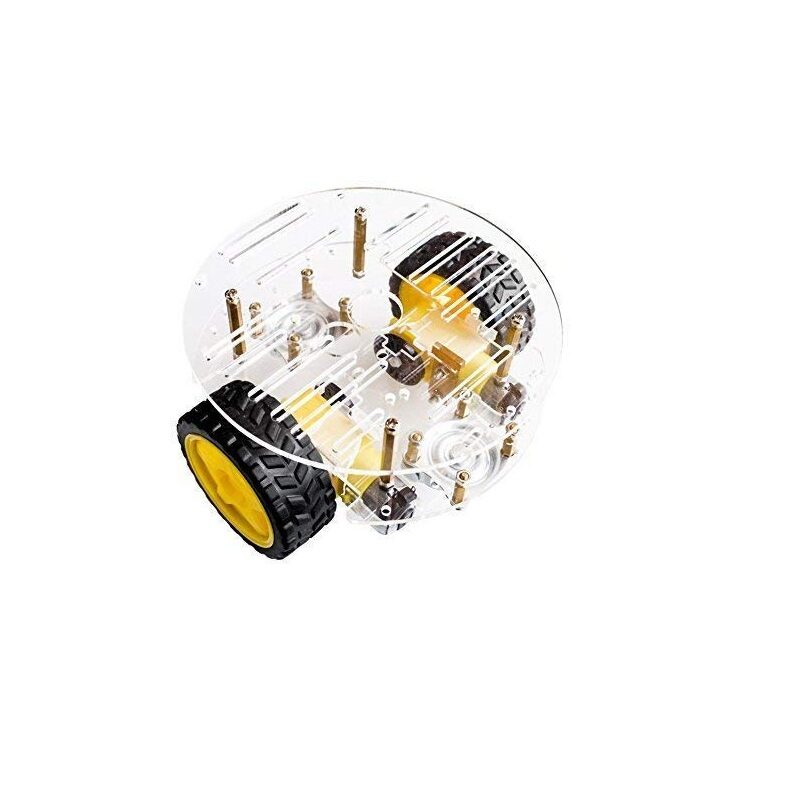
2WD Mini Round Double-Deck Smart Robot Car Chassis DIY Kit
Ready-to-assemble 2WD chassis with DC motors — the simplest robot platform for your first voice-controlled build.
Testing and Expanding Commands
Test locally first: open a browser on your phone (on the same Wi-Fi) and navigate to http://192.168.1.105/forward. The robot should move forward for 1 second. Test all routes before setting up IFTTT.
Once IFTTT is configured, say “Hey Google, move robot forward” — the robot should respond within 2–3 seconds. If it does not, check the IFTTT activity log for webhook delivery status.
Expanding to More Commands
- Speed control: Add routes like
/speed/fastand/speed/slowto change the PWM duty cycle base value. - Custom actions:
/honkto trigger a buzzer,/light/onto toggle LEDs. - Arm control: Add servo motors and routes like
/arm/up— great extension for pick-and-place voice robots. - Status reporting: Return sensor data in the HTTP response (battery voltage, IR readings). Google Assistant can read it back to you via IFTTT response.
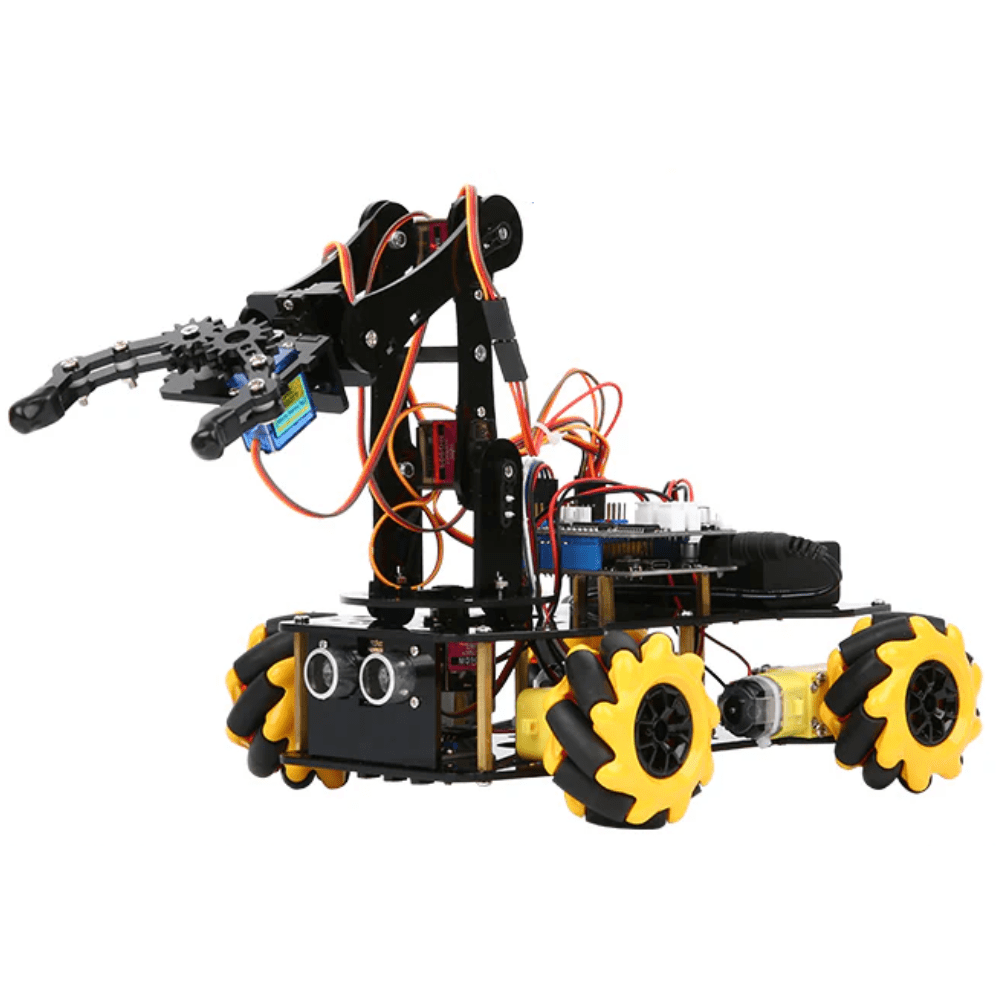
ACEBOTT ESP32 5-DOF Robot Arm Kit Expansion Pack
Add a 5-axis arm to your voice robot — voice commands like “pick up” and “release” become incredibly satisfying with this kit.
Frequently Asked Questions
Do I need a paid IFTTT plan for this project?
The free IFTTT plan allows up to 3 active applets — enough for a basic robot with forward, backward, stop. For 5+ commands (including left, right, speed control), you need IFTTT Pro (~$2.50/month). Alternatively, use Sinric Pro which has a generous free tier and works with Google Assistant without port-forwarding.
Is IFTTT the only option for Google Assistant + ESP32?
No. Other options include: Sinric Pro (MQTT-based, no port forwarding needed, free for up to 3 devices), Adafruit IO (MQTT feeds with IFTTT integration), Blynk (dedicated IoT app, though voice requires IFTTT bridge), or a fully custom solution with Google’s Actions SDK (more complex but zero latency on LAN).
How do I avoid the robot being controlled by someone else on the internet?
Add a secret token to your IFTTT webhook URL: http://your-ip/forward?token=mySecret123. In the ESP32 handler, read the token parameter with server.arg("token") and only execute the command if it matches.
Can I make the robot respond with voice confirmation?
Yes. In the IFTTT Google Assistant trigger settings, enter a “Response” like “Moving forward now”. Google Assistant will speak this back to you after the webhook fires.
What if my home router doesn’t support port forwarding?
Use ngrok: run ngrok http 80 on a computer on the same network (or on the ESP32 itself via an ngrok library). Ngrok provides a public HTTPS URL that tunnels to your ESP32. Update the IFTTT webhook URL with the ngrok address. Note: free ngrok URLs change on restart.
Build Your Voice-Controlled Robot
Find ESP32 boards, motor drivers, and chassis kits at Zbotic — India’s go-to store for electronics and robotics with fast pan-India delivery.


Add comment