
The ELEGOO Smart Robot Car is one of the most popular entry-level robot car kits for students and hobbyists worldwide, but what does the ELEGOO Smart Robot Car review India perspective look like in terms of value, availability, and real-world performance? This guide covers an honest unboxing, step-by-step assembly, a detailed code walkthrough, and a comparison with locally sourced alternatives from Zbotic — so you can make the best buying decision for your project.
Table of Contents
- Product Overview
- Unboxing: What’s in the Box?
- Assembly Guide: Step by Step
- Code Review: How the Robot Works
- Key Features and Modes
- Indian Alternatives Worth Considering
- Final Verdict
- Frequently Asked Questions
Product Overview
ELEGOO’s Smart Robot Car (V4.0 is the latest as of 2024) is an Arduino UNO-based robot car kit that comes with motors, sensors, and a chassis all in one box. It targets beginners aged 12+ and STEM educators. The kit supports multiple autonomous modes: line following, obstacle avoidance, IR remote control, Bluetooth app control, and ultrasonic object tracking.
For Indian buyers, ELEGOO kits are typically imported through Amazon India or third-party resellers, making them noticeably more expensive than locally assembled equivalents. Understanding what you get — and what you can replicate with Indian components at a lower price — is the goal of this review.
Unboxing: What’s in the Box?
A standard ELEGOO Smart Robot Car V4.0 box contains:
- Acrylic chassis plates (lower and upper deck)
- 2× DC gear motors with mounting brackets
- 4× rubber wheels
- L298N motor driver shield (integrated on a custom PCB)
- Arduino UNO R3 compatible board
- HC-SR04 ultrasonic sensor + servo bracket
- IR receiver module and remote
- Line tracking sensor module (3× IR sensors)
- HC-05 Bluetooth module
- Battery holder for 4×AA batteries
- Screwdriver, screws, spacers, and Dupont cables
- Printed assembly manual (also available online as PDF)
Build quality is decent for the price point. The acrylic chassis is sturdy, motor brackets align well, and all components fit without modification. The included screwdriver is adequate for the assembly but a proper precision set speeds things up.
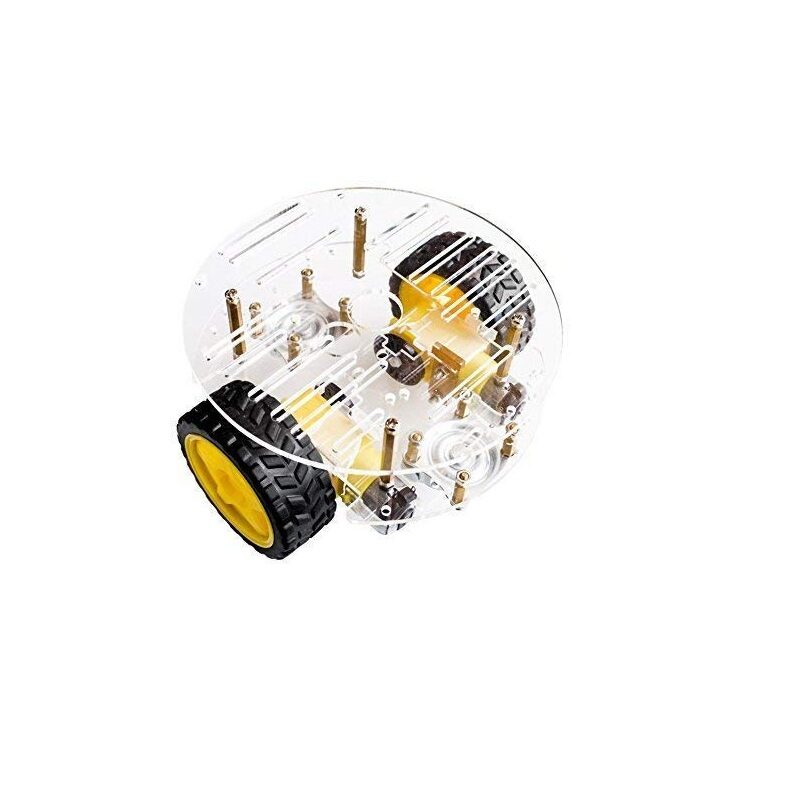
2WD Mini Round Double-Deck Smart Robot Car Chassis DIY Kit
A locally sourced 2WD double-deck chassis similar to ELEGOO’s base platform. Pair with your own Arduino and sensors to build an equivalent kit at a significantly lower cost in India.
Assembly Guide: Step by Step
Assembly takes 45–90 minutes for a first-time builder. Follow this sequence for fewest headaches:
- Install motors — mount DC gear motors onto the lower chassis plate using M3 screws and included brackets. Ensure motor shafts face outward.
- Attach wheels — press rubber wheels firmly onto motor shafts. For mecanum-wheel variants, orientation of rollers matters — consult the manual diagram carefully.
- Mount battery holder — fix the 4×AA holder to the underside of the lower deck.
- Stack upper deck — use M3 hex spacers to create the double-deck structure. Ensure standoff height gives enough clearance for the motor driver board.
- Mount Arduino + motor shield — plug the motor driver shield onto the Arduino, then mount the assembly on the upper deck. Secure with nylon standoffs to avoid short circuits through the acrylic.
- Install sensors — mount the HC-SR04 on the servo bracket at the front; mount the line tracking sensor array at the bottom front of the lower deck, 5–8 mm above the floor.
- Wire everything — connect motors to M1/M2 terminals on the motor shield. Wire line sensors to digital pins per the schematic. Connect HC-05 Bluetooth to UART pins (TX→RX, RX→TX through a voltage divider).
- Test before final assembly — upload the base sketch and verify each motor spins in the correct direction before closing up all wiring.
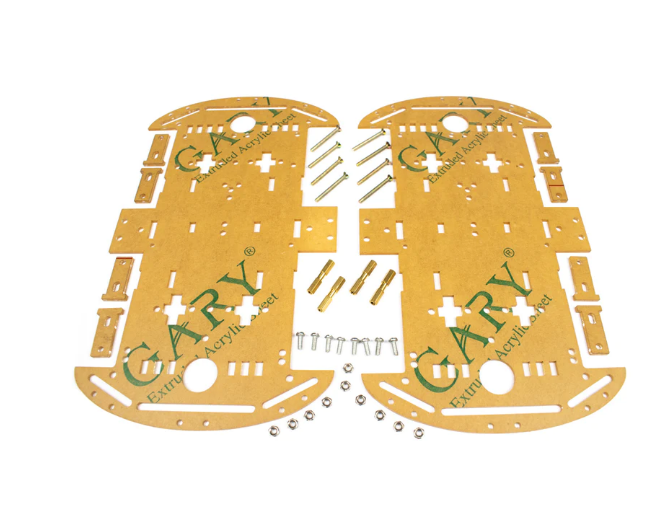
4 Wheels Car Chassis Acrylic Frame
Upgrade to a 4WD acrylic frame for better traction and payload capacity. Ideal if you want to add heavier sensors like a Raspberry Pi camera module or LIDAR.
Code Review: How the Robot Works
ELEGOO provides a well-organised Arduino library on GitHub and their support site. The main sketch uses a state-machine architecture with five modes selectable via IR remote or Bluetooth command byte:
// Mode selection via IR/BT
switch(command) {
  case 'F': mode = FORWARD; break;
  case 'L': mode = LINE_FOLLOW; break;
  case 'A': mode = AVOID; break;
  case 'T': mode = TRACK; break;
  case 'S': mode = STOP; break;
}
Line Following Mode reads three IR sensor values (LEFT, CENTRE, RIGHT). When only CENTRE detects the black line, go straight. When LEFT detects it, turn left; RIGHT → turn right. When all three detect the line (intersection), go straight. Simple but effective for basic tracks.
Obstacle Avoidance Mode sweeps the HC-SR04 servo left and right, measures distances, and turns toward the side with more clearance. The look-ahead distance is configurable — default 30 cm is conservative; increasing to 50 cm gives smoother avoidance at higher speeds.
Bluetooth Control listens on the hardware Serial port at 9600 baud. The ELEGOO Android/iOS app sends single-byte commands. Since the HC-05 uses hardware Serial (pins 0/1), you cannot use Serial.print() for debugging while Bluetooth is active — swap to SoftwareSerial on pins 10/11 for debug output.
Key Features and Modes
| Feature | Details |
|---|---|
| Microcontroller | Arduino UNO R3 (ATmega328P) |
| Drive System | 2WD differential drive, L298N bridge |
| Sensors | HC-SR04 ultrasonic, 3× IR line sensor |
| Wireless | HC-05 Bluetooth 2.1 + IR remote |
| Battery | 4×AA (6V) — about 90 min runtime |
| Top Speed | ~40 cm/s on flat surface |
| Programming | Arduino IDE, beginner-friendly |
Indian Alternatives Worth Considering
The ELEGOO kit is a great learning tool but costs ₹3,500–4,500 imported versus ₹1,500–2,500 if built from locally sourced Indian components. Here are equivalent Indian options available from Zbotic:
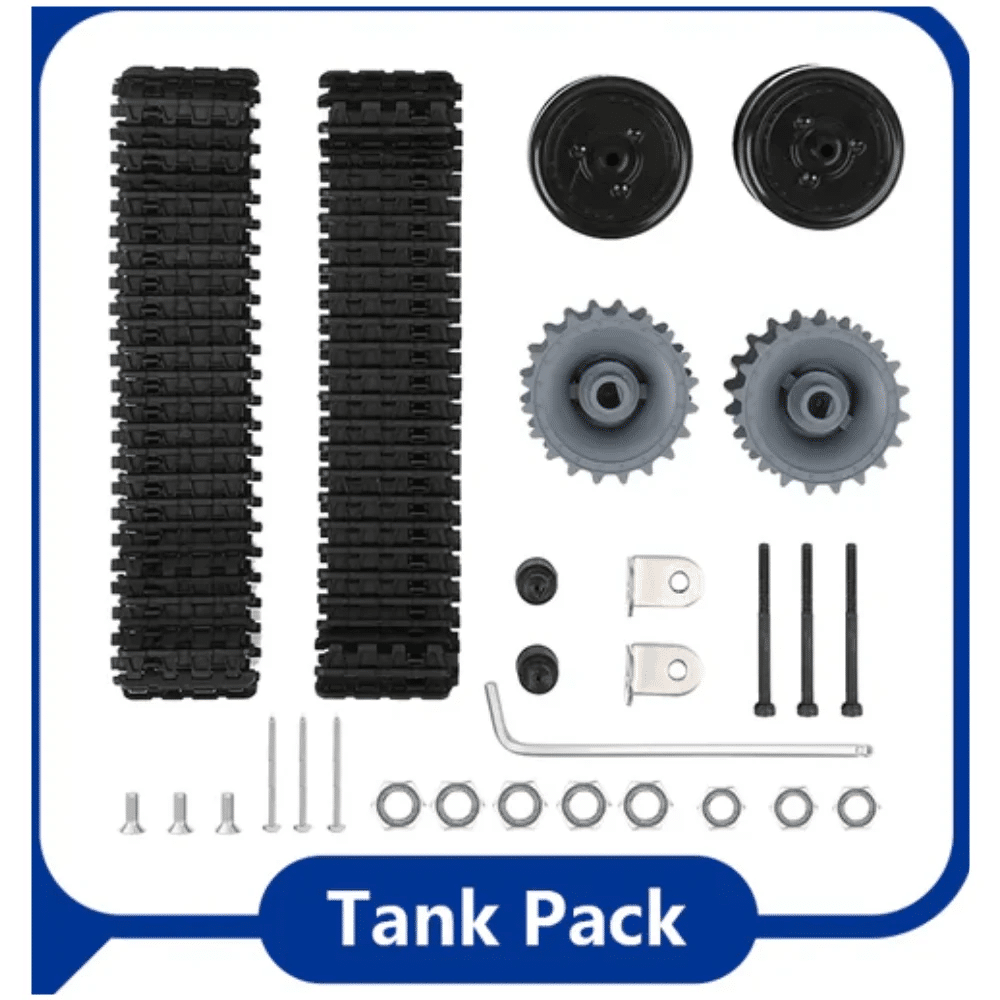
ACEBOTT ESP32 Tank Robot Car Expansion Pack
ESP32-powered tank chassis with treads for rough terrain. Includes Wi-Fi + Bluetooth control — a significant upgrade over ELEGOO’s Bluetooth-only connectivity.
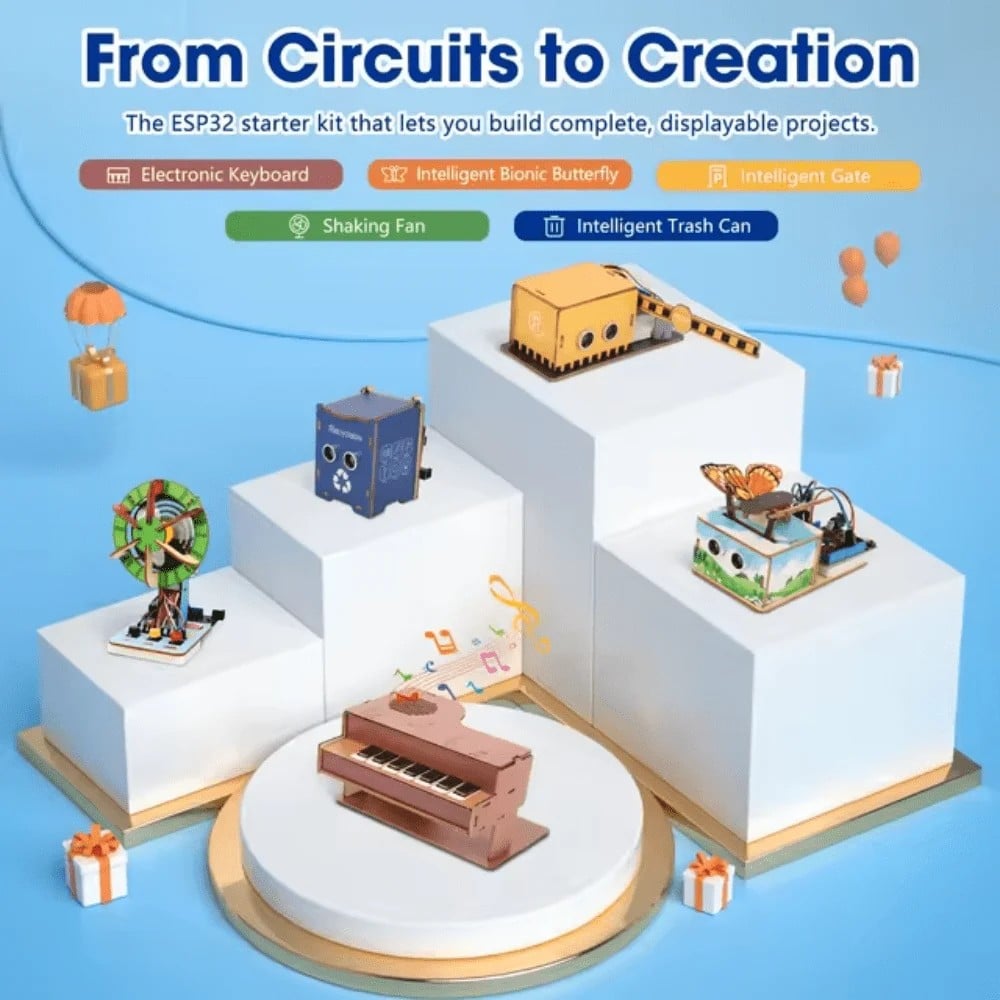
ACEBOTT ESP32 Basic Starter Kit – QE201
Complete ESP32 project expansion pack that includes motors, sensors, and a programmable controller board. Great alternative to ELEGOO for makers who want Wi-Fi capabilities built-in.
Final Verdict
The ELEGOO Smart Robot Car earns its popularity through excellent documentation, beginner-friendly code, and a complete out-of-box experience. For Indian buyers, the main trade-off is price — imported kits cost 2–3× what an equivalent self-assembled kit would. If you value a pre-documented, plug-and-play learning experience and your budget allows, ELEGOO is worth it. If you are comfortable sourcing individual components and learning more deeply, building from scratch with Indian components from Zbotic will teach you far more and cost significantly less.
Frequently Asked Questions
Is the ELEGOO Smart Robot Car compatible with Arduino IDE?
Yes, it uses the Arduino UNO R3 board. All code is standard Arduino C++ and compiles without any modifications in Arduino IDE 1.8.x or 2.x.
Can I upgrade the ELEGOO car with a Raspberry Pi?
Yes. Remove the Arduino and motor shield, mount a Raspberry Pi 3/4 on the upper deck, and use a separate I2C motor driver board (like the L298N or PCA9685 + motor hat). This opens the door to camera-based navigation and Python-based control.
Does the ELEGOO app work on both Android and iOS?
Yes, the ELEGOO Robot Car app is available on both platforms. The Bluetooth connection requires HC-05 pairing at 1234 or 0000 password.
What is the line width for optimal line-following performance?
The kit’s IR sensors work best with a 20–25 mm wide black line on a white background. Thicker lines confuse the 3-sensor array at intersections.
How long does the battery last on a full charge of AA batteries?
With 4× alkaline AA batteries, expect 60–90 minutes of mixed operation. Switch to NiMH rechargeables (4× 1.2 V) for better sustained voltage and lower long-term cost.
Build your robot car today! Explore Zbotic’s full catalogue of robot chassis, motors, sensors, and controllers for fast India-wide delivery. Whether you replicate the ELEGOO experience or design something entirely your own, Zbotic has every component you need.


Add comment