
Stringing is one of the most common and visible problems in 3D printing — those fine plastic threads that stretch between different parts of a print, making it look like a spider built a web inside your model. Also called oozing or hairy prints, stringing happens when the printer moves the nozzle over empty space and the melted filament inside the hotend leaks out like a slow faucet dripping between glasses.
The good news: stringing is almost always fixable through slicer settings alone, without any hardware changes. The bad news: there is no single universal setting because the right retraction configuration depends on your printer type, hotend, and filament. This guide gives you a systematic approach to diagnose and eliminate stringing permanently for any setup.
Why Stringing Happens (The Physics)
Inside the hotend, filament is melted and held under pressure by the extruder motor. When the nozzle finishes printing a section and moves to a new location, that pressure remains. If nothing counteracts it, molten filament continues to ooze out of the nozzle during the travel move — and that ooze solidifies into the thin strings you see on your finished print.
Stringing is influenced by several factors working simultaneously:
- Pressure in the melt zone: Higher nozzle temperatures mean lower viscosity and more ooze. Printing hotter always increases stringing tendency.
- Travel distance: Longer travel moves give the oozing filament more time to stretch into a string. Short travels often produce strings even with perfect settings.
- Retraction effectiveness: Retraction pulls filament back into the nozzle to release the melt zone pressure. If retraction distance or speed is wrong, pressure is not fully relieved.
- Filament type: Some materials (PETG, TPU) are inherently more prone to stringing than others (PLA, ABS) due to their viscosity curves at printing temperatures.
Retraction Basics: Distance and Speed
Retraction is the slicer instruction that reverses the extruder motor briefly before a travel move, pulling a small amount of filament back into the hotend. This releases the pressure in the melt zone so that oozing stops (or is greatly reduced) during the travel.
Retraction Distance
This is how far the extruder pulls the filament back, measured in millimetres. More distance = more pressure relief, but too much causes problems: the molten filament is pulled back far enough that air gets into the nozzle, causing under-extrusion on the next print move, or filament solidifies in the heat break and causes a jam.
Starting points by printer type:
- Direct drive extruder: 0.5–2mm (start at 1mm)
- Bowden extruder: 4–7mm (start at 5mm)
Note: With all-metal hotends and PTFE-lined hotends, the acceptable retraction range differs. All-metal hotends can handle more retraction; PTFE-lined setups are more sensitive to over-retraction causing jams.
Retraction Speed
How fast the extruder reverses. Faster retraction relieves pressure more abruptly, which reduces stringing but can also strip soft filaments or cause pressure waves in the melt zone.
Starting points:
- Direct drive: 25–45mm/s
- Bowden: 40–60mm/s
For soft filaments like TPU, reduce retraction speed to 15–25mm/s to prevent stripping. For standard PLA and PETG, higher speeds generally produce better results.
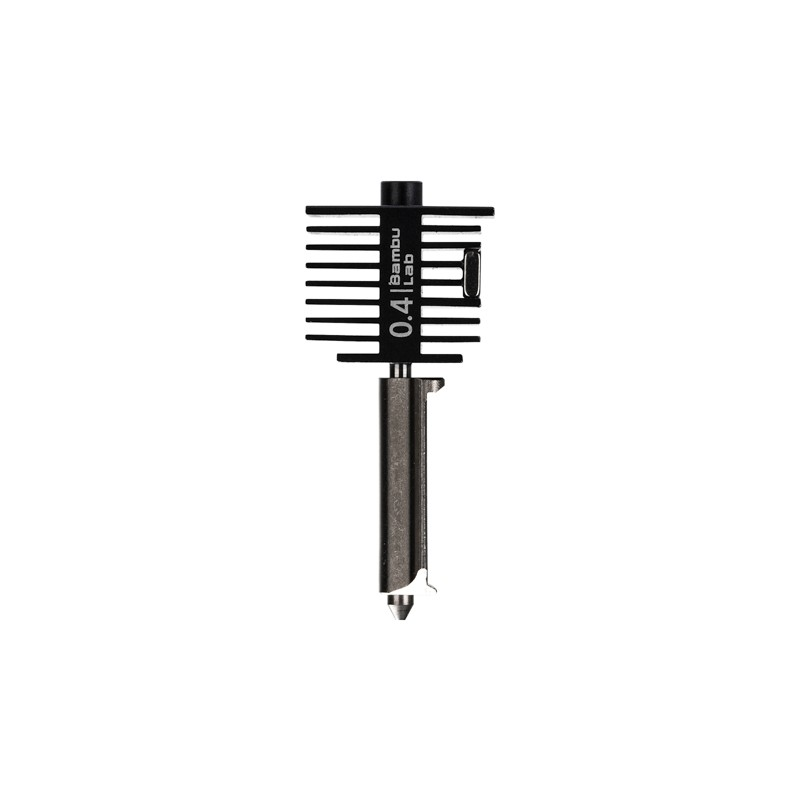
Bambu Lab Hotend with Hardened Steel Nozzle – 0.4mm
A quality hotend with consistent melt zone geometry. Consistent geometry is key to predictable retraction behaviour — worn or irregular nozzles make stringing much harder to tune out.
Bowden vs Direct Drive: Different Starting Points
Your printer’s extruder type fundamentally changes the retraction settings you need. This is one of the most common sources of confusion when looking up retraction settings online — a setting that works perfectly for one user’s Ender 3 may be completely wrong for another user’s direct drive setup, and vice versa.
Bowden Extruder (e.g., Ender 3, CR-10)
In a Bowden setup, the extruder motor is mounted on the frame and pushes filament through a long PTFE tube to the hotend. The long tube path means that when the extruder reverses, it takes a large amount of retraction to actually pull the melted filament back from the nozzle. This is why Bowden printers need 4–7mm retraction versus the 0.5–2mm used with direct drive.
The downside: all that tube length creates slop and compliance in the system. Retraction is less immediate and less precise than with direct drive. Bowden setups are inherently more prone to stringing with flexible materials and high-viscosity filaments.
Direct Drive Extruder (e.g., Bambu Lab, Prusa MK4, many upgraded Enders)
Direct drive puts the extruder motor right next to the hotend, with minimal or no PTFE tube. Retraction is immediate and precise. You need far less retraction distance, and the system responds much more predictably to retraction speed changes. Direct drive is also far better for flexible filaments like TPU.
The Role of Temperature in Stringing
Temperature is the second most important variable in stringing after retraction. Higher temperatures mean the molten plastic is less viscous (thinner and runnier), making it more likely to ooze out of the nozzle during travel. Even a 5°C reduction in print temperature can noticeably reduce stringing.
The practical approach is to find the minimum temperature at which your filament still prints cleanly (good layer adhesion, smooth surface, no under-extrusion) and print at or just above that minimum. Use a temperature tower — a test print with temperature changes every few millimetres — to identify the sweet spot for your specific filament brand.
Typical temperature impact on stringing:
- PLA: try reducing from 210°C to 195–200°C
- PETG: try reducing from 245°C to 235–238°C
- ABS: less temperature-sensitive in terms of stringing, more sensitive for layer adhesion
Never sacrifice layer adhesion for reduced stringing. Weak layers are a more serious problem than cosmetic strings. Find the balance point where both are acceptable.
Travel Speed and Combing Settings
Travel Speed
Faster travel moves mean less time for ooze to accumulate during the move, which directly reduces stringing. Most slicers default to 150–200mm/s for travel. Increasing this to 200–250mm/s (within your printer’s mechanical capability) can noticeably reduce stringing.
However, high travel speeds can cause ringing (ghosting/echo artefacts) if your printer’s frame and carriages cannot execute them without vibration. Test progressively — increase travel speed in 20mm/s increments and evaluate print quality at each step.
Combing Mode
Combing is a slicer feature (available in Cura, PrusaSlicer, Bambu Studio, and most others) that routes travel moves through the interior of the printed part rather than over empty air. When the nozzle travels through already-printed areas, any stringing occurs inside the print where it is invisible and often fuses into the part.
Enable combing mode for most prints. Options are usually:
- Off: Nozzle travels in straight lines over empty space (default behaviour, most stringing visible)
- Within Infill: Travels stay within infill regions when possible
- All: Travels stay within the part wherever possible (best anti-stringing, slightly longer print time)
Outer Wall Wipe Distance
After printing an outer wall segment, some slicers allow the nozzle to travel a short distance along the wall before lifting for a travel move. This wipes the nozzle tip and reduces the pressure that causes stringing on departure. Try wipe distances of 0.1–0.3mm.
How to Run a Retraction Test Tower
A retraction test tower is the systematic way to dial in retraction settings. Instead of guessing at values and printing full models, you print a small standardised test that evaluates multiple settings in one 20–30 minute print.
Step 1: Print a Temperature Tower First
Before tuning retraction, establish your optimal print temperature. Download a temperature tower model (widely available on Thingiverse and Printables), set up the temperature change G-code in your slicer, and print it. Identify the lowest temperature at which the overhang, bridging, and surface quality all look acceptable. This becomes your working temperature for retraction testing.
Step 2: Print a Retraction Test
A standard retraction test consists of two or more vertical towers with open space between them. The nozzle must make many travel moves between the towers, and any stringing appears clearly in the gaps. Most retraction test models allow you to change settings (distance or speed) at specific layer heights, giving you a side-by-side comparison in a single print.
Start with the recommended value for your extruder type, then bracket above and below by 0.5mm increments. For a Bowden printer at 5mm baseline, test 3mm, 4mm, 5mm, 6mm, 7mm in the same print.
Step 3: Evaluate the Results
Look for the setting that produces the fewest and thinnest strings. Identify any layers where under-extrusion appears (usually visible as gaps or inconsistency at the start of a wall after a travel move) — these indicate over-retraction. The optimal setting produces minimal strings without causing under-extrusion.
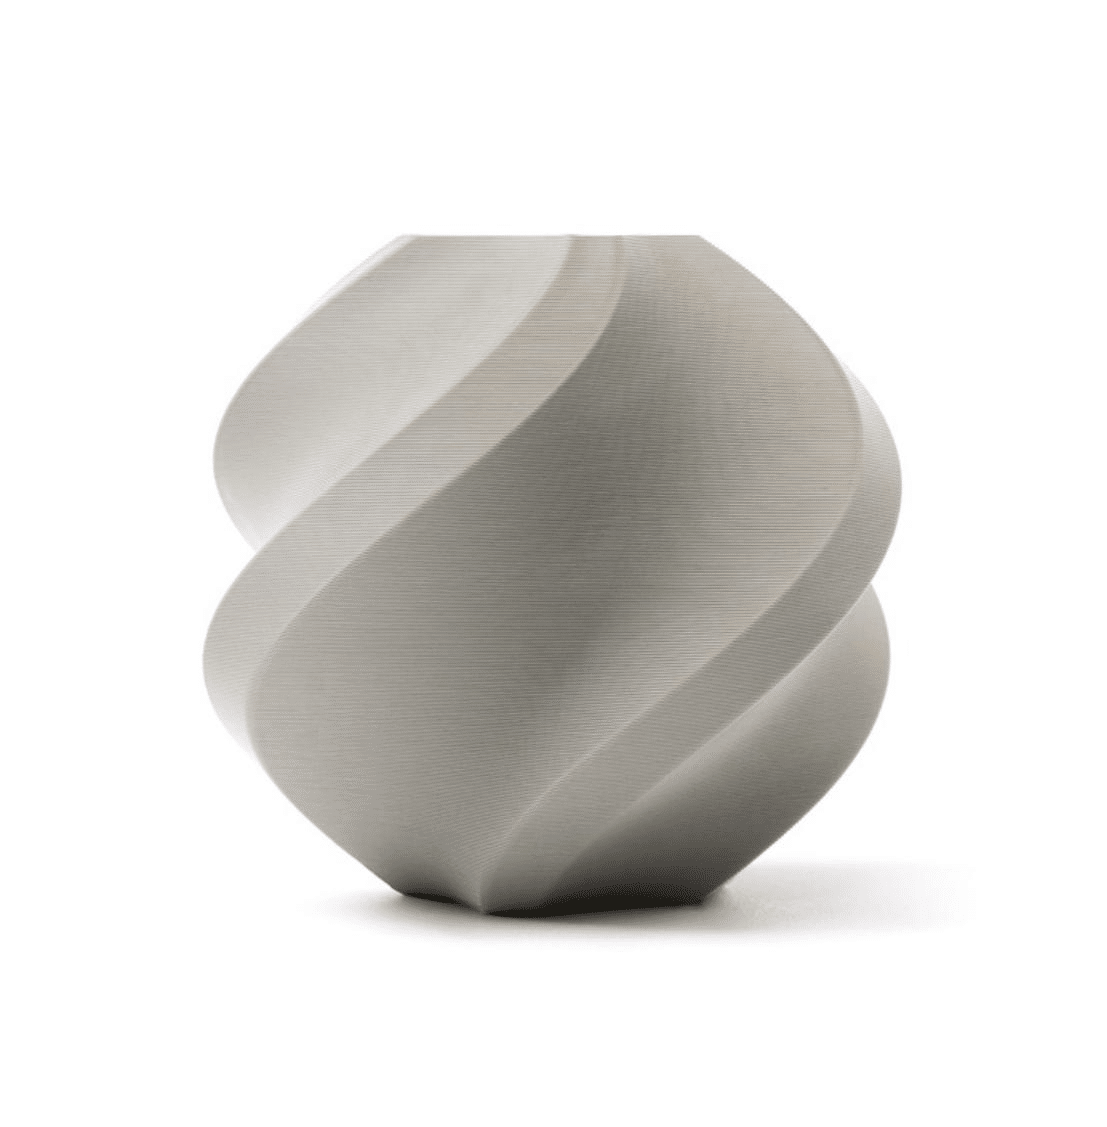
Bambu Lab PLA 3D Printer Filament – Grey, 1.75mm with Reusable Spool
Use grey PLA to run retraction test towers — the neutral colour makes strings highly visible for evaluation. Bambu Lab’s tight tolerances (±0.03mm) eliminate diameter variation as a confounding variable when tuning.
Material-Specific Retraction Settings
PLA
PLA is the most forgiving material for retraction. It has a narrow viscous temperature range and becomes quite solid quickly after leaving the melt zone, which limits stringing naturally.
- Direct drive: 0.8–1.5mm, 40–45mm/s
- Bowden: 4.5–6mm, 45–55mm/s
- Temperature: 195–210°C (lower temperature helps significantly)
PETG
PETG is the most challenging common material for stringing. Its broad viscosity range means it stays fluid over a wide temperature range, and it is hygroscopic — wet PETG strings dramatically more than dry PETG.
- Direct drive: 1–2mm, 25–35mm/s
- Bowden: 5–7mm, 40–50mm/s
- Temperature: 230–240°C (lower end of range helps stringing)
- Critical: dry your PETG before printing. Moisture is responsible for a large fraction of PETG stringing complaints.
ABS
ABS strings less than PETG but more than PLA. Temperature reduction helps, but do not sacrifice layer adhesion for less stringing.
- Direct drive: 1–2mm, 35–45mm/s
- Bowden: 5–6mm, 40–55mm/s
- Temperature: 235–245°C
TPU
TPU produces the most stringing of any common filament and it cannot be fully eliminated — only reduced. The flexibility of the material means retraction is imprecise.
- Direct drive: 0–1mm, 15–25mm/s (minimal retraction)
- Bowden: Not recommended for stringing-sensitive applications
- Temperature: 220–230°C (lower helps)
- Strategy: enable combing mode set to All, so most strings hide inside the part
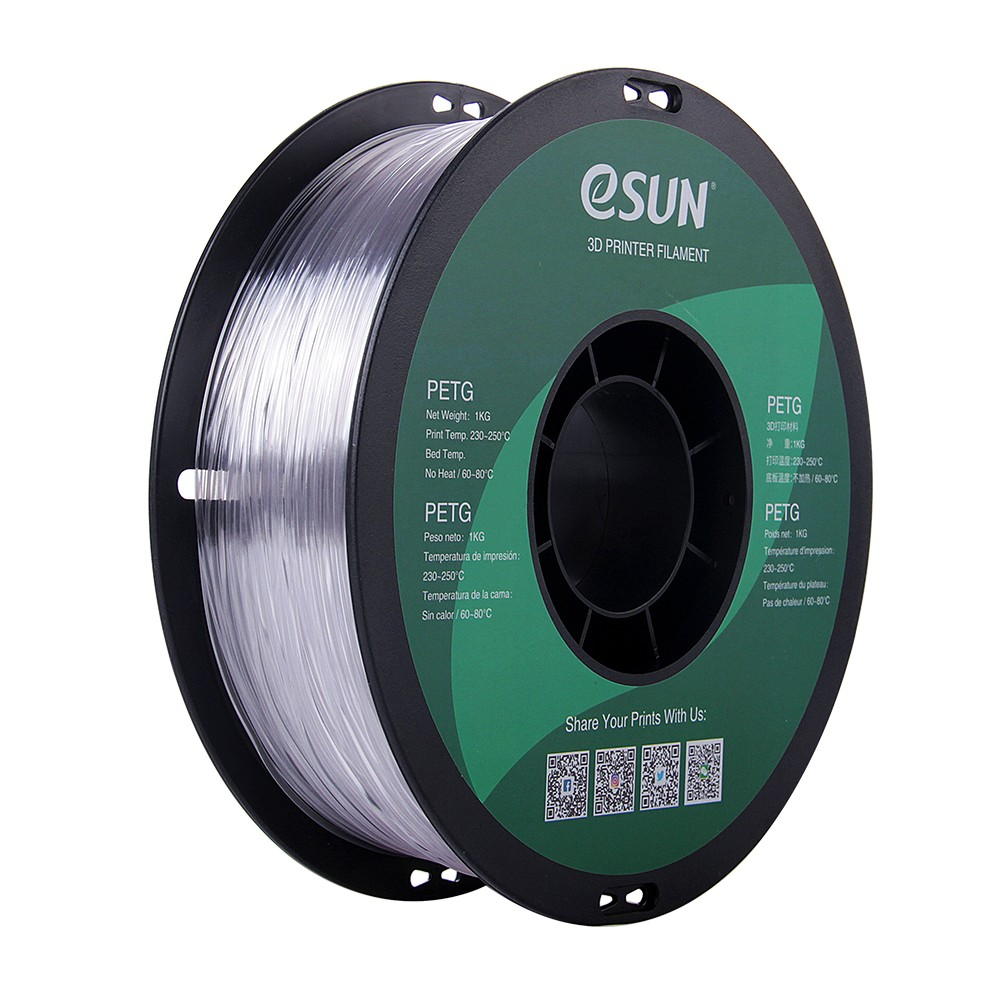
eSUN PETG 1.75mm – Clear, 1kg
If you are troubleshooting PETG stringing, start with a quality filament. eSUN PETG is consistently dry from the factory and ships in vacuum-sealed packaging, eliminating moisture as a variable.
Hardware Causes of Stringing
When slicer settings fail to resolve stringing, the problem may be hardware-related:
Worn or damaged nozzle: A nozzle with irregular orifice geometry, partial clogging, or wear accumulation does not seal cleanly between moves. Replace the nozzle if you have been printing abrasive materials or the nozzle has significant mileage.
Worn PTFE tube: A degraded PTFE tube inside a Bowden setup adds compliance to the system, making retraction less effective. If your Bowden tube is yellowed, kinked, or has been in use for over a year of regular printing, replace it.
Partial clogs: A nozzle that is 20–30% clogged increases melt zone pressure dramatically, causing excessive oozing during travel. If stringing suddenly worsened without any settings change, a developing clog is the prime suspect. Run a cold pull or use a cleaning needle to clear the nozzle.
Heat creep: Filament softening in the cold zone causes inconsistent pressure in the melt zone and unpredictable oozing. Signs: filament jams after extended printing, print quality degrades over a long session, intermittent under-extrusion. Address with a better heat break, higher fan speed on the heatsink, or an all-metal hotend.
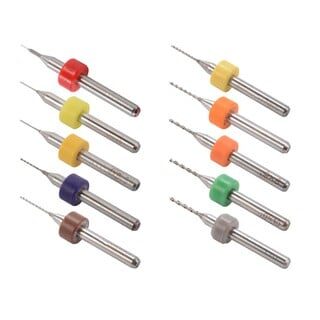
0.1–1.0mm Nozzle Cleaning Drill Bit Kit for MK7/MK8 – 10 Pieces
If stringing worsened suddenly, a partial nozzle clog may be the cause. This cleaning kit lets you clear partial obstructions without removing the nozzle, saving print session time.
0.4mm Stainless Steel Nozzle Cleaning Needle – Pack of 10
Stainless steel needles for clearing 0.4mm nozzle clogs. A pack of 10 ensures you always have a spare. An essential tool for any printer operator dealing with stringing or under-extrusion.
Removing Strings After Printing
Even well-tuned printers sometimes produce minor stringing on complex models. For one-off prints, post-processing is faster than further tuning:
- Heat gun or lighter: Pass a heat gun briefly over the printed surface. Strings are thin and melt away in less than a second of heat exposure. This is the fastest method for removing large numbers of strings at once. Keep the heat gun moving to avoid deforming the part.
- Flame from a lighter: A candle lighter works similarly for small areas. Very brief exposure — less than one second — removes strings without affecting the underlying part.
- Tweezers and flush cutters: For thicker strings or in areas where heat would damage fine detail, manual removal with pointed tweezers is the precise option.
- Sandpaper: Fine grit (400+) sandpaper on external surfaces removes strings and also reduces the visible texture of layer lines in one step.
Quality filament from Bambu Lab and eSUN, nozzles, cleaning tools, and more — shipped across India. Start printing cleaner parts today.
Shop 3D Printing Supplies at Zbotic
Frequently Asked Questions
What retraction settings should I use for an Ender 3?
The Ender 3 is a Bowden printer. Start with 5mm retraction distance at 45mm/s. Print temperature should be 195–205°C for PLA. Enable combing in your slicer. If stringing persists, try reducing temperature by 5°C before increasing retraction distance further. For PETG on an Ender 3, start at 6mm retraction and 235°C.
Why does my PETG string so much even with retraction?
The most common cause is wet filament. PETG is highly hygroscopic and absorbs moisture within hours in humid environments (common in India during monsoon). Dry your PETG at 65°C for 4–6 hours and print immediately. Also check that print temperature is not too high — try dropping from 245°C to 235–238°C. Enable combing mode to hide remaining strings inside the part.
Can too much retraction cause problems?
Yes. Over-retraction pulls the molten filament too far back, sometimes introducing air into the nozzle or allowing the filament to solidify in the heat break. Symptoms include under-extrusion at the start of walls after travel moves, grinding sounds from the extruder, and jams. The maximum safe retraction for most all-metal hotends is about 2mm for direct drive and 6–7mm for Bowden.
Does stringing mean my nozzle is clogged?
Not necessarily — stringing is usually a settings issue, not a clog. However, a partial clog increases melt zone pressure, which can worsen stringing that was previously under control. If stringing worsened suddenly without any settings or material change, inspect and clean the nozzle.
What is the difference between stringing and oozing?
These terms describe the same underlying phenomenon at different stages. Oozing is the process of molten plastic leaking from the nozzle during travel. Stringing is the result — the solidified threads that span between print features. Addressing retraction and temperature reduces both simultaneously.
My retraction is already at maximum. What else can I try?
If maximum recommended retraction is not eliminating stringing, try these steps in order: (1) reduce print temperature by 5–10°C, (2) increase travel speed to 200–250mm/s, (3) enable combing mode, (4) check for wet filament and dry the spool, (5) inspect the nozzle for partial clogging, (6) consider whether a direct drive upgrade would help (especially for PETG).


Add comment