
Table of Contents
- Why 3D Print Your Own Drone Frame?
- Types of Quadcopter Frame Designs
- Filament Selection for Drone Frames
- Design Principles for Structural Drone Parts
- CAD Tools for Drone Frame Design
- Print Settings for Maximum Strength
- Reinforcement Techniques
- Assembly and Hardware Integration
- Ready-Made Designs: Thingiverse and Printables
- FAQ
Building your own FPV or aerial photography drone frame from scratch is one of the most rewarding 3D printing projects you can undertake. Instead of buying an off-the-shelf frame for ₹1,500–₹8,000, you can design and print a custom frame tailored exactly to your motor size, flight controller, camera mount, and battery dimensions — for the cost of a few hundred rupees of filament. The Indian FPV community has grown rapidly over the past few years, and 3D printing has been a major enabler, letting makers iterate quickly, repair broken arms overnight, and experiment with unconventional frame geometries that no manufacturer would ever produce commercially.
This guide walks you through the complete process: choosing the right filament, designing structurally sound parts, configuring your slicer for maximum strength, and assembling a functional quadcopter frame from the prints off your bed.
Why 3D Print Your Own Drone Frame?
Cost
A commercial 5″ FPV drone frame costs ₹2,000–₹6,000. A 3D-printed equivalent costs ₹100–₹400 in filament. Even accounting for a few crash-and-reprint cycles, you save significantly. For beginners who crash frequently while learning to fly (everyone does), printable frames eliminate the sting of breaking an expensive carbon fiber frame.
Customization
Commercial frames are designed for a mass market. Your build might need a specific VTX stack height, an unusual camera angle, or mounting points for a unique payload. With your own design, every millimeter is intentional. Indian drone builders working with locally sourced components (motors from Alibaba, FCs from Robu or Zbotic) often find that custom 3D-printed frames fit their exact hardware without adapter plates or zip-tie hacks.
Repairability
A broken carbon fiber arm requires buying a replacement part (often out of stock, requires international shipping). A broken printed arm requires 45 minutes and ₹30 of filament. For active flyers or students using drones for competitions, this is invaluable.
Learning
Designing and printing a drone frame teaches structural engineering, materials science, CAD, and manufacturing constraints in a deeply hands-on way. It is an excellent project for engineering students and hobbyists wanting to bridge the gap between theory and practice.
Types of Quadcopter Frame Designs
Before you start designing, understand the major frame geometries and how they affect flight characteristics.
X Frame
The most common FPV geometry. Four arms extend symmetrically from the center stack. The motor-to-motor diagonal dimension (in inches) defines the prop size. X frames are well-balanced, predictable in flight, and easy to design. The true-X has equal motor spacing front-to-back and side-to-side. Most 5″ FPV frames are X geometry.
Stretched X
The rear motors are moved slightly further back than the front motors. This improves forward flight efficiency and high-speed stability. Popular with freestyle and race pilots. Slightly harder to design but worth it for experienced builders.
H Frame
Two parallel rails with arms extending perpendicular. More suitable for photography/cinematography where camera vibration isolation is important. Typically heavier than X frames. Easier to 3D print as a single-piece center plate.
Deadcat Frame
Front arms angle forward so the propellers are out of the FPV camera’s field of view — critical for clean footage drones. Popular for cinematic FPV builds.
Tricopter / Y Frame
Three motors in a Y configuration. One rear motor tilts for yaw control. More mechanically complex — the tilt servo mount is the most challenging part to print and must withstand significant stress.
Filament Selection for Drone Frames
This is the most important decision for a drone frame project. The wrong filament will fail on impact or deform under motor vibration.
PETG — The Best All-Round Choice for Most Indian Builders
PETG strikes the ideal balance for drone frames in India:
- Impact resistance: Significantly better than PLA. It flexes slightly on impact rather than shattering.
- Temperature resistance: Handles 70–80°C without deformation — important if motors run hot (common in summer or during aggressive throttle-up maneuvers).
- Printability: Easier than ABS. No enclosure required. Works well in Indian climate (even humid conditions).
- Strength: Tensile strength comparable to ABS but with better layer adhesion.
- Cost: ₹900–₹1,500/kg — affordable for multiple iterations.
Use PETG for: main frame body, arm bases, motor mounts, top/bottom plates.
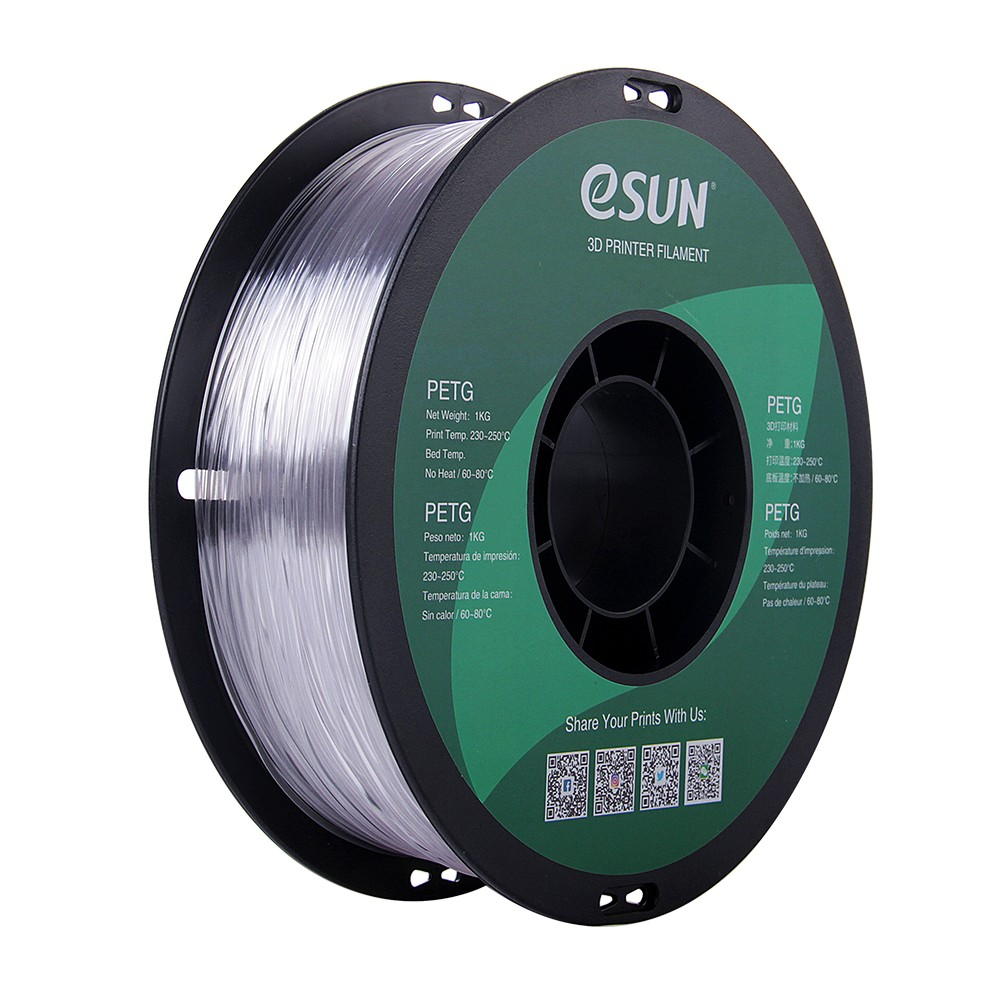
eSun PETG 1.75mm 3D Printing Filament 1kg – Clear
Excellent PETG filament for structural drone parts. The clear color lets you see inside the print and inspect layer adhesion quality. Strong, flexible, and impact-resistant.
ABS — High Strength and Heat Resistance
ABS is excellent for drone frames — it is strong, impact-resistant, and handles heat well (glass transition ~105°C). The downside: ABS requires an enclosure to prevent warping, and India’s temperature variation can cause prints to crack if the enclosure is not well-sealed. Use ABS if your motors run very hot (high KV, aggressive tuning) or if you fly outdoors in extreme heat.

Bambu Lab ABS Filament Black – 1.75mm
Premium ABS for high-stress drone frame parts. Black color reduces UV degradation when flying outdoors. Excellent impact resistance and heat deflection temperature.
PLA — Avoid for Structural Frame Parts
PLA is brittle, has low impact resistance, and deforms above ~60°C. In India’s summer heat (especially if the drone sits in a car or under direct sunlight), PLA frame parts can deform. More critically, PLA shatters on hard impacts instead of flexing. Use PLA only for non-structural parts: camera mounts, antenna holders, prop guards on trainer drones.
Nylon (PA12/PA6) — Advanced Option
Nylon offers exceptional toughness and flexibility. Some professional FPV frame builders use nylon for arm tips where they absorb crash energy. Very difficult to print (moisture-sensitive, warps, requires high temps) but the best choice for crash absorption if you can master it.
TPU — Bumpers and Motor Guards Only
TPU (flexible) is not suitable for structural frame parts but is excellent for motor guards, landing feet, battery straps, and vibration-isolating mounts. Print at 20–30mm/s on direct drive. A great addition to any drone build for protecting motors on land-outs.
Design Principles for Structural Drone Parts
Good structural design in FDM (fused deposition modeling) 3D printing requires understanding how printed parts fail, because FDM parts are anisotropic — much stronger along the layer plane than perpendicular to it (Z direction).
Orient for Load
The most critical design rule: orient parts so that the primary stress direction is along the print layers (X-Y plane), not across them (Z direction). For drone arms, this means:
- Print arms flat on the bed — bending stress from propeller thrust acts along the layers.
- Never print arms standing vertically — that places bending stress across layer bonds (weakest direction), and the arm will snap at the first impact.
Wall Count Over Infill Percentage
For structural FDM parts, increasing wall count (perimeters) matters far more than infill percentage. A part with 6 walls at 20% infill is stronger and lighter than a part with 3 walls at 60% infill. For drone arms and motor mounts, use 6–8 wall layers as a minimum.
Minimize Z Layers at Stress Concentrations
Avoid sharp internal corners (stress concentrators) in your design. Add generous fillets (minimum 2–3mm radius) at all corners where the arm meets the body, and at motor mount screw holes. A 3mm fillet reduces stress concentration by approximately 40% compared to a sharp corner.
Screw Holes and Inserts
Plastic threads in FDM parts fail quickly under vibration. Use one of these approaches:
- Heat-set threaded inserts (M2, M3): Brass inserts pressed into slightly undersized holes with a soldering iron. These are the best solution for reliable, serviceable connections.
- Self-tapping screws into solid plastic: Works for low-load connections. Design the hole 0.3–0.5mm smaller than the screw minor diameter.
- Nut traps: Design hexagonal cavities in the part to capture M2/M3 nuts. Simple and effective without inserts.
Arm Width and Thickness
For a 5″ quad, arm minimum dimensions at the root (where it meets the center body):
- Width (horizontal): 18–22mm
- Thickness (vertical): 12–16mm
- Arm length: 85–100mm (motor center to frame center)
Thinner arms are lighter but more likely to break. Taper arms slightly from root to tip for weight savings without sacrificing root strength.
CAD Tools for Drone Frame Design
Fusion 360 (Free for Hobbyists)
Autodesk Fusion 360 is the most popular choice for drone frame design. It combines parametric solid modeling, simulation (stress analysis), and manufacturing tools (CAM for potential CNC cuts). The personal/hobbyist license is free for non-commercial use. Indian students can also access it free through education licenses.
Key features for drone design: parametric constraints, fillet/chamfer tools, mirror and pattern functions (essential for symmetric frame arms), and STL export.
FreeCAD (Completely Free, Open Source)
FreeCAD is a powerful open-source parametric modeler. Steeper learning curve than Fusion 360, but no license restrictions. Excellent for budget-conscious makers. The 3D Printing workbench and FEM analysis module are useful for structural optimization.
OpenSCAD (Code-Based Design)
OpenSCAD uses a scripting language to define 3D geometry programmatically. Steep learning curve but unmatched for parametric designs where you want to change a single variable (like motor spacing) and have the entire frame update automatically. Several popular open-source drone frame designs (like the QAV-style frames) are built in OpenSCAD.
Onshape (Browser-Based, Free for Public Projects)
Cloud-based parametric CAD that runs entirely in a browser — no installation needed. Great for making on a school or college computer without admin rights to install software. Free plan works fine for drone frame design.
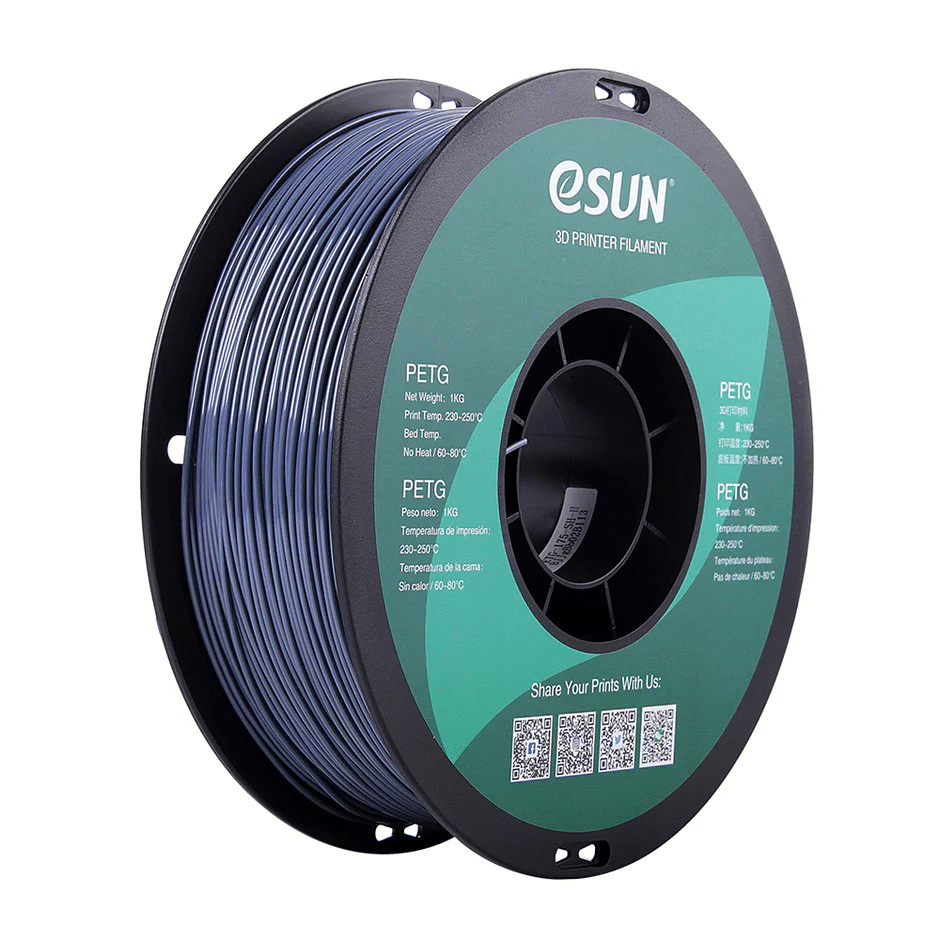
eSUN PETG 1.75mm 3D Printing Filament 1kg – Grey
High-strength PETG in tactical grey for drone frame printing. Consistent diameter and excellent interlayer adhesion make it a top choice for structural FPV parts.
Print Settings for Maximum Strength
For drone frame parts, maximizing structural strength is the priority — not print speed or material efficiency. Here are the recommended settings:
PETG Frame Print Settings
- Layer height: 0.2mm (balance of strength and resolution). 0.15mm for motor mount details.
- Wall count (perimeters): 6–8 walls minimum. For thin arms, solid perimeters all the way through (no infill needed).
- Infill: 40–60% for the center body. Use Gyroid or Cubic infill pattern — both are isotropic (equal strength in all directions), outperforming rectilinear or grid patterns by 15–20%.
- Infill pattern: Gyroid (best isotropy + impact), Cubic (second best), Honeycomb (lighter but anisotropic).
- Print speed: 40–60mm/s for perimeters. Slower speeds improve layer adhesion and surface quality.
- Print temperature: 235–245°C for PETG (top of range improves layer bonding). Bed: 75–85°C.
- Cooling: 30–50% fan for PETG. Too much cooling weakens layer adhesion; too little causes stringing.
- First layer: 0.3mm height, 20mm/s speed — crucial for bed adhesion on large flat frames.
ABS Frame Print Settings
- Temperature: 240–250°C nozzle, 100–110°C bed, enclosure required.
- Fan: 0–20% only. High cooling causes layer delamination in ABS.
- Wall count: Same as PETG (6–8). Infill: Gyroid at 40%.
- Post-process with acetone vapor smoothing for improved surface integrity and minor strength gain at layer interfaces.
Reinforcement Techniques
Carbon Fiber Tube Reinforcement
Print arm sleeves that accept 10mm or 12mm carbon fiber tubes. The CF tube carries the bending loads; the printed sleeve provides the interface geometry (motor mount, body attachment). This hybrid approach achieves near-CF-frame strength at a fraction of the cost of a full CF frame.
Embedded Hardware
Pause the print at a specific layer and embed metal hardware (steel rods, CF strips, brass standoffs) before resuming. The printed plastic encapsulates the hardware, creating a composite structure. The M600 G-Code command (Marlin) or a slicer pause at layer feature (PrusaSlicer, Cura) enables this.
Fiberglass Wrap
Coat finished printed arms with 1–2 layers of fiberglass mat and epoxy resin. This significantly improves impact resistance and creates a composite skin that prevents catastrophic fracture on hard impacts. Bike shop epoxy + fiberglass cloth (available online) — total cost under ₹500 for a full frame treatment.
Assembly and Hardware Integration
Motor Mounting
Use M2 screws with heat-set brass inserts for motor mounting. Torque screws to 0.15–0.2 N·m (finger tight + 1/4 turn). Use blue Loctite on threads to prevent vibration-induced loosening. Never overtighten — M2 screws strip FDM threads easily.
Flight Controller Stack
Use M3 nylon standoffs (30mm height for a typical FC+ESC 4-in-1 stack) between the frame plates. Nylon (plastic) standoffs provide electrical isolation and vibration damping. Anti-vibration grommets on the FC mounting holes further reduce vibration noise that degrades gyro performance.
Battery Strap
Design the battery tray with two 20mm-wide strap channels on the underside. Use standard 20mm Velcro battery straps. If you use TPU battery pads (print them too), they add grip and protect the battery surface.
Cable Management
Design cable routing channels in the center body. FPV and control cables running under motor vibration stress fatigue quickly. Route cables through channels, not across exposed surfaces, and secure with small printed clips.
Ready-Made Designs: Thingiverse and Printables
If you prefer to start with an existing design before building your own, here are the most popular repositories:
- Printables.com (by Prusa) — growing community, better curated than Thingiverse, excellent FPV frame designs. Search “3D printed quadcopter frame” or “FPV frame 5 inch.”
- Thingiverse.com — the oldest and largest repository. Thousands of drone frames, from 2″ micro quads to 7″+ long-range. Many designs include editable source files.
- GitHub — many serious FPV designers share source CAD files on GitHub. Search “3D printed FPV frame github.” OpenSCAD designs can be parameterized for your motor spacing.
- RCGroups forums — the Indian FPV community is active on RCGroups. Many Indian builders share local designs optimized for locally sourced components.
When choosing an existing design, verify: prop size compatibility, FC stack size (M3 standard 30.5mm spacing, M2 micro 20mm spacing), camera mount type (TBS Unify standard, DJI O3, RunCam), and whether the design has been printed and tested (look for “Made” photos on Printables).
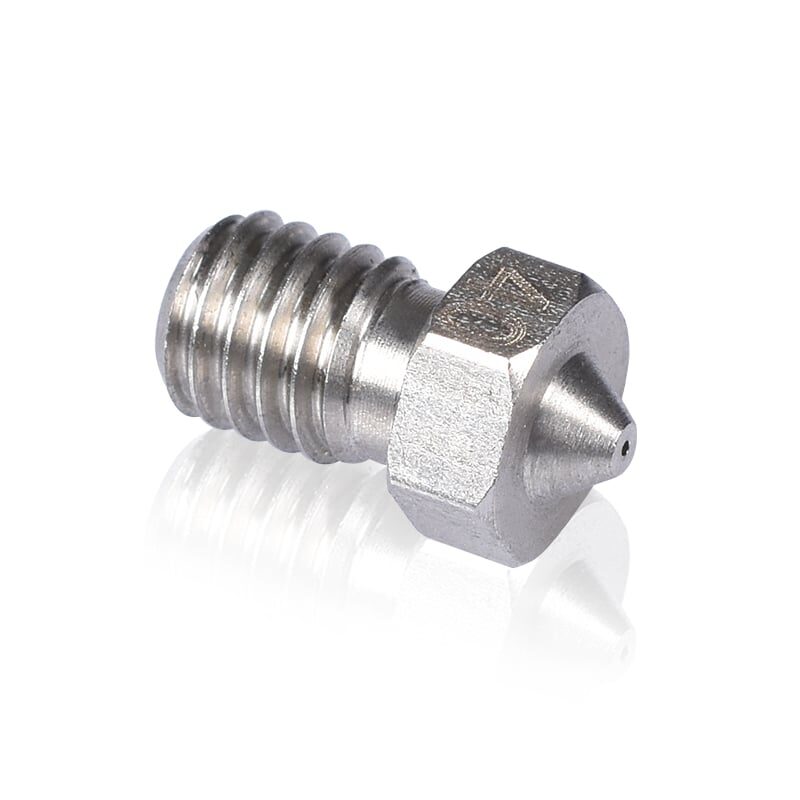
3D Printers Stainless Steel Nozzle 0.4mm
A stainless steel nozzle for printing semi-abrasive filaments used in drone frames. More durable than brass, ideal for long print runs of structural drone components.
Frequently Asked Questions
Is a fully 3D printed drone frame strong enough for real flying?
Yes, when printed correctly (right filament, right orientation, adequate wall count). Many Indian FPV pilots fly fully printed 5″ frames without issues for months. The frame will deform or crack in hard crashes rather than shattering catastrophically — and you can reprint just the broken part in 1–2 hours.
How much does it cost to print a 5″ drone frame?
A 5″ X-frame printed in PETG typically uses 80–150g of filament. At ₹900–₹1,200/kg for quality PETG, that is ₹75–₹180 in material cost. Budget ₹200–₹300 total including failed test prints.
Can I mix 3D printed and carbon fiber components?
Absolutely — this is common and recommended. Print the center body, camera mounts, and accessory plates in PETG or ABS. Use thin CF arm tubes for the arms. CF sheets cut to your center plate dimensions with a rotary tool add stiffness and impact resistance. The combination is lighter and stronger than either material alone.
What props work with 3D printed frames?
Any standard propeller works. For 5″ builds, Gemfan, HQProp, or T-Motor 5″ props are standard. Make sure the motor mounting pattern (2205 motors: M2 screws on 16mm circle) matches your printed motor mounts. Use prop guards printed in TPU for beginner or indoor flying.
How do I make my printed frame lighter?
Reduce infill to 20–30% in the center body (high wall count compensates), hollow out thick sections using internal cavities in your CAD, use thin-wall arm geometry (optimize cross-section for bending loads), and switch to a lighter filament (LW-PLA, a low-weight foaming PLA, reduces part weight by 30–40% at the cost of some strength).
What is the legal status of FPV drones in India?
As of 2025, all drones in India must be registered with the DGCA (Directorate General of Civil Aviation) via the Digital Sky platform. Nano drones (under 250g) are exempt from most requirements. FPV flying requires a remote pilot certificate for drones above 250g. Always check current DGCA regulations before flying, especially in urban areas or near airports.
Ready to Print Your First Drone Frame?
Start with the right filament for structural strength — PETG or ABS, sourced from a reliable Indian supplier. Zbotic stocks premium filaments from Bambu Lab, eSun, and more, with fast delivery to Pune, Mumbai, Delhi, Bangalore, and all Indian cities.


Add comment